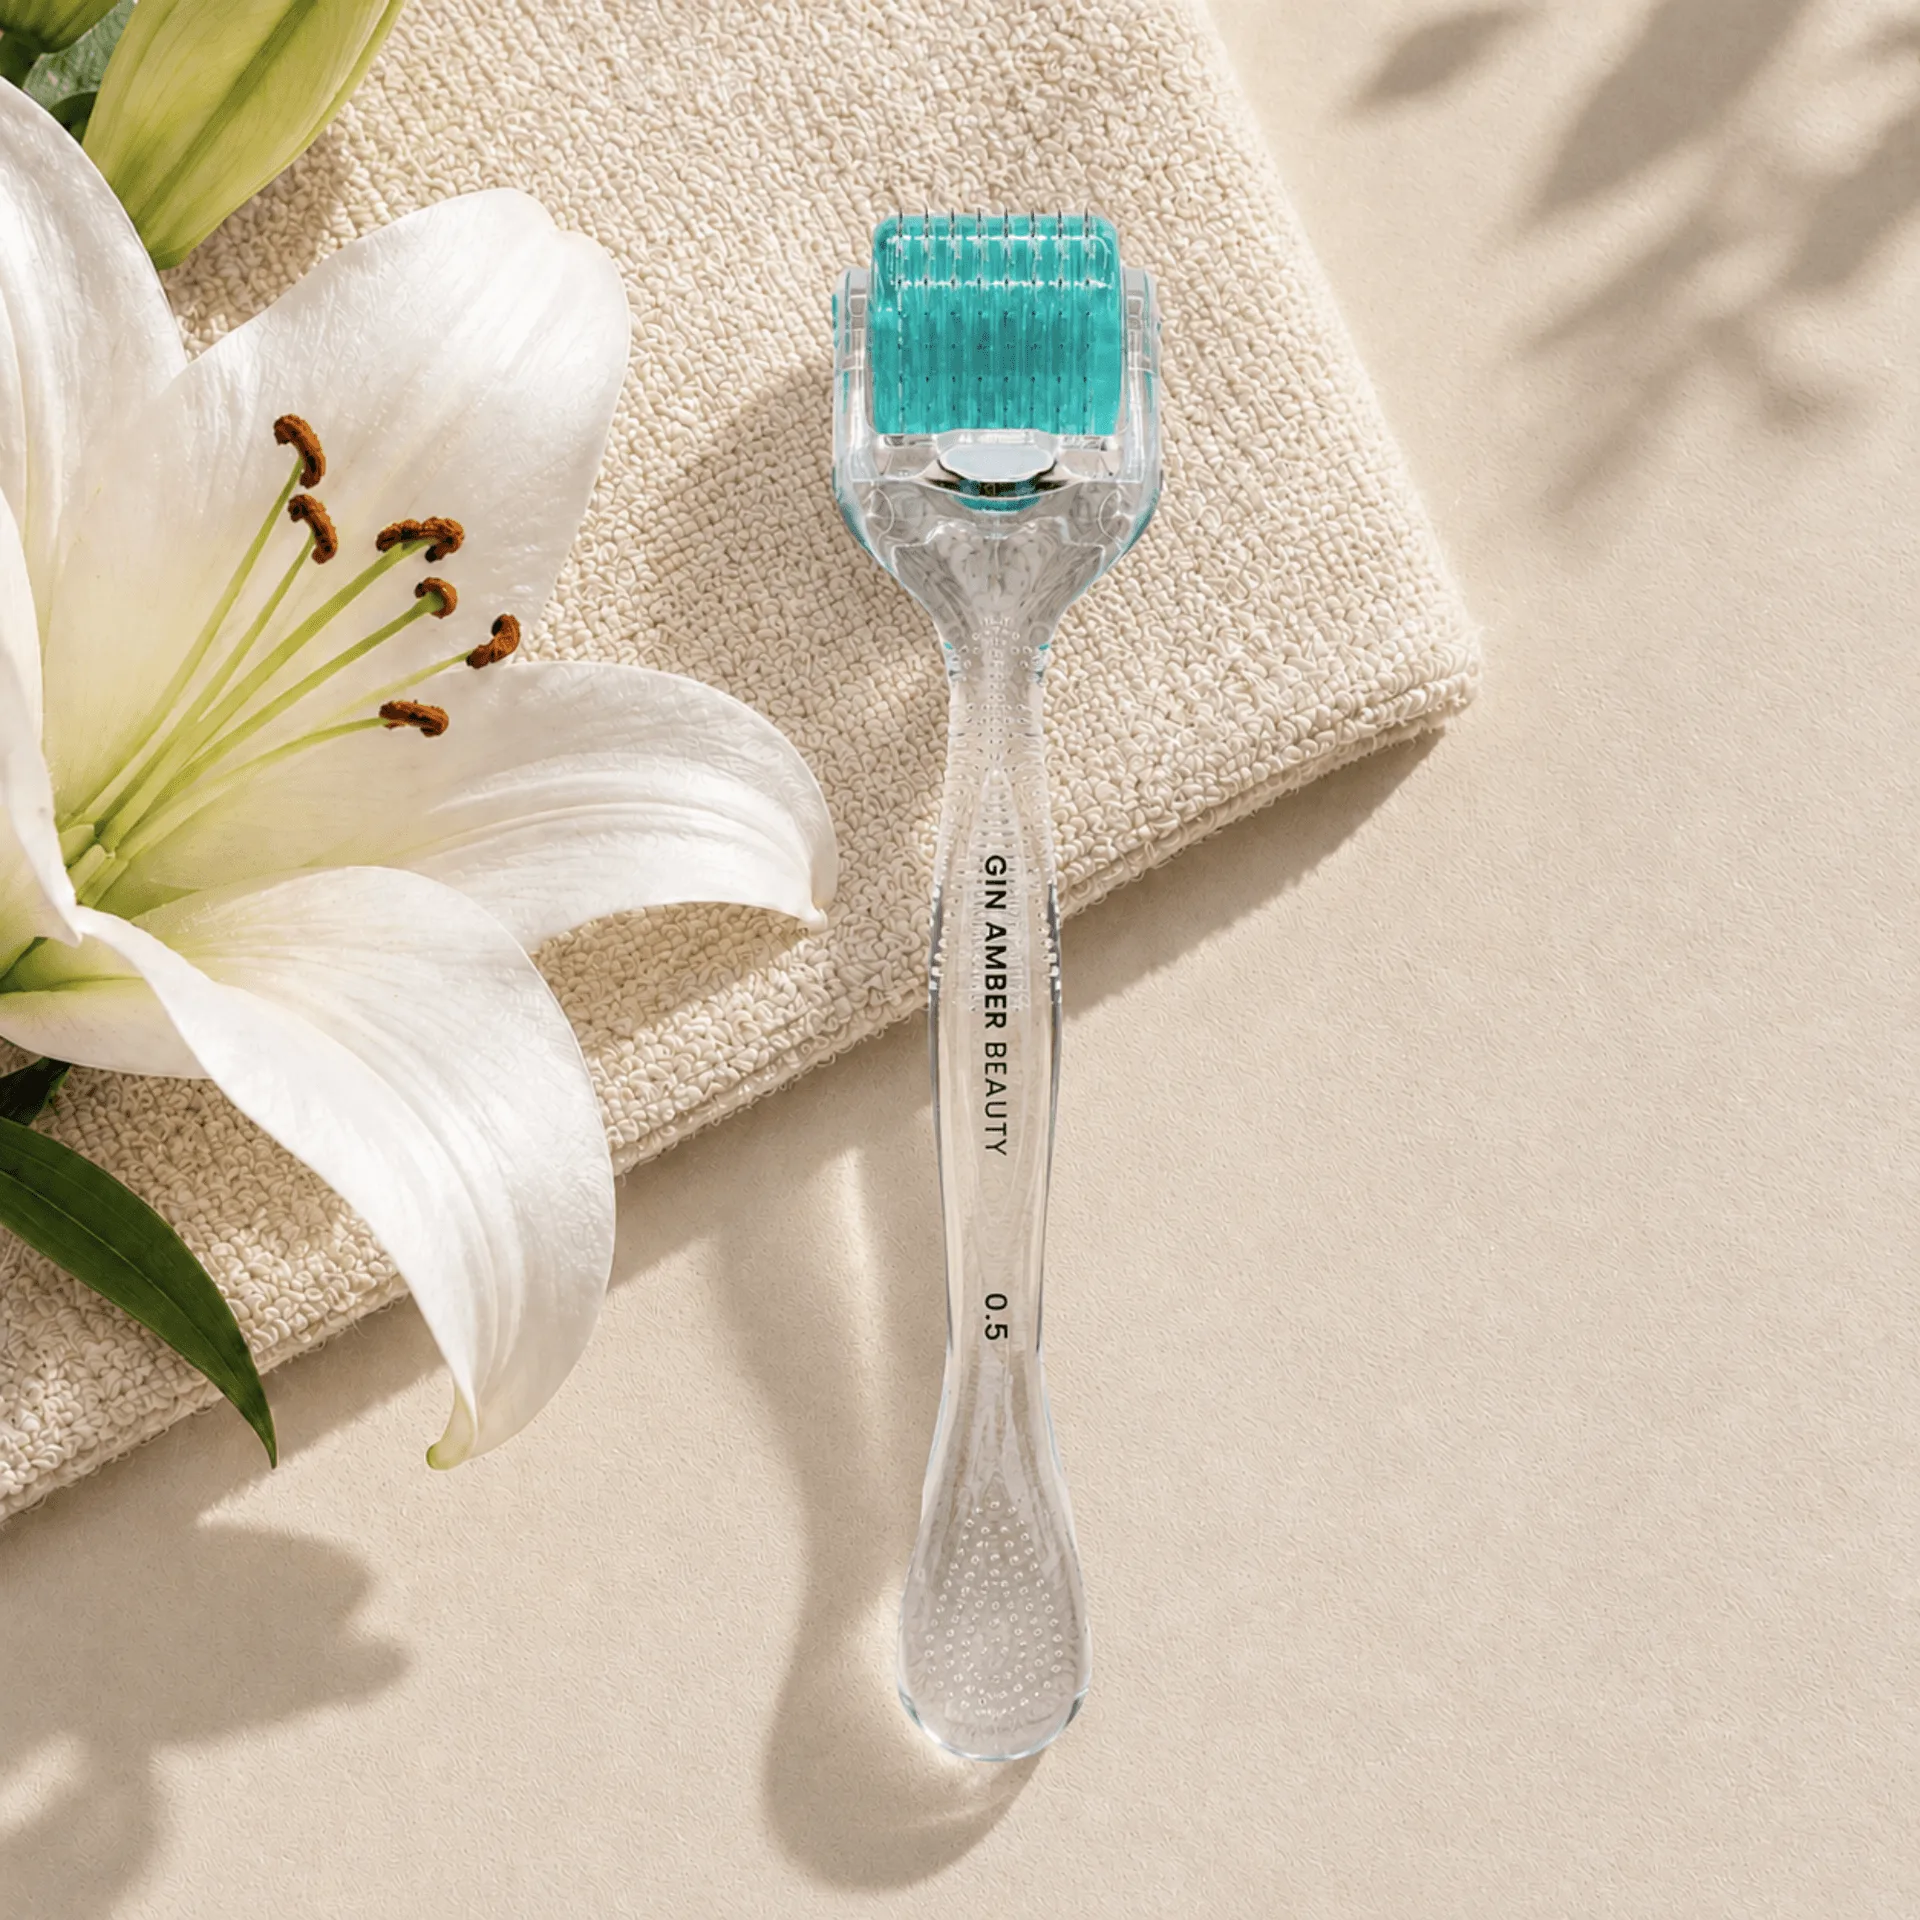
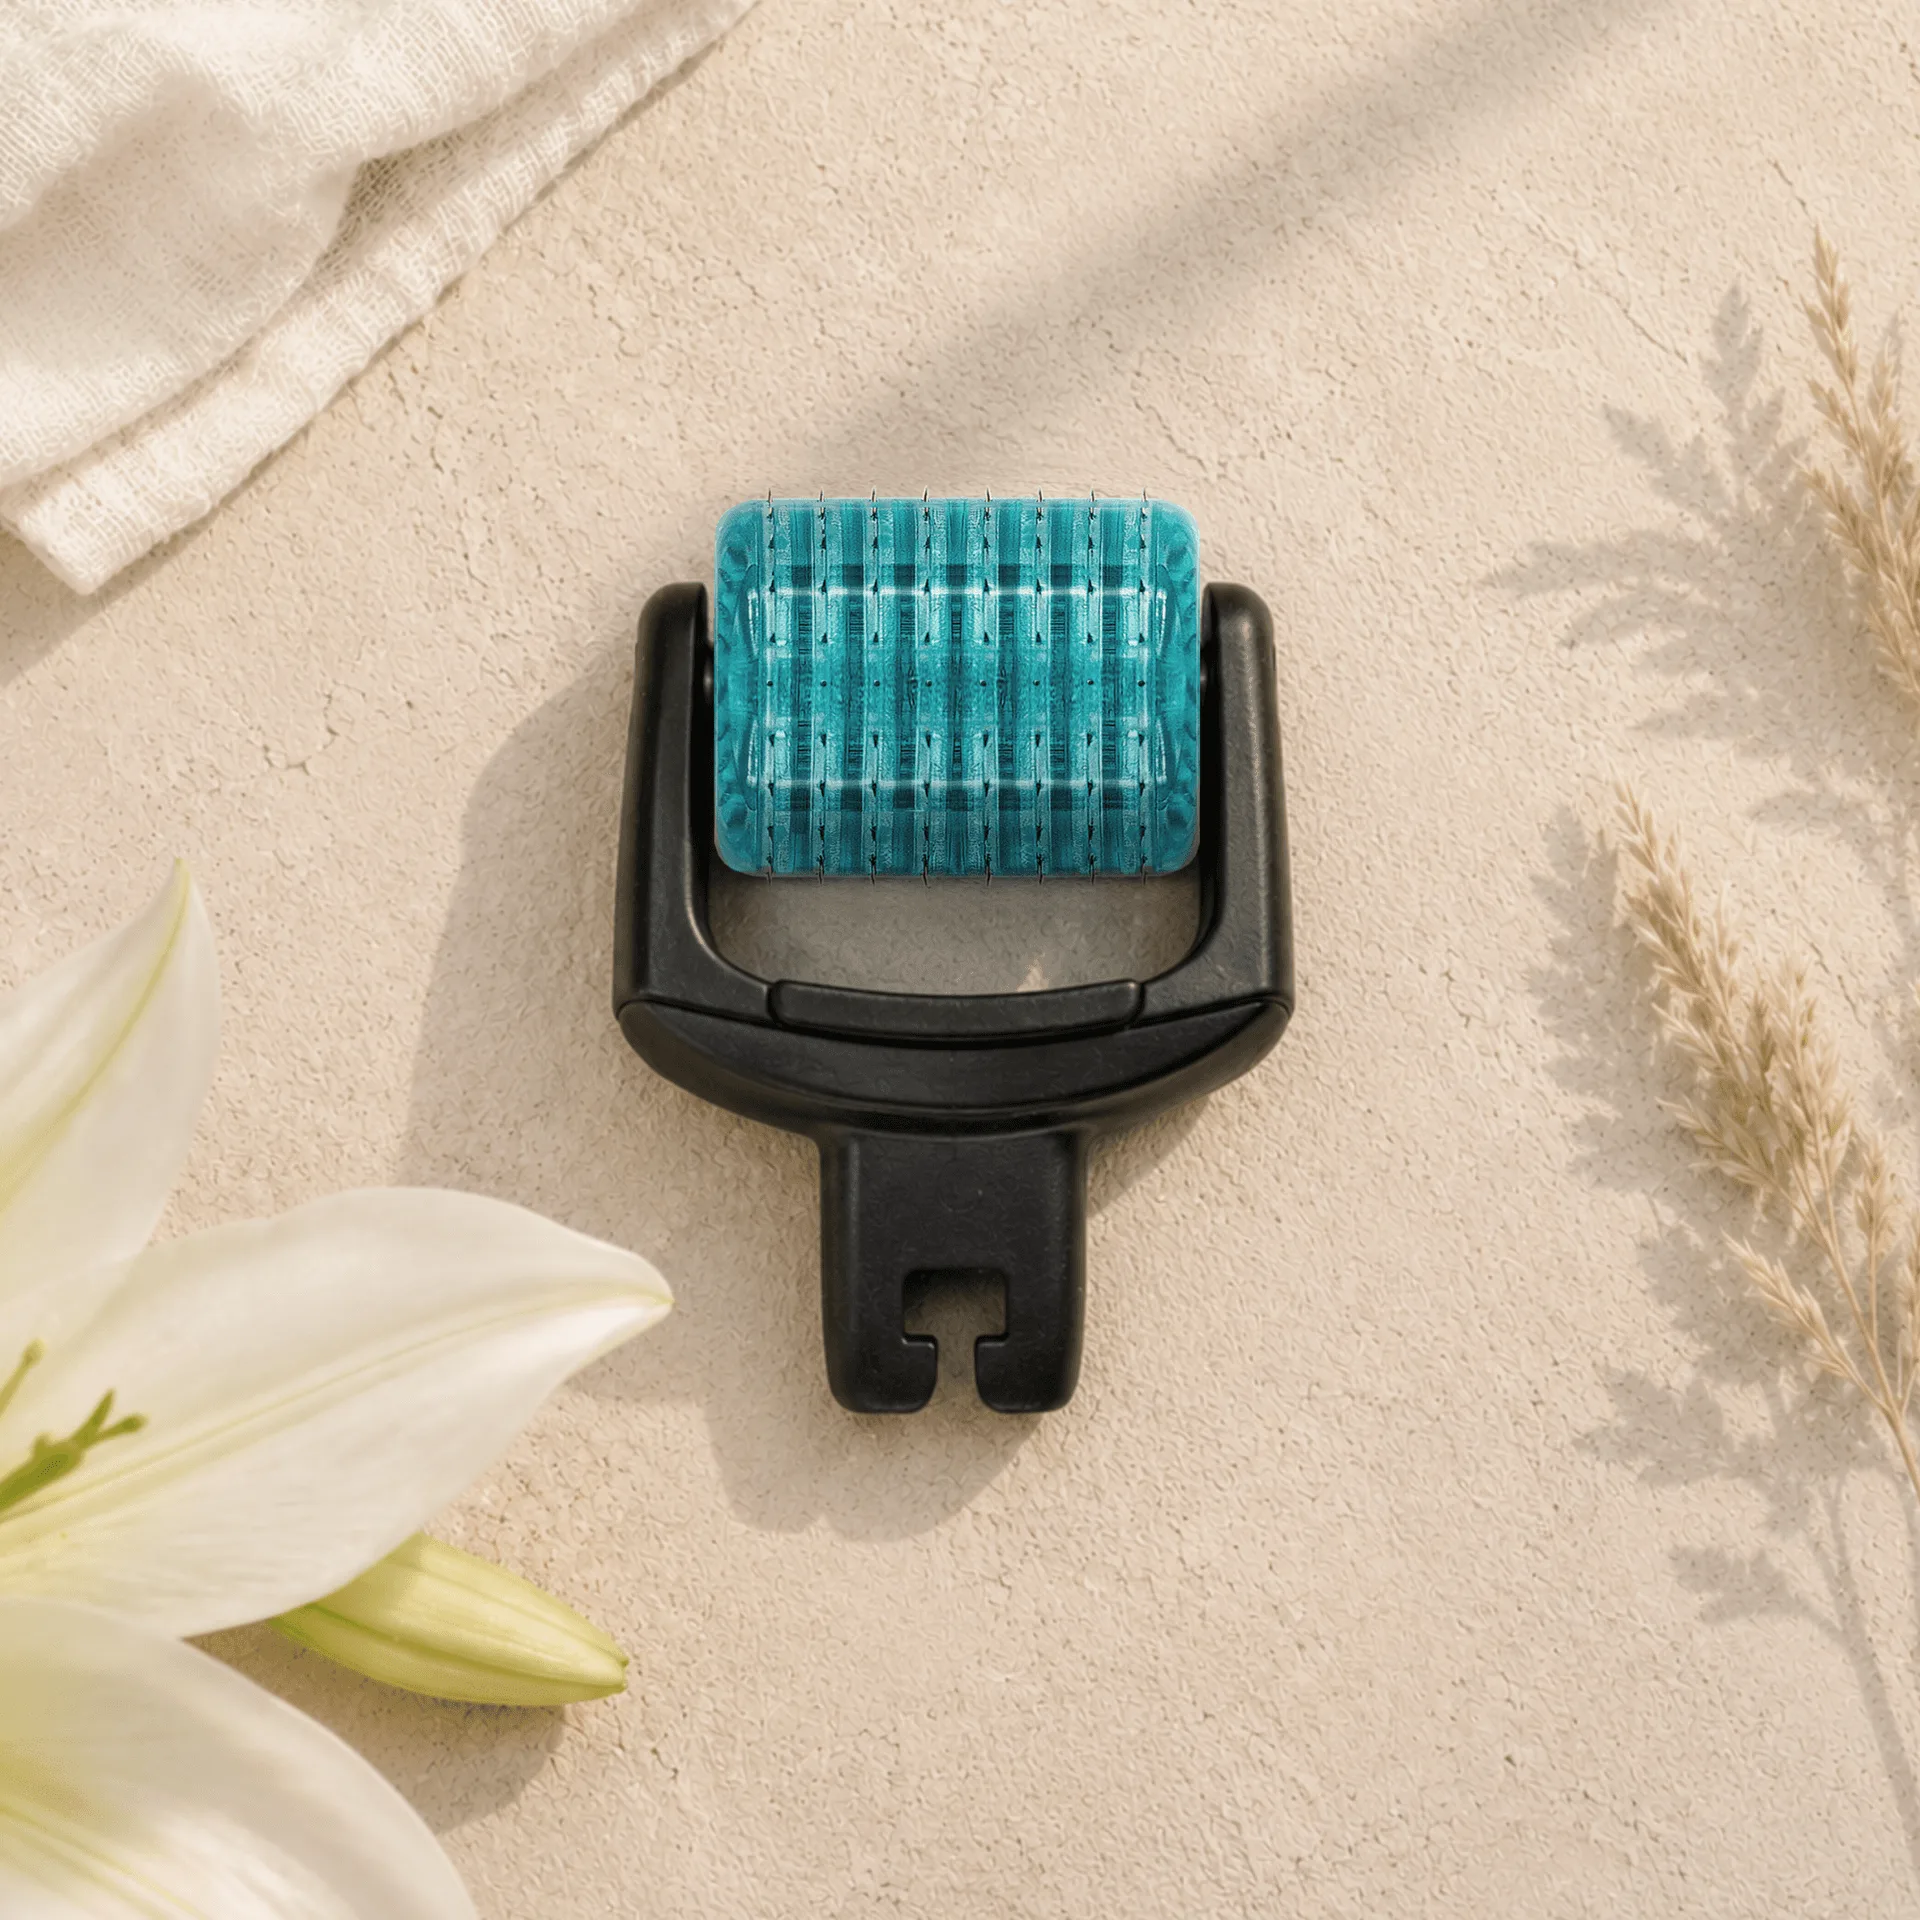
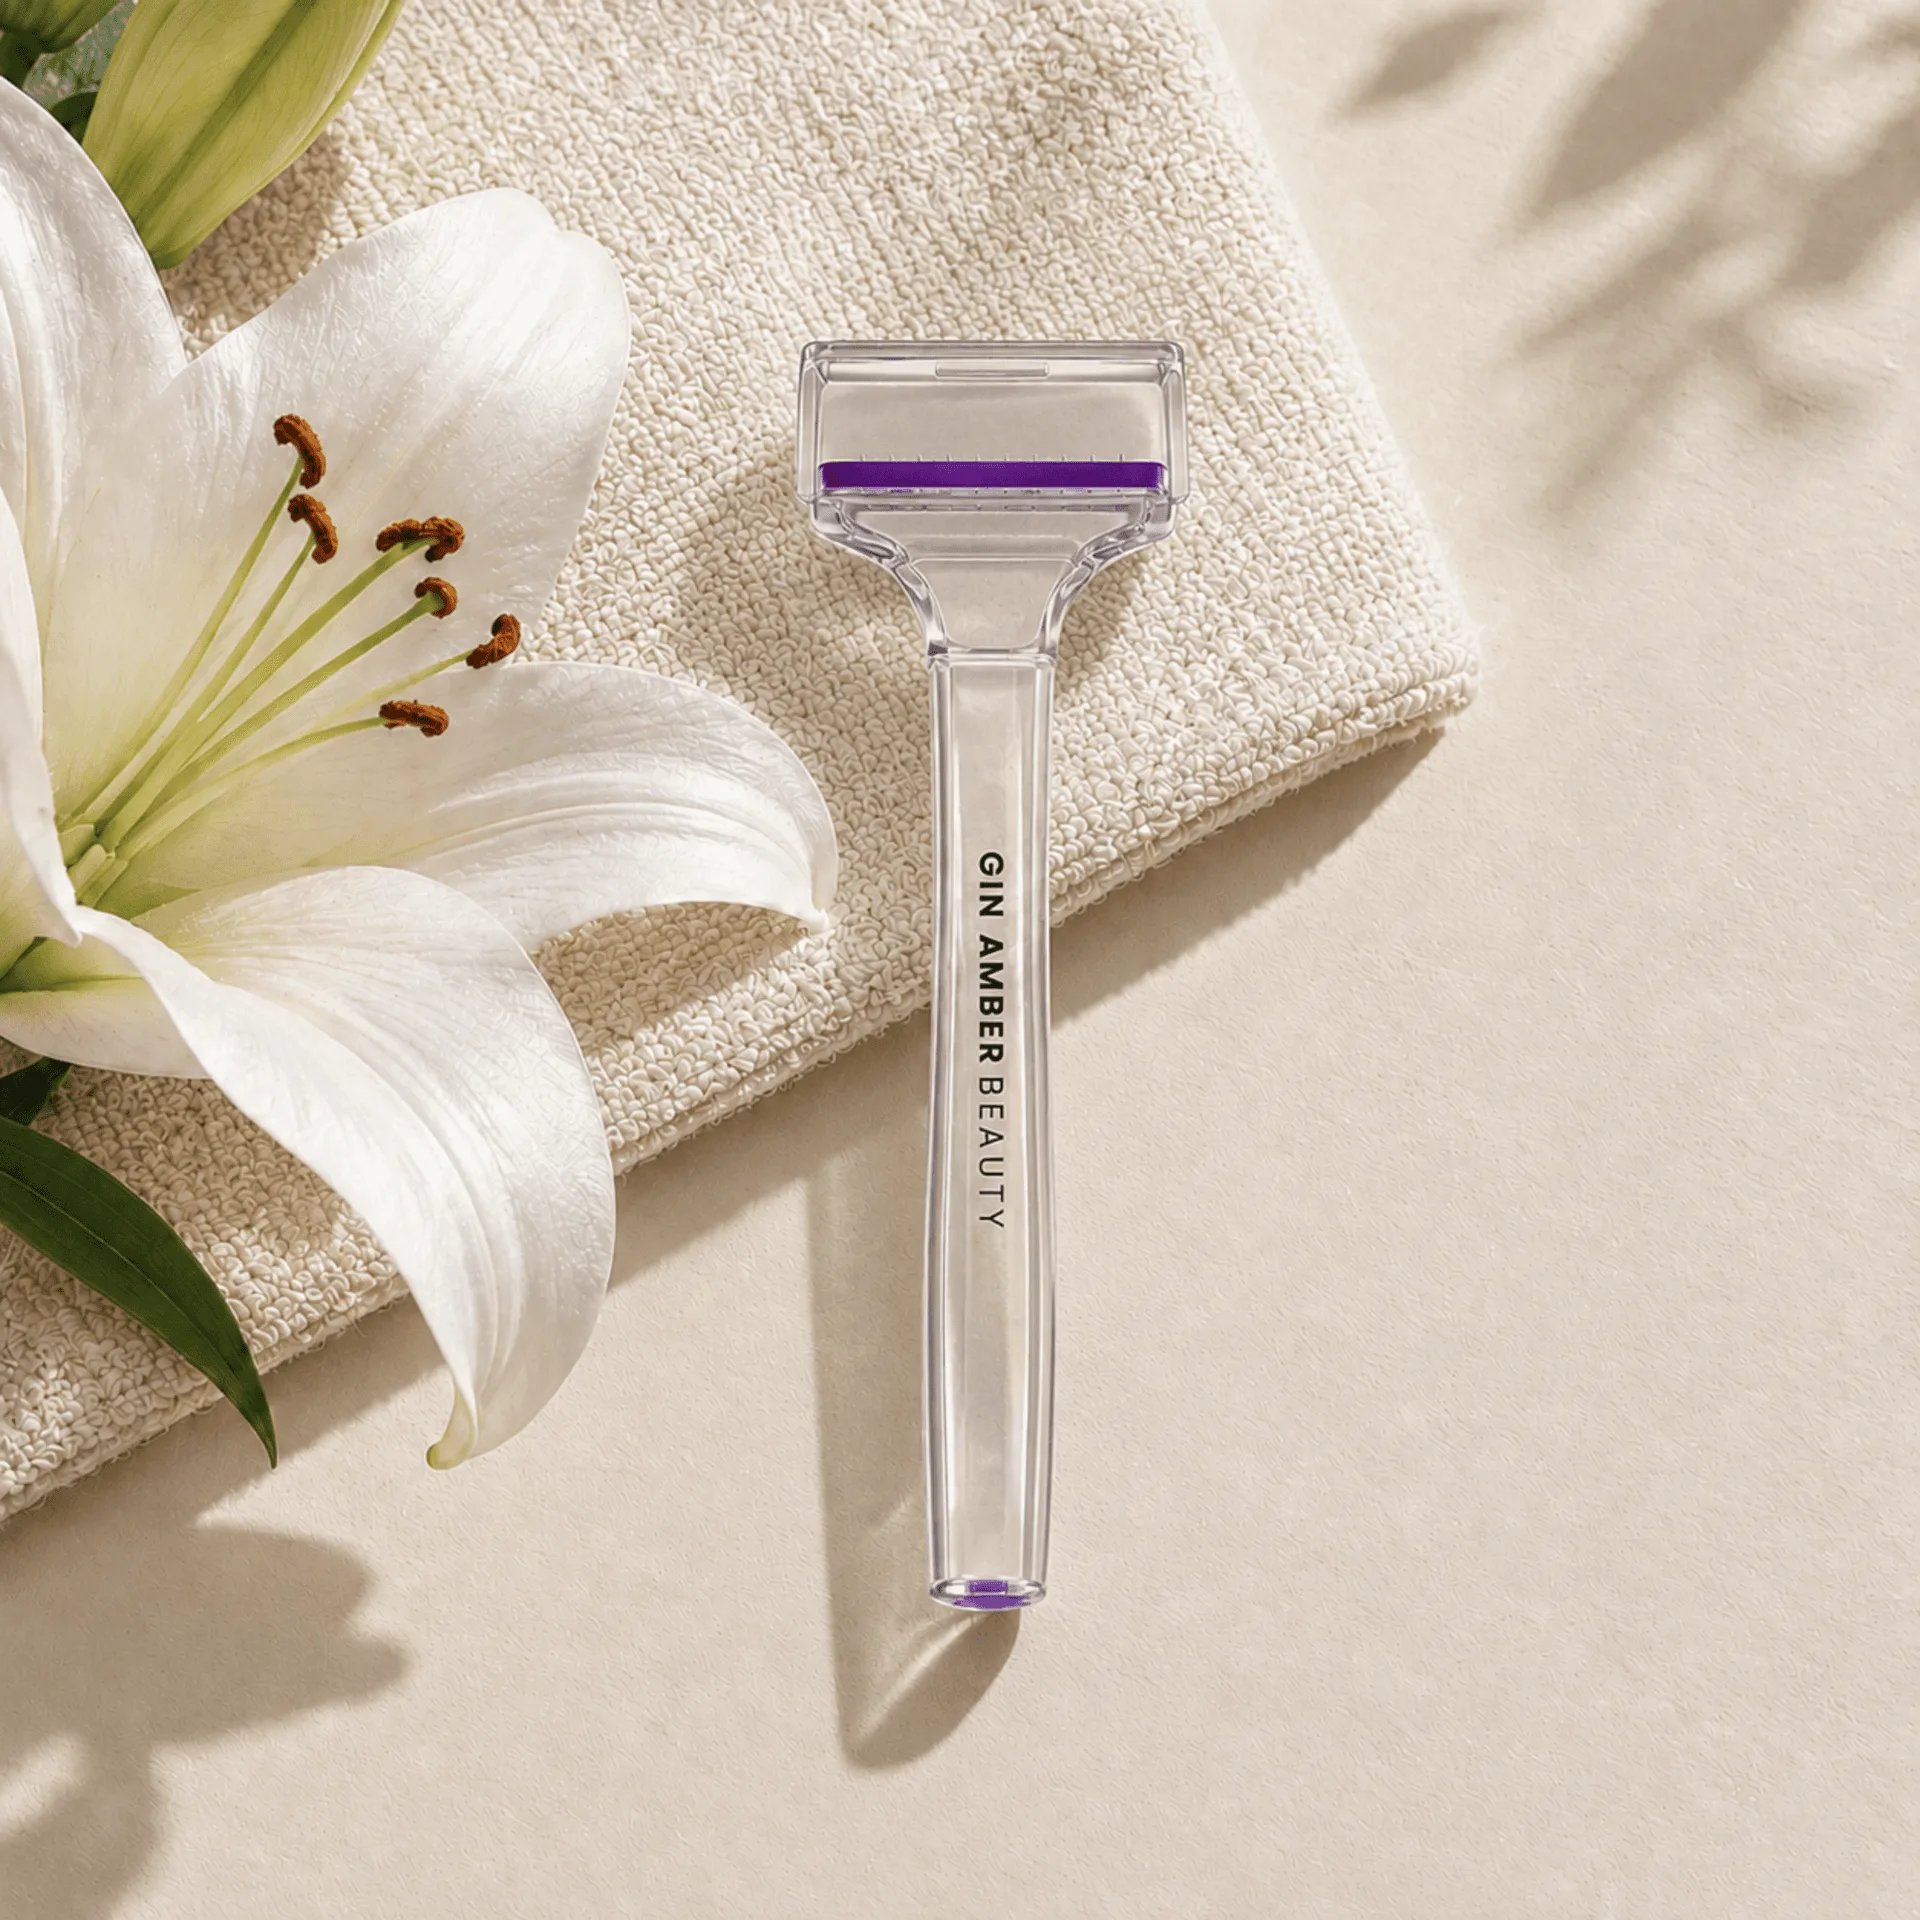
If you're looking to address specific skin concerns like acne scars, fine lines, or dark spots, a derma stamp might be the perfect tool for your routine. Unlike a dermaroller that covers larger areas, a derma stamp allows for precise, targeted microneedling—making it ideal for treating localized issues without affecting the surrounding skin.
In this guide, we'll walk you through everything you need to know about using a derma stamp effectively and safely. From choosing the right needle length to step-by-step application and aftercare, you'll learn how to incorporate this powerful tool into your anti-aging skincare regimen.
What is a Derma Stamp and Why Use It?
A derma stamp is a microneedling device with a flat stamping surface covered in tiny needles. Unlike a dermaroller, which rolls across the skin, a derma stamp is pressed directly onto the target area, allowing for more controlled and precise treatment. This makes it especially effective for small, stubborn areas like smile lines, acne scars, or sunspots.
The micro-injuries created by the needles stimulate your skin's natural healing process, boosting collagen and elastin production. Over time, this can improve skin texture, reduce the appearance of scars, and diminish fine lines. Because the stamp targets only the specific area, it's gentler on the rest of your face and reduces the risk of over-treating sensitive zones.
- Precise application for spot treatments
- Ideal for small areas like around the mouth or eyes
- Less pain and downtime compared to full-face rolling
Choosing the Right Needle Length
Derma stamps come in various needle lengths, each suited for different concerns and skin areas. For beginners or those with sensitive skin, a shorter needle length like 0.25mm is a safe starting point. It's perfect for improving product absorption and lightly stimulating the skin without causing significant redness.
For deeper concerns such as acne scars or pronounced wrinkles, you might consider a longer needle, such as 0.5mm or 0.75mm. These lengths penetrate deeper into the dermis, triggering a stronger collagen response. However, they also require more careful technique and longer recovery time. Always start with the shortest length that addresses your concern and gradually increase as your skin builds tolerance.
- 0.25mm: gentle, for product penetration and fine lines
- 0.5mm: moderate, for superficial scars and texture
- 0.75mm: deeper, for more significant scarring or wrinkles
Step-by-Step Derma Stamp Tutorial
Before you begin, ensure your skin is clean and your derma stamp is sterilized. Soak the stamp in 70% isopropyl alcohol for at least 10 minutes, then rinse with sterile water and let it air dry. Wash your face with a gentle cleanser, and pat dry.
Hold the stamp perpendicular to your skin and press it firmly onto the target area. Hold for a few seconds, then lift and move to the adjacent area, slightly overlapping to ensure even coverage. Do not drag or slide the stamp across the skin, as this can cause tearing. Repeat the stamping motion 2-3 times over the area, but avoid overdoing it—especially with longer needles.
After the treatment, apply a soothing serum or moisturizer to calm the skin. Our Natural Peptide Serum (Firming) is an excellent choice because it delivers peptides that support collagen production and help the skin recover. Avoid active ingredients like retinol or vitamin C for at least 24 hours post-treatment.
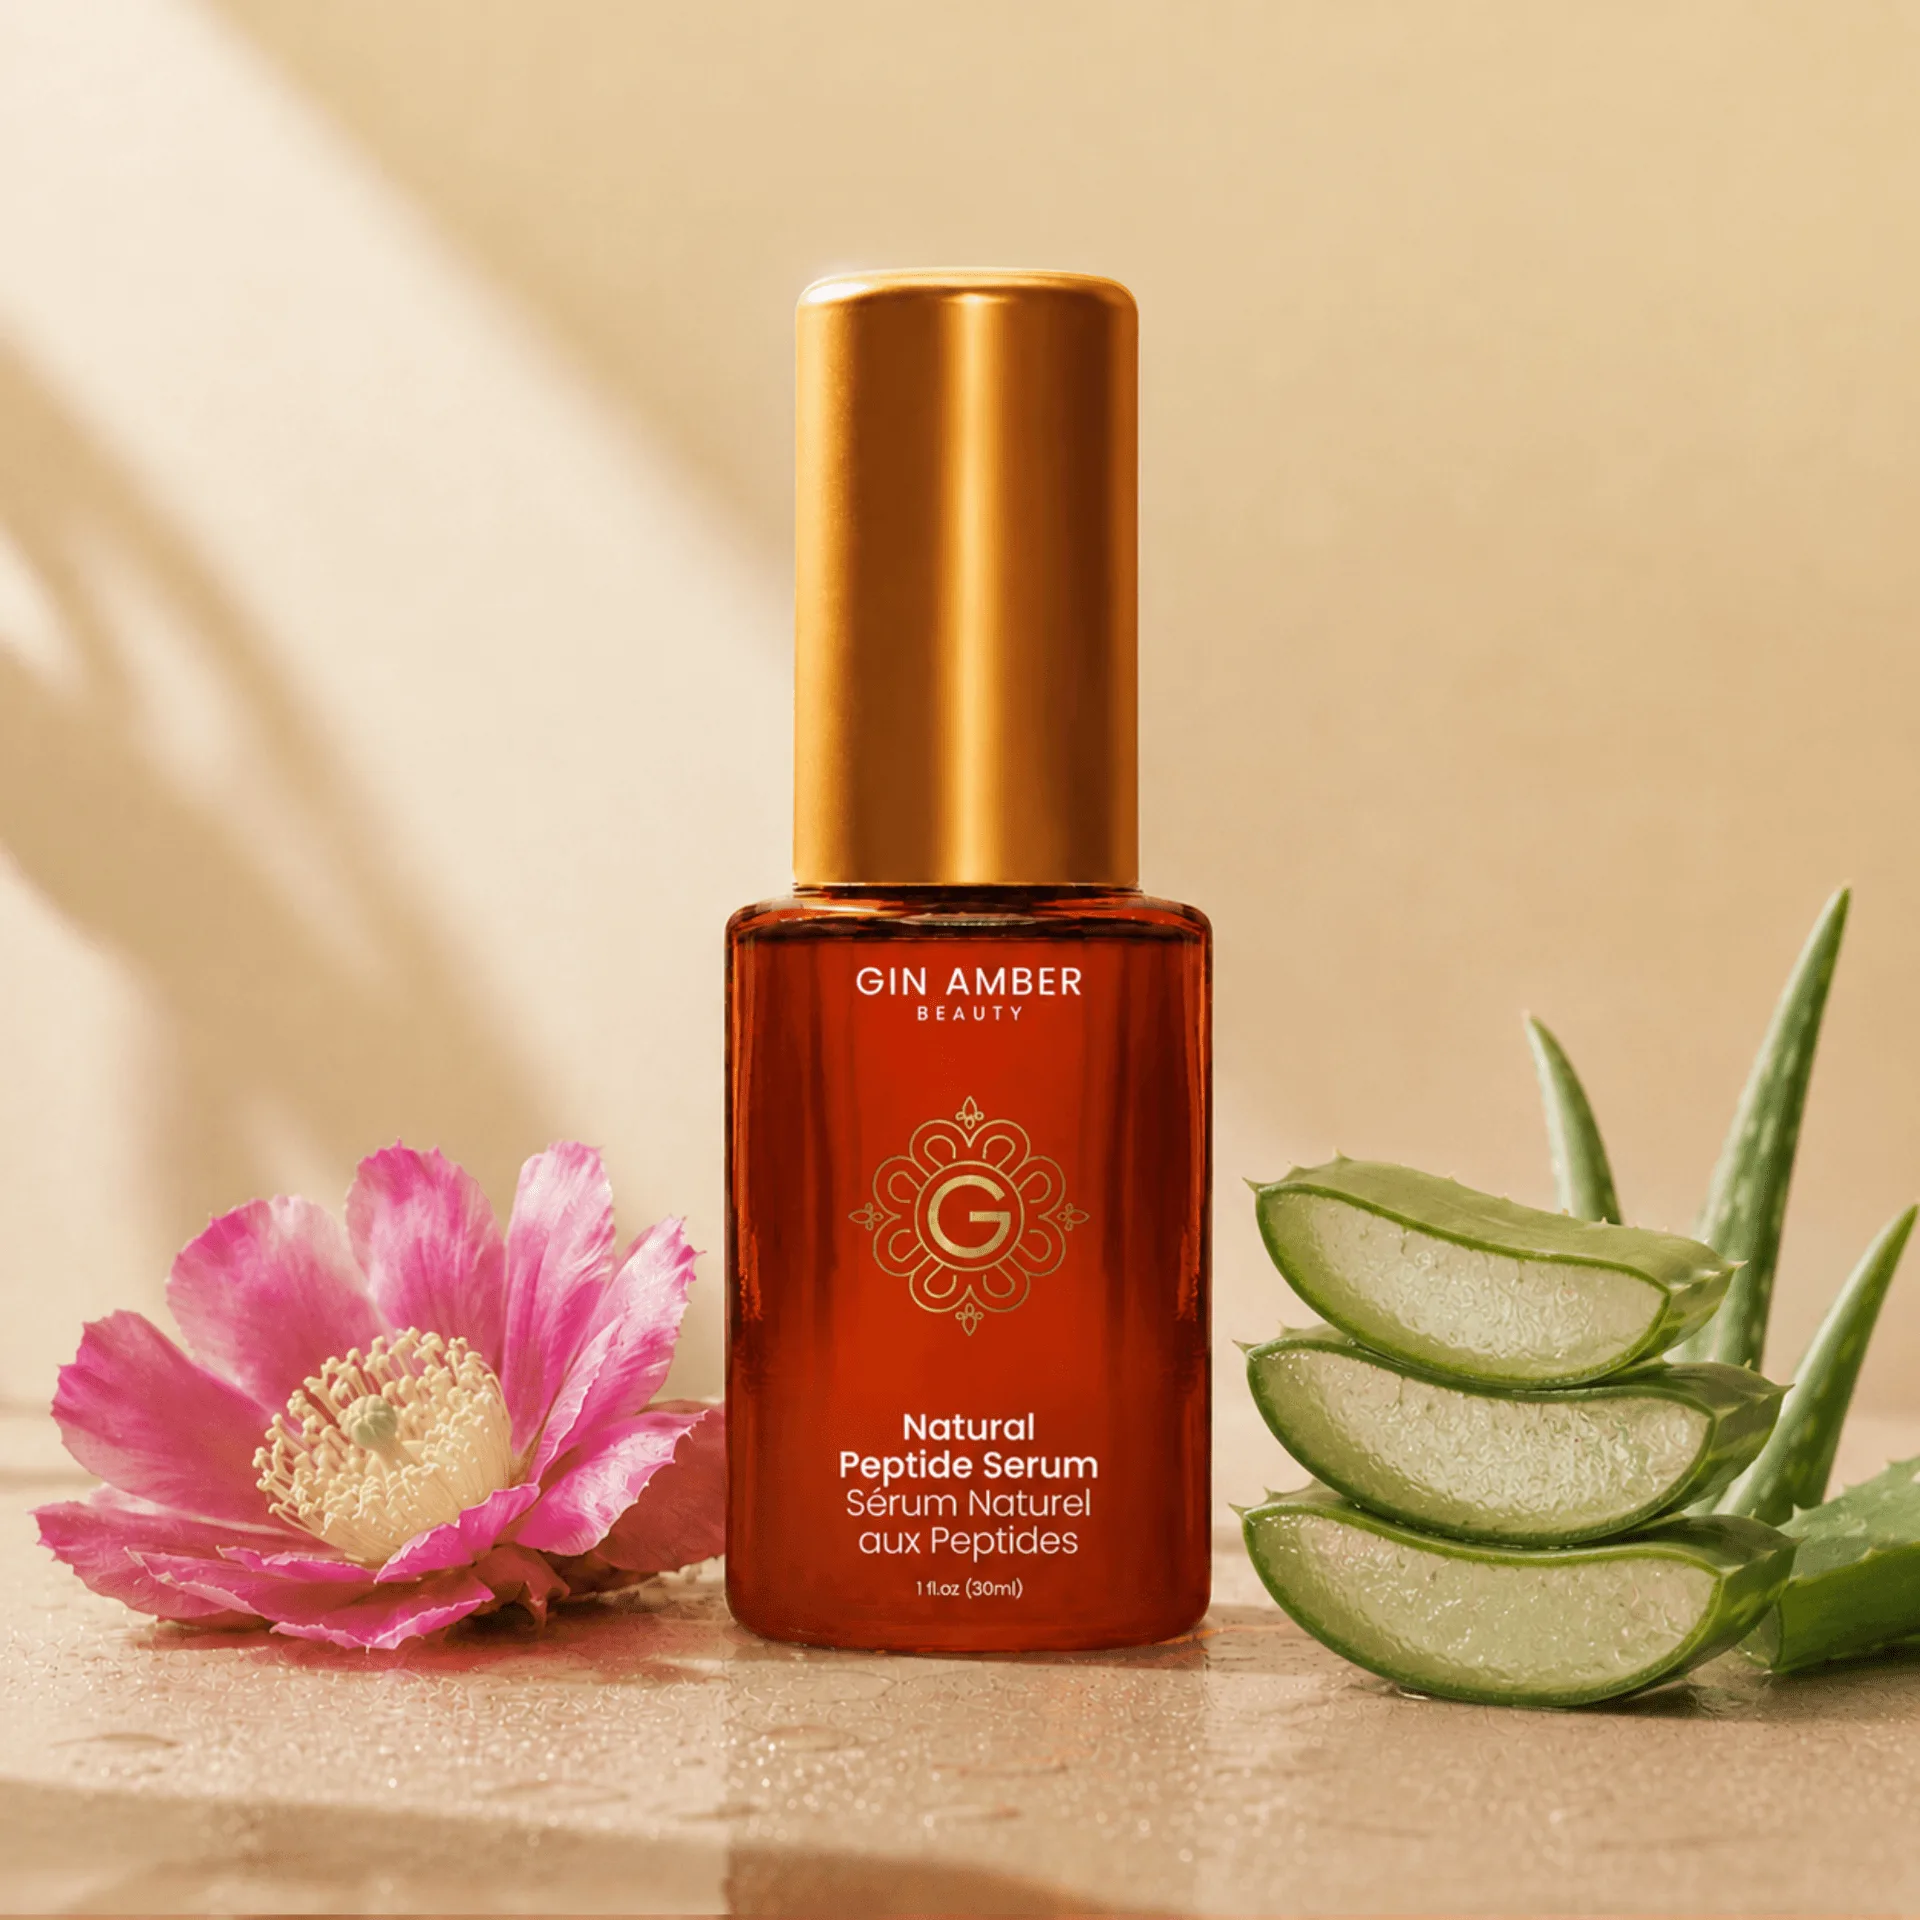
Natural Peptide Serum (Firming)
- Always sterilize your stamp before and after use
- Press, don't drag—stamping motion only
- Start with the shortest needle length if you're new to microneedling
Integrating a Derma Stamp into Your Routine
For best results, use your derma stamp once every 2-4 weeks, depending on needle length and your skin's recovery. Shorter needles allow for more frequent use, while longer needles require more downtime. Consistency is key—regular treatments over several months will yield the most noticeable improvements.
Pair your stamping sessions with a nourishing skincare routine. After stamping, avoid harsh products and makeup for at least 24 hours. Instead, focus on hydration and gentle cleansing. A product like the Natural Foam Cleanser (180mL) is ideal because it's sulfate-free and won't irritate freshly treated skin. Follow with a hydrating serum and sunscreen during the day to protect the new skin cells.
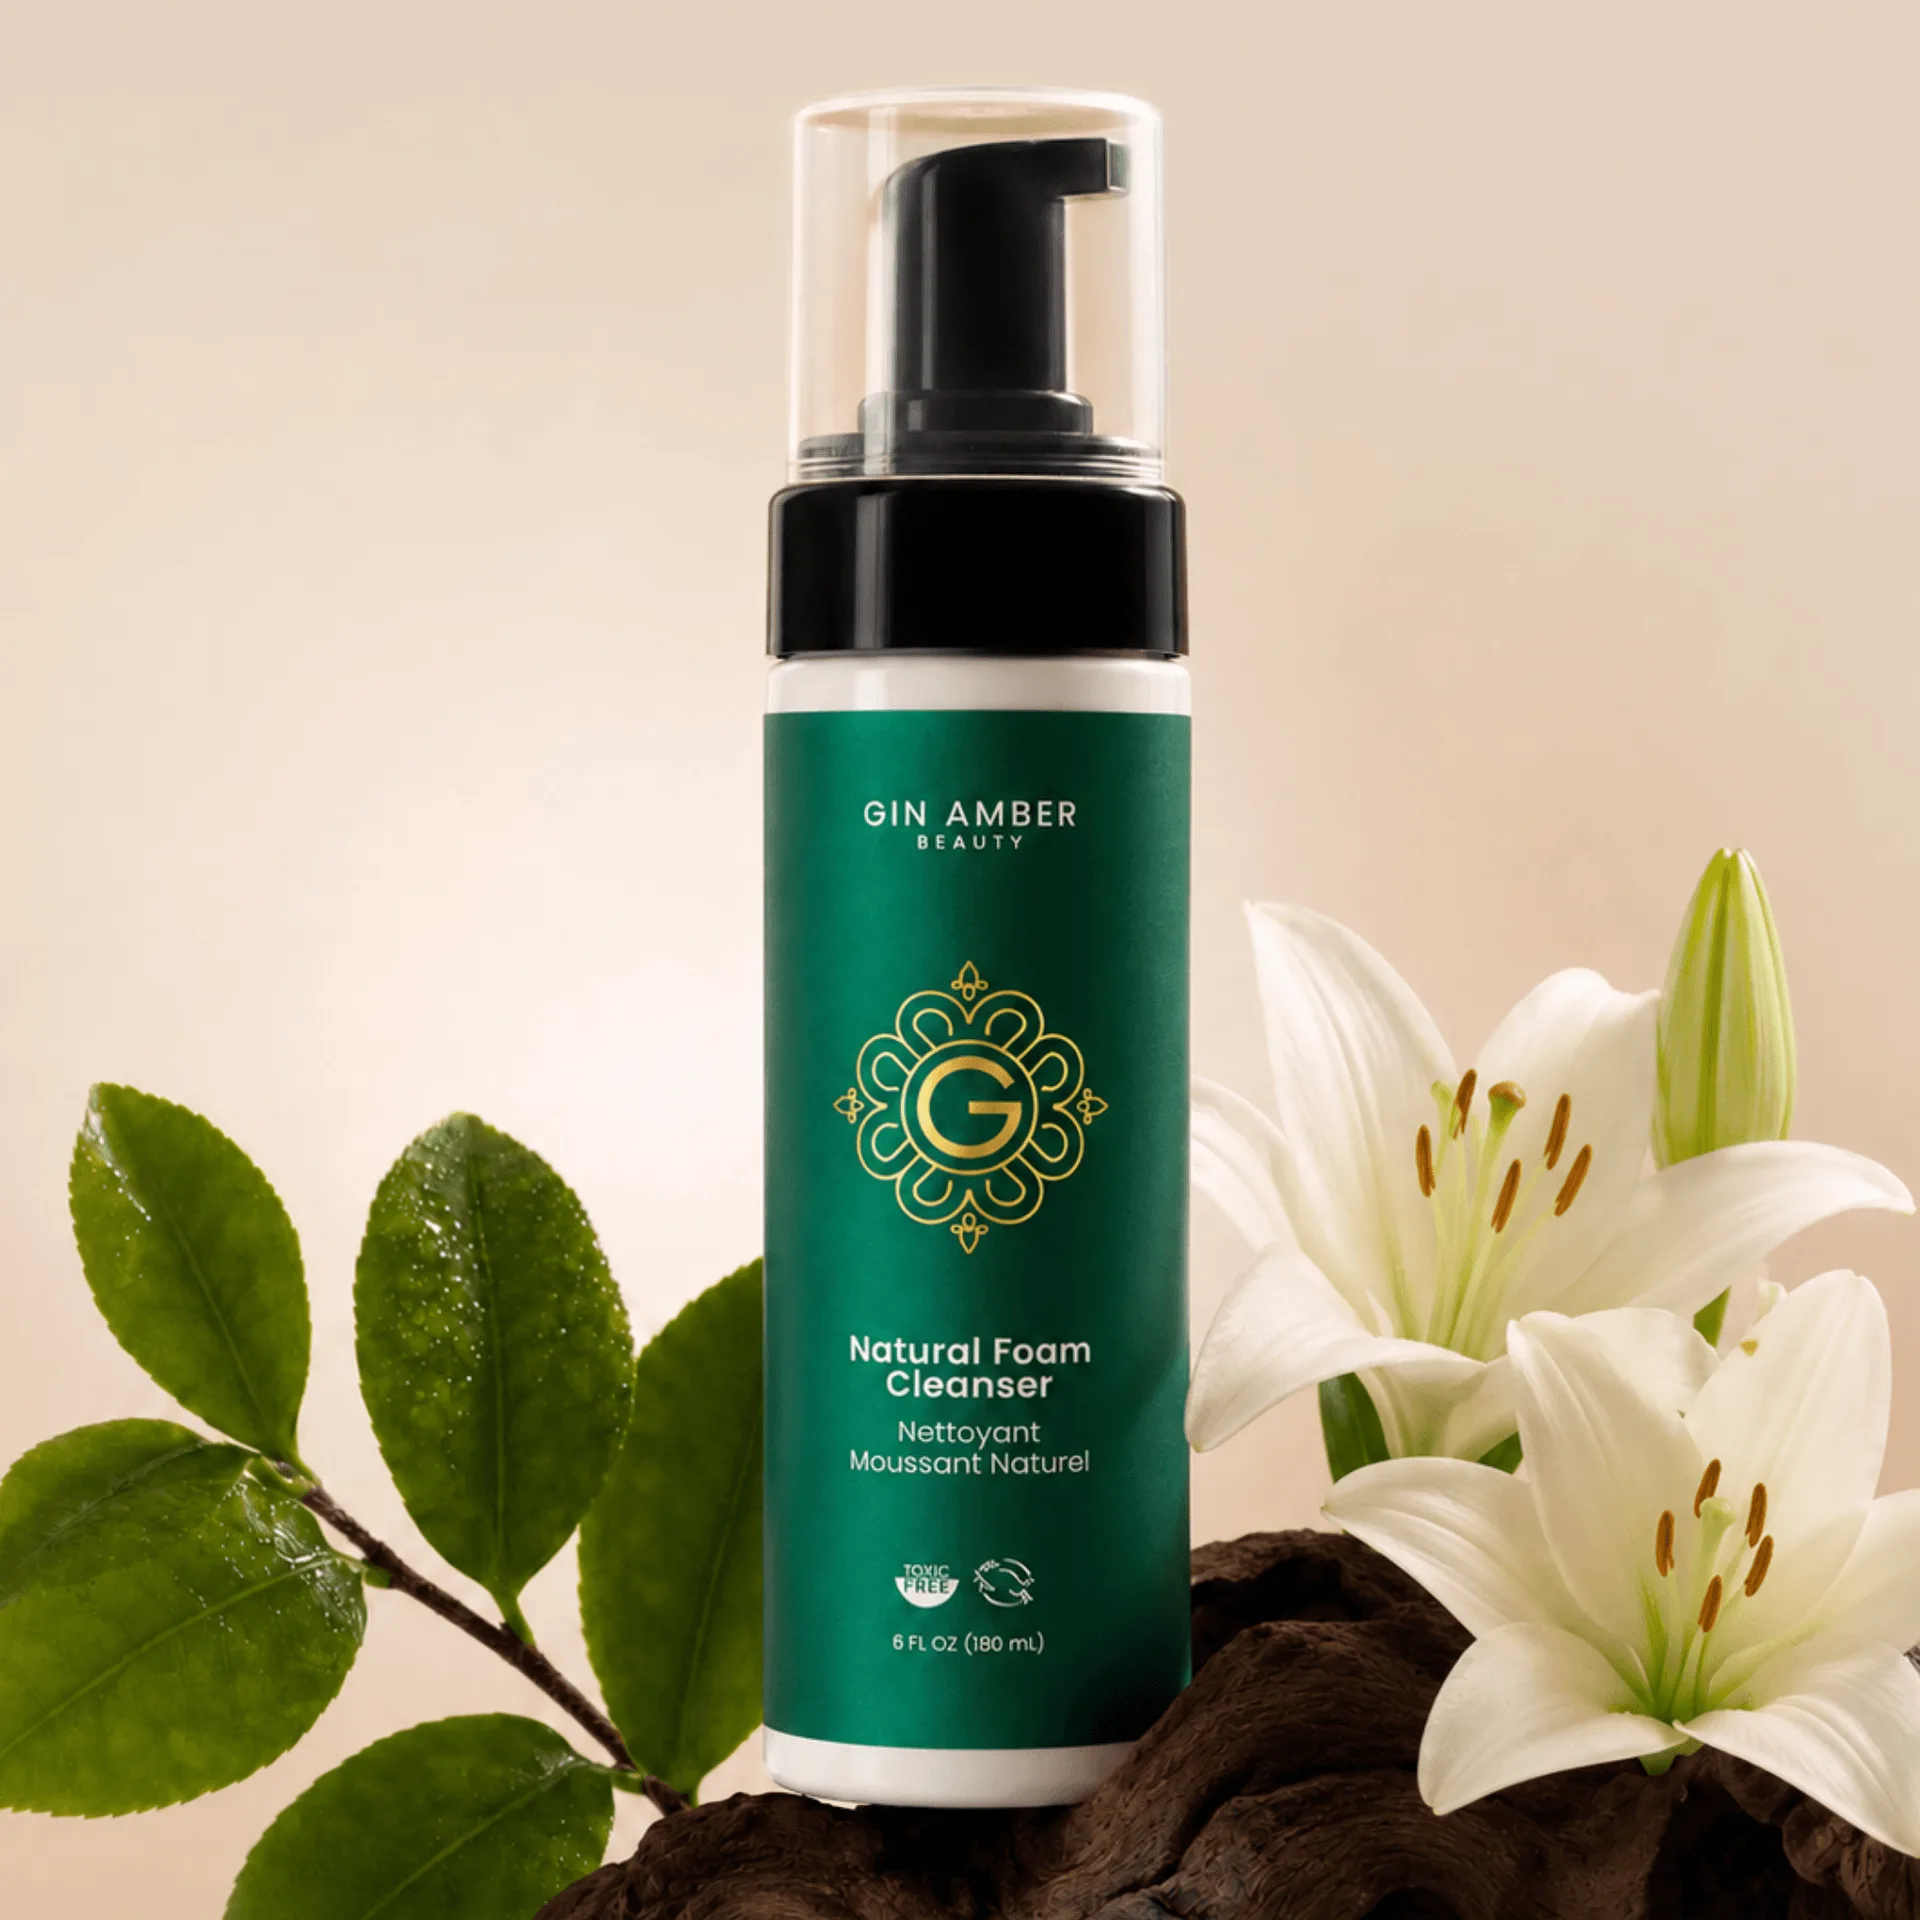
Natural Foam Cleanser (180mL)
- Stick to a schedule: mark your calendar for monthly sessions
- Use gentle, fragrance-free products post-treatment
- Always wear SPF after microneedling to protect healing skin
Safety Tips and Aftercare
While derma stamping is generally safe when done correctly, it's essential to follow safety guidelines to avoid complications. Never share your stamp with others, and always clean it thoroughly after each use. If you have active acne, infections, or skin conditions like eczema, consult a dermatologist before using a derma stamp.
After your session, you may experience redness and mild swelling, similar to a sunburn. This is normal and should subside within a few hours to a couple of days. Keep the area clean and moisturized, and avoid direct sun exposure. If you notice any signs of infection, such as excessive pain or pus, seek medical advice immediately.
- Disinfect the stamp with alcohol before and after use
- Avoid using on broken or irritated skin
- Don't use numbing creams unless prescribed by a professional
A derma stamp is a versatile tool for anyone looking to target specific skin concerns with precision. By following this tutorial and incorporating it into a consistent routine, you can effectively improve the appearance of scars, wrinkles, and dark spots. Remember to always prioritize safety and listen to your skin's needs. For a high-quality option, consider the 0.25mm Derma Stamp for beginners or the https://ginamberec.com/products/0-5mm-dermaroller-head-3640490.5mm Dermaroller Head for more advanced use—both are available at Gin Amber Beauty.