Quick Answer
Use diamond head quilting pins by placing them perpendicular to the seam line, with the flat diamond-shaped head resting against the fabric so it won't slip under the presser foot. Pin at every intersection and at least one pin per 2 inches of seam. Remove pins just before the needle reaches them, never sew over them.
Diamond head quilting pins are a quiet workhorse in precision piecing. Their flat, wide head gives you a stable grip and keeps the pin from rolling, which matters when you're aligning tiny seam allowances. If you've ever had a pin shift mid-seam or leave a dent in your fabric, the problem is usually technique, not the pin.
This guide walks through the exact steps for using diamond head pins to piece quilt blocks accurately. You'll see where to place them, how many to use, and the mistakes that cause wavy seams or distorted points. The process works for any piecing project, from simple four-patches to half-square triangles.
Why Diamond Head Pins Work for Precision Piecing
Diamond head pins have a flat, geometric head that sits flush against the fabric. That flat profile means the pin won't roll away on your cutting mat or slip under the presser foot as easily as a round-head pin. For precision piecing, the head also gives you a larger surface to grip when you're pulling the pin out at the machine.
The shaft matters too. A fine shaft slides through cotton without leaving a visible hole, while a thicker shaft can distort seams on tightly woven fabric. Diamond head pins are typically fine enough for quilting cotton, but always test on a scrap of your project fabric first. If you see a hole that doesn't close after pressing, switch to a finer pin or pin within the seam allowance only.
- Keep a dedicated pincushion for your diamond head pins so you always know which pins are your piecing pins.
- Replace pins that feel bent or dull; a damaged shaft can snag fabric.
How to Place Diamond Head Pins for Accurate Seams
Start by aligning your two fabric pieces right sides together. Instead of pinning parallel to the raw edge, insert the pin perpendicular to the seam line, about 1/8 inch from the edge. This angle lets the pin hold the layers without pushing the fabric forward as you sew. Place a pin at each end and at every matching intersection, such as a nested seam or a marked point.
For long seams, add a pin every 2 to 3 inches. More pins can actually cause problems: the fabric can shift between pins if you pin too sparsely, but too many pins create bulk that distorts the seam. The sweet spot is enough pins to keep the edges aligned without fighting the fabric. When you pin, keep the heads facing outward, away from the seam allowance, so they're easy to remove.
- Pin with the head to the right of the needle if you're right-handed; this keeps your removal motion natural.
- For tiny pieces, use one pin at the center and hold the ends with your fingers as you sew.
Step-by-Step: Pinning and Sewing with Diamond Head Pins
1. Press your fabric pieces flat before pinning. Wrinkles can create false alignment. 2. With right sides together, match the raw edges and any notches or marked points. 3. Insert the first pin perpendicular to the seam at one end, then the other end, then the center. 4. Add pins between those anchor points every 2 to 3 inches. 5. At the sewing machine, lower the needle into the fabric just before the first pin. 6. Sew slowly and remove each pin as the needle approaches it; never sew over a pin. 7. After sewing, press the seam flat before opening it to set the stitches.
The most common mistake is sewing over a pin. Even a fine pin can deflect the needle, causing a skipped stitch or a bent pin that damages your machine timing. Another mistake is pulling pins out too early, which lets the fabric shift. Remove each pin only when the needle is about 1/2 inch away. If you're piecing a curve, use fewer pins and guide the fabric gently; diamond head pins can create hard folds on curves if placed too close together.
- Chain-piecing? Pin all your units first, then sew them one after another, removing pins as you go.
- If your machine has a needle-down setting, use it to hold the fabric while you remove a pin.
Common Mistakes and How to Avoid Them
One frequent error is pinning parallel to the seam. That orientation pushes the top layer of fabric forward, creating a wavy seam and mismatched intersections. Always pin perpendicular. Another mistake is leaving pins in while pressing. The heat can melt some pin heads or leave a permanent impression in the fabric. Remove all pins before you press.
A third mistake is using the same pins for basting and piecing. Basting pins, like curved safety pins, are thicker and can leave larger holes. Keep your diamond head pins for piecing only. Finally, don't store pins loose in a drawer; the heads can snag on each other and bend the shafts. A magnetic pin holder or a dedicated pincushion keeps them ready and undamaged.
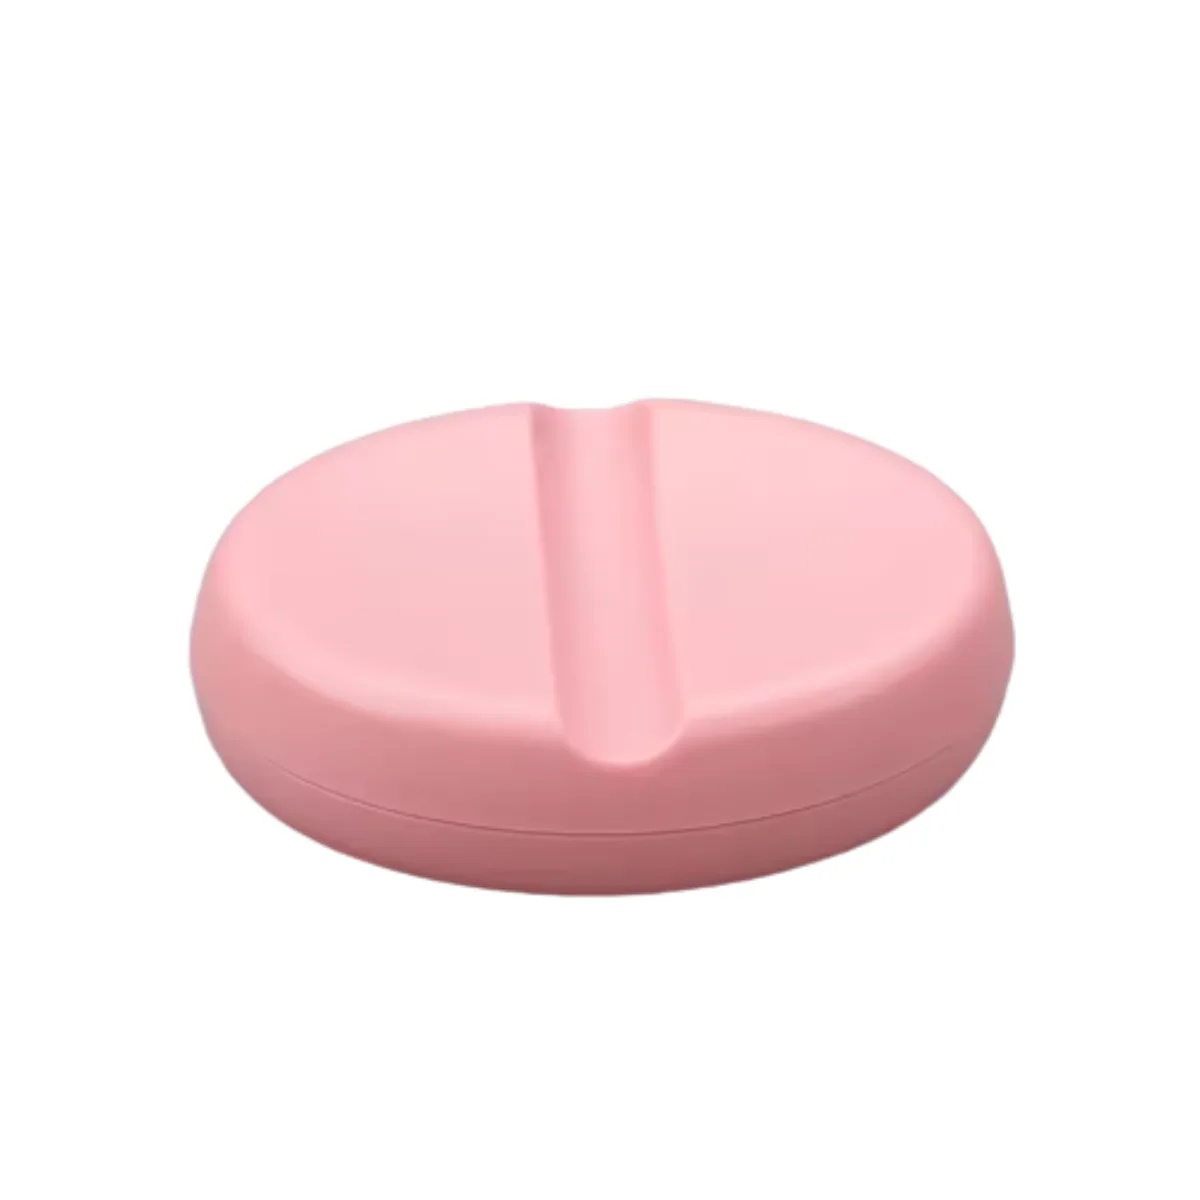
magnetic pin holder
- Test pin placement on a scrap block before you commit to a full quilt top.
- If you see holes after pressing, switch to a finer pin or pin only within the seam allowance.
Your Diamond Head Pin Piecing Checklist
- Press first, pin second: Press both fabric pieces flat before you pin. Wrinkles can make edges look aligned when they aren't. Checkpoint: run your finger along the seam; if you feel a bump, re-press.
- Pin perpendicular to the seam: Insert each pin at a 90-degree angle to the raw edge, about 1/8 inch in. This prevents the top layer from shifting forward. Mistake to avoid: pinning parallel to the edge, which causes wavy seams.
- Anchor ends and intersections: Place pins at both ends and at every matching point, then fill in every 2 to 3 inches. Checkpoint: gently lift the fabric; if the layers separate, add a pin.
- Sew slowly and remove pins as you go: Lower the needle just before the first pin and pull each pin out when the needle is about 1/2 inch away. Never sew over a pin. Mistake to avoid: sewing over pins, which can bend the needle or damage your machine.
- Press the seam before opening: After sewing, press the seam flat to set the stitches, then press it open or to one side as your pattern directs. Checkpoint: if the seam looks wavy, check for missed pins or a stretched edge.
Quilting Pins and Tools That Support Precision Piecing
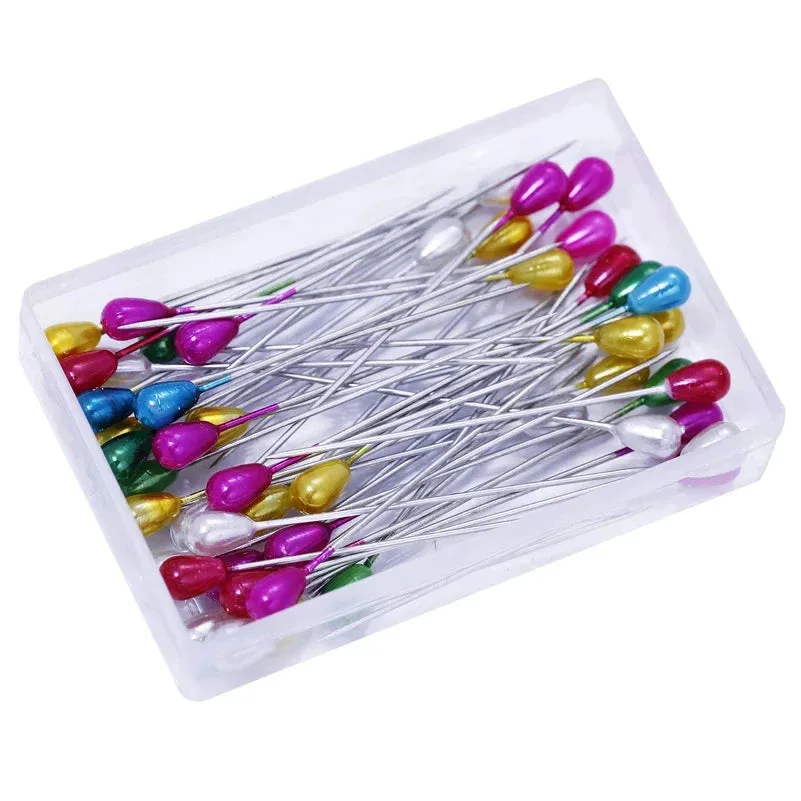
- Quilting Pins Color Pearl Head: Housed in a handy plastic box, these pins are easy to store and use, with bright pearl heads that are easy to spot. A dedicated box keeps your piecing pins separate from basting pins, so you always grab the right pin for precision work.
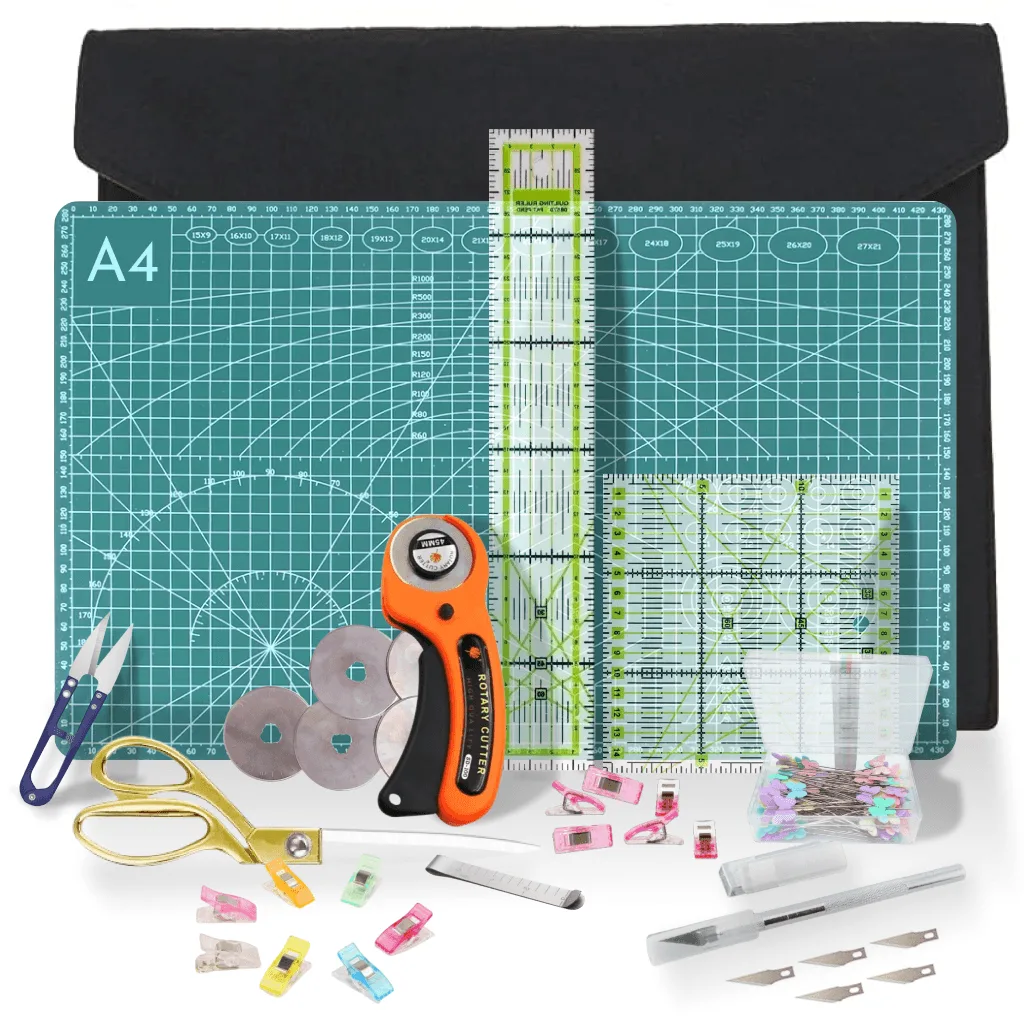
- 97-Piece Quilting Kit: Perfect for Beginners: This comprehensive kit for beginners includes cutters, rulers, and other essentials to start quilting. If you're new to precision piecing, having the right cutting and measuring tools in one kit means you can focus on pinning and sewing rather than hunting for supplies.
- Fusible Batting Seam Tape 2" Wide: This fusible batting tape bonds fabrics together without pins or tacking, and simply ironing it in place creates a secure bond in seconds. For seam junctions where pins would add bulk, this tape offers a pin-free alternative that keeps your piecing flat and accurate.
Diamond head quilting pins are a simple upgrade for precision piecing. Pin perpendicular, anchor your intersections, and remove pins as you sew. With a little practice, your seams will be flatter and your points sharper. Keep your piecing pins separate from basting pins, and replace any that feel bent. For a ready-to-use set, the Quilting Pins Color Pearl Head come in a handy storage box that keeps them organized between projects.