Quick answer
Use a double-ended dotting tool with six tip sizes to create polka dots, flowers, hearts, and animal prints. Dip the tip into polish, then stamp onto the nail for clean, even dots.
Why tip size matters
The dotting tool set includes tips from 0.6 mm to 3.6 mm. Smaller tips (0.6–1.3 mm) work best for fine details like flower centers or small polka dots. Larger tips (2.3–3.6 mm) are ideal for bigger dots or filling in shapes like hearts. Using the wrong size can make your design look messy or take longer to complete.
Choosing the right polish consistency
Dotting works best with polish that is not too thick or too runny. If the polish is thick, dots may come out uneven or stringy. If it is too runny, they may spread out or bleed. A standard creme polish usually gives the best results. You can also use gel polish, but you will need to cure each dot layer separately.
Step-by-step dotting tutorial
- Prepare your nail: Apply a base coat and two thin layers of your chosen nail polish. Let each layer dry completely before moving to the next step. Damp polish will cause dots to drag or smudge. A quick-dry top coat before dotting can also help prevent smudging.
- Dip and dab: Dip the tip of the dotting tool into a small amount of polish on a palette or the bottle opening. Gently dab the tool onto your nail at a 90-degree angle. Do not drag or press too hard—this creates uneven dots. Lift straight up. If the dot has a tail, you are pressing too hard or the polish is too thick.
- Create your design: For polka dots, space them evenly across the nail. For flowers, make five dots in a circle and add a smaller dot in the center. For animal print, use a small tip for irregular spots and a larger tip for outlines. Wipe the tool clean between colors to avoid mixing. Practice on a piece of paper or a silicone mat first to get a feel for the pressure and dot size.
- Seal the design: Once the dots are completely dry—usually 2–5 minutes—apply a clear top coat. This protects the design and adds shine. Use a gentle brush stroke to avoid smearing the dots. Wait until the dots feel dry to the touch before applying top coat. If they smear, they were not fully dry.
Product facts
-
On Point Dotting Tools: Set of 3 double-ended dotting tools with 6 tip sizes: 0.6, 1.3, 1.6, 2.3, 3.0, and 3.6 mm. All-metal construction resists acetone. The metal build means the tools won't rust or degrade from repeated cleaning with acetone, and the range of tip sizes lets you switch from tiny dots to large ones without buying separate tools.
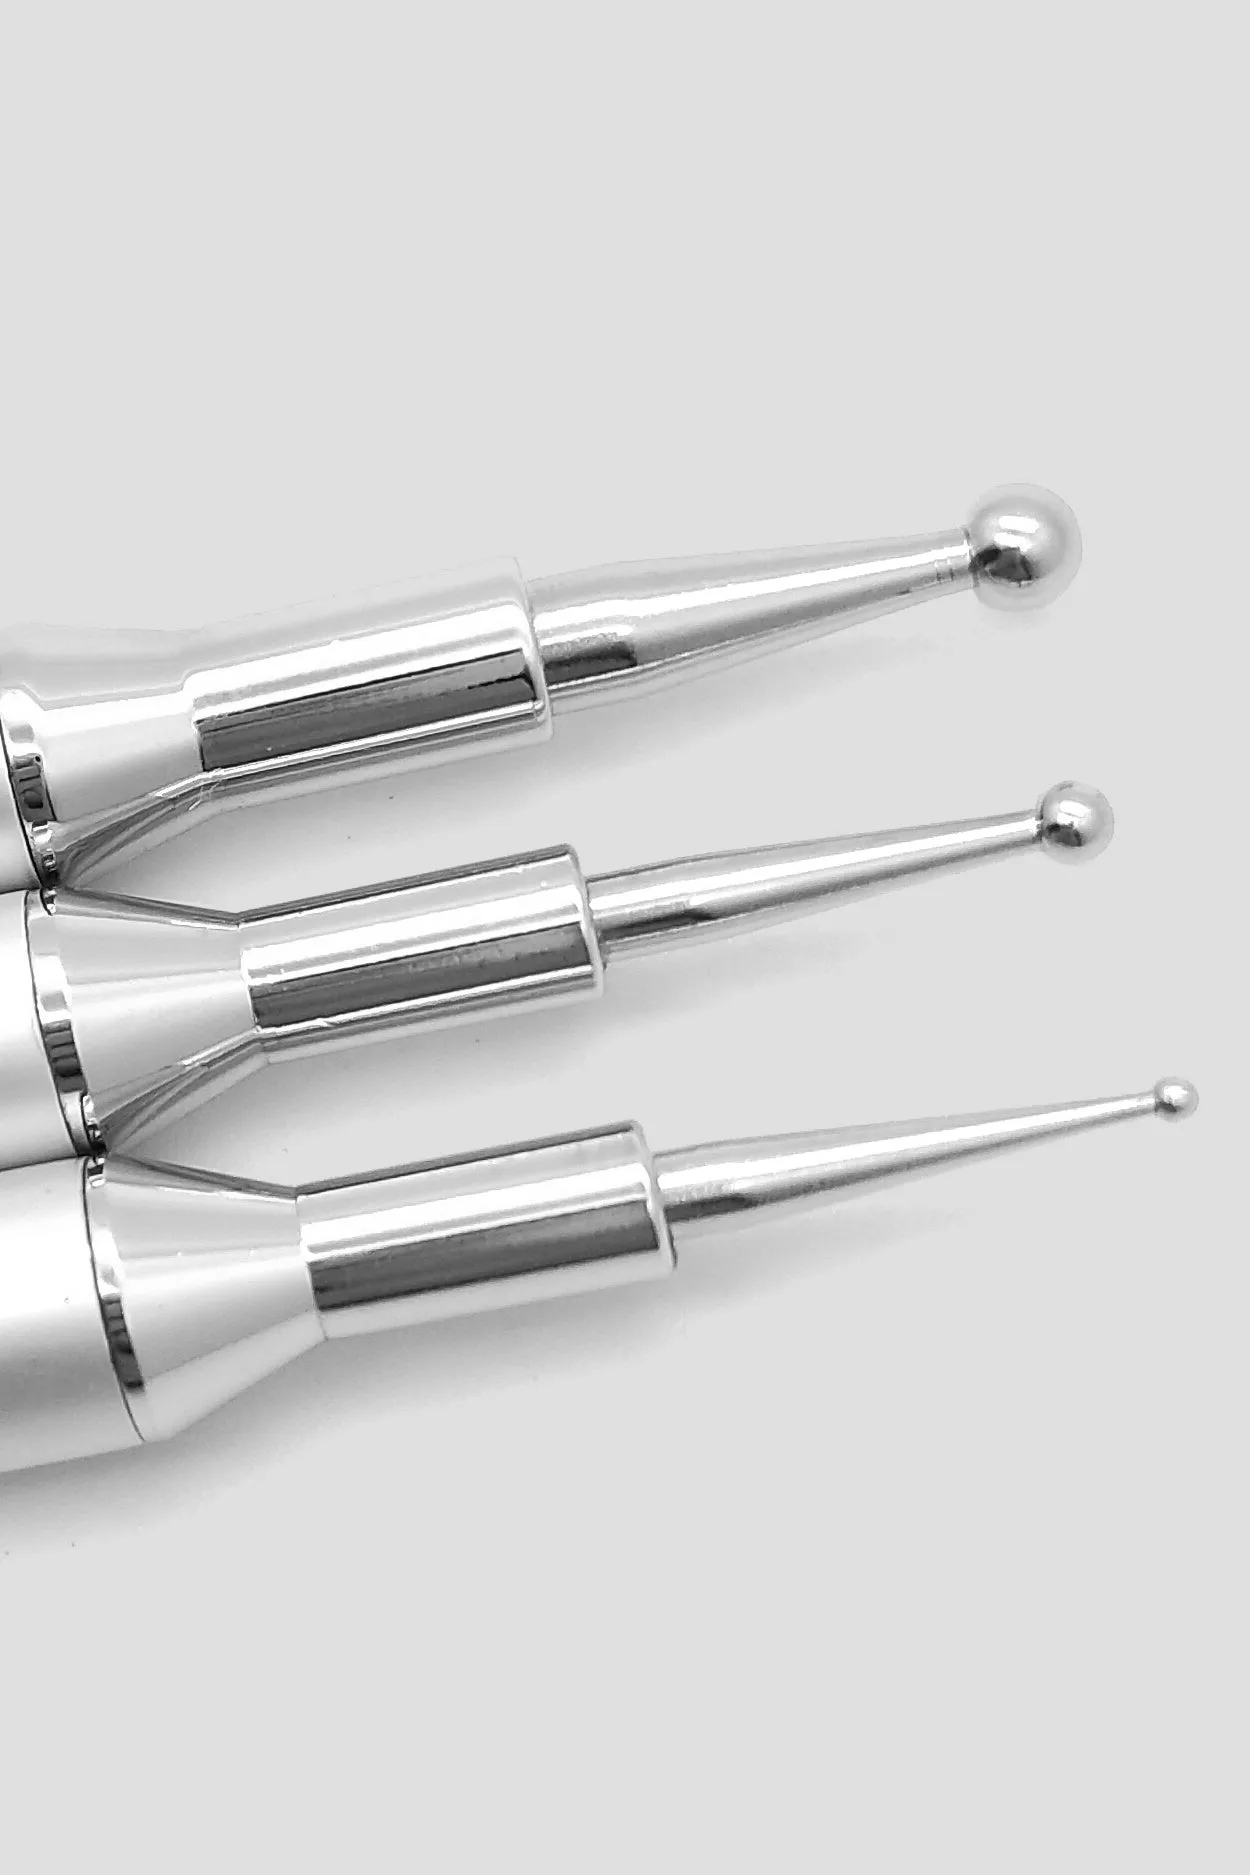
On Point Dotting Tools