Quick answer
Build an EUGY 3D puzzle with your child by opening the flat pack, sorting the numbered cardboard pieces, and following the printed sequence from the base upward. Work on a clear table, press each tab fully into its slot before moving on, and keep the session short so the build stays fun. The finished figure becomes a display piece, which gives kids a reason to slow down and do it carefully.
A rainy Saturday, a bored kid, and a screen within reach: that is the moment most parents start searching for screen-free learning toys that actually hold attention. EUGY 3D puzzles are a good fit because they turn a flat stack of cardboard into a recognizable animal, one numbered piece at a time.
The build is simple enough for most kids to start with help, but the sequence matters. This guide walks through the process in order, points out the mistakes that cause wobbly builds, and suggests a few related toys from our shelves if you want to extend the activity.
Set up the workspace before you open the pack
Clear a flat surface at a comfortable height and push small pieces, pets, and drinks out of reach. EUGY pieces are cardboard, so a damp or cluttered table is the fastest way to lose a tab or bend an edge. If you have more than one builder, give each child their own tray or shallow box so pieces do not migrate.
Open the pack and tip everything onto the table. You will typically find flat sheets of die-cut pieces and a printed instruction sheet. Do not punch pieces out yet. The sheets keep small parts together, and the numbering is easier to read while the pieces are still in place.
- Checkpoint: every piece is visible on the table before anyone starts punching.
Read the printed sequence together first
Before the first piece comes out, sit with your child and walk through the instruction sheet from start to finish. EUGY puzzles build in a set order, usually from the base or body outward, and skipping ahead is the most common reason a build feels unstable. Point out where the numbers change and where the figure starts to take shape.
This is also the moment to decide who does what. Younger builders can sort and hand over pieces while an adult presses tabs into slots. Older kids can lead the build and ask for help only on tight joins. That division keeps everyone involved without turning the project into a race.
- Common mistake: starting to build before reading the sequence, then having to backtrack.
Sort and punch pieces in small batches
Punch out only the pieces for the first few steps, not the entire sheet. Keeping the rest flat prevents bending and makes it much easier to find a piece later. Set punched pieces in a row by number so your child can grab the next one without digging.
If a piece does not release cleanly, flex the sheet gently rather than pulling hard. A torn tab is difficult to repair, and a bent tab will not seat properly. Keep a small dish for any tiny connector pieces so they do not roll off the table.
- Checkpoint: pieces for the current step are lined up in order before you start joining.
Build from the base upward and press each tab fully
Follow the numbered order and press every tab until it clicks or seats flush against the slot. A tab that is only halfway in will hold for a moment and then pop loose, which is frustrating for kids who think they finished a step. Run a fingertip along each join to confirm it is level.
Resist the urge to rush ahead to the head or the most recognizable part of the animal. The structure depends on the earlier pieces being square. If a section feels loose, stop and check the previous join rather than forcing the next piece into place.
- Common mistake: forcing a piece that does not fit. If it resists, you likely have the wrong number or an unseated tab behind it.
Pause, check stability, then display the finished figure
Once the last piece is in, set the figure down and give it a gentle nudge. A well-built EUGY should stand on its own and hold its shape. If it wobbles, look for a join that is not fully pressed rather than adding tape or glue, which usually makes the cardboard harder to work with.
Finished figures make good shelf or desk companions, and that display value is part of what makes the build feel worthwhile. Keep the instruction sheet in a zipper bag if your child wants to rebuild later, and store the figure away from direct sun and damp windowsills.
- Checkpoint: the figure stands unaided and every visible tab sits flush.
Keep the screen-free habit going after the build
A single puzzle is an afternoon, not a routine. Pair it with other hands-on options so the habit has somewhere to go next. A stacking toy for younger siblings, a small animal figure for pretend play, or a plush to cuddle while the cardboard figure dries out from handling all keep the same quiet, tactile energy.
Rotate what is available rather than leaving everything out at once. A small shelf of two or three activities gets used more than a bin of twenty, and it makes cleanup part of the routine instead of a battle.
- Practical tip: keep a tray, a small dish for tiny pieces, and a zipper bag together so setup takes under a minute.
Build steps at a glance
- 1. Clear and prep the table: Set out a flat, dry surface with a tray for pieces and nothing breakable within reach. Checkpoint: all pieces and the instruction sheet are visible before you punch anything out.
- 2. Read the full sequence first: Walk through the printed instructions start to finish and decide who handles which steps. Common mistake: building from memory and having to undo a section.
- 3. Punch and sort in small batches: Release only the pieces for the next few steps and line them up by number. Checkpoint: the current step's pieces are ready before you start joining.
- 4. Build base first, press every tab flush: Follow the numbered order and seat each tab fully before moving on. Common mistake: forcing a piece that resists instead of checking the join behind it.
- 5. Test stability and display: Nudge the finished figure, fix any loose joins, and store the instructions for a rebuild. Checkpoint: the figure stands on its own without tape or glue.
Toys that pair well with a build session
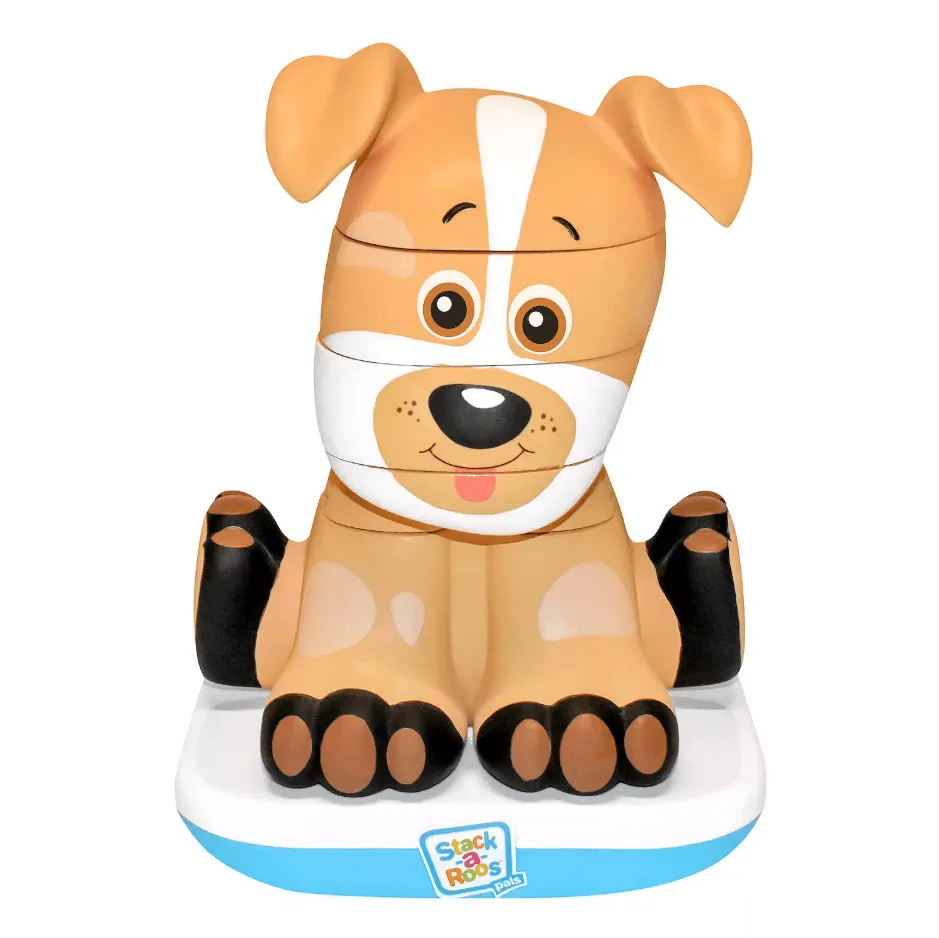
- Stack-a-Roos - Labrador Puppy: This stacking toy includes 5 pieces, rewards correct stacking with lights and sounds, and numbers each block to help teach early counting. It gives younger siblings a parallel activity with the same motor-skill focus, so a big kid can build while a toddler stacks.
- 9" Plush Wild Onez Snowy Owl: This 9-inch snowy owl plush is made with recycled materials and comes from the Wild Onez line of plush animal toys. A soft companion is useful for kids who want to keep playing with the animal theme after the cardboard figure is finished.
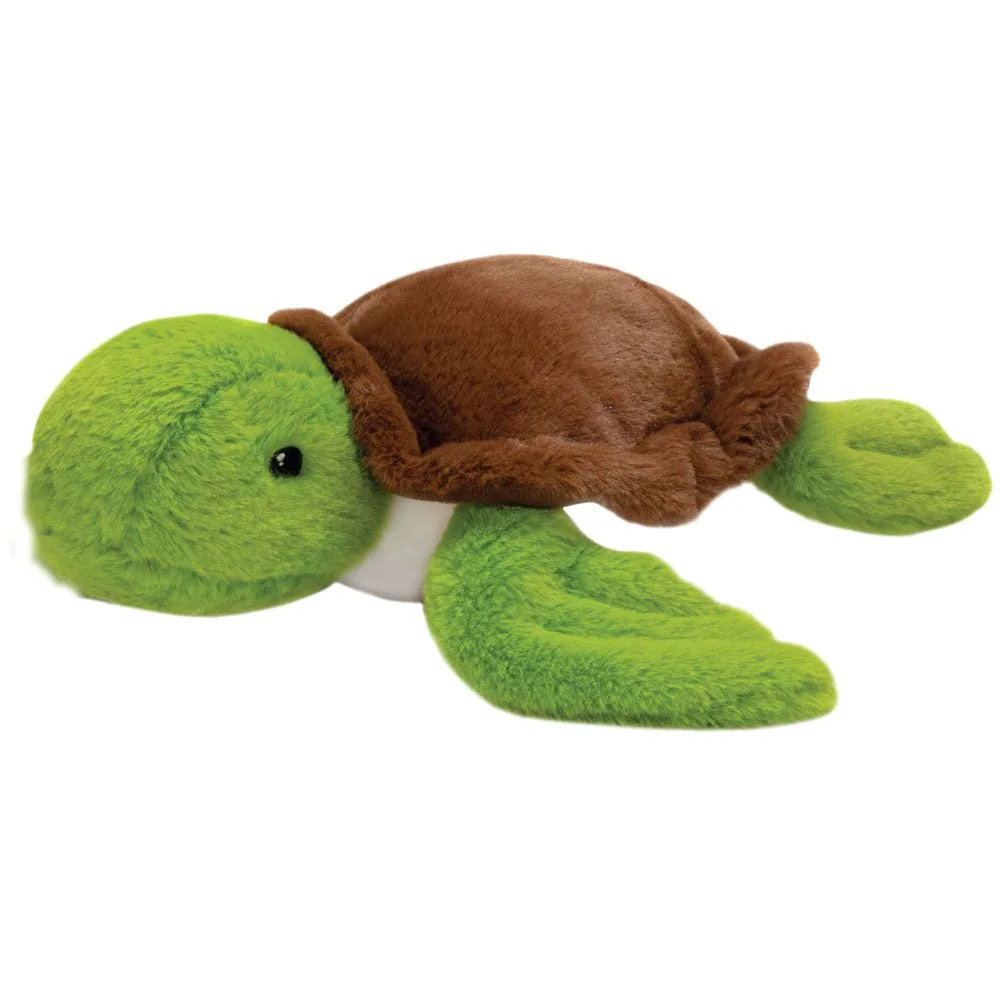
- Fiesta Toys Earth Pals Sea Turtle Plush: This sea turtle plush is made from 100% recycled raw materials and has ultra-soft fabric with flappy fins. It extends the eco-friendly toy conversation that EUGY builds naturally start, without requiring another craft project.
EUGY 3D puzzles work best as a guided, tabletop activity rather than a solo race. Set up the space, read the sequence, and build slowly from the base up, and you get a screen-free hour that ends with something worth keeping on the shelf.