Quick answer
To use a fabric ornament kit, choose a tightly woven cotton fabric, cover the paperboard shapes, hand stitch the pieces together, then embellish with decorative stitching or trims.
Why fabric choice matters
The FabriFlair kit supplies paperboard shapes and instructions, but you provide the fabric. A lightweight cotton with a subtle print hides seam lines better than a heavy upholstery fabric. Avoid stretchy knits—they pucker when pulled over the paperboard.
Hand stitching vs. machine sewing
These kits are designed for hand stitching, so a small whipstitch or ladder stitch works best. Machine sewing can crush the paperboard edges and make the ornament look flat. If you prefer a faster method, use fabric glue sparingly along the seams, but be aware that glued ornaments are less durable over multiple seasons.
Step-by-step instructions
- Cut fabric pieces: Using the paperboard template from the kit, trace and cut one fabric piece for each panel of the ornament. Add a 1/4-inch seam allowance around each shape. A rotary cutter and mat give cleaner edges than scissors, but scissors work fine if you cut slowly.
- Cover each paperboard shape: Center a fabric piece over one paperboard shape. Fold the seam allowance to the back and finger-press or use a bone folder to crease the fabric around the edges. Repeat for all pieces. If the fabric shifts, use a tiny dab of fabric glue on the back to hold it in place before stitching.
- Whipstitch the panels together: Hold two covered shapes with fabric sides facing out. Using a needle and thread, whipstitch along one edge, catching only the fabric seam allowances. Continue adding panels until the ornament is assembled. Keep stitches small and even—about 1/8 inch apart. Wide stitches create visible gaps.
- Add a hanging loop: Before closing the final seam, knot a 6-inch length of ribbon or embroidery floss and tuck the knot inside. Stitch the last seam closed, leaving the loop exposed at the top. Use a ribbon that matches your fabric color so the loop blends in rather than competing with the ornament.
- Embellish the ornament: Add decorative stitching, beads, sequins, or trims along the seam lines or on the fabric surface. The kit's paperboard is sturdy enough to support lightweight embellishments. Heavy beads or metal charms can distort the shape—stick to lightweight trims for a balanced look.
Product facts
-
FabriFlair Ornament Kit Brio Sphere: The FabriFlair Ornament Kit Brio Sphere includes complete instructions, pattern, and paperboard supplies (fabric and embellishments not included). You get the template and structure ready to go, so you only need to focus on fabric selection and hand stitching.
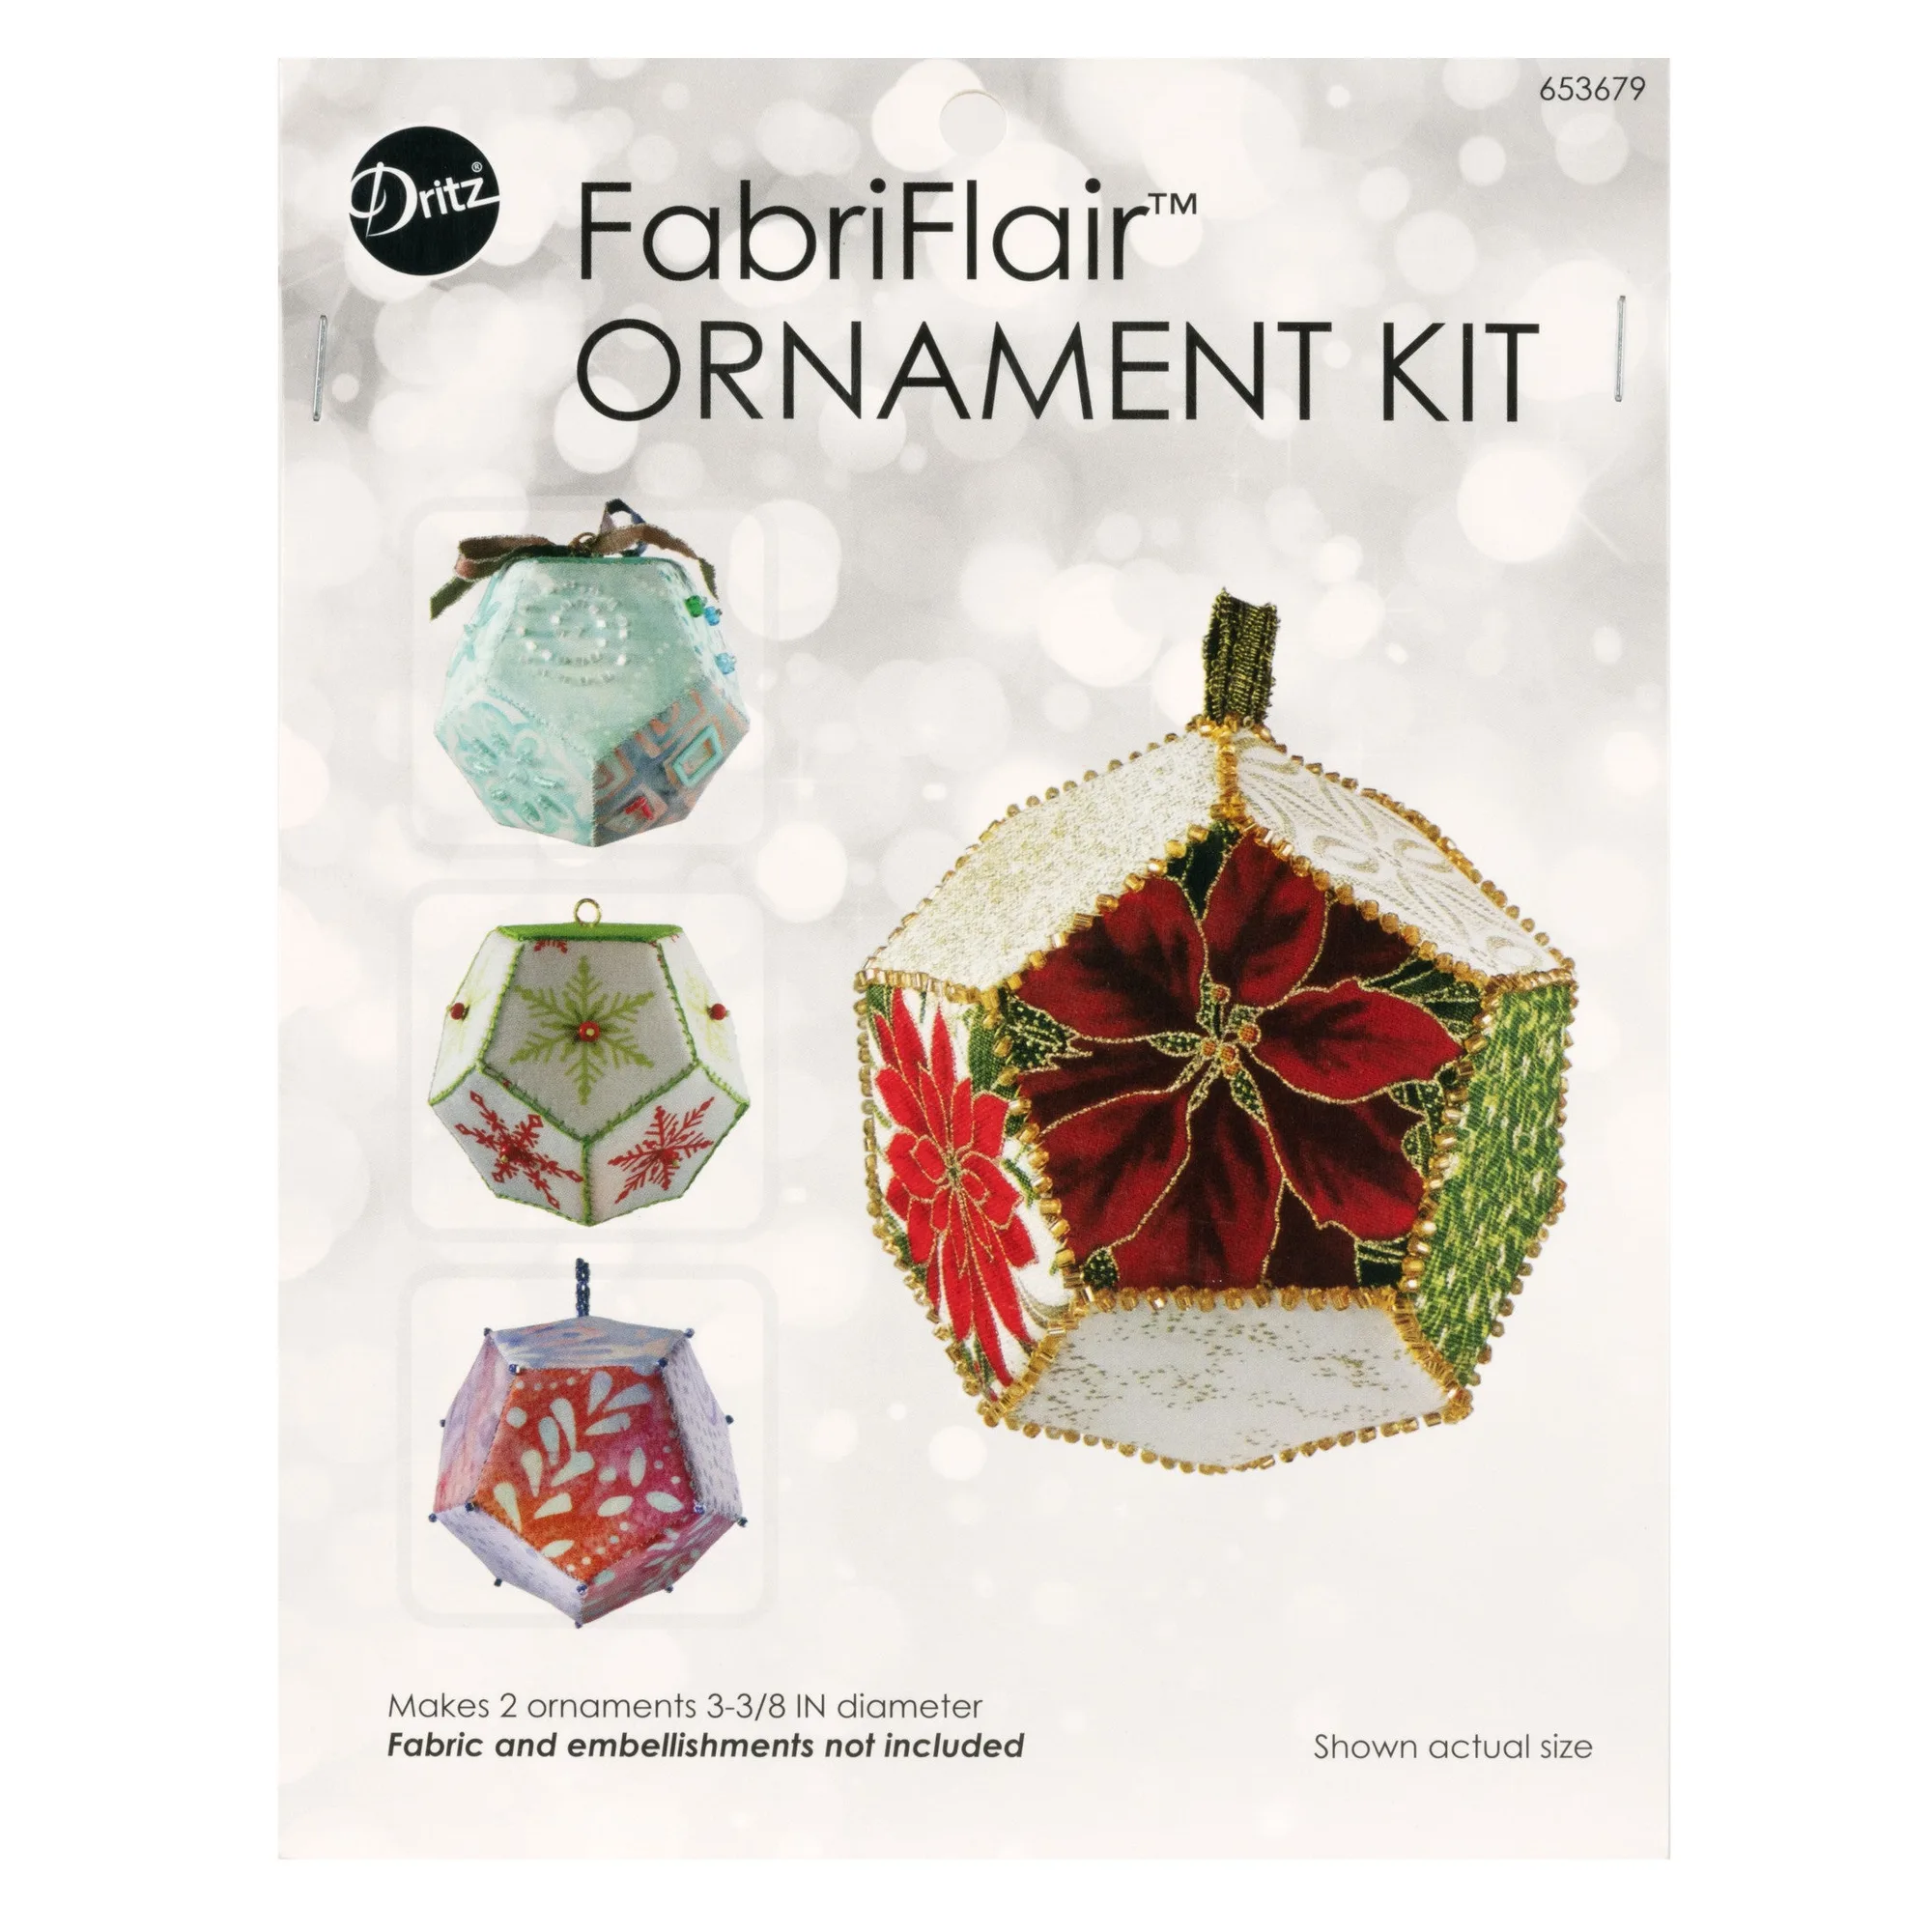
FabriFlair Ornament Kit Brio Sphere
-
FabriFlair Ornament Kit Trilliant: The FabriFlair Ornament Kit Trilliant also includes instructions and paperboard shapes, with a different faceted geometry than the Brio Sphere. If you want a more angular, gem-like look, the Trilliant shape offers that option without requiring any extra pattern drafting.
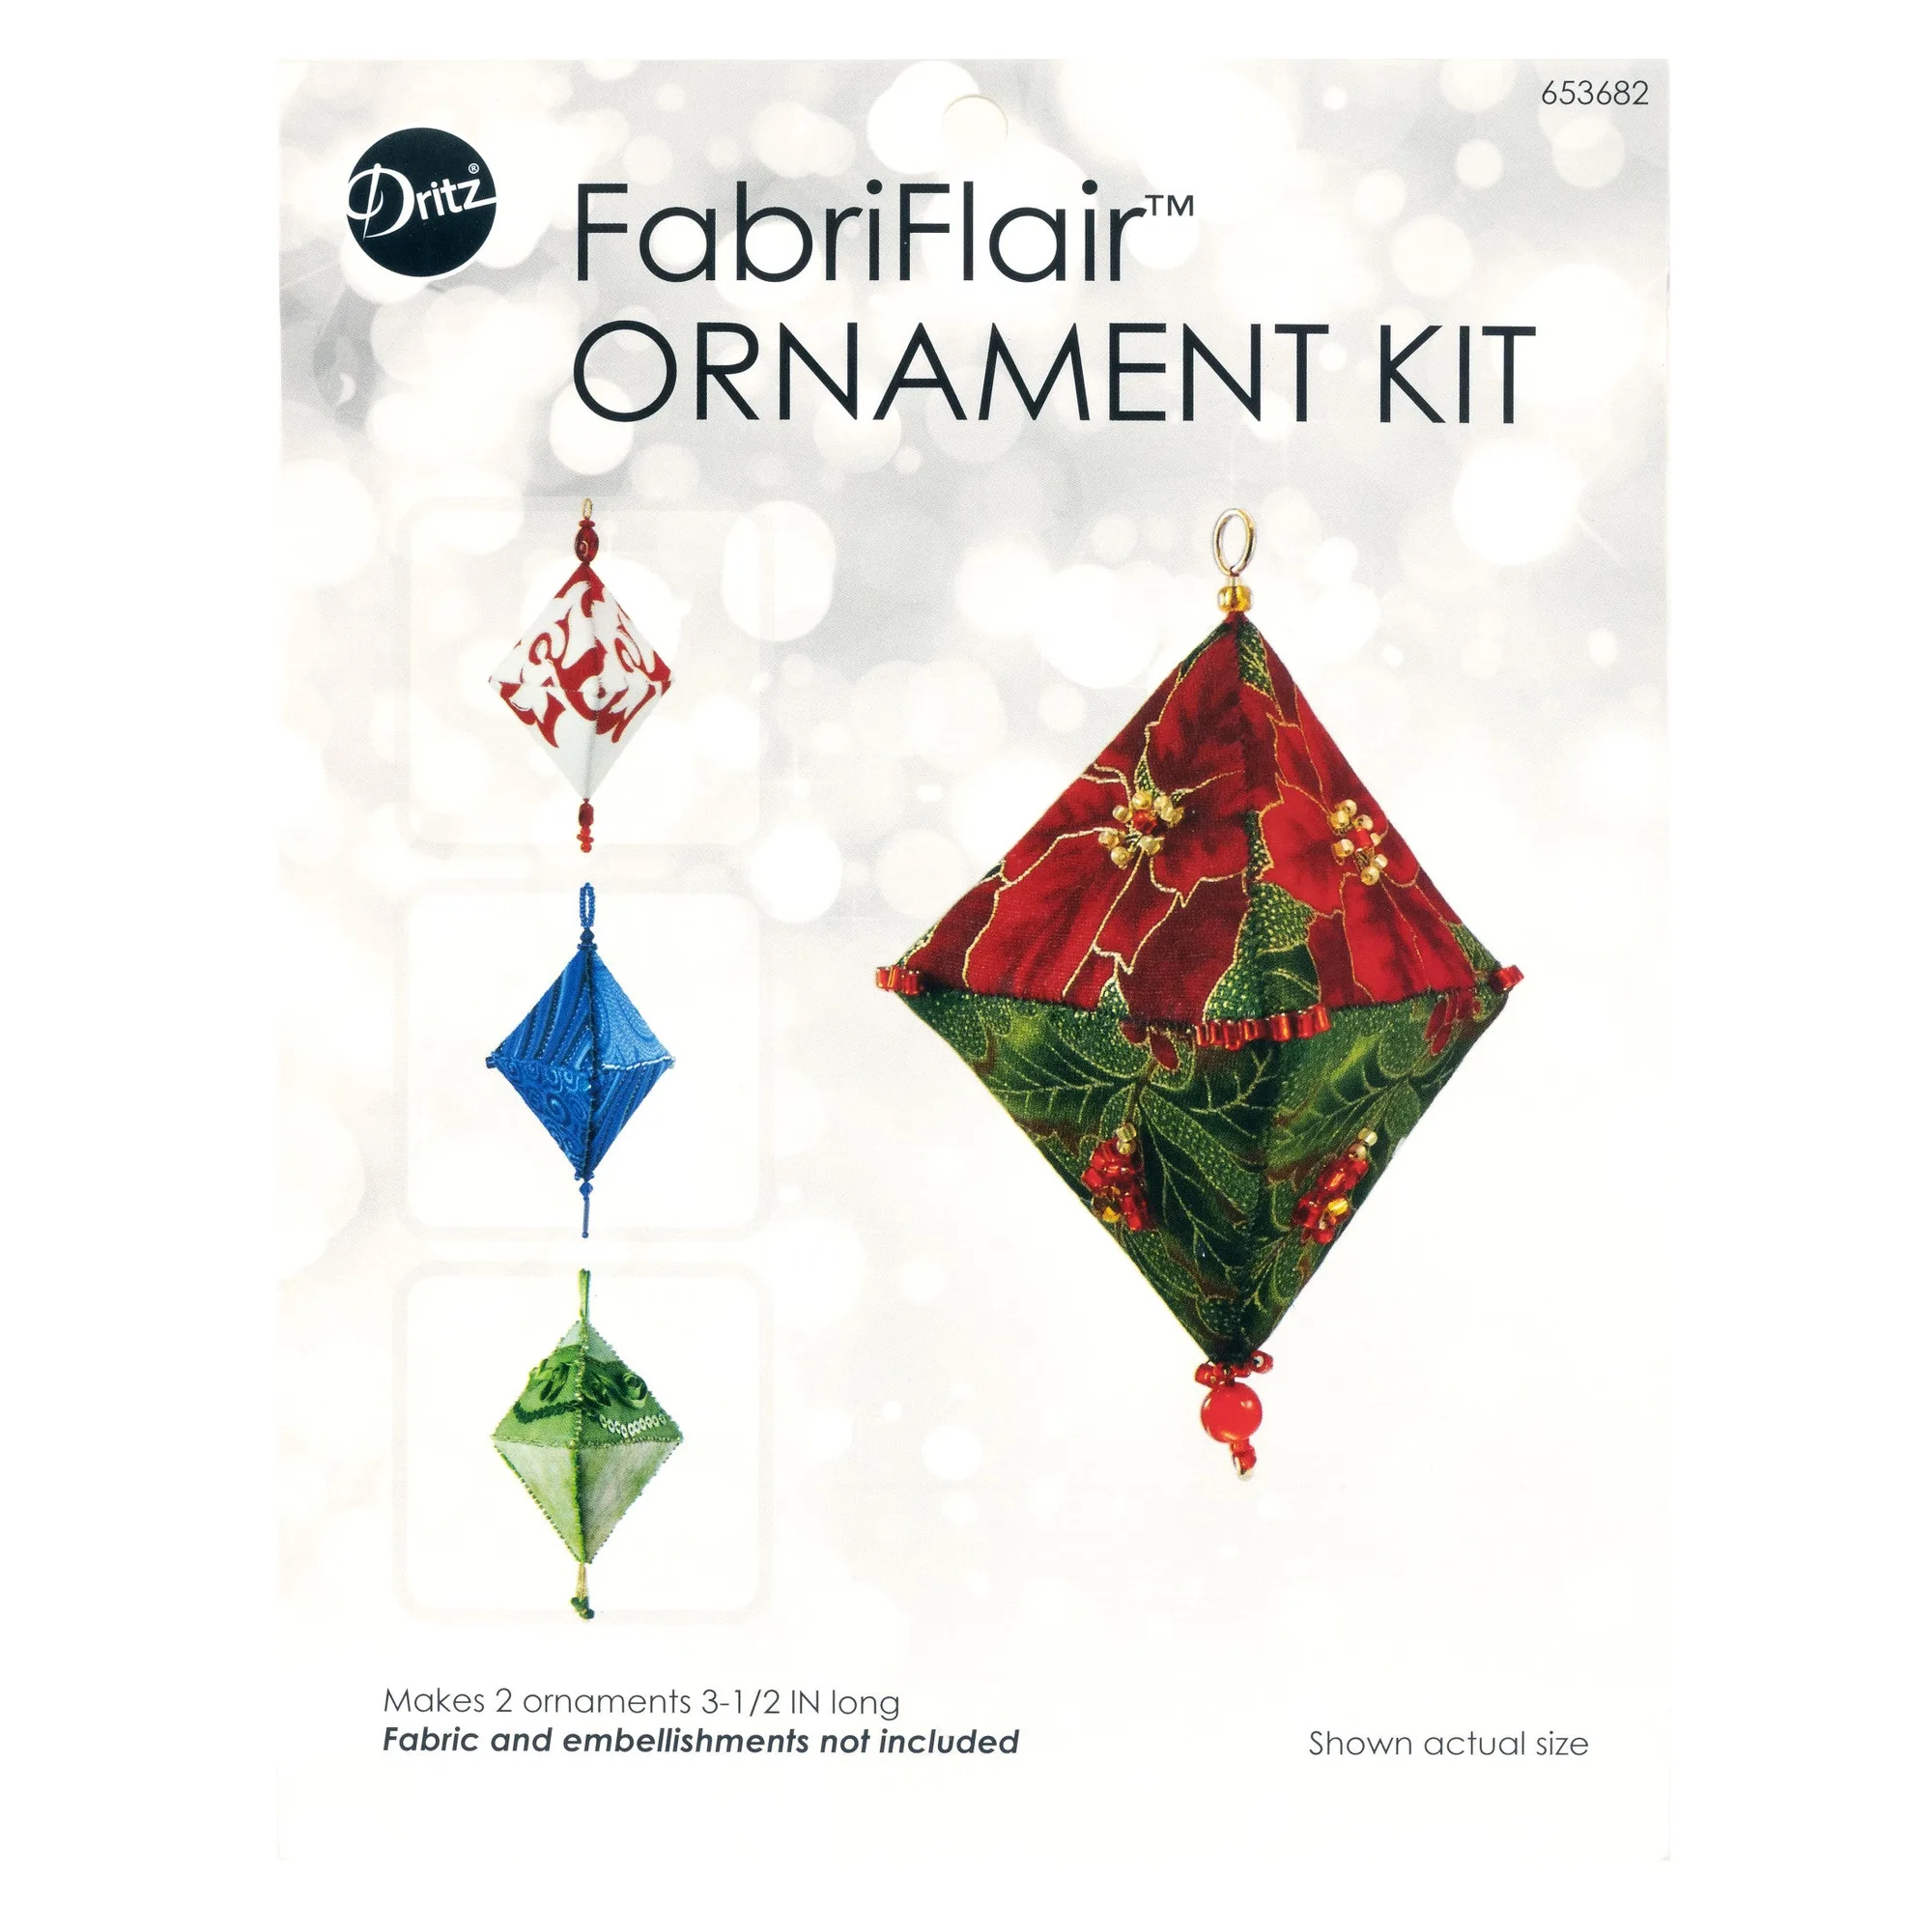
FabriFlair Ornament Kit Trilliant


