Quick Answer
Apply a glitter smoothing top coat over dry textured polish using a thick, even layer, then let it self-level for a smooth, glossy finish without extra sanding or filing.
Why Glitter Polishes Need a Smoothing Top Coat
Glitter and textured polishes dry with a rough, bumpy surface because the glitter particles stick out. A regular top coat can help, but a dedicated glitter smoothing top coat is formulated with a thicker consistency and self-leveling properties to fill in those gaps. This creates a uniform, glass-like finish that feels as smooth as it looks.
Skipping this step often leads to snags on clothing, uneven light reflection, and a shorter-lasting manicure. A smoothing top coat also adds a protective barrier that helps prevent chipping, especially over chunky glitters.
Choosing Between a Glitter Smoothing Top Coat and a Regular Top Coat
A regular top coat is thinner and designed to seal and shine a smooth polish layer. It can smooth minor texture but usually requires multiple coats to level out heavy glitter. A glitter smoothing top coat is thicker, so it fills gaps in one or two coats. It may also have a slight tint (like purple or yellow) to neutralize the base color of certain glitters.
If you work with holographic or fine shimmer polishes, a clear, quick-dry top coat that won't dull the effect is a better choice. For chunky glitters, flakes, or textured finishes, reach for a glitter smoothing top coat.
Step-by-Step: How to Apply a Glitter Smoothing Top Coat
- Step 1: Apply your glitter or textured polish and let it dry completely: Paint your glitter polish in thin, even coats and allow each coat to dry fully. Rushing this step can cause the smoothing top coat to drag or mix with the glitter layer. Common mistake: applying the smoothing top coat while the glitter layer is still tacky, which can create bubbles or a cloudy finish.
- Step 2: Shake or roll the glitter smoothing top coat bottle gently: Do not shake vigorously, as that introduces air bubbles. Roll the bottle between your palms to mix the formula evenly.
- Step 3: Apply a generous, thick layer of smoothing top coat: Use enough product to fully cover the glitter texture. Start at the base of the nail and pull the brush toward the tip in one smooth stroke. Avoid over-brushing, which can thin the layer and reduce the smoothing effect. Checkpoint: the layer should be thick enough that you can see it self-leveling but not so thick that it pools at the cuticles or edges.
- Step 4: Let the top coat self-level without touching it: Hold your hand still for about 30 seconds. The formula will naturally flow into the low spots and even out. Do not fan or blow on the polish, as that can cause bubbles. Common mistake: touching or repositioning the nail before the layer sets, which disrupts the self-leveling process.
- Step 5: Finish with a quick-dry top coat (optional): If you want extra shine and faster drying time, apply a clear quick-dry top coat over the smoothing layer. This also adds chip protection.
Product Facts
-
Glitter Whisperer *new formula* - Glitter Smoothing Top Coat: The new formula of Glitter Whisperer provides a much better finish for textured polishes and varies between a purple tint or no tint, while the original had a yellow tint. The purple or clear tint helps neutralize yellow or warm undertones in glitter polishes, so your final finish looks clean and true to color.
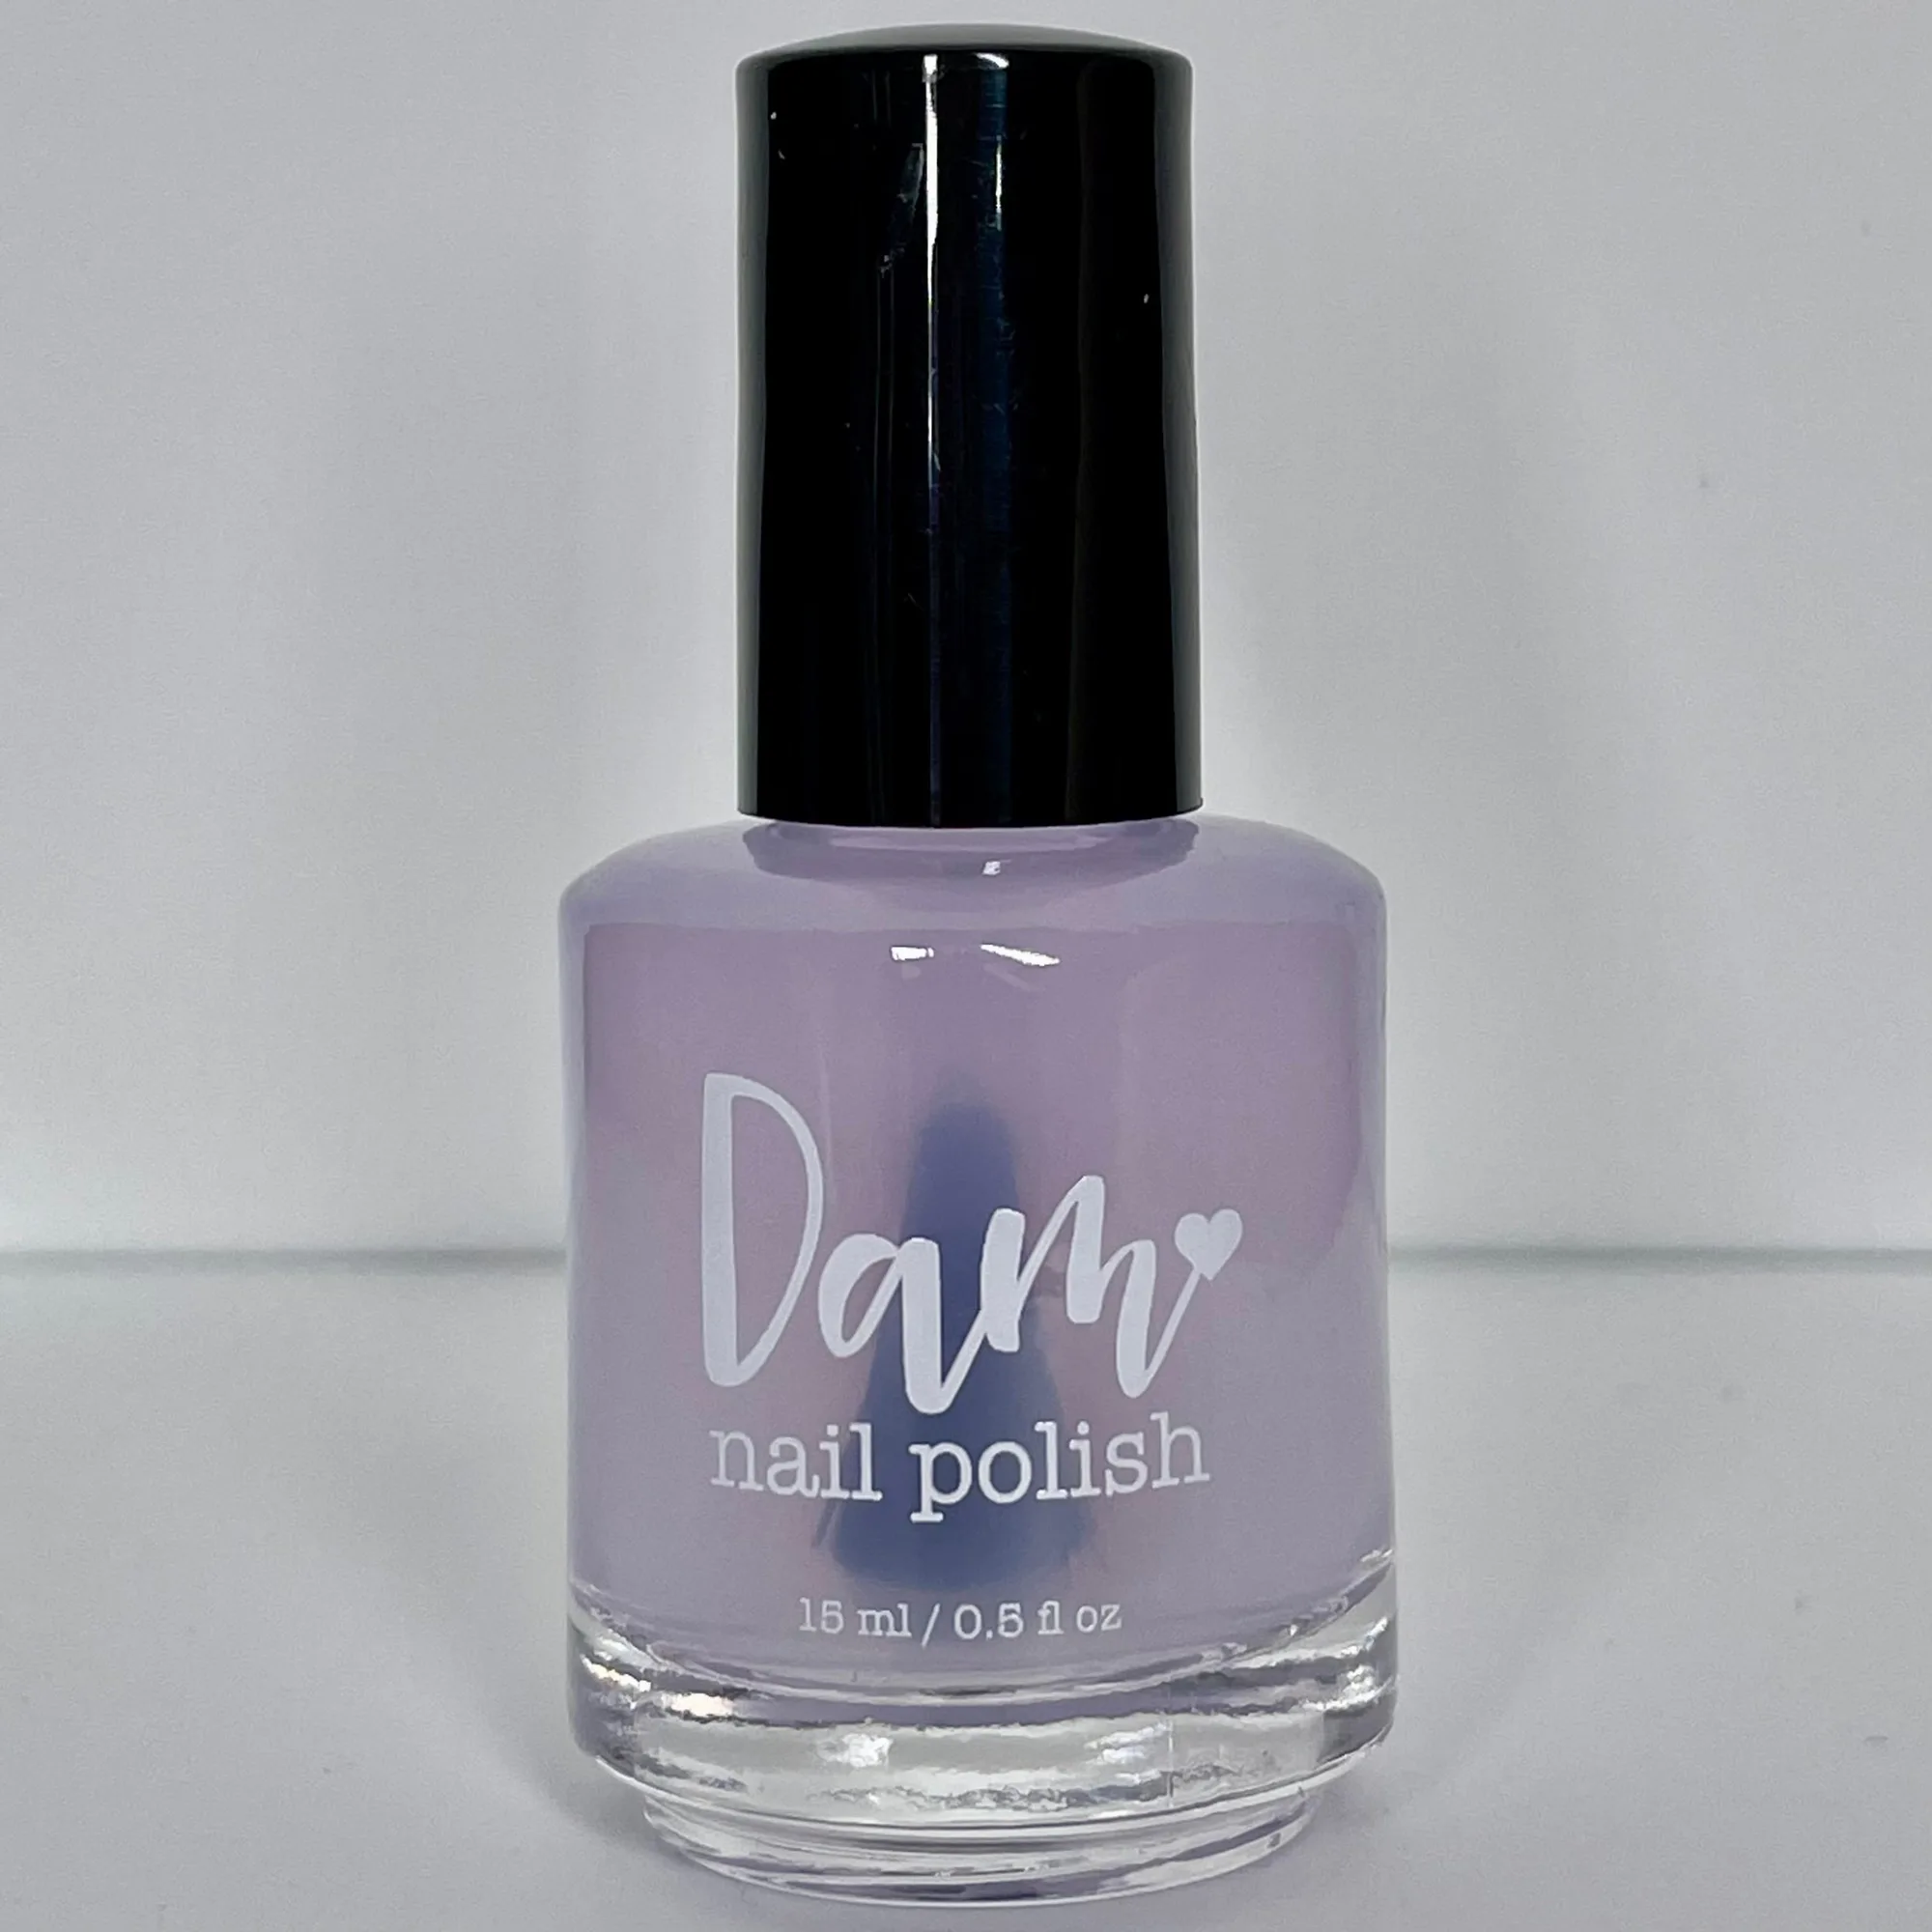
Glitter Whisperer *new formula* - Glitter Smoothing Top Coat
-
Top Dam Nails - Top coat: Top Dam Nails dries very quickly, protects against chips, and is compatible with all nail polishes, especially holographic polishes without dulling the holo effect. Use this as your final top coat over a smoothing layer to lock in the smooth finish while preserving the sparkle of holographic and shimmer polishes.
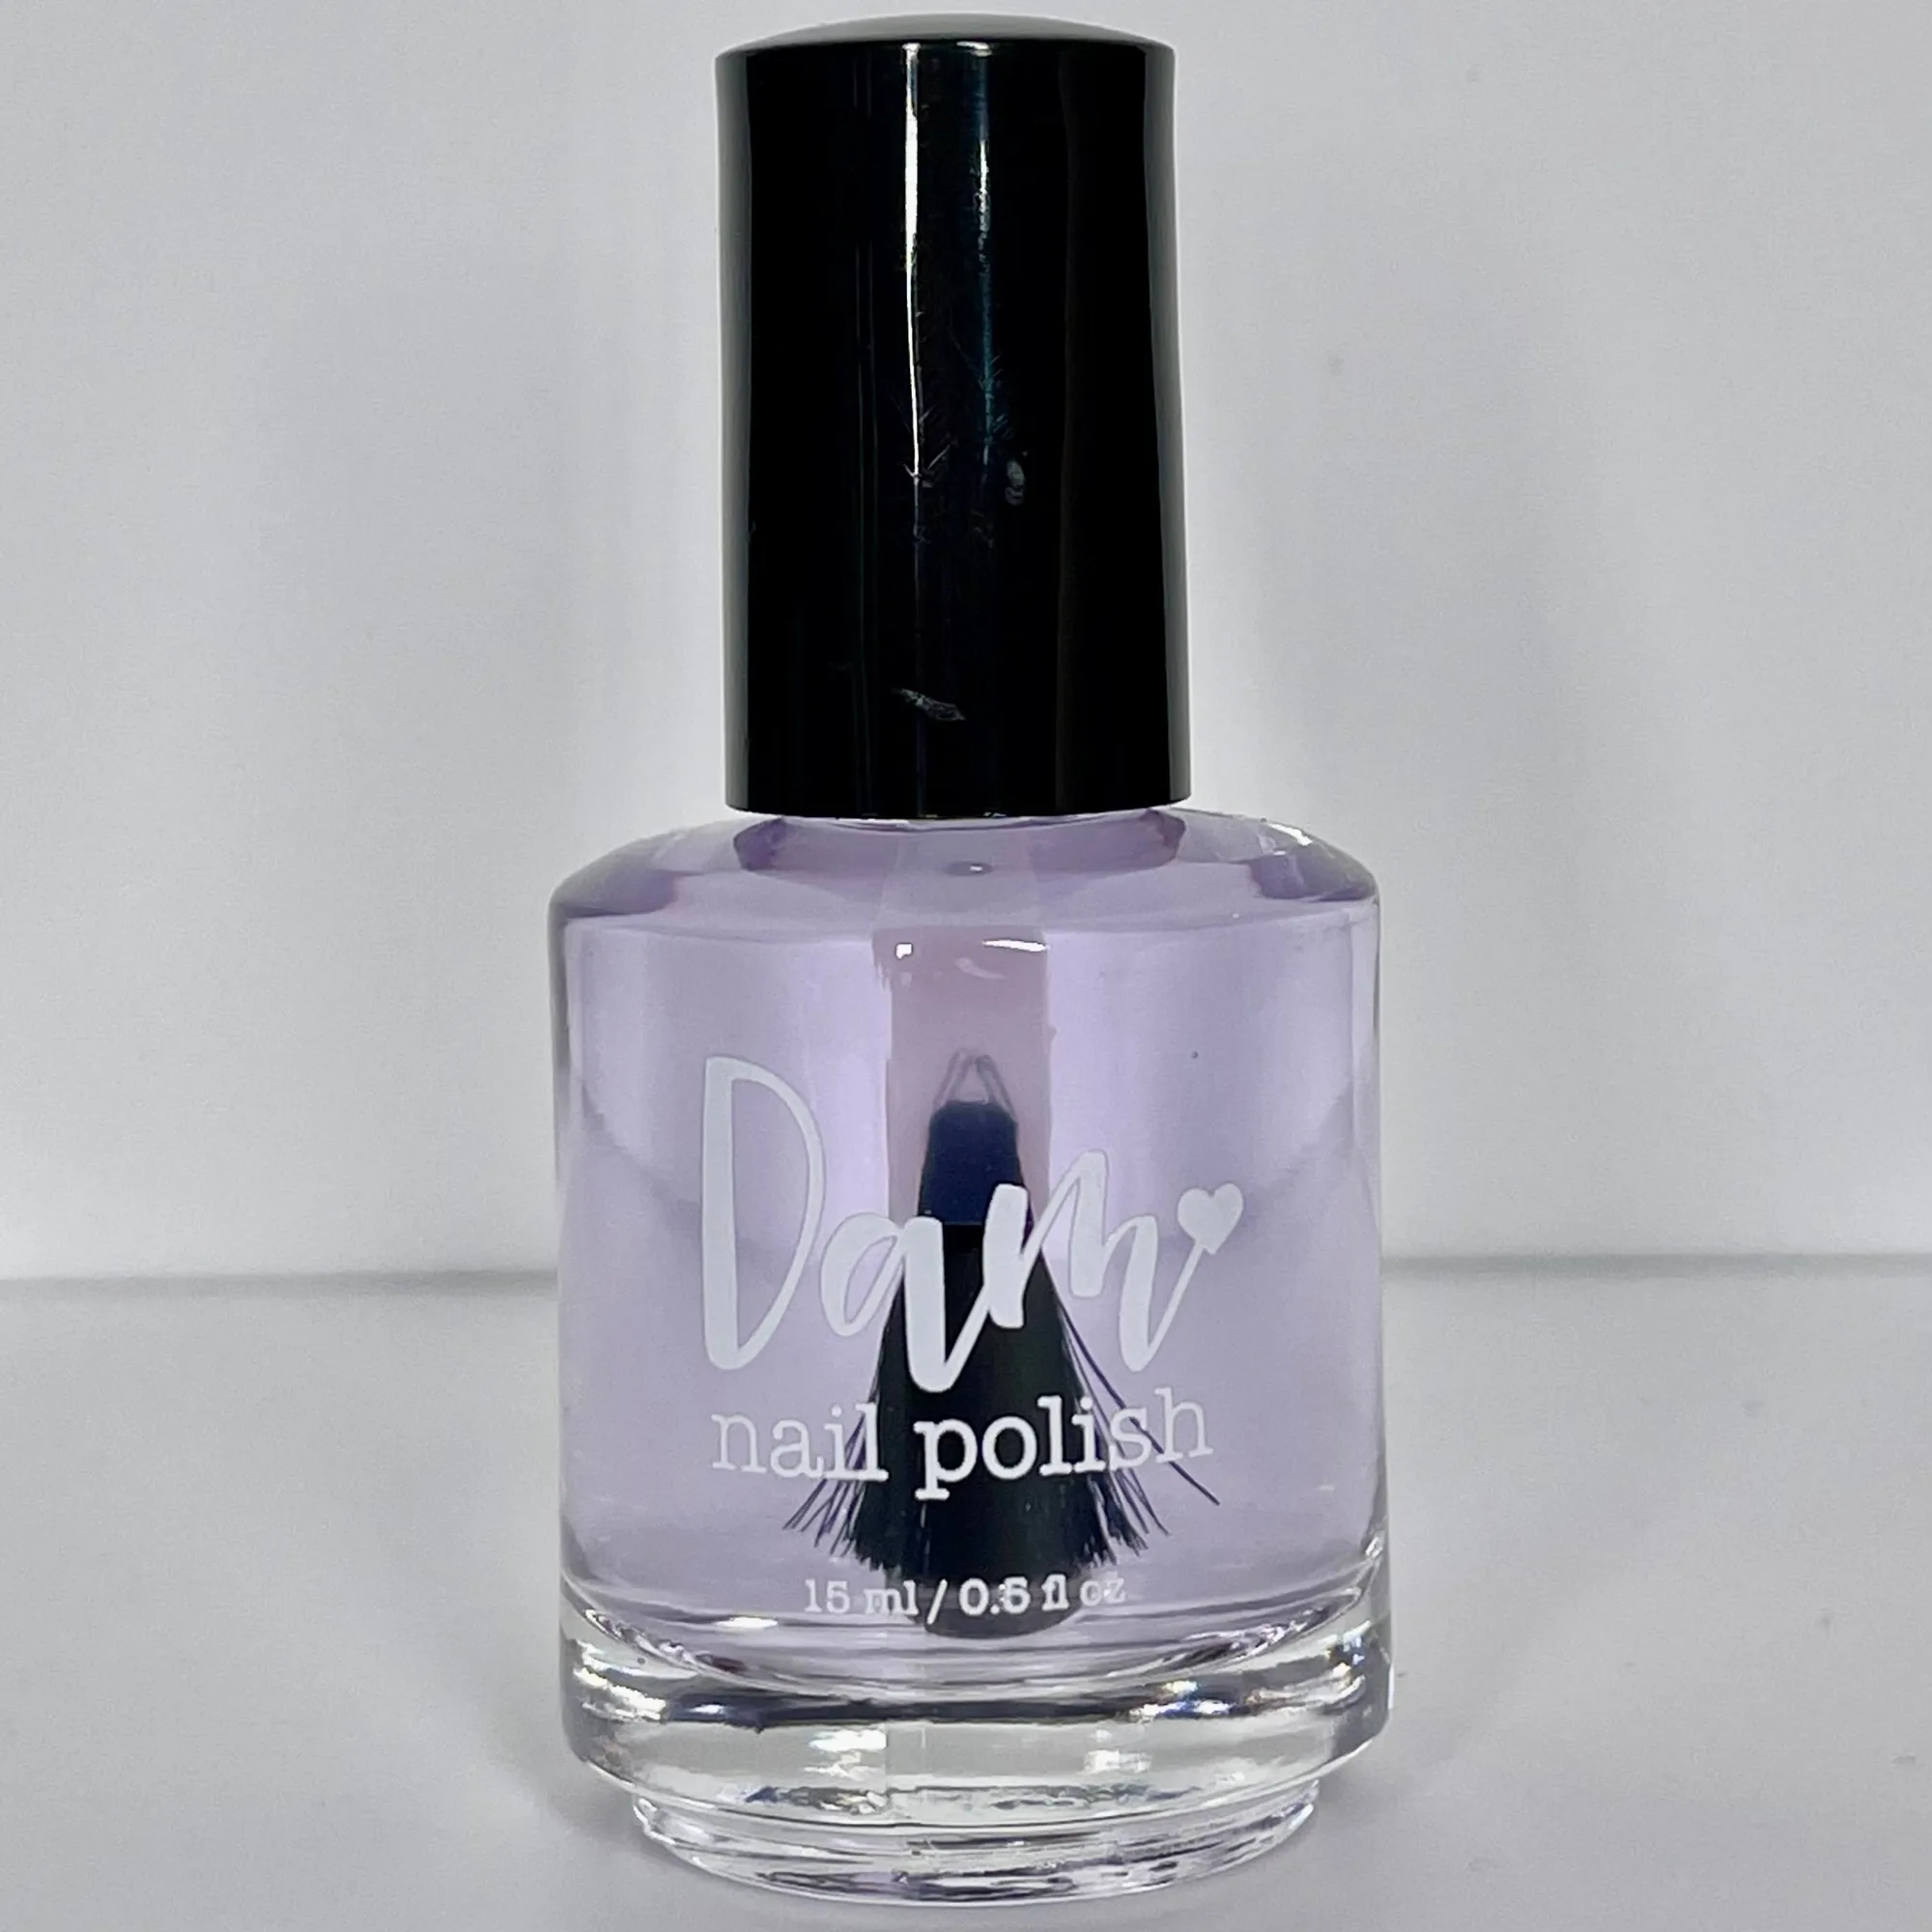
Top Dam Nails - Top coat


