Quick Answer
Most glossy top coat smudging happens because the brush drags through uncured art, you are applying too much pressure, or your design was never fully cured before top coat. Float the top coat on in one slow pass, do not press down, cap the free edge, and cure fully. If your art is still smearing after that, the design layer is too thick or too wet to top coat safely.
You spent twenty minutes on a clean set of nail art, then one swipe of glossy top coat turns it into a muddy streak. It is one of the most frustrating moments in gel, and it is almost never caused by the top coat itself.
The good news is that smudging is a technique and timing problem, not a product problem. Once you understand what makes a design move under top coat, you can finish almost any look with a glassy, smudge free top coat finish.
Why Glossy Top Coat Smears Nail Art
Glossy top coat smudging happens when the brush physically drags pigment or glitter that is not fully locked into the design layer. Gel art that has not been cured, or that was cured with too thick a layer, stays soft underneath. The top coat brush then acts like a squeegee and pulls the art sideways.
The second cause is pressure. If you press the brush flat against the nail, the bristles fan out and dig into the design. The third cause is overloading the brush. A heavy bead of top coat floods the nail, moves the art, and pools at the cuticle, which also causes lifting later.
- Cure every art layer before you reach for top coat
- Keep art layers thin; thick gel cures unevenly underneath
- Wipe your top coat brush on the bottle rim so it is wet, not dripping
The Float-and-Cap Method That Prevents Smearing
Load the brush, then wipe one side against the bottle neck so you are working with a wet but controlled bead. Start at the cuticle area and float the top coat across the nail without touching down hard. Let the bead glide ahead of the bristles rather than pushing it with pressure.
Finish with one slow pass down the center, then cap the free edge by running the brush along the tip. If you need a second pass, reload and float again instead of going back over a half-set area. Working in one direction reduces the chance of dragging art back over itself.
If you are finishing a design with glitter or 3D elements, check that the surface is level before top coat. A lumpy design catches the brush and pulls. A thin layer of clear builder or a sculpting gel like Arctic Amethyst - Winter Crystal sculpting gel can smooth a textured design before you add gloss.
Arctic Amethyst - Winter Crystal sculpting gel
- Float, do not press
- One direction only
- Cap the tip last, with a light touch
Cure Timing and Layer Thickness
Under-cured art is the number one hidden cause of smudging. If the color or art layer is still tacky or soft, top coat will move it no matter how gentle your brushwork is. Cure each art layer fully under your UV or LED lamp before adding the next one, and keep those layers thin.
The same rule applies to the top coat itself. A top coat that is too thick will not cure evenly, and the uncured layer underneath can continue to shift. Two thin coats, each fully cured, beat one heavy flood coat every time. If your lamp is older or you are working with a very pigmented design, add a few extra seconds.
- Cure art layers fully before top coat
- Two thin top coat layers cure more evenly than one thick layer
- Do not touch the surface between layers
Choosing the Right Top Coat for Your Design
Not every design wants the same finish. Glossy top coat over nail art gives that wet, salon shine, but it also shows every bump and can highlight a thick design. Matte top coat hides texture and is more forgiving over 3D art, stamping, and chunky glitter because it does not reflect light across uneven surfaces.
If you switch finishes often, a bundle makes sense. The Glossy x Matte Topcoats Refill Bottles Bundle includes 2x 1kg UV / LED soak-off gels in the classic top coat gel formula with anti-spread properties, which is roughly 50+ refills of matte and glossy topcoats, or 100 refills total. That is a practical option if you top coat a lot of sets and want both finishes on hand without rebuying small bottles.
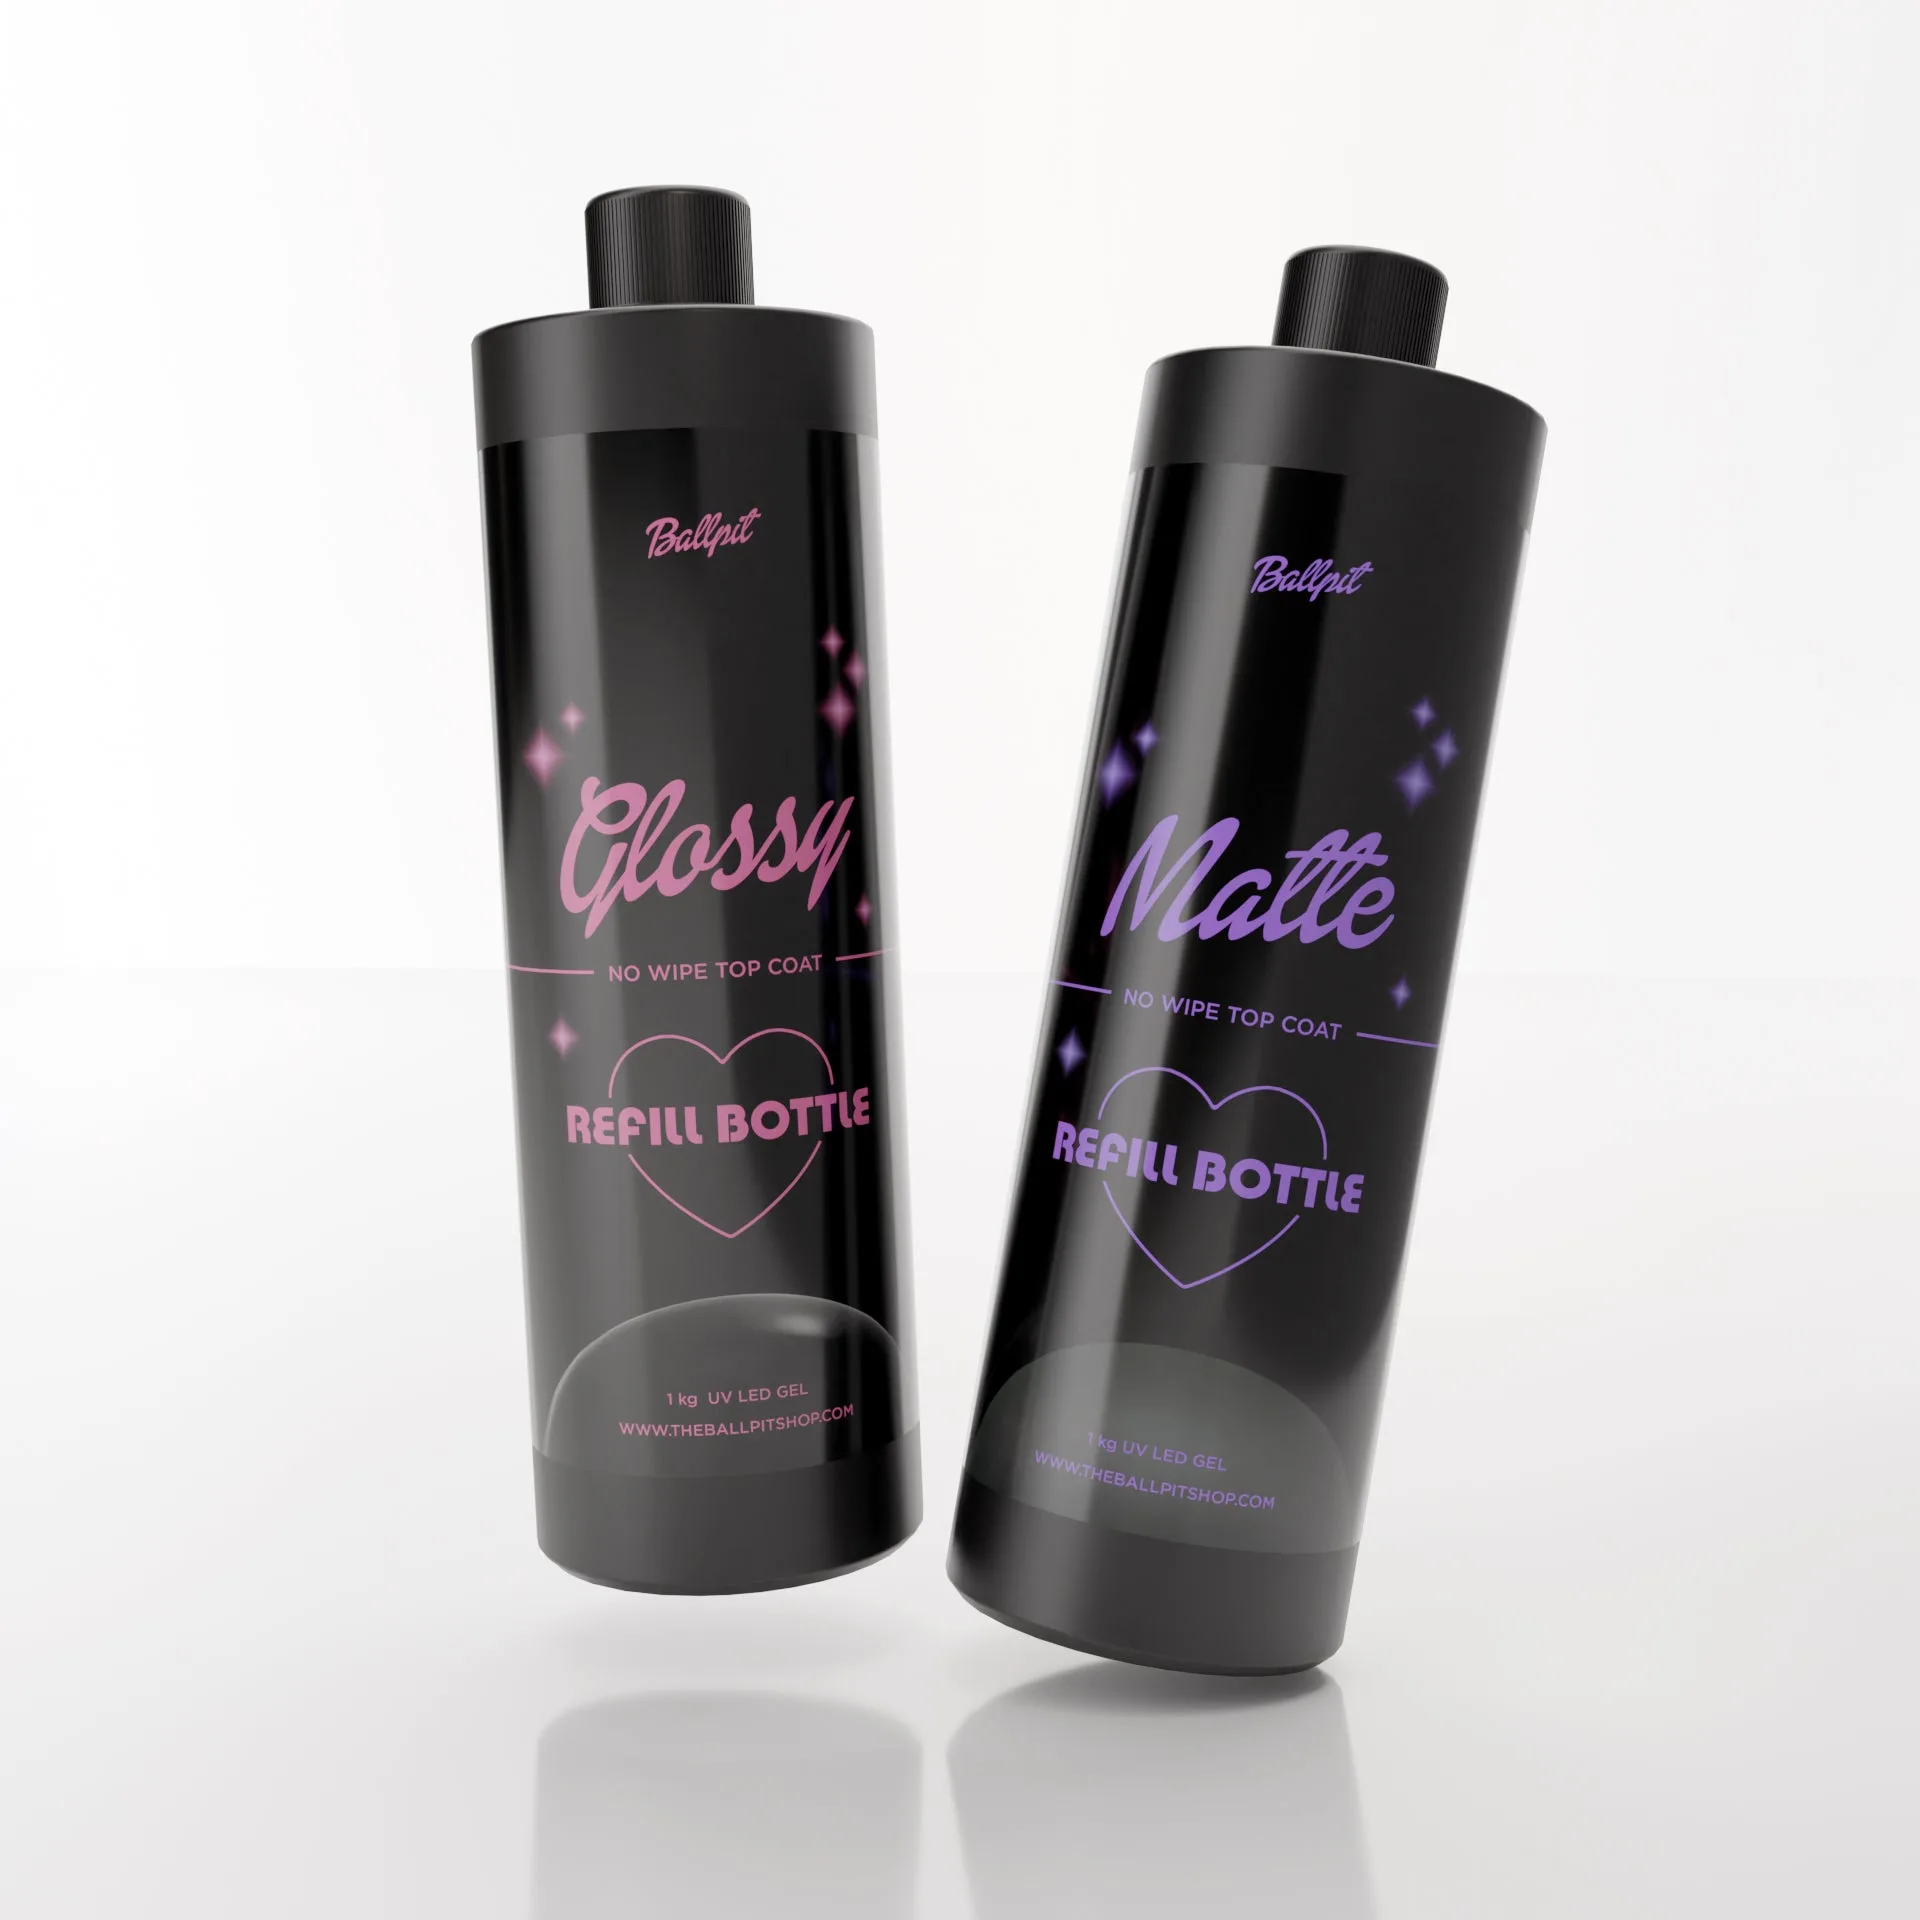
Glossy x Matte Topcoats Refill Bottles Bundle
- Glossy for smooth, flat art and a wet shine
- Matte for textured, 3D, or busy designs
- Anti-spread formulas help hold the top coat where you place it
When to Stop and Choose Another Option
If you have floated the top coat, cured your art fully, and the design still smears, stop adding more top coat. The design layer is the problem, not your finishing technique. At that point, either rebuild the art thinner or switch to a finish that does not require dragging a brush across the surface.
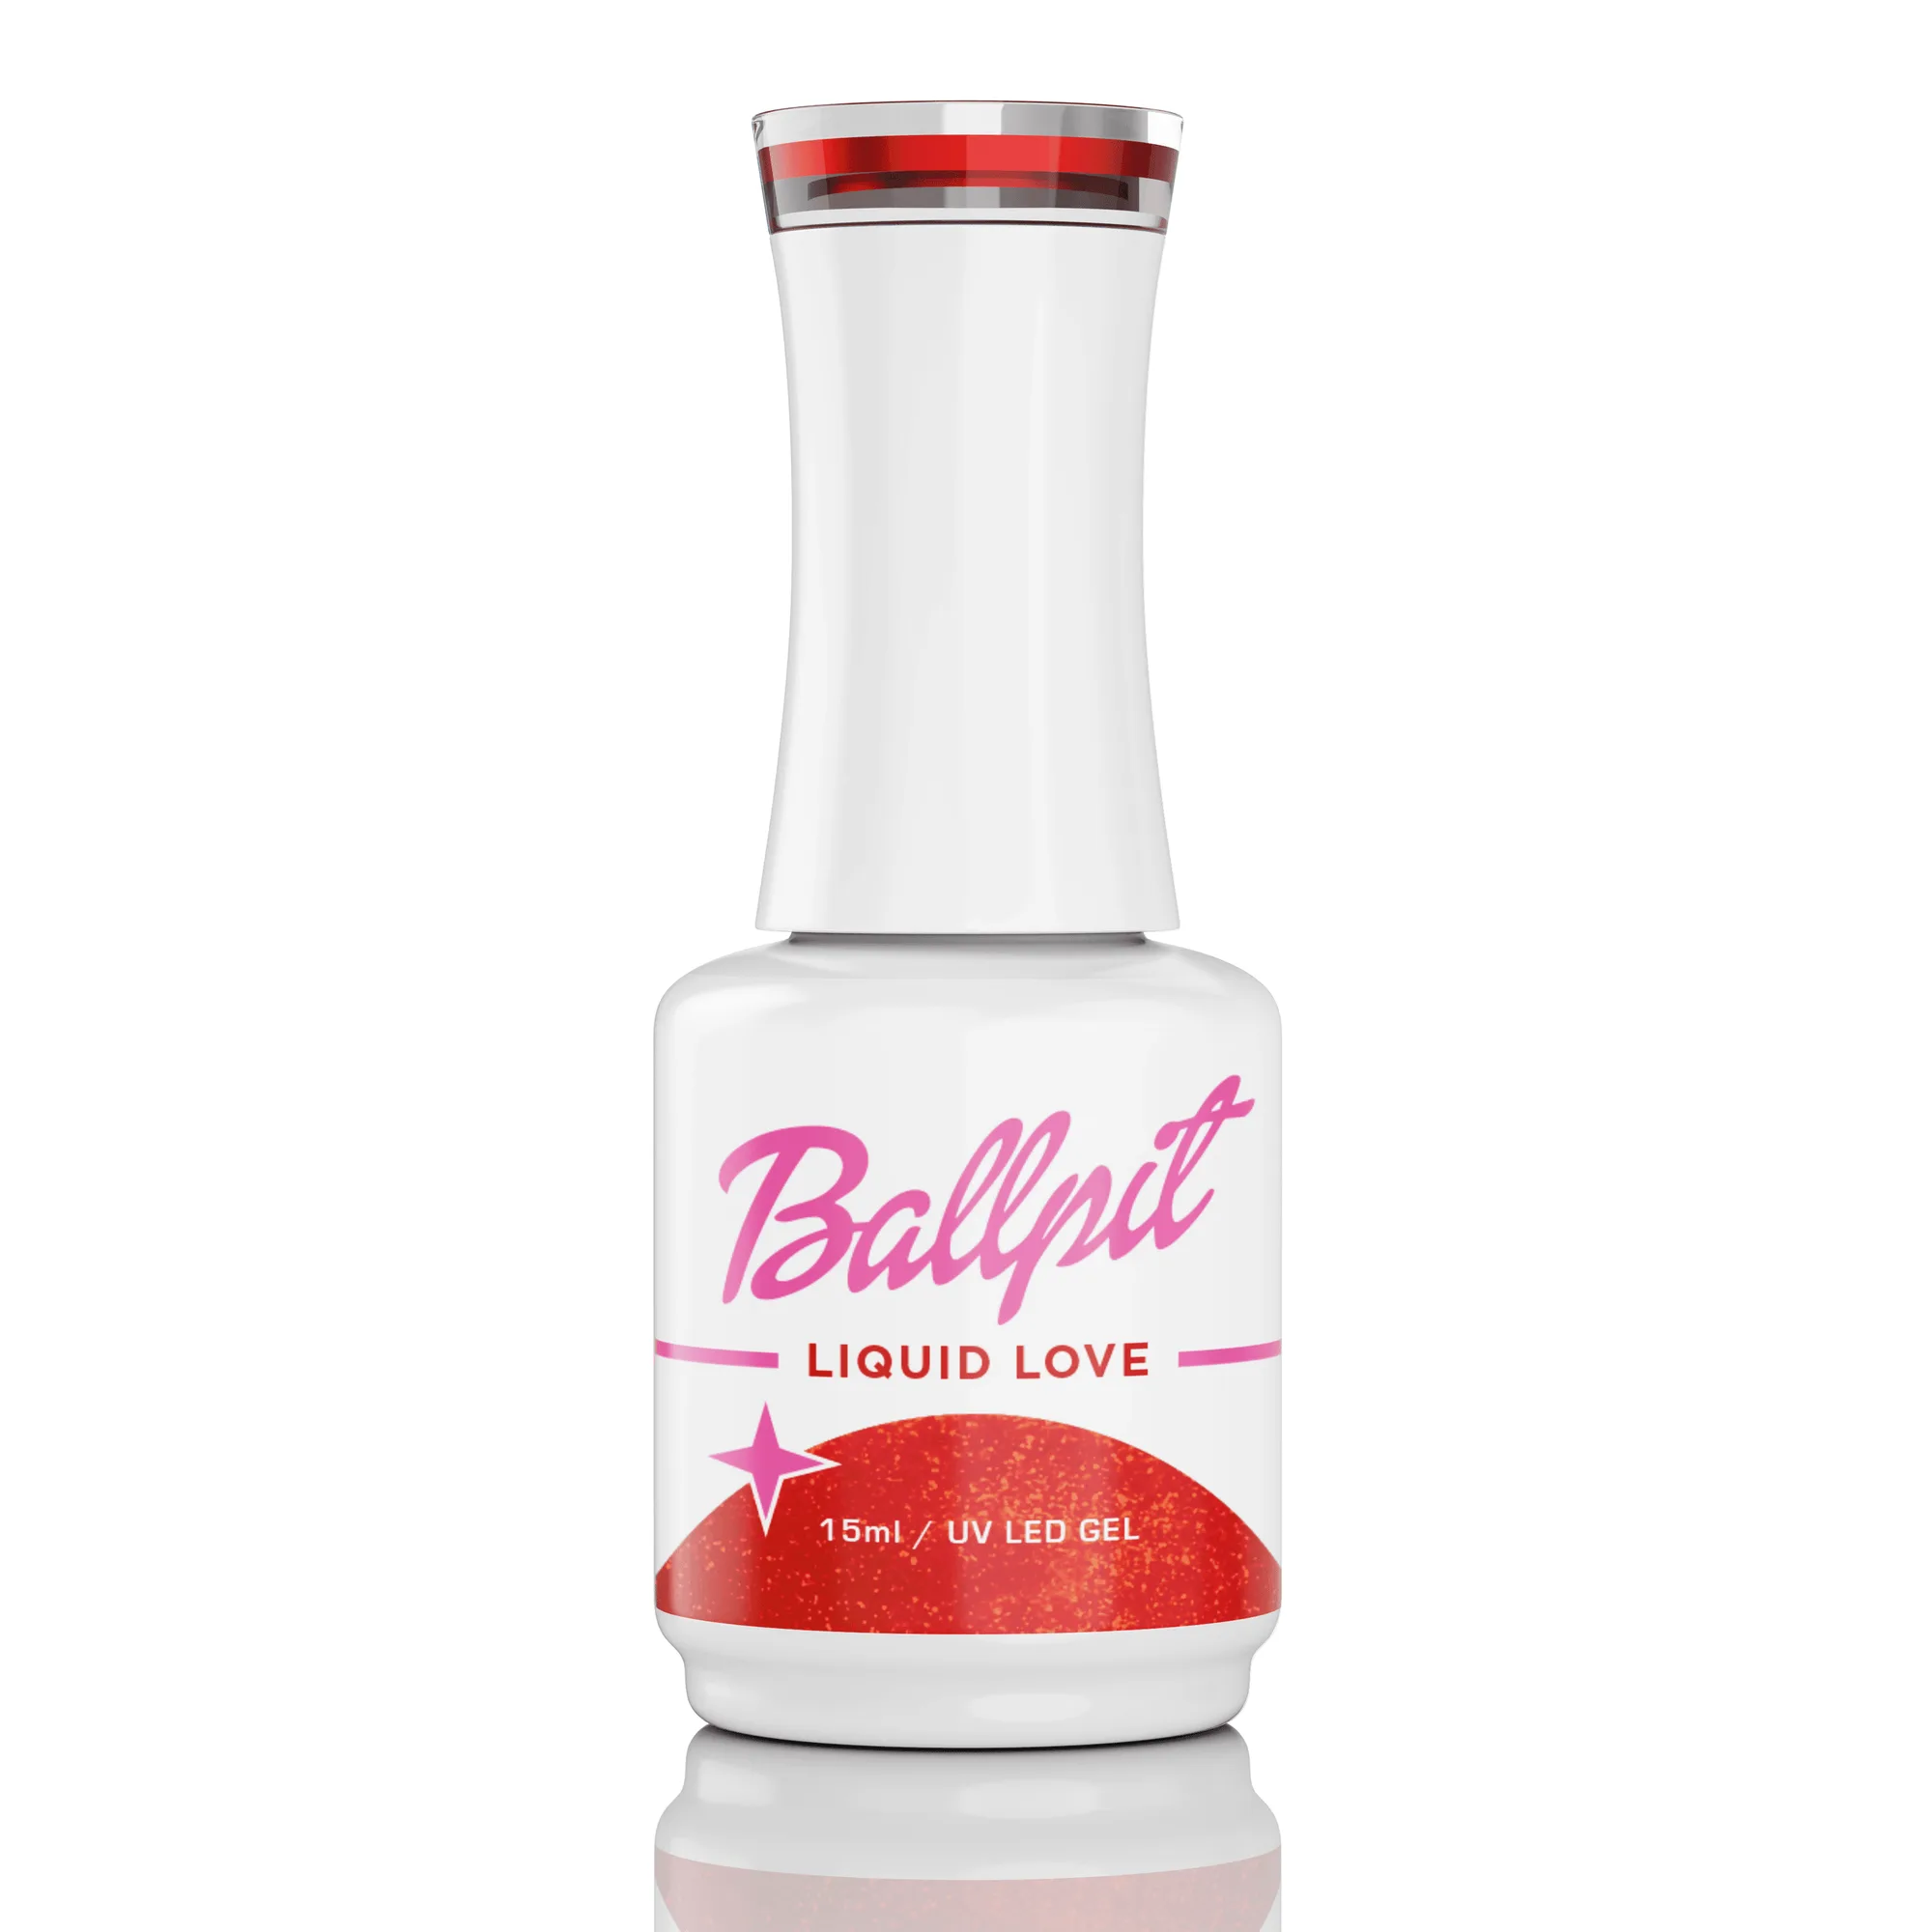
You can also choose a design that is naturally top coat friendly. A jelly shade with fine glitter, like Liquid Love - Gel Polish, which is a cherry-red jelly with fine glitter, sits flat and tolerates a floated top coat well. A self-leveling glitter formula such as Magic Grass - Limited Edition Gel Polish, a dark green jelly with trippy holographic blades of grass, also smooths itself out and reduces the chance of brush drag.
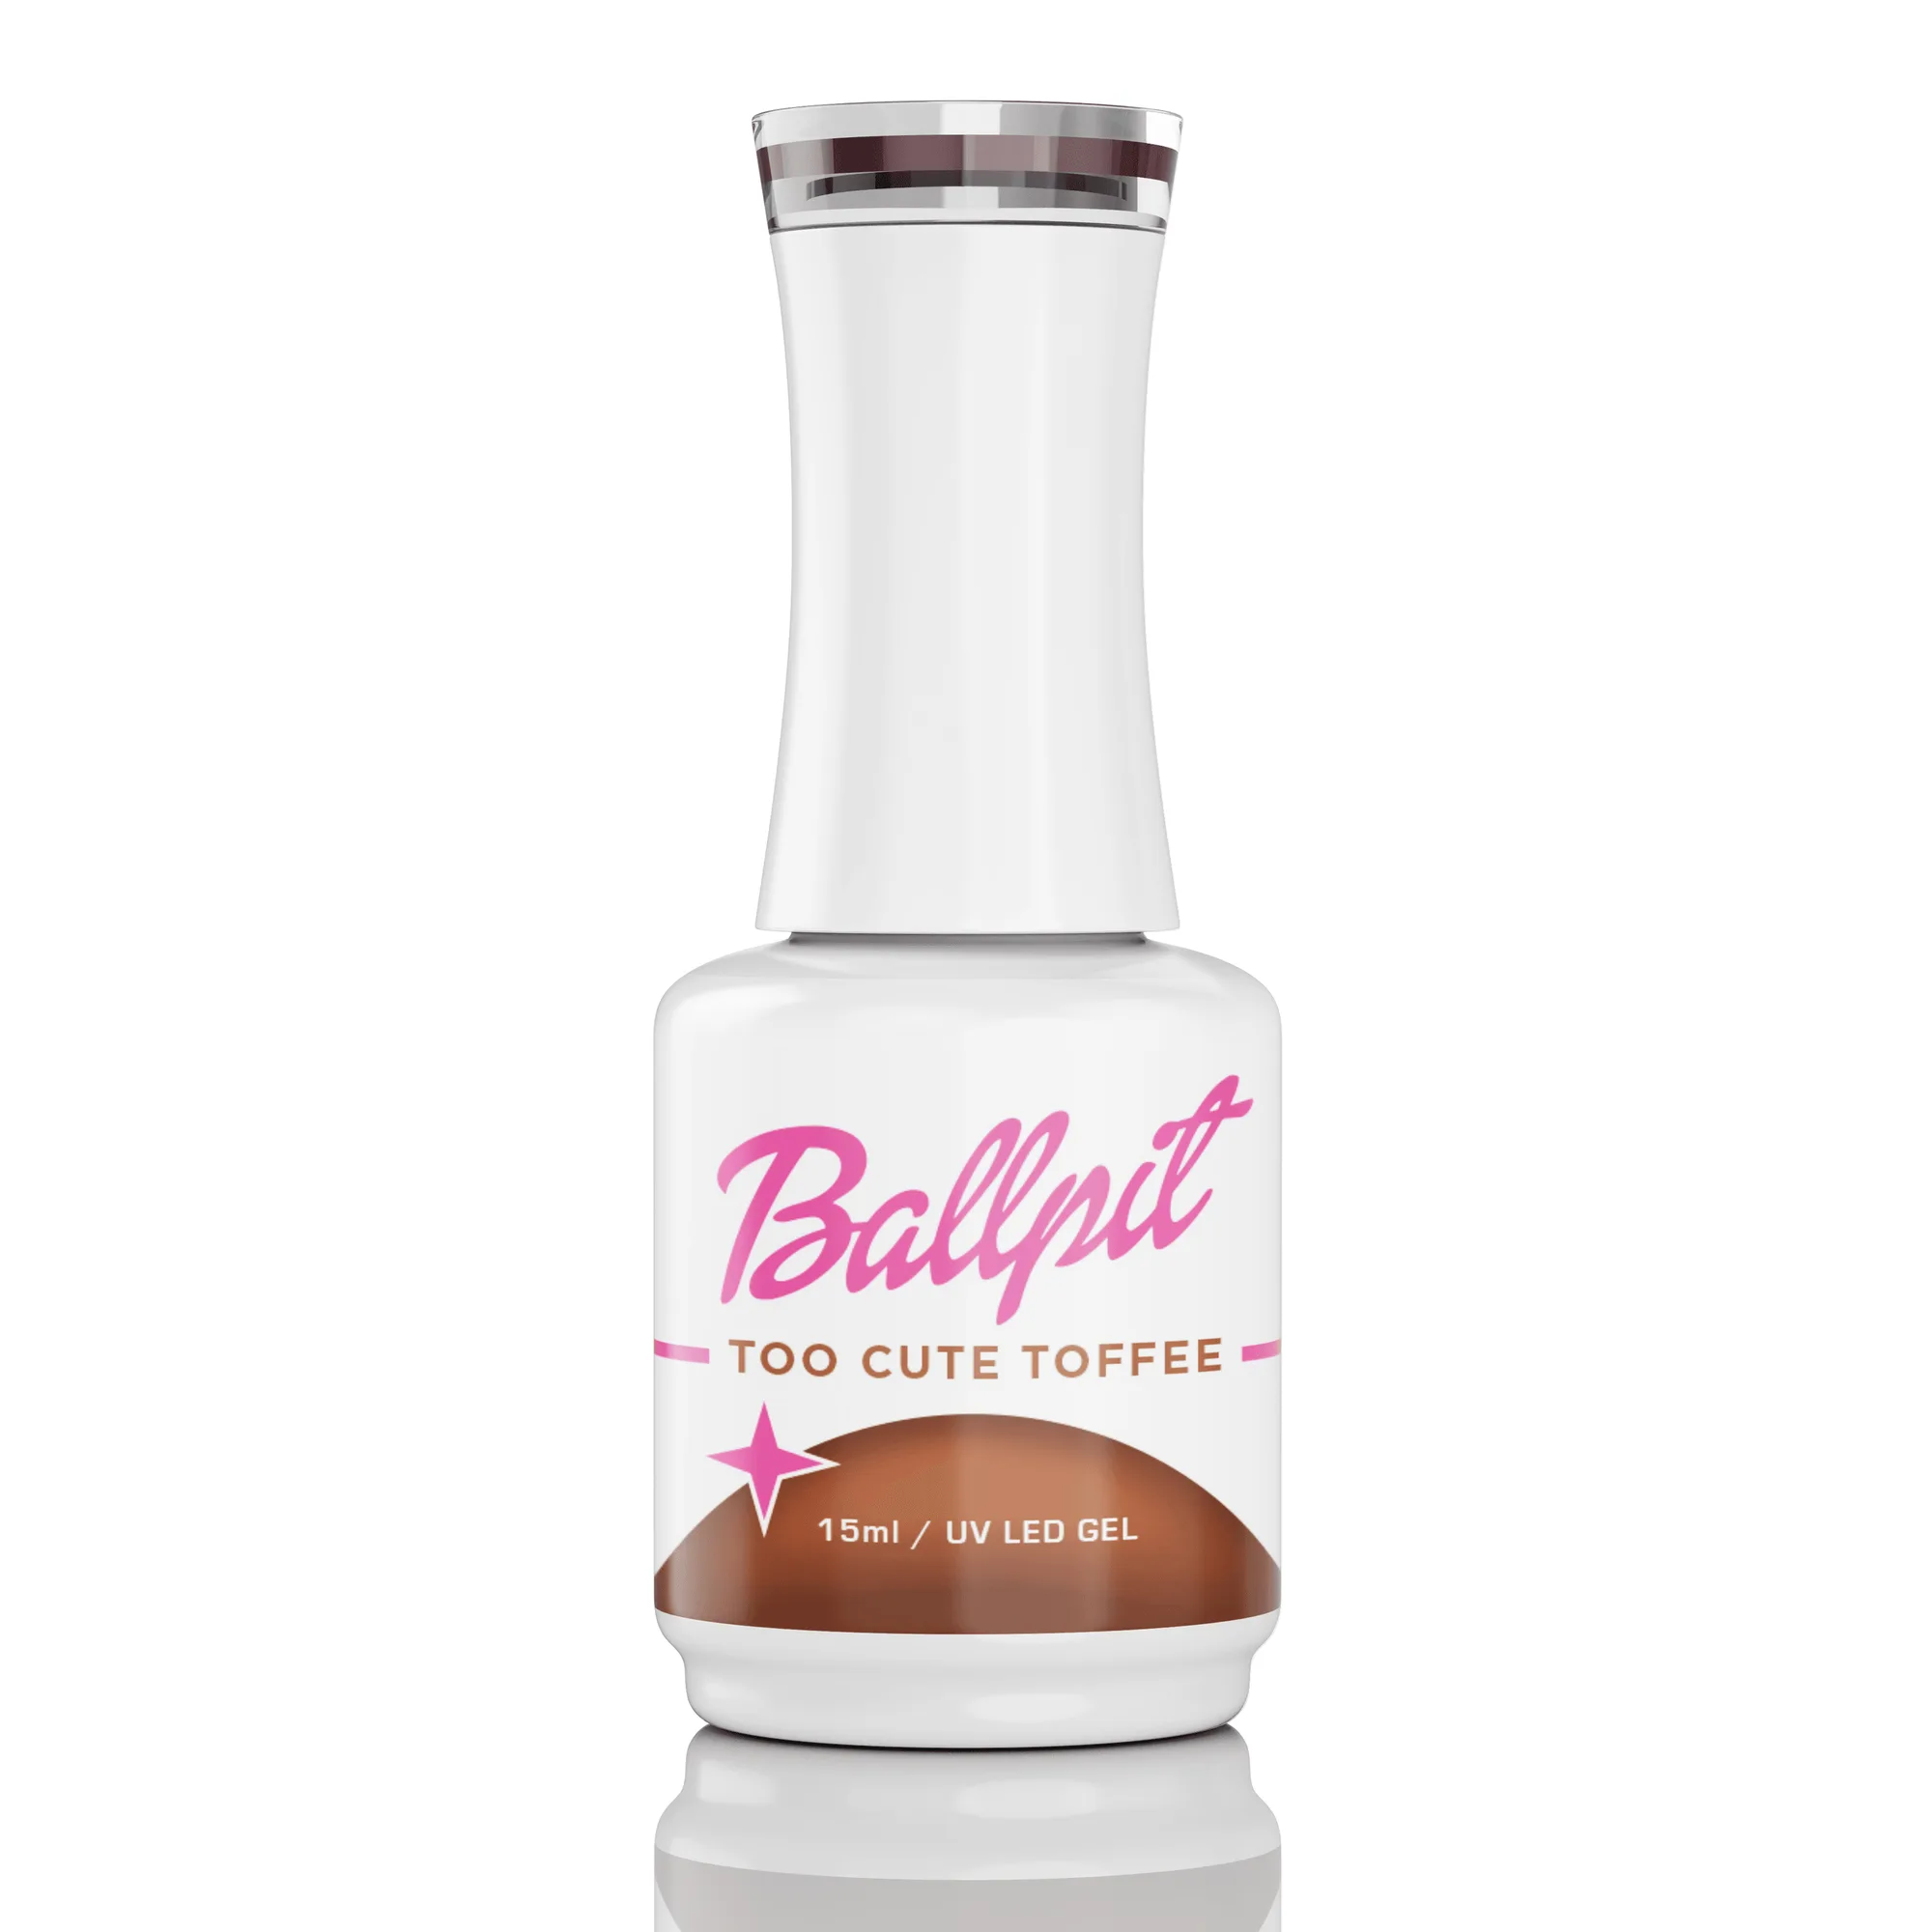
If you are topping a solid color rather than art, the risk drops sharply. Shades like Too Cute Toffee - Gel Polish or Eggnog - Gel Polish, both 15ml UV / LED soak-off gels with the classic creamy gel formula and anti-spread properties, are simple to finish because there is no separate art layer to disturb.
- Stop if the art still moves after two careful attempts
- Rebuild thinner or pick a flat, self-leveling design
- Solid shades are the safest surface for a floated glossy top coat
Smudge Diagnosis: Match the Symptom to the Fix
- Art streaks sideways as soon as the brush touches it: The art layer is not fully cured or is too thick. Cure each art layer completely and rebuild thinner before you attempt top coat again. If it still moves after a full cure, the design layer is the limit, not your technique.
- Top coat pools at the cuticle and looks uneven: You are overloading the brush and pressing too hard. Wipe the brush on the bottle rim and float the bead across the nail in one slow pass. A wet but controlled bead is the goal, not a flood.
- Glossy finish looks cloudy or dull after curing: The top coat layer is too thick or under-cured. Apply two thin coats and cure each one fully under your UV or LED lamp. If dullness persists, check your lamp age and curing time.
- Design still smears after two careful attempts: Stop adding top coat. Switch to a matte finish, which hides texture and does not drag light across uneven art, or rebuild the design as a flat, self-leveling look. Choose another option rather than fighting the same design a third time.
Products That Help You Finish Cleanly
- Glossy x Matte Topcoats Refill Bottles Bundle: 2x 1kg UV / LED soak-off gels using the classic top coat gel formula with anti-spread properties, giving 50+ refills of matte and glossy topcoats (100 refills total). Anti-spread behavior helps the top coat stay where you place it instead of creeping into the art, and having both finishes lets you match the top coat to the design.
- Arctic Amethyst - Winter Crystal sculpting gel: A 5g Winter Crystal sculpting gel from Ballpit Nails that cures with UV or LED lamps and uses the classic creamy gel formula with extreme pigment and anti-spread properties. A smooth sculpting layer can level a textured or 3D design before you add glossy top coat, so the brush has a flat surface to float over.
- Liquid Love - Gel Polish: A 15ml UV / LED soak-off gel in the classic creamy gel formula with extreme pigment and anti-spread properties, in a cherry-red jelly with fine glitter. Fine glitter sits flat, so this shade is a forgiving base for a floated glossy top coat without dragging.
- Magic Grass - Limited Edition Gel Polish: A limited edition 15ml UV / LED soak-off gel with a self-leveling glitter formula, in a dark green jelly with trippy holographic blades of grass. A self-leveling formula smooths itself before curing, which reduces the ridges that catch a top coat brush and cause smearing.
Smudge free top coat over nail art comes down to three things: fully cured art, thin layers, and a floated brush that never presses down. Fix those and glossy top coat stops being the enemy of your design. If a look still fights you, switch finishes or rebuild it flat rather than adding more top coat.