Quick answer
Use a Hera marking tool to crease fabric fibers, leaving a visible but temporary line for quilting without any ink or chalk.
Why choose a Hera tool over other marking methods?
Unlike pens or chalk, a Hera tool creates a crease rather than a mark. This means no residue, no smudging, and no risk of permanent stains on your quilt top. The line fades naturally with handling and washing, making it ideal for light-colored fabrics where ink might show through.
When to skip the Hera tool
A Hera tool works best on woven cotton fabrics. It may not leave a visible crease on heavily textured or napped fabrics like flannel or minky. For very dark fabrics, the crease can be hard to see under poor lighting.
Step-by-step: Marking quilting lines with a Hera tool
- Prepare your fabric and design: Press your quilt top flat. Place your quilting template or ruler on the fabric where you want the line. A common mistake is marking on wrinkled fabric, which can cause the crease to wander. Always press fabric first for straight, accurate lines.
- Hold the Hera tool at a slight angle: Grip the beechwood handle as you would a pencil. Tilt the tip slightly (about 30 degrees) so the rounded edge creates a crease rather than a scratch. Press firmly but smoothly along the edge of your ruler or template. A straight 90-degree angle may not produce a visible crease.
- Check the line and begin quilting: Lift the ruler and inspect the crease. It should appear as a subtle indentation, not a cut. Start stitching directly on the crease. The line will fade as you handle the fabric, so quilt within a few hours if possible. If the crease is too faint, go over it again with slightly more pressure.
Product spotlight
-
Hera Marking Tool: This natural beechwood Hera tool glides gently, leaving a delicate yet clear trace to guide your quilting path. You get precise lines without damaging delicate fabrics, and the tool is comfortable to hold for long marking sessions.
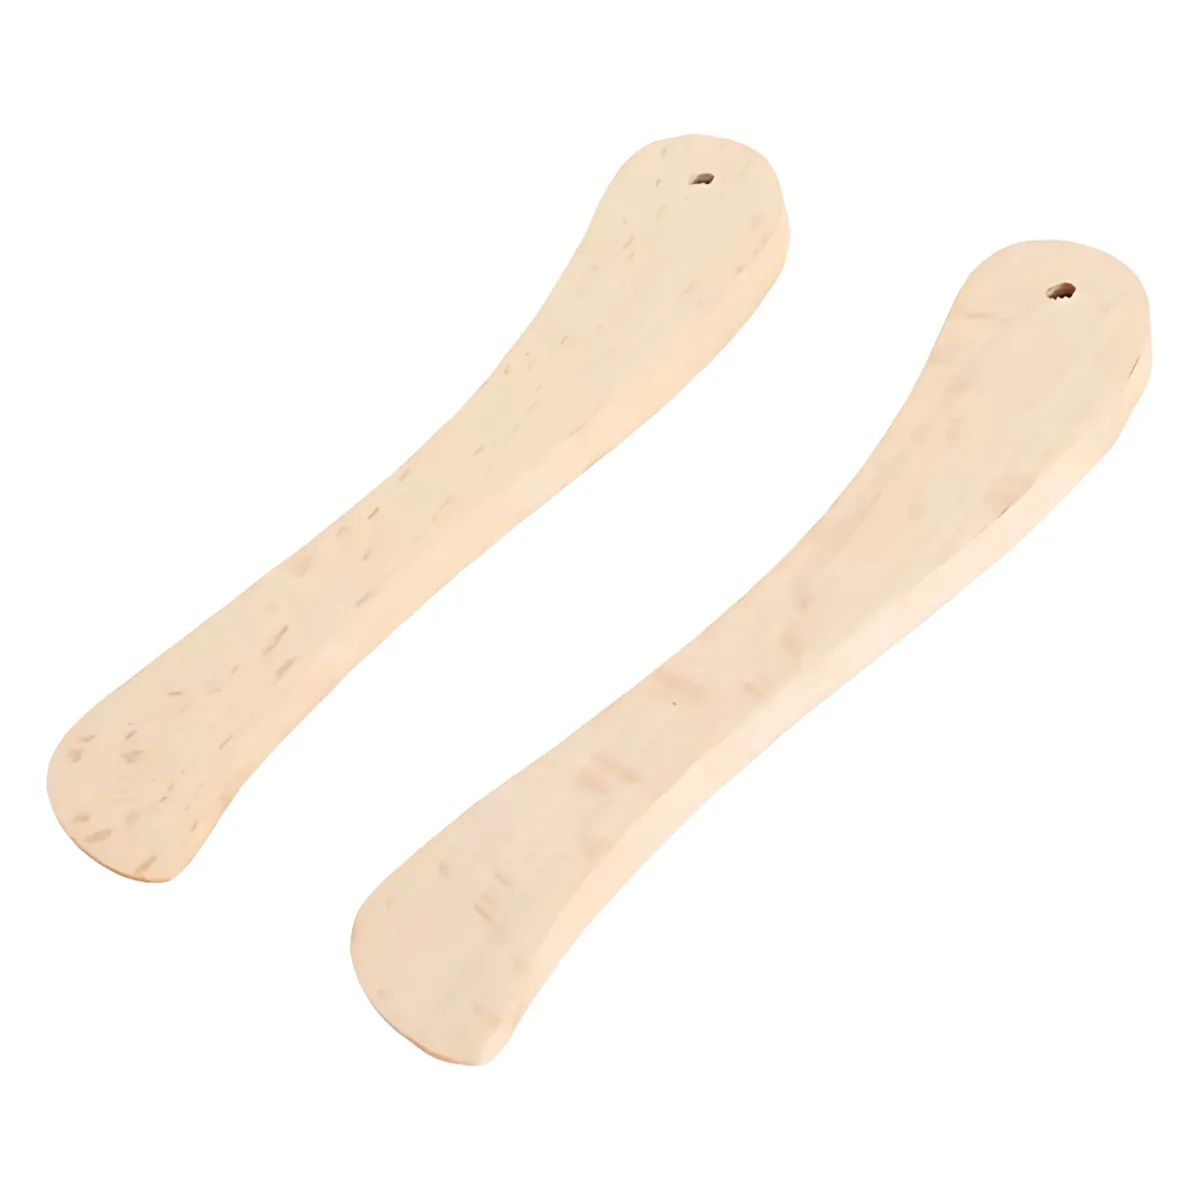
Hera Marking Tool