Quick Answer
Use pre-cut hexagon paper piecing shapes for fuss-free English paper piecing, and pair them with a no-melt or heavy-duty plastic template when you need to cut your own shapes or press seams without damaging your template.
Why Paper Piecing Shapes Beat DIY Templates
Pre-cut hexagon paper piecing shapes save time and ensure accuracy. They are made from card stock that is heavy enough to hold its shape during basting and sewing, yet flexible enough to remove easily from the fabric. This makes them ideal for beginners and for projects with many identical shapes.
If you prefer to cut your own templates, a plastic template gives you the freedom to trace any size or shape. Choose a no-melt Mylar template if you plan to press seam allowances over the template edge, or a heavy-duty translucent template for repeated tracing and positioning on fabric.
Step-by-Step Guide to Hexagon Paper Piecing
- Prepare your fabric and shapes: Cut fabric pieces large enough to cover each hexagon shape with at least a 1/4-inch seam allowance on all sides. Place the paper shape on the wrong side of the fabric, centering it. Check that the fabric covers the shape completely before basting to avoid gaps.
- Baste the fabric over the shape: Fold the fabric over the paper shape and secure with basting stitches. Start on one side and work around, keeping the fabric taut but not stretched. Use a needle and thread, no sewing machine is required for this step. Make sure the corners are sharp and the fabric lies flat to ensure crisp edges.
- Join the shapes together: Place two basted shapes right sides together and whip stitch along one edge, catching only the fabric folds. Use small, even stitches and do not catch the paper. Continue adding shapes to form your design. Keep the paper shapes in place until all seams are sewn; removing them too early can distort the fabric.
- Remove the paper shapes: Once all shapes are joined, gently remove the basting stitches and pull out the paper shapes. The card stock should slide out easily if you used the right tension. If the paper is stubborn, use a blunt needle to ease it out without tearing the fabric.
- Press the finished piece: Press the seams flat with a warm iron. If you used a plastic template to create your own shapes, use a no-melt Mylar template so you can press seam allowances over the template edge without damaging it. Always test a small corner first to ensure your iron temperature is safe for both fabric and template.
Products That Help
-
1-1/2" Hexagon Paper Piecing Shapes, 100 pc: These Dritz paper piecing shapes are reusable, pre-cut hexagons made from card stock that holds its shape but is flexible enough for easy removal. You can skip template cutting and get consistent, accurate hexagons every time, making your English paper piecing faster and more precise.
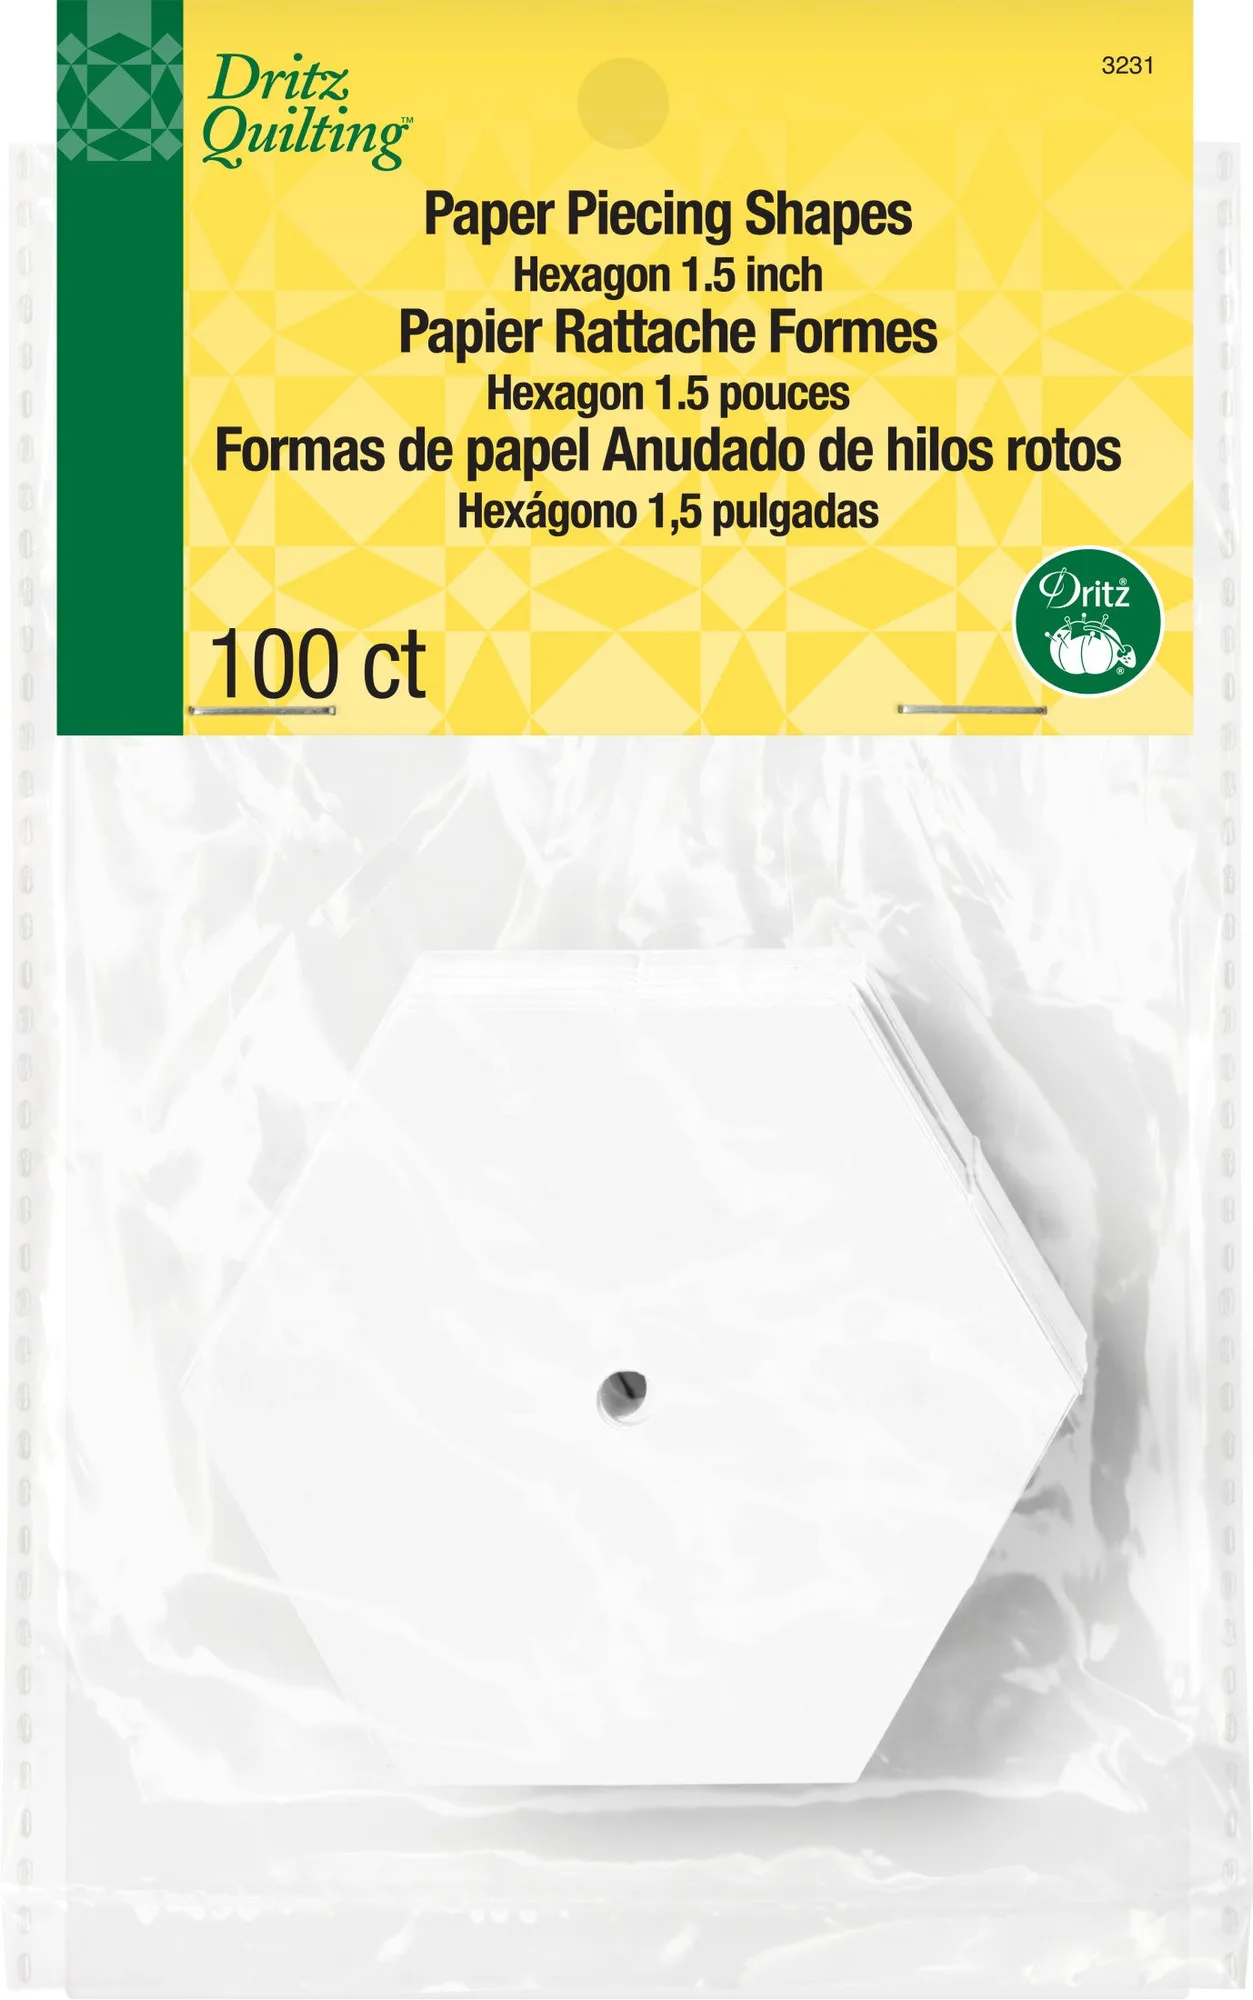
1-1/2" Hexagon Paper Piecing Shapes, 100 pc
-
No-Melt Mylar Plastic Template: This Dritz No-Melt Mylar Plastic Template is durable and won't melt when you press seam allowances over its edges with an iron. You can press seams directly on the template without worrying about warping, which is a common problem with other plastics.
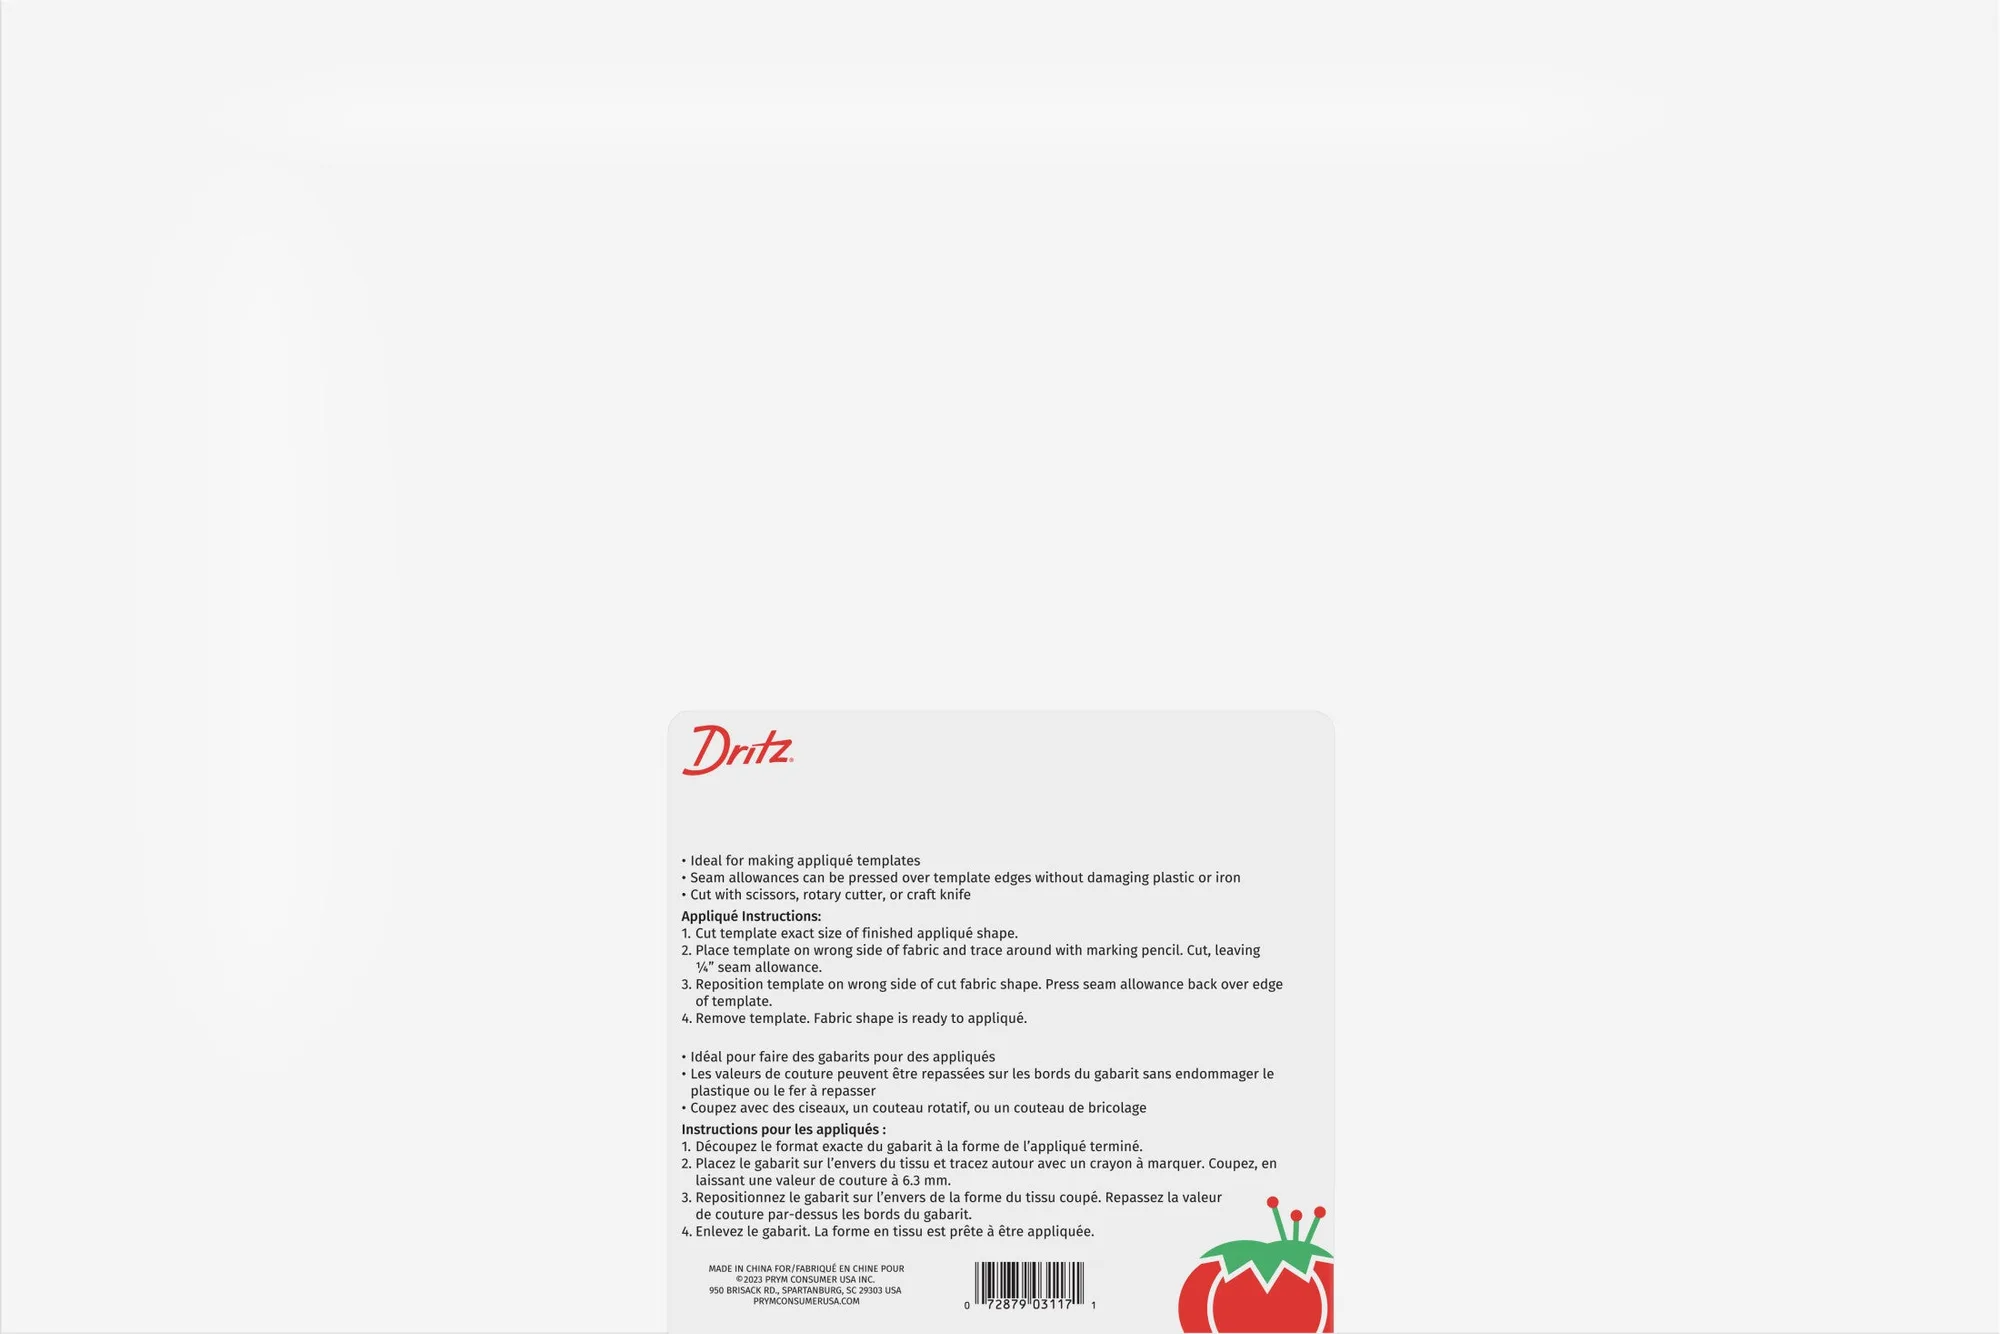
No-Melt Mylar Plastic Template
-
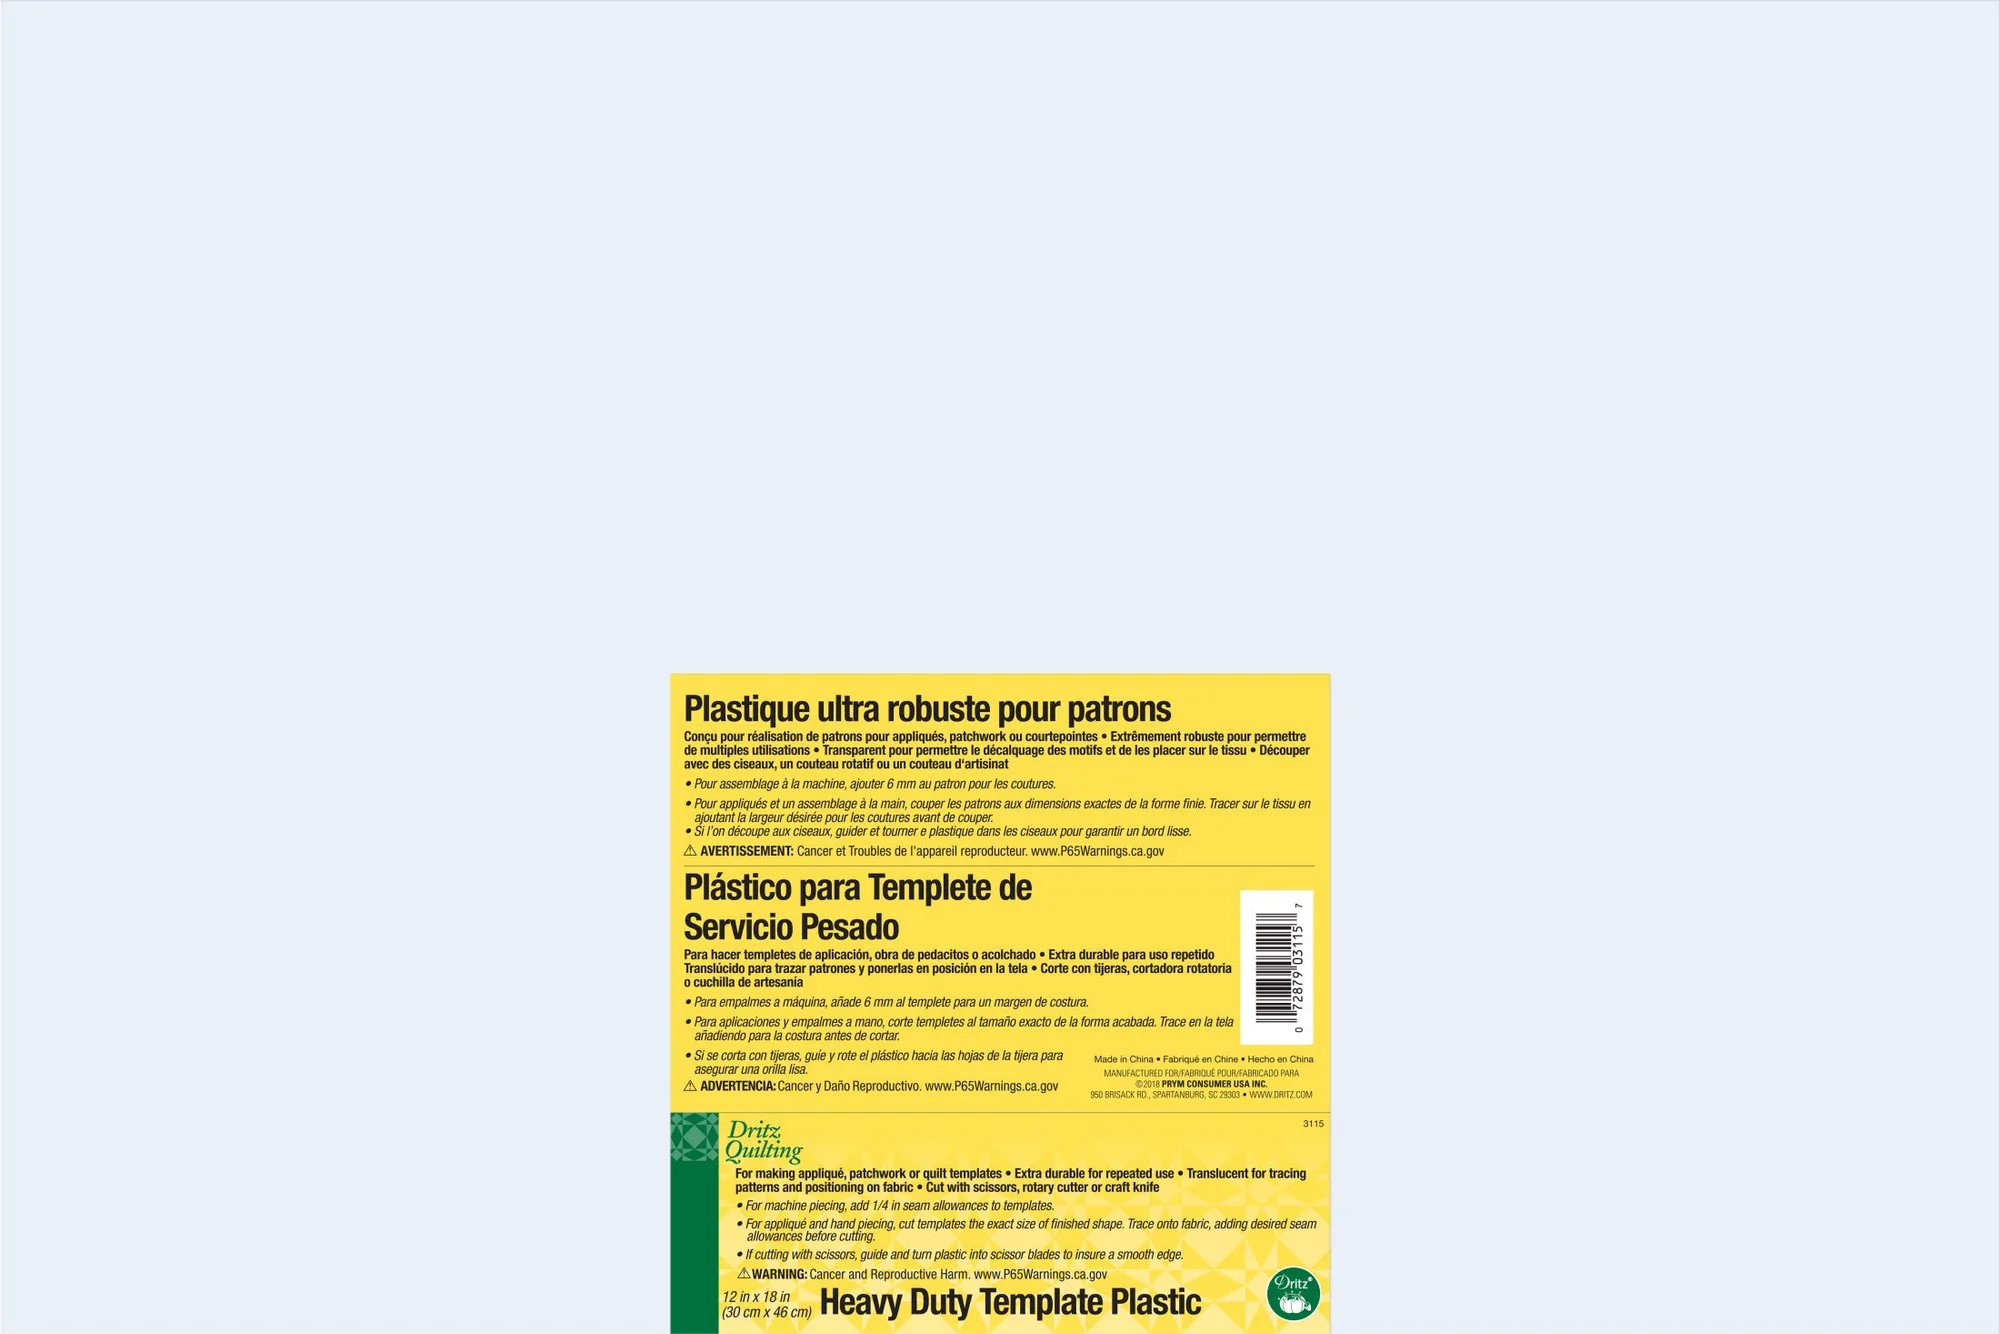
Heavy Duty Plastic Template: This Dritz Heavy Duty Plastic Template is translucent, extra durable for repeated use, and can be cut with scissors, rotary knife, or craft knife. The translucency lets you trace patterns directly onto fabric and position them easily, while the durability ensures it lasts through many projects.