Quick answer
To use an LED wand for acne and redness, start with clean dry skin, treat active breakouts with blue light, then switch to red light for overall redness and healing. A consistent routine of 3–5 sessions per week delivers visible results.
Why use an LED wand for acne and redness?
LED wands offer a targeted approach: blue light kills acne-causing bacteria on the surface, while red light penetrates deeper to reduce inflammation and support repair. This dual action makes them effective for both active breakouts and lingering redness.
Unlike masks that treat the whole face at once, a wand lets you focus on specific spots—helpful when you have only a few pimples or isolated redness. The trade-off is that it takes a bit more time per session since you're treating area by area.
Step-by-step LED wand routine for acne and redness
- Step 1: Cleanse and dry your face thoroughly: Wash your face with a gentle cleanser and pat dry. Any lotion, serum, or sunscreen on the skin can block the light from reaching the target area. Wait until your skin is completely dry before starting. Common mistake: applying LED over damp or product-covered skin reduces effectiveness.
- Step 2: Treat active breakouts with blue light first: Turn on the blue light setting and hold the wand about 1–2 inches from each pimple. Move slowly in small circles for 30–60 seconds per spot. Blue light targets the P. acnes bacteria that cause breakouts. Checkpoint: don't press the wand directly on the skin—keep a slight gap to avoid overheating.
- Step 3: Switch to red light for redness and healing: After blue light, change to red light mode. Glide the wand over areas with persistent redness, post-acne marks, or general inflammation. Spend about 1–2 minutes per cheek, forehead, and chin. Red light calms irritation and supports skin repair. Common mistake: rushing this step. Give red light enough time to penetrate and work.
- Step 4: Finish with a gentle moisturizer: After your session, apply a lightweight, non-comedogenic moisturizer. LED treatment can be slightly drying, so hydration helps maintain the skin barrier. Avoid active ingredients like retinol or acids immediately after to prevent irritation. Checkpoint: wait at least 5 minutes after treatment before applying any product.
- Step 5: Repeat 3–5 times per week for best results: Consistency matters more than session length. Aim for 3–5 sessions weekly, each lasting about 5–10 minutes. You may see initial improvement in breakouts within 2 weeks, while redness reduction can take 4–6 weeks. Common mistake: overusing the wand daily thinking more is better—your skin needs rest between sessions.
Product spotlight
-
LumaGlow Red & Blue | LED Light Therapy Wand: FDA-cleared red and blue light therapy wand with 44 LEDs per panel designed to focus treatment on specific problem areas. You can precisely target individual pimples or red patches without exposing the entire face to light, making each session more efficient.
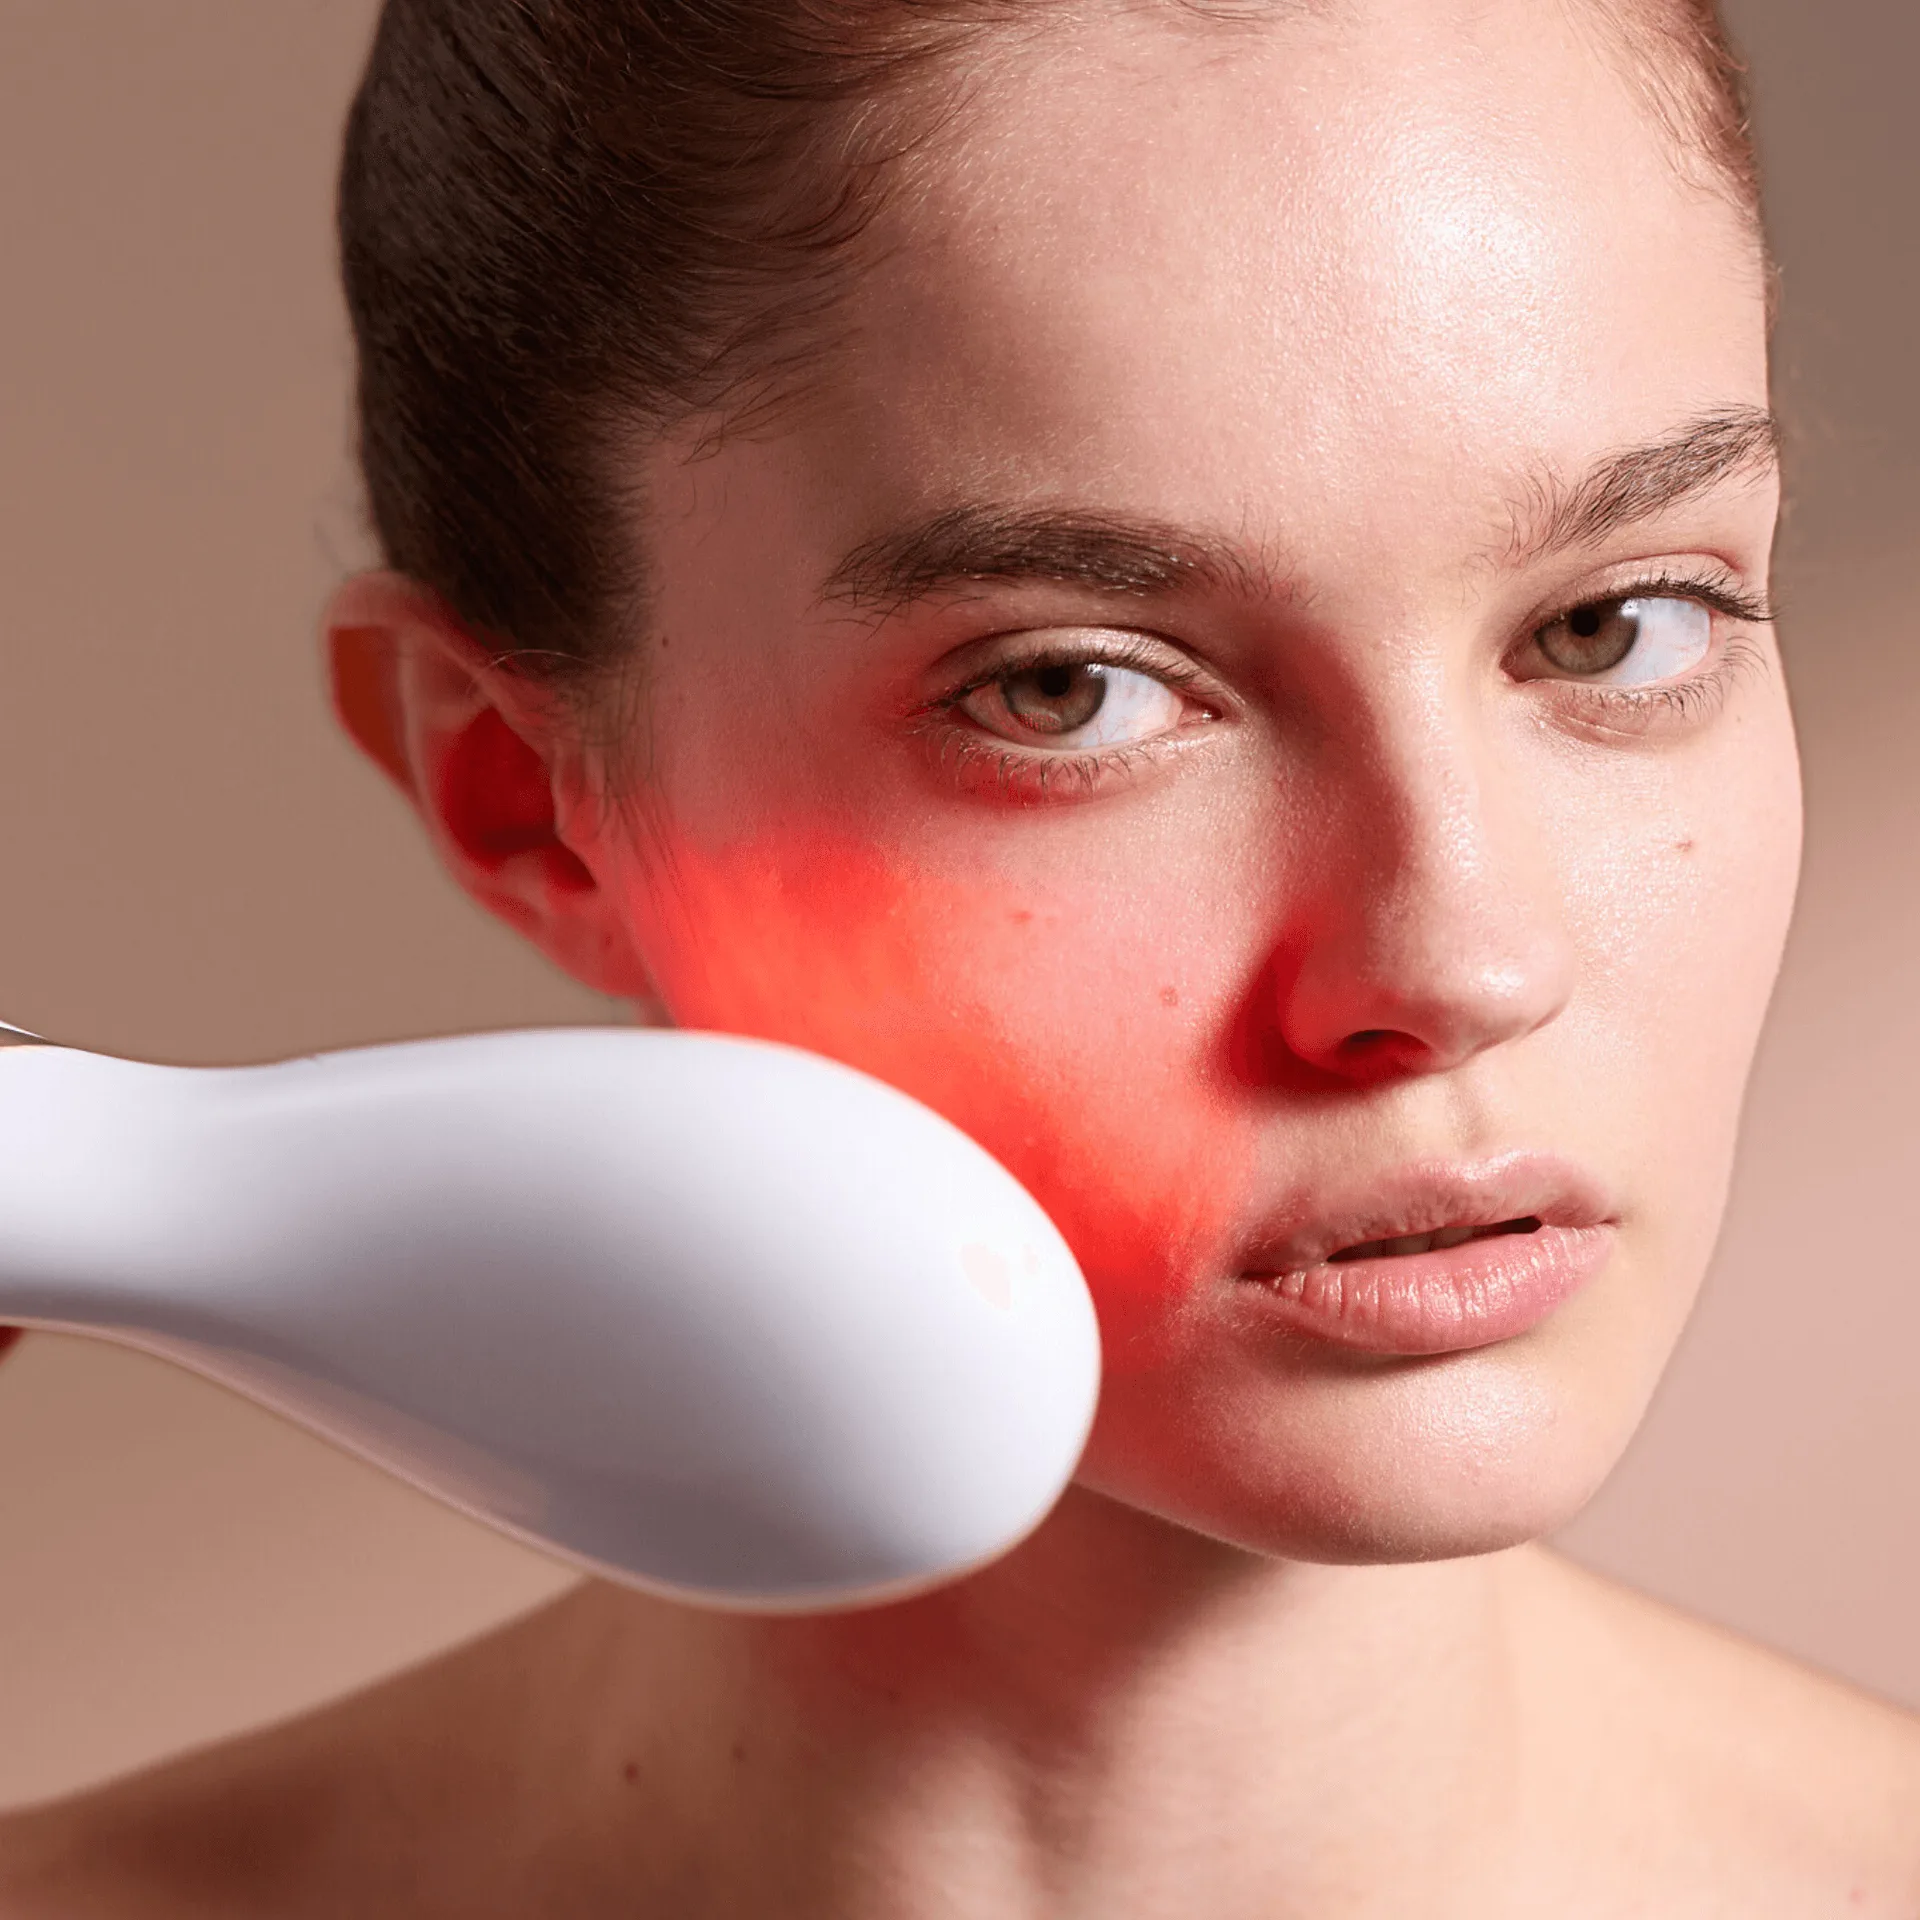
LumaGlow Red & Blue | LED Light Therapy Wand


