Quick answer
To use the Magical Sun Art kit, arrange stencils on sun paper, expose to sunlight for 10 minutes, dip in water to set the image, let dry, then color with markers.
Why sun paper works best outdoors
Sun paper relies on UV light to create its magic. Overcast days or indoor lighting won't produce strong silhouettes. For the crispest results, pick a sunny day and work in a spot where the paper gets direct, uninterrupted sunlight for the full 10 minutes.
If you're short on sunshine, you can use a UV lamp, but natural sunlight gives the most even exposure. Keep an eye on the clock—overexposure can wash out the image, while underexposure leaves it faint.
Step-by-step sun print instructions
- Gather your supplies and choose a sunny spot: Take the sun paper, stencils, a shallow tray of water, and markers outside. Find a flat surface in direct sunlight. Avoid windy areas so the paper and stencils stay in place. Check the weather forecast—clouds can interrupt the exposure and ruin the print.
- Arrange the stencils on the sun paper: Place the sun paper with the blue side facing up. Arrange the nature-themed stencils (leaves, flowers, insects) on top. Press them down gently so they lie flat against the paper. If a stencil curls up, tape its edges to the paper with a tiny piece of removable tape.
- Expose to sunlight for exactly 10 minutes: Leave the paper with stencils in direct sunlight. Set a timer—don't guess. The paper will change from blue to a pale, almost white color as it exposes. After 10 minutes, bring the paper indoors. If you leave it longer than 12 minutes, the contrast fades. If less than 8, the image stays too light.
- Dip the paper in water to set the image: Submerge the exposed paper in a tray of plain water for about 1 minute. The blue color will deepen, and the silhouettes become more vivid. Remove the paper and lay it flat to dry on a towel or paper towel. Don't rub the paper while it's wet—the image can smear. Let it air dry completely before the next step.
- Add color with markers (optional): Once the paper is fully dry, use the markers to color in the silhouettes or add details around them. The markers work best on the white areas left by the stencils. Test the markers on a corner first. Some markers may bleed if the paper is still damp.
What you need to know about the kit
-
Magical Sun Art: Out In Nature | Sun Paper Art Kit (ages 4-12): Spark creativity with this science-powered craft! Arrange stencils on sun paper, let the sunlight work its magic for 10 minutes, and watch stunning silhouettes appear. Dip the paper in water to enhance the effect, let it dry, and then add vibrant colors with markers to complete your masterpiece! The kit includes everything except water and markers, making it a self-contained outdoor activity that teaches kids about light and shadow while they create art.
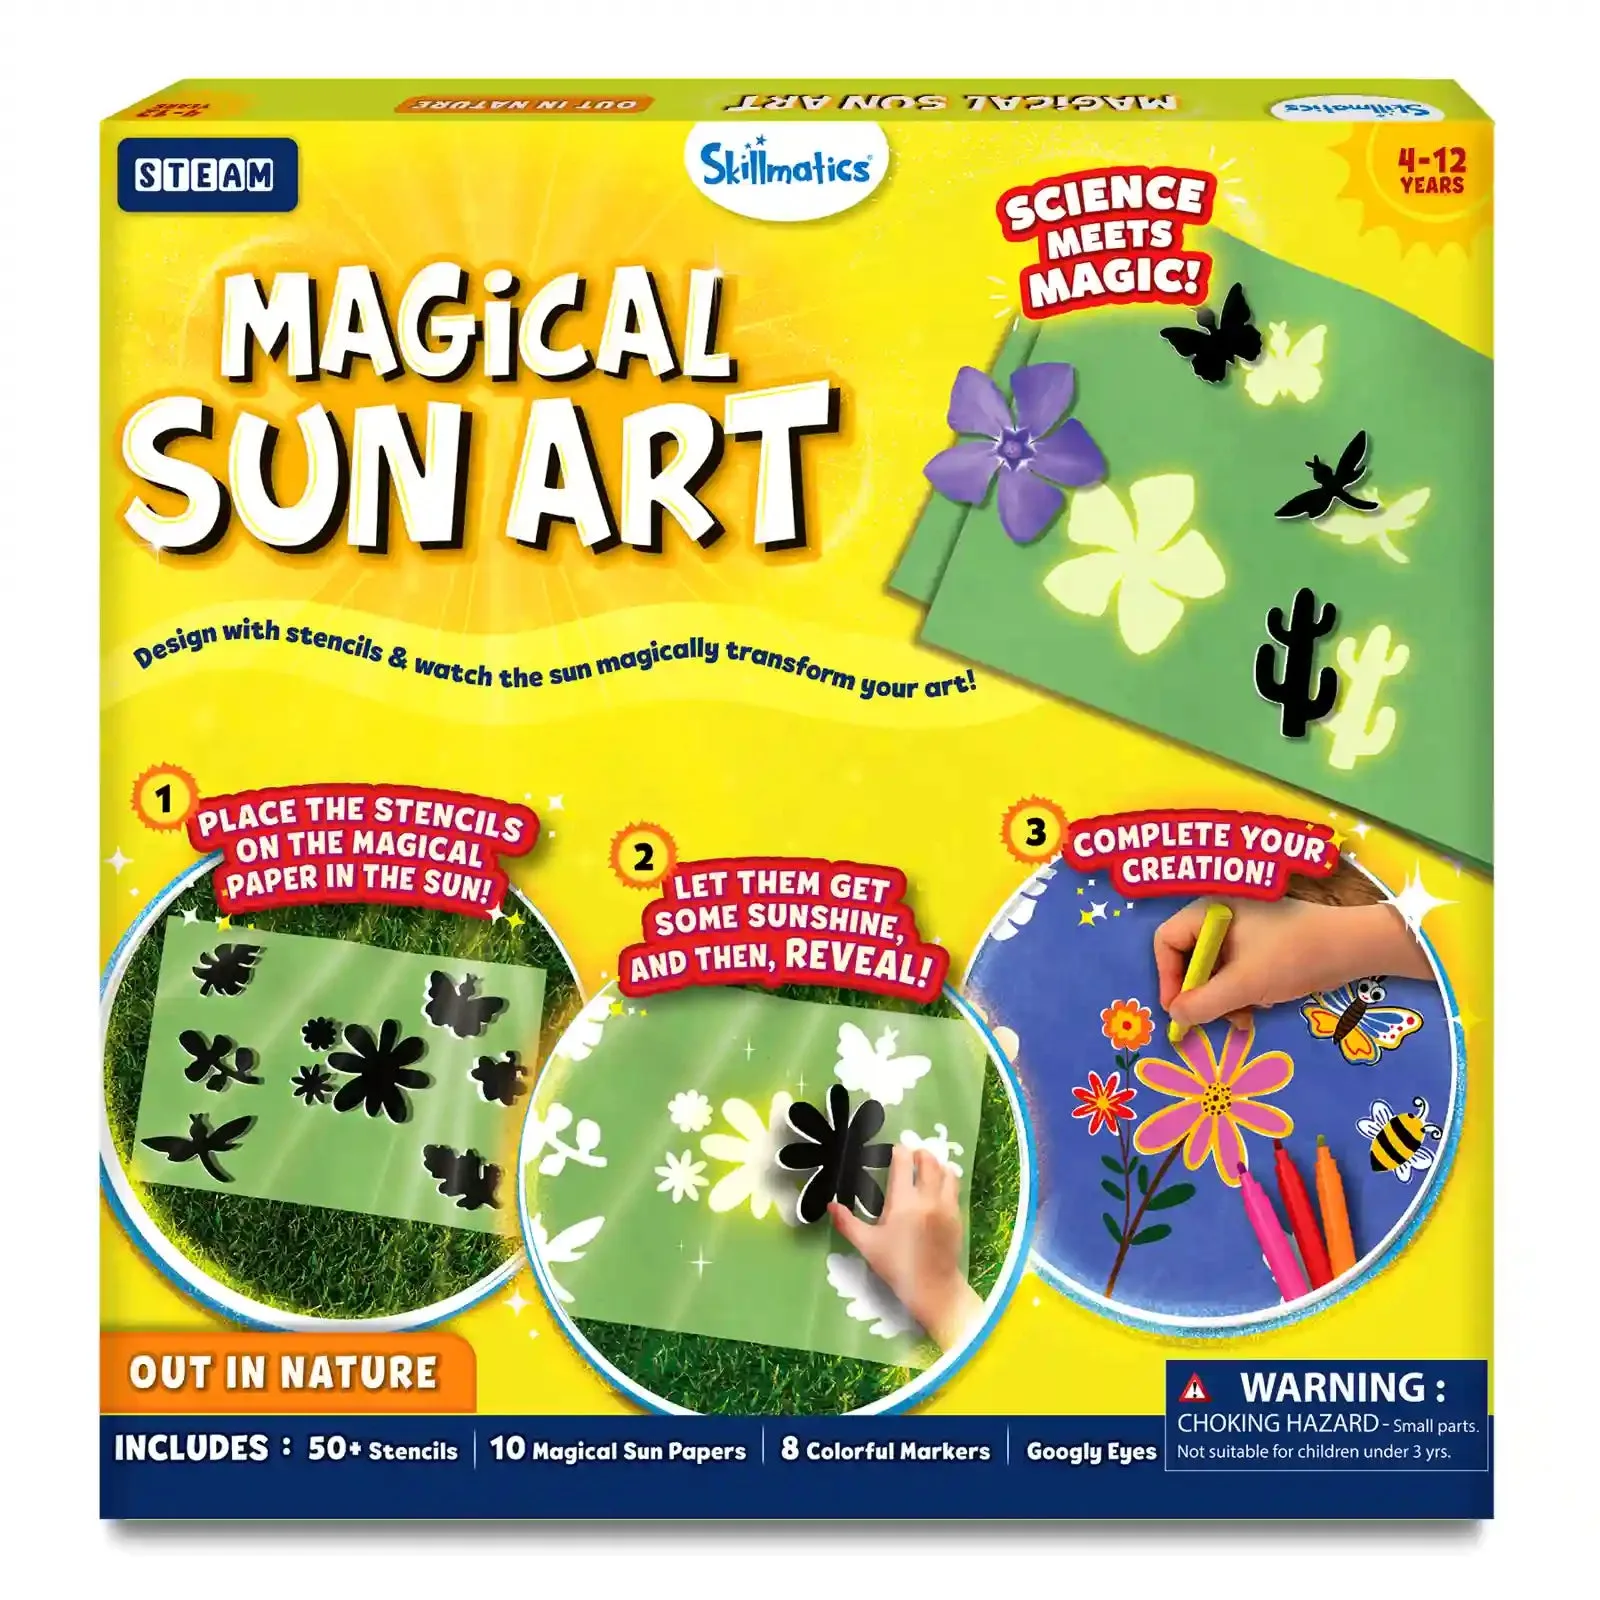
Magical Sun Art: Out In Nature | Sun Paper Art Kit (ages 4-12)