Quick answer
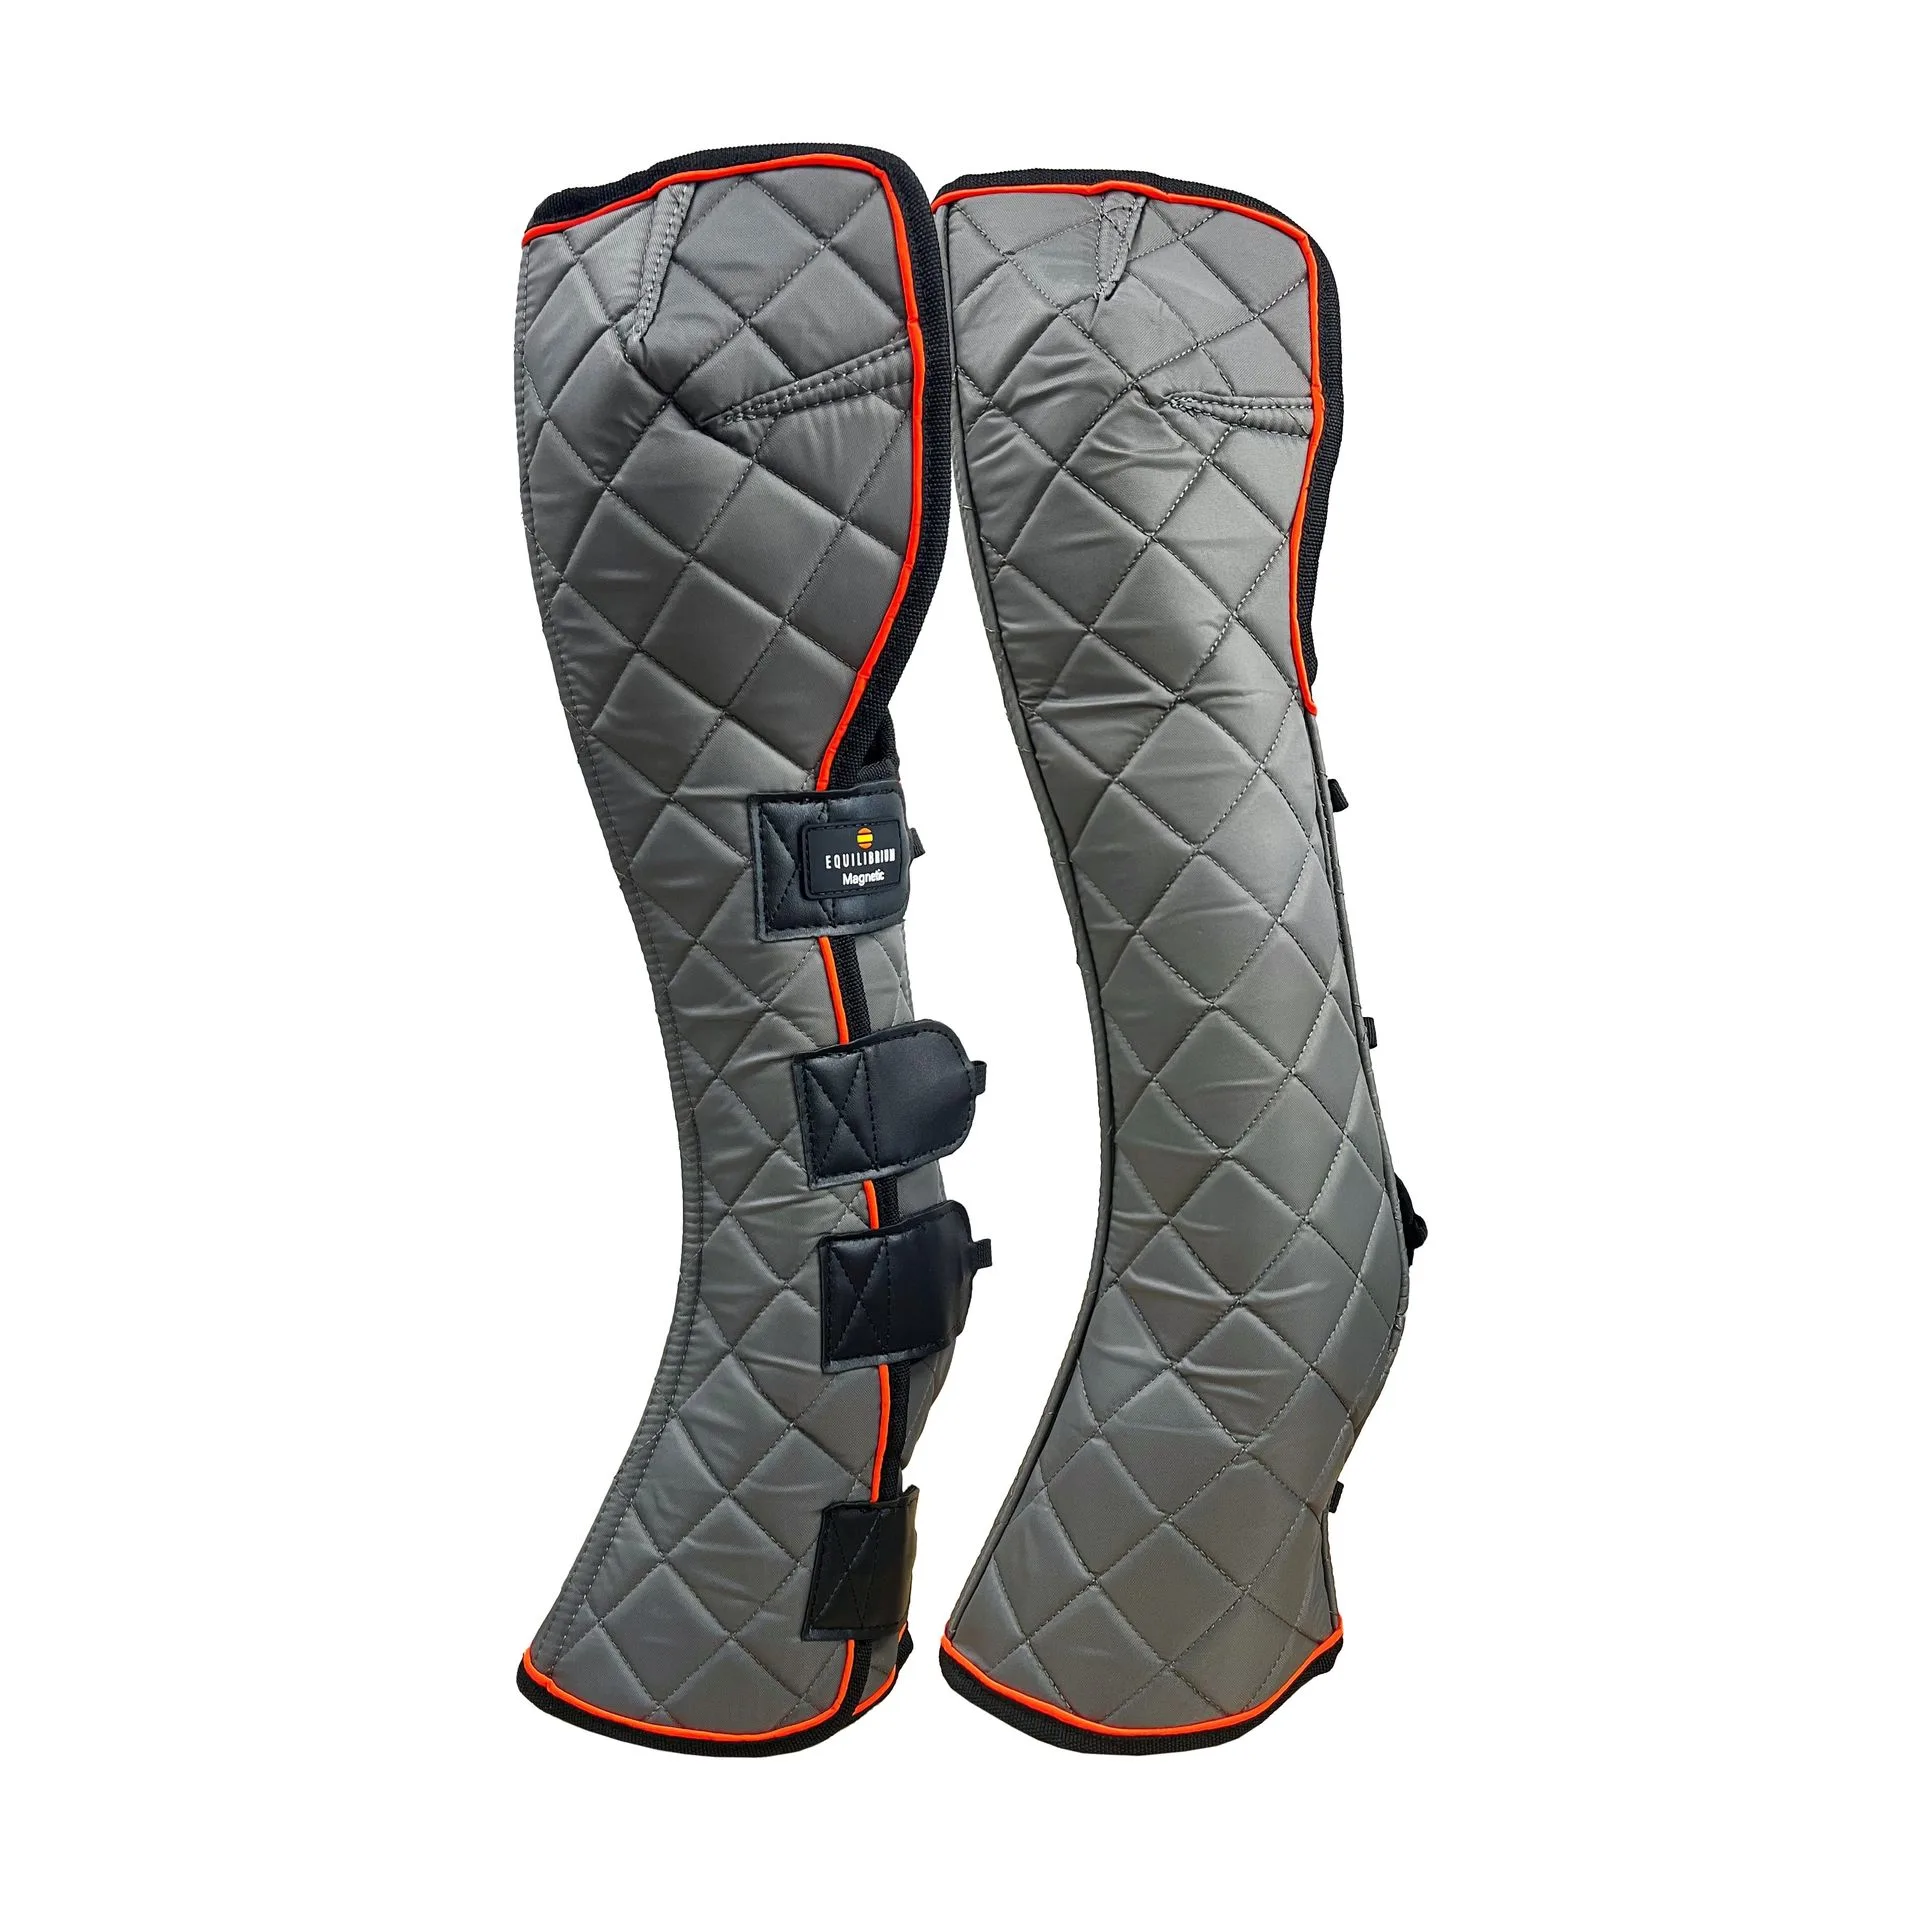
Use magnetic boots for horse leg recovery only after your vet has cleared the leg for magnetic therapy, and only on clean, dry, intact skin. Place the boots so the magnets sit over the area your vet or therapist has identified, keep sessions short and consistent, and check the skin and the fit before and after every use. Magnetic boots support mobility, joint function, and healthy muscles; they are not a substitute for veterinary diagnosis or treatment.
What magnetic boots can and cannot do for leg recovery
Magnetic boots for horses are designed to support mobility, aid joint function, and maintain healthy muscles. They are a complementary therapy, not a treatment for injury. If your horse has swelling, heat, a wound, or lameness, the first step is always a veterinary assessment, not a boot.
The practical value of equine magnetic therapy is that it is easy to apply consistently and can be built into a daily routine without disrupting turnout, ridden work, or rest. The limitation is that the effect depends on correct placement and regular, sensible use, so the steps below focus on doing both well.
Before you start: checks that prevent wasted sessions
Confirm with your vet that magnetic therapy is appropriate for the specific leg issue and stage of recovery. Some conditions, including open wounds, active infections, and certain circulatory problems, are not suitable for magnets, and a vet is the only person who can make that call.
Clip or clean the leg so the boot sits flat, and check for mud, bedding, or scurf that could rub. If the leg is hot, swollen, or painful to touch, do not boot it and do not work the horse; call your vet instead.
Placement: where the magnets should sit
Magnetic boots work best when the magnets are positioned over the area that needs support, so placement matters more than session length. If your vet or therapist has identified a specific spot, line the boot up so the magnetic field covers it rather than sitting above or below it.
The Equilibrium Magnetic Rug uses movable magnets, and the Spare Magnets - 2 x Long can be repositioned anywhere within the rug lining to target specific areas. That same logic applies to boots: if the design allows adjustment, use it, and if it does not, ask your vet or therapist whether the fixed placement is right for your horse.
Session timing and frequency
Start with short sessions and build up only if your horse is comfortable and the leg responds well. There is no single correct duration for every horse, so treat the first week as a trial: note how the leg looks and feels before and after each session, and adjust based on what you see rather than a fixed number.
Consistency matters more than intensity. A shorter session used daily is more useful than an occasional long one, and it is easier to spot changes in the leg when the routine is stable.
After each session: what to check
Remove the boots, check the skin for rubs, heat, or swelling, and clean the boots according to the manufacturer's instructions before storing them. If the leg looks worse after a session, stop using the boots and speak to your vet.
Keep a simple written record of session times, what you observed, and any changes in the leg. That record is far more useful to your vet than a general impression, and it helps you decide whether to continue, adjust, or stop.
Step-by-step: using magnetic boots for leg recovery
- Get veterinary clearance first: Ask your vet to confirm that magnetic therapy is appropriate for the leg and the stage of recovery before you use any magnetic boot. Common mistake: assuming magnets are harmless and skipping this step. If the leg is hot, swollen, or wounded, do not boot it.
- Prepare the leg and the boot: Clean and dry the leg, check the skin for cuts or rubs, and make sure the boot lining is clean and free of debris. Checkpoint: the boot should sit flat against the leg with no folds or grit trapped underneath.
- Position the magnets over the target area: Line the boot up so the magnetic field covers the area your vet or therapist has identified, adjusting placement if the design allows it. Common mistake: pulling the boot on without checking where the magnets actually sit.
- Start with a short session and build gradually: Begin with a brief session, observe how the leg looks and feels afterwards, and only extend the time if your horse is comfortable and the leg responds well. Checkpoint: stop and call your vet if the leg becomes hotter, more swollen, or more painful.
- Check the leg after every session: Remove the boots, inspect the skin for rubs or heat, and compare what you see with the previous session. Common mistake: leaving boots on for hours because nothing seems to be happening. Consistency beats duration.
- Keep boots clean and record what you observe: Wash the boots as directed, store them dry, and note session times and leg changes in a simple log. Next step: share the log with your vet at the next check so the plan can be adjusted on evidence, not guesswork.
Product facts
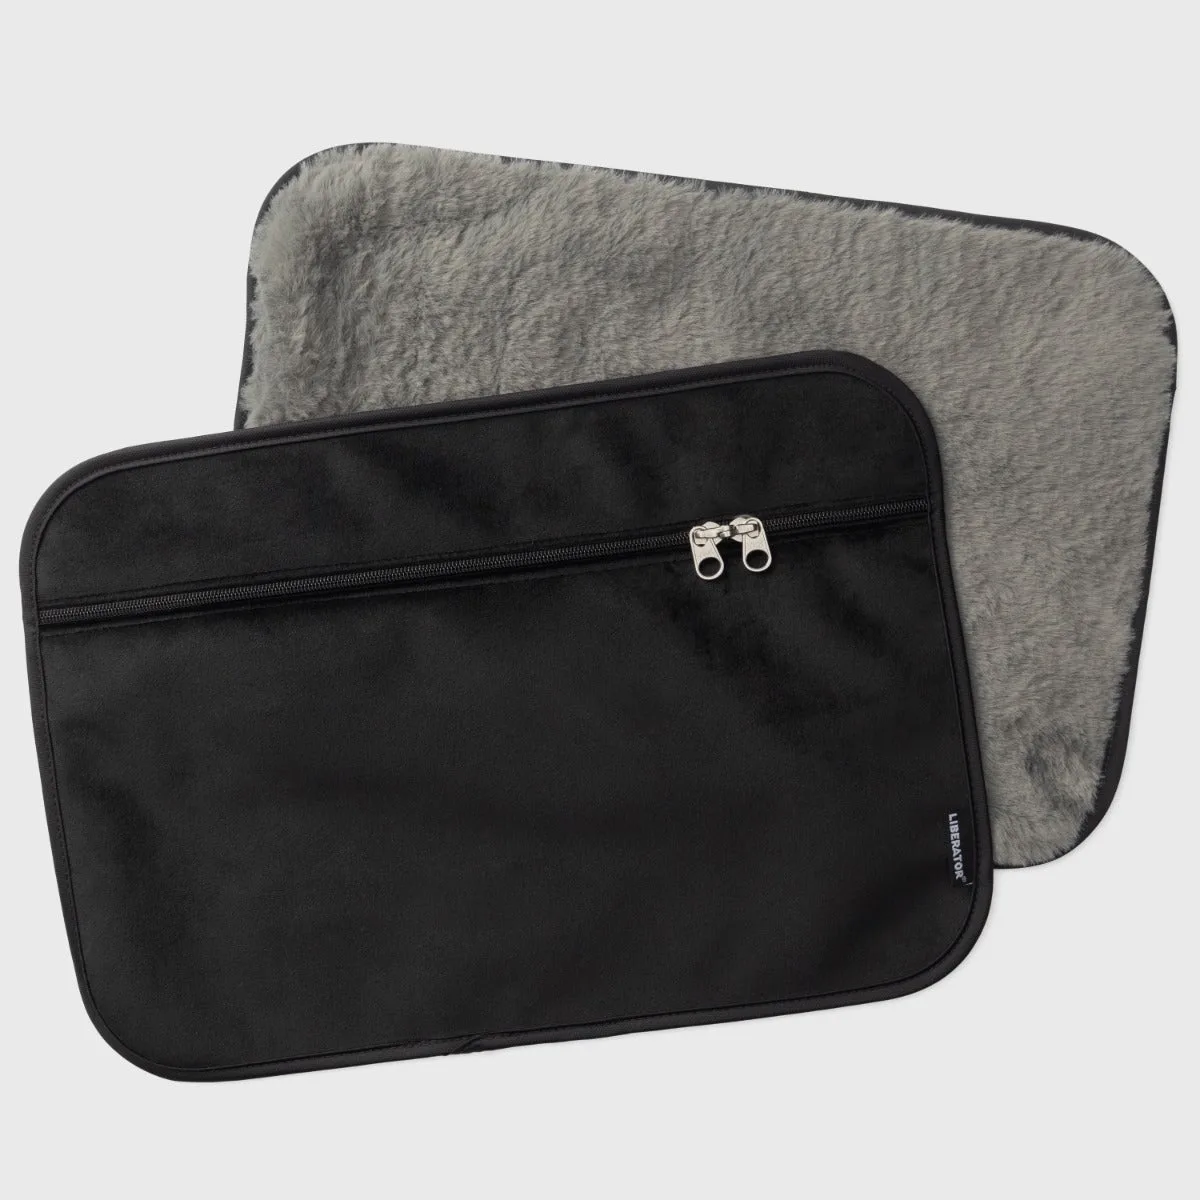
- Spare Magnets - 2 x Long: Spare Magnets - 2 x Long are moveable magnets designed to be used within the Equilibrium Magnetic Rug, supplied with washable pillow packs and covered by a 1-year guarantee; each magnet is 25 cm long. If your recovery plan targets a specific area, moveable magnets let you position the field where it is needed rather than accepting a fixed placement.
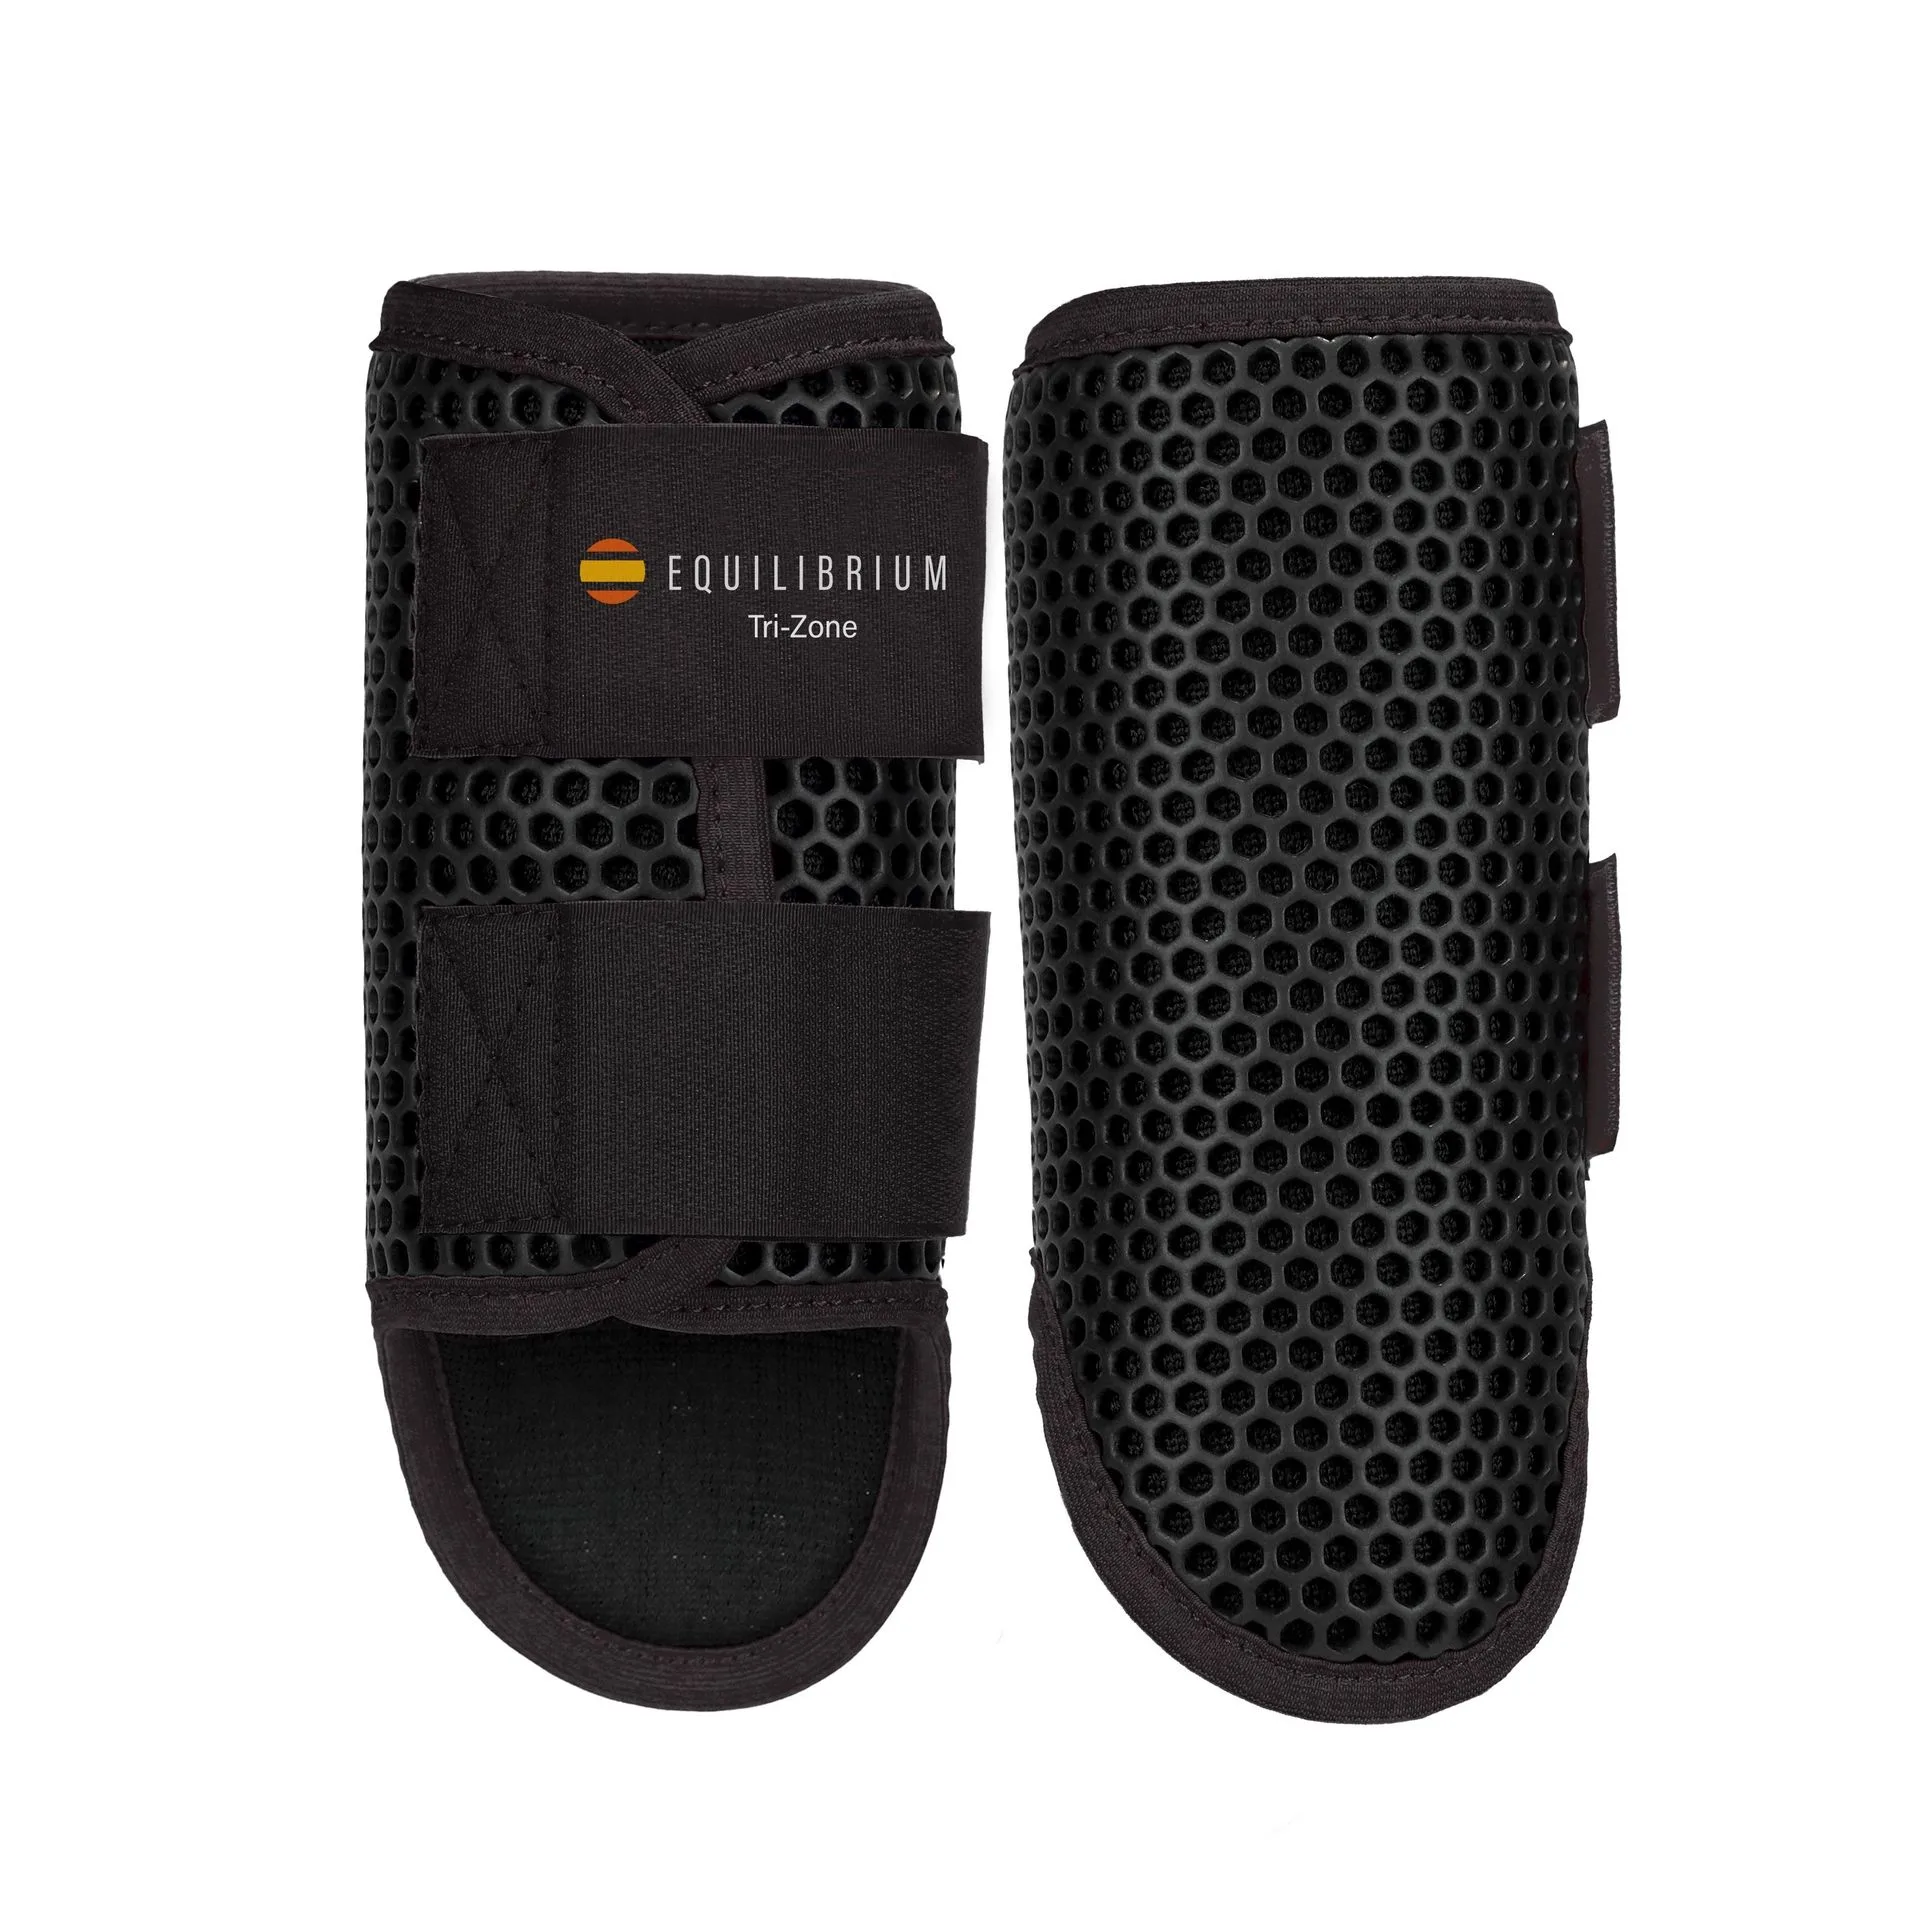
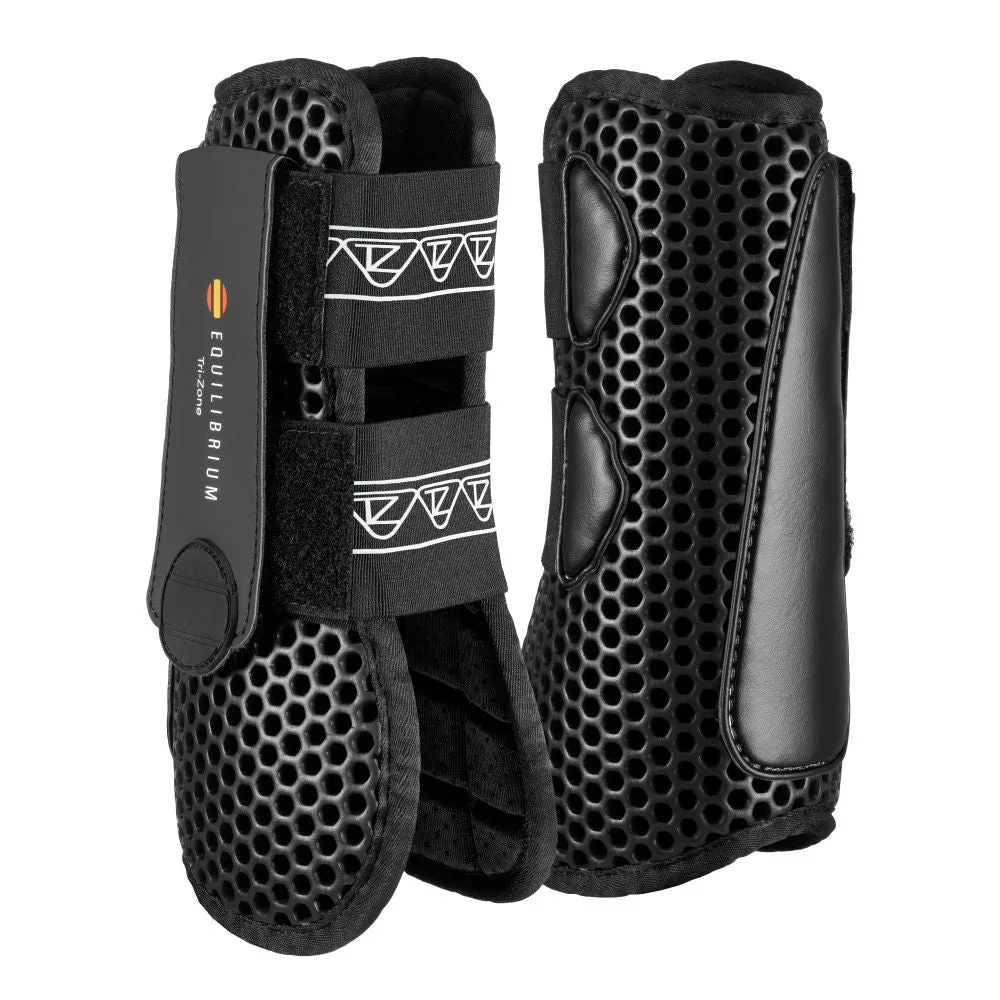
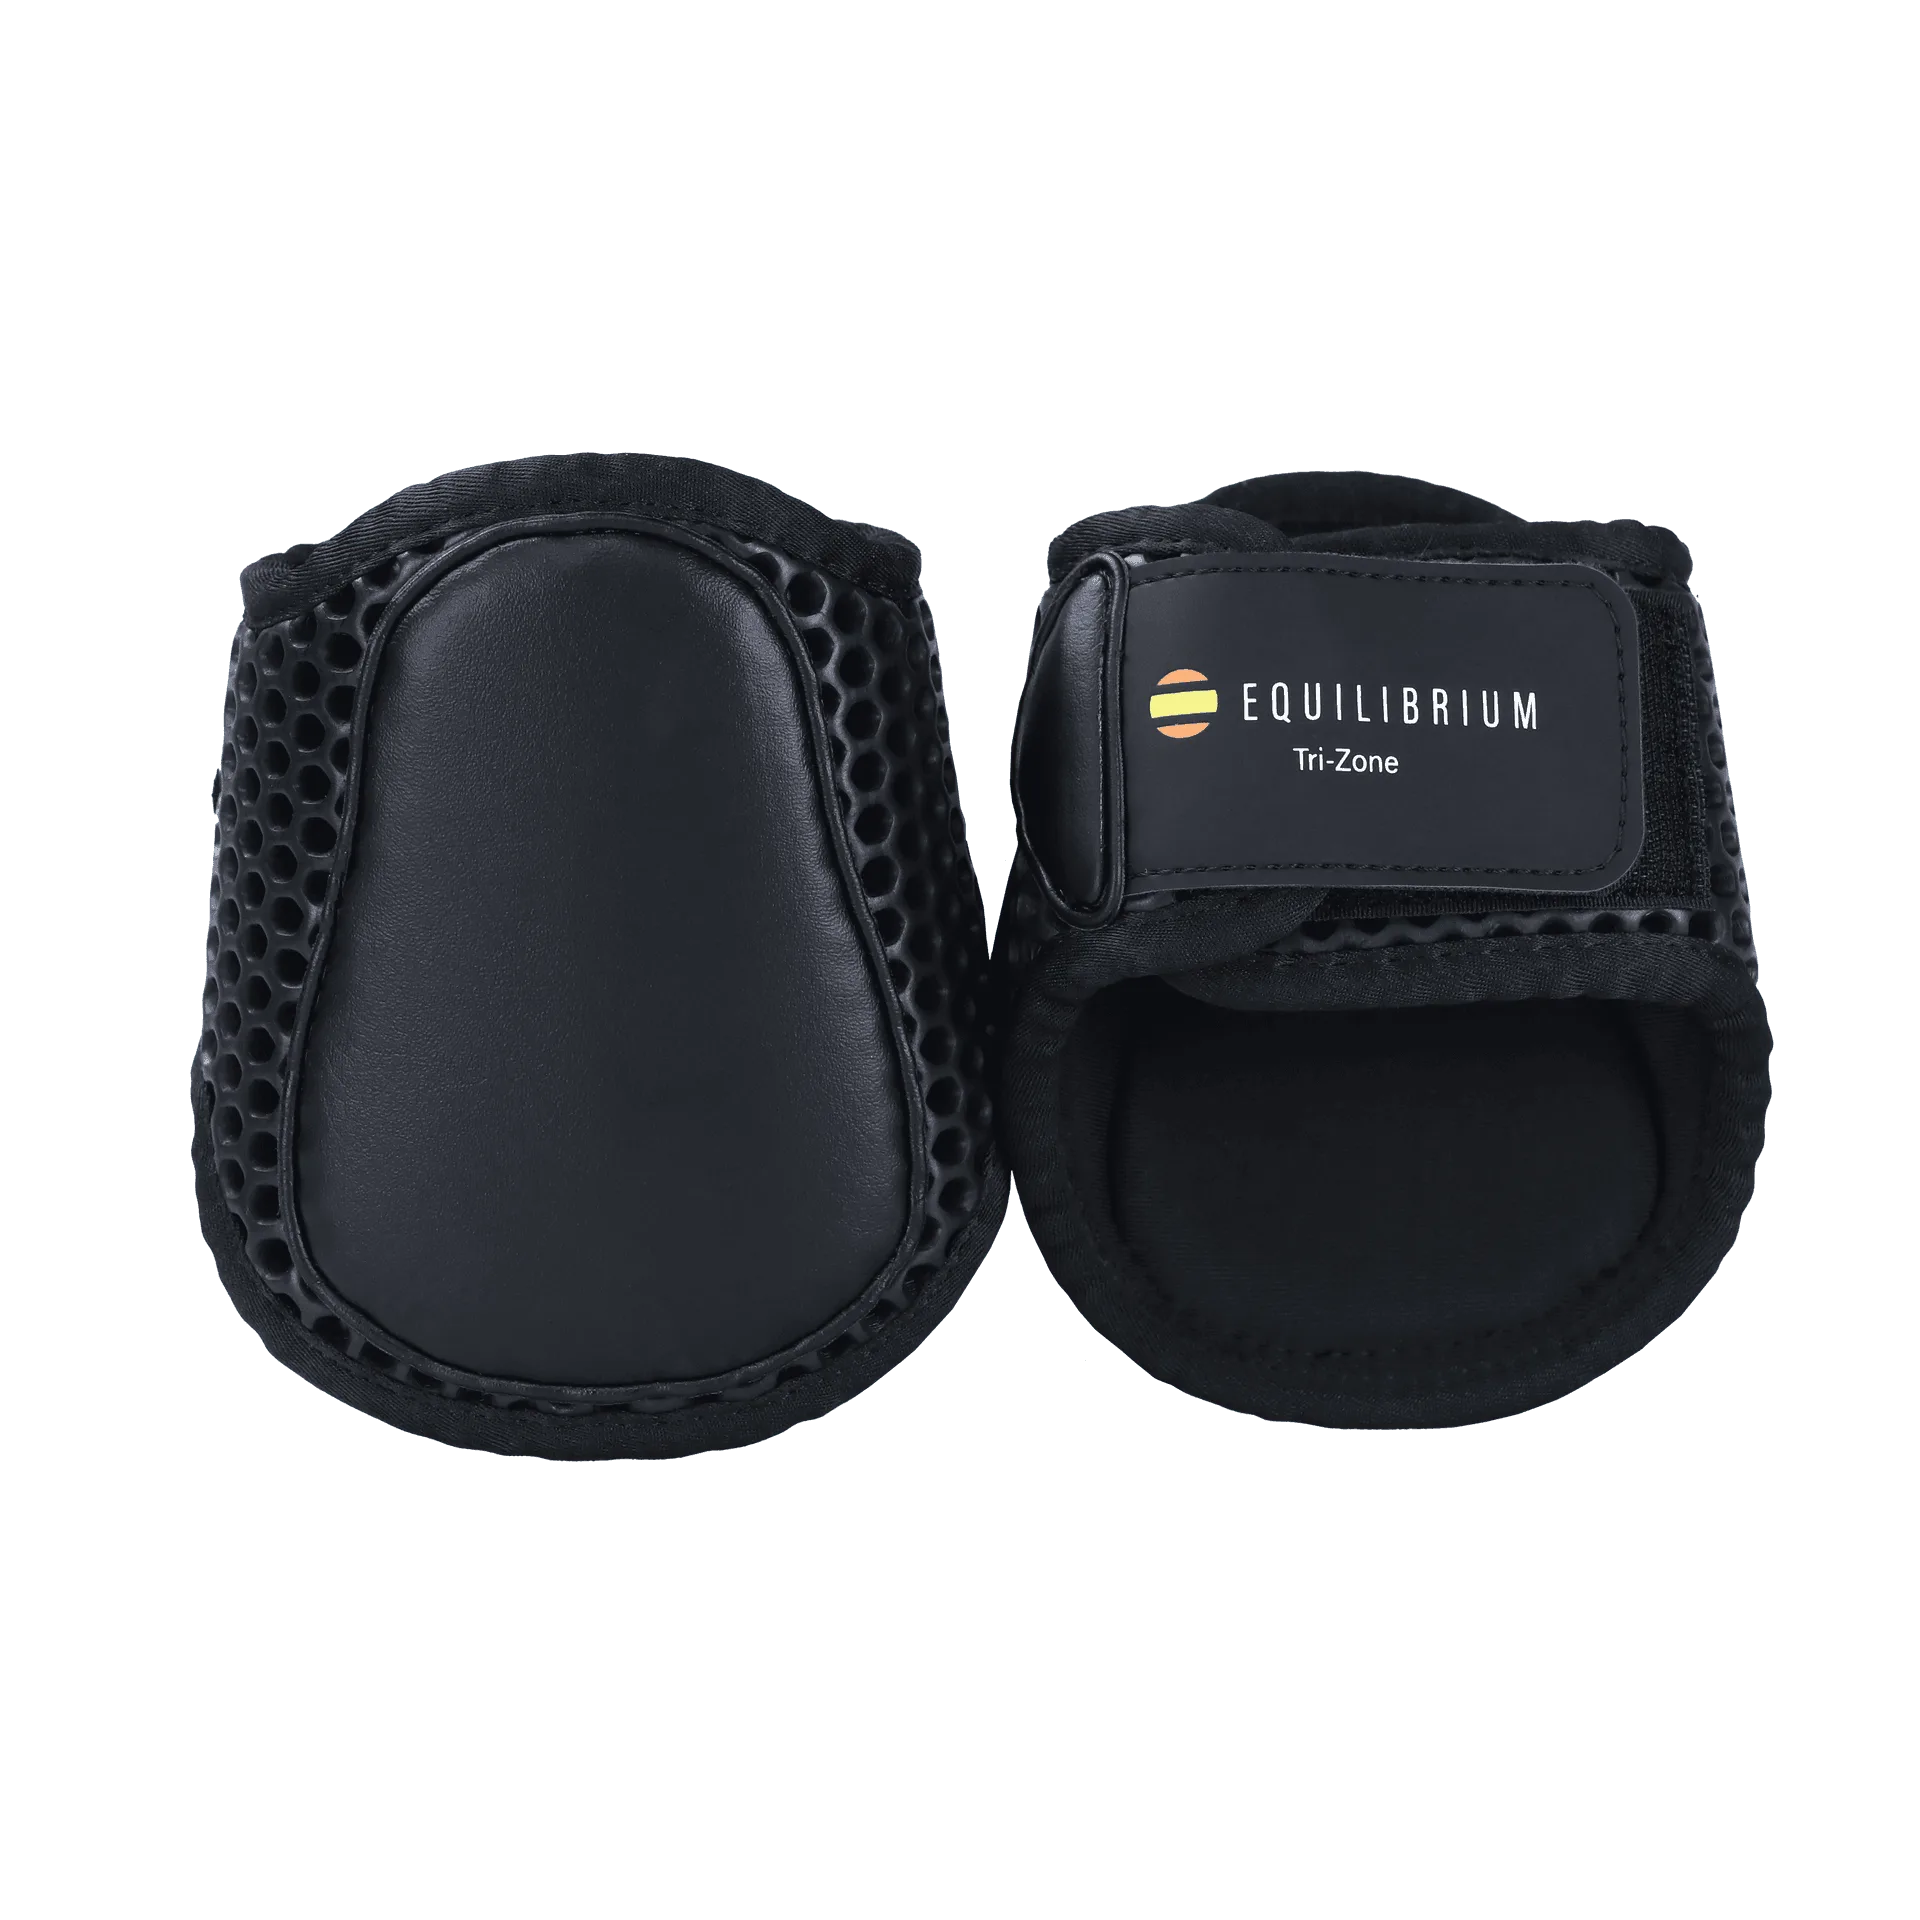
- Tri-Zone Fetlock Boots: Tri-Zone Fetlock Boots are extremely lightweight, breathable, and built with three protective layers offering protection from both concussion and penetration injuries; they are easy to wash and keep clean and carry a one-year product guarantee. If your horse is returning to ridden work, these boots provide fetlock protection without the stiffness that can restrict movement, which matters when a leg is still rebuilding strength.