Quick answer
Clean the throat plate, place the magnetic seam guide to the right of the needle at your machine's quarter-inch mark, and press down firmly so the magnet locks. Sew a test strip, measure the seam, and nudge the guide in small increments until the seam measures a scant quarter inch. Then sew every seam with the fabric edge riding against the guide.
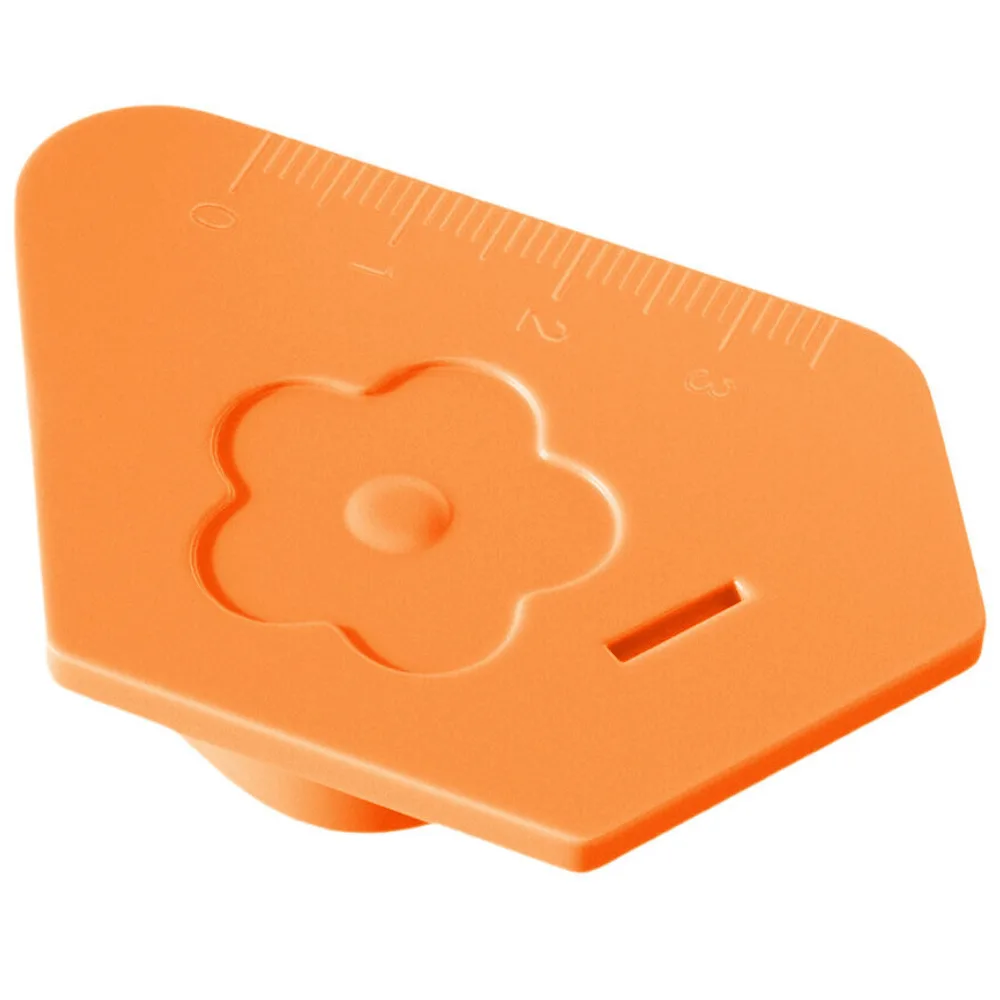
magnetic seam guide
A magnetic seam guide is one of the cheapest ways to make your quarter-inch seam repeatable. Instead of watching the needle, you watch the fabric edge slide along a metal wall, and your seam allowance stops drifting.
This walkthrough covers setup, testing, and the small habits that keep the guide working. If your blocks keep coming out slightly small or slightly large, the fix is usually here rather than in your piecing speed.
What a magnetic seam guide actually does
The guide is a magnet with a raised lip. It sticks to the metal throat plate of your sewing machine and gives the fabric edge a physical fence to follow. Because the fence does not move, your seam allowance stops depending on how steady your eye is.
That matters most on long strips and chain-pieced units, where a sixteenth of an inch of drift per seam adds up across a whole quilt. A guide will not fix a machine that is out of alignment, and it will not stick to a plastic bed or a plate that is not ferrous, so check your machine first.
- Test the magnet on your throat plate before buying; if it does not stick, a guide will not help.
- Keep the guide away from computerized machine screens and any part the manual says to keep magnets away from.
Set up before you sew
Start with a clean plate. Lint and stray threads under the magnet reduce grip and can shift the guide mid-seam. Remove the presser foot if it makes placement easier, and lower the needle so you can see exactly where it enters the plate.
Measure from the needle to the guide's inner edge, not to the outer body of the magnet. That inner edge is what the fabric touches, so it is the only measurement that controls your seam allowance.
- Mark your machine's quarter-inch position with a piece of tape first, then place the guide against that mark.
- If your machine has a built-in quarter-inch foot, you can still use a guide as a second reference for strip piecing.
Test, measure, and adjust
Sew two scrap strips together with the edge against the guide. Press the seam, then measure from the seam line to the raw edge with a ruler. A scant quarter inch, meaning just a thread or two under a quarter inch, is usually what patterns assume.
If the measurement is off, move the guide a hair and test again. Small moves are the point; a guide that is a full sixteenth off will produce blocks that are noticeably small after four seams meet in the middle.
- Test on the same fabric and thread you plan to use, since bulky fabric pushes against the guide differently.
- Write down the final position or mark it with tape so you can reset it after cleaning.
Sew with the guide, not against it
Let the fabric edge rest lightly against the guide and steer with your hands rather than pushing the fabric into the fence. Pressure against the magnet is what makes the guide slide or the fabric climb.
Keep your eyes on the fabric edge at the guide, not on the needle. The needle is doing its job; your job is keeping the edge in contact with the fence all the way to the end of the seam.
- Slow down at the start and end of each seam, where most drift happens.
- Chain piece when you can; the guide works best when you feed pieces one after another without stopping.
Common mistakes and how to fix them
The most common mistake is measuring to the wrong part of the guide, which makes every seam off by the width of the magnet body. The second is placing the guide too far forward or back, so the fabric edge loses contact right at the needle.
If seams are consistently small, check that you are not pulling the fabric. If they are consistently large, check that the guide has not crept. Re-test after any cleaning, needle change, or bobbin change, because a bumped guide is easy to miss.
- Re-measure after every few seams on a long project until you trust the setup.
- If the guide will not hold, the plate may be dirty or non-magnetic; clean it or switch to a screw-mounted guide.
Step-by-step: magnetic seam guide setup
- Clean the throat plate: Remove lint and thread so the magnet sits flat and grips the metal. Checkpoint: the guide should not rock or slide when you press it.
- Find the quarter-inch mark: Lower the needle and measure from the needle to where you want the fabric edge to run. Mistake to avoid: measuring to the outer body of the magnet instead of the inner lip.
- Place and press the guide: Set the inner edge on your mark, to the right of the needle, and press down firmly. Checkpoint: the guide stays put when you tug it lightly.
- Sew a test strip: Join two scraps with the edge against the guide, press, and measure the seam. Mistake to avoid: testing on different fabric than your project uses.
- Adjust in small increments: Nudge the guide a hair and re-test until the seam is a scant quarter inch. Checkpoint: two test seams in a row measure the same.
- Sew your project: Keep the fabric edge in light contact with the guide and watch the edge, not the needle. Mistake to avoid: pushing fabric into the fence, which makes the guide creep.
Tools that pair well with a seam guide
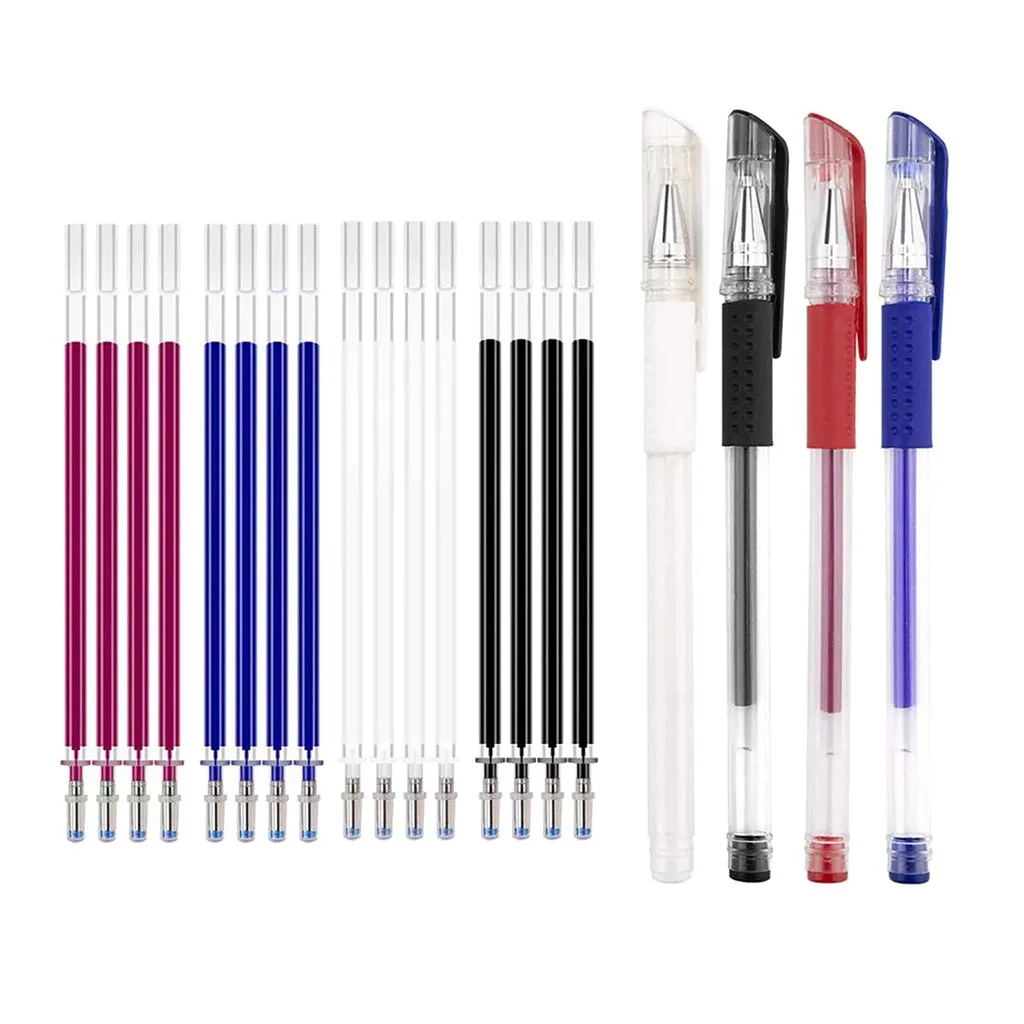
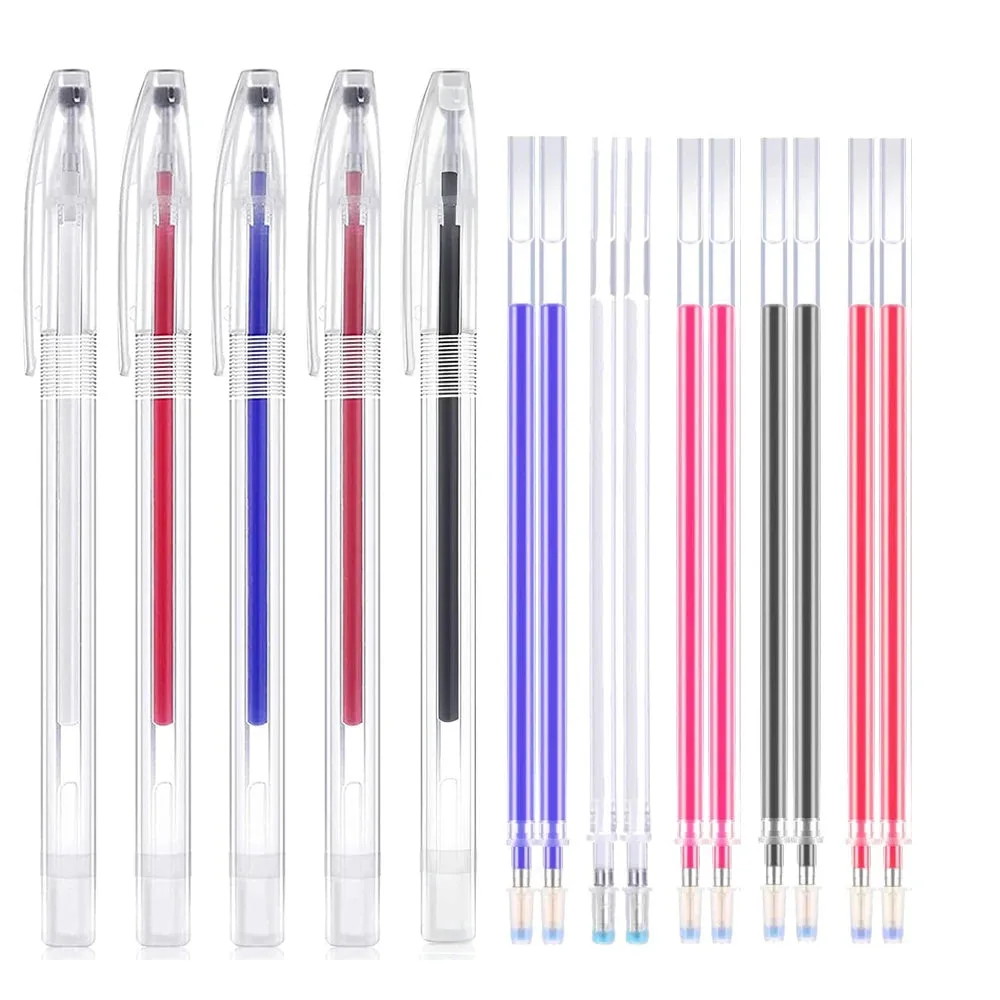
- https://mrs-quilty.com/products/heat-erasable-pens-for-fabric-4-pieces-28-refills-851158f5f2935054734c5103-1386707Heat Erasable Fabric Pens with Refills: Marks disappear with heat, leaving fabric spotless and ready for the next step. Useful for marking your quarter-inch test lines and block corners without leaving residue behind.
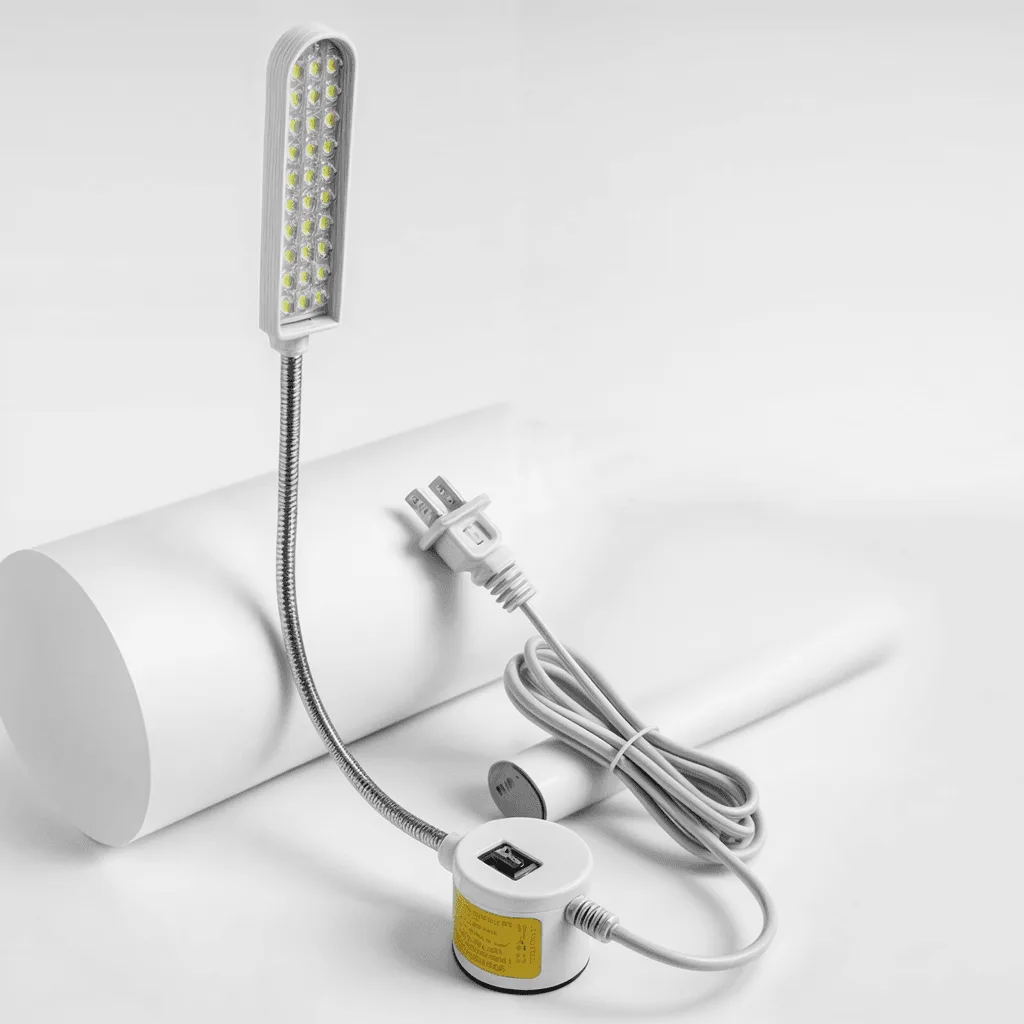
- Sewing Machine LED Lamp: 30 LED lights give crisp, bright illumination with flexible 360-degree rotation. Better light at the needle makes it easier to see the fabric edge staying against the guide.
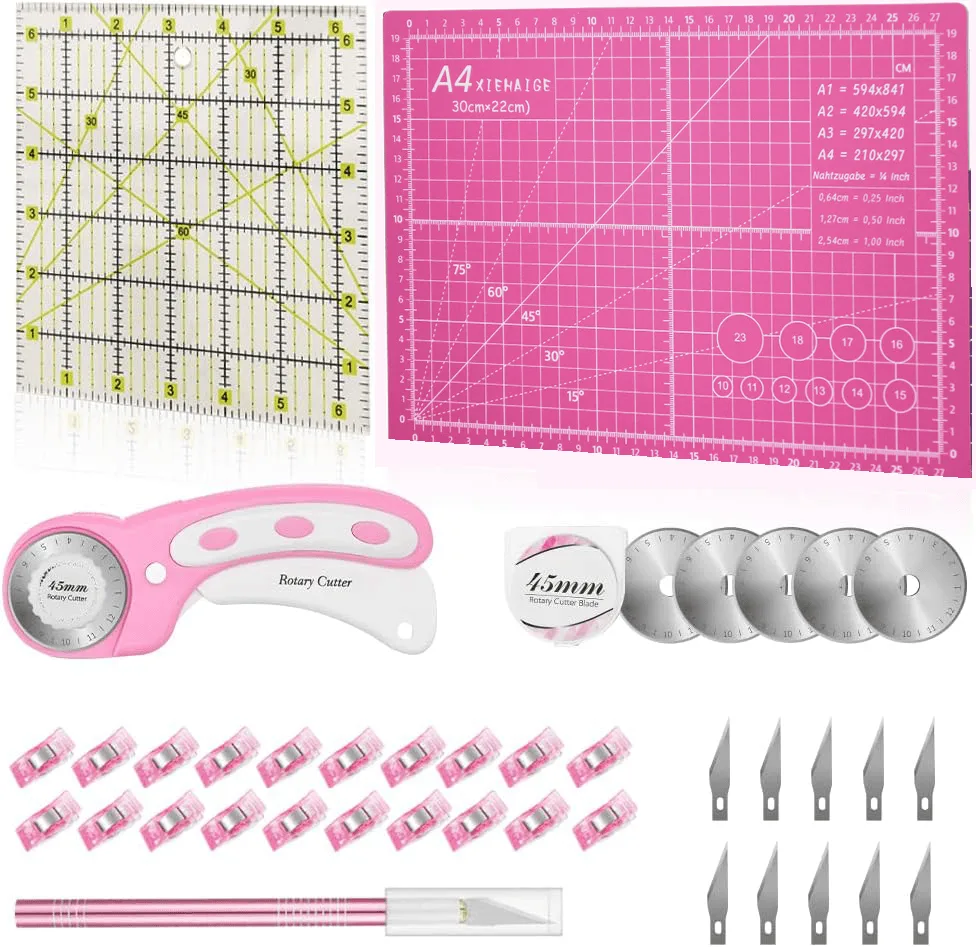
- 39-Piece Quilting Kit: Perfect for Beginners: All-in-one set for beginners that includes a rotary cutter and extra blades. A rotary cutter and ruler help you cut accurate strips, so your seam guide has a straight edge to work with.
A magnetic seam guide turns quarter-inch seams into a repeatable habit instead of a guess. Set it, test it, and check it after every cleaning, and your blocks will line up with far less trimming.