Quick answer
To mark fabric for quilting, test your marking pen on a scrap first, then draw your design on the fabric's wrong side or use iron-on tape for dark fabrics where ink won't show. Press tape lightly with a dry iron, stitch along its edge, and remove it before washing. Always follow the pen manufacturer's removal instructions.
Marking a quilt top sounds simple until you're staring at dark fabric, a complex stencil, and a pen that won't show up. The two most reliable methods are a marking pen for quilting (for light to medium fabrics) and iron-on tape for quilting (for dark or textured fabrics where ink disappears). Each has a specific workflow, and skipping a step usually means re-marking or, worse, a permanent stain.
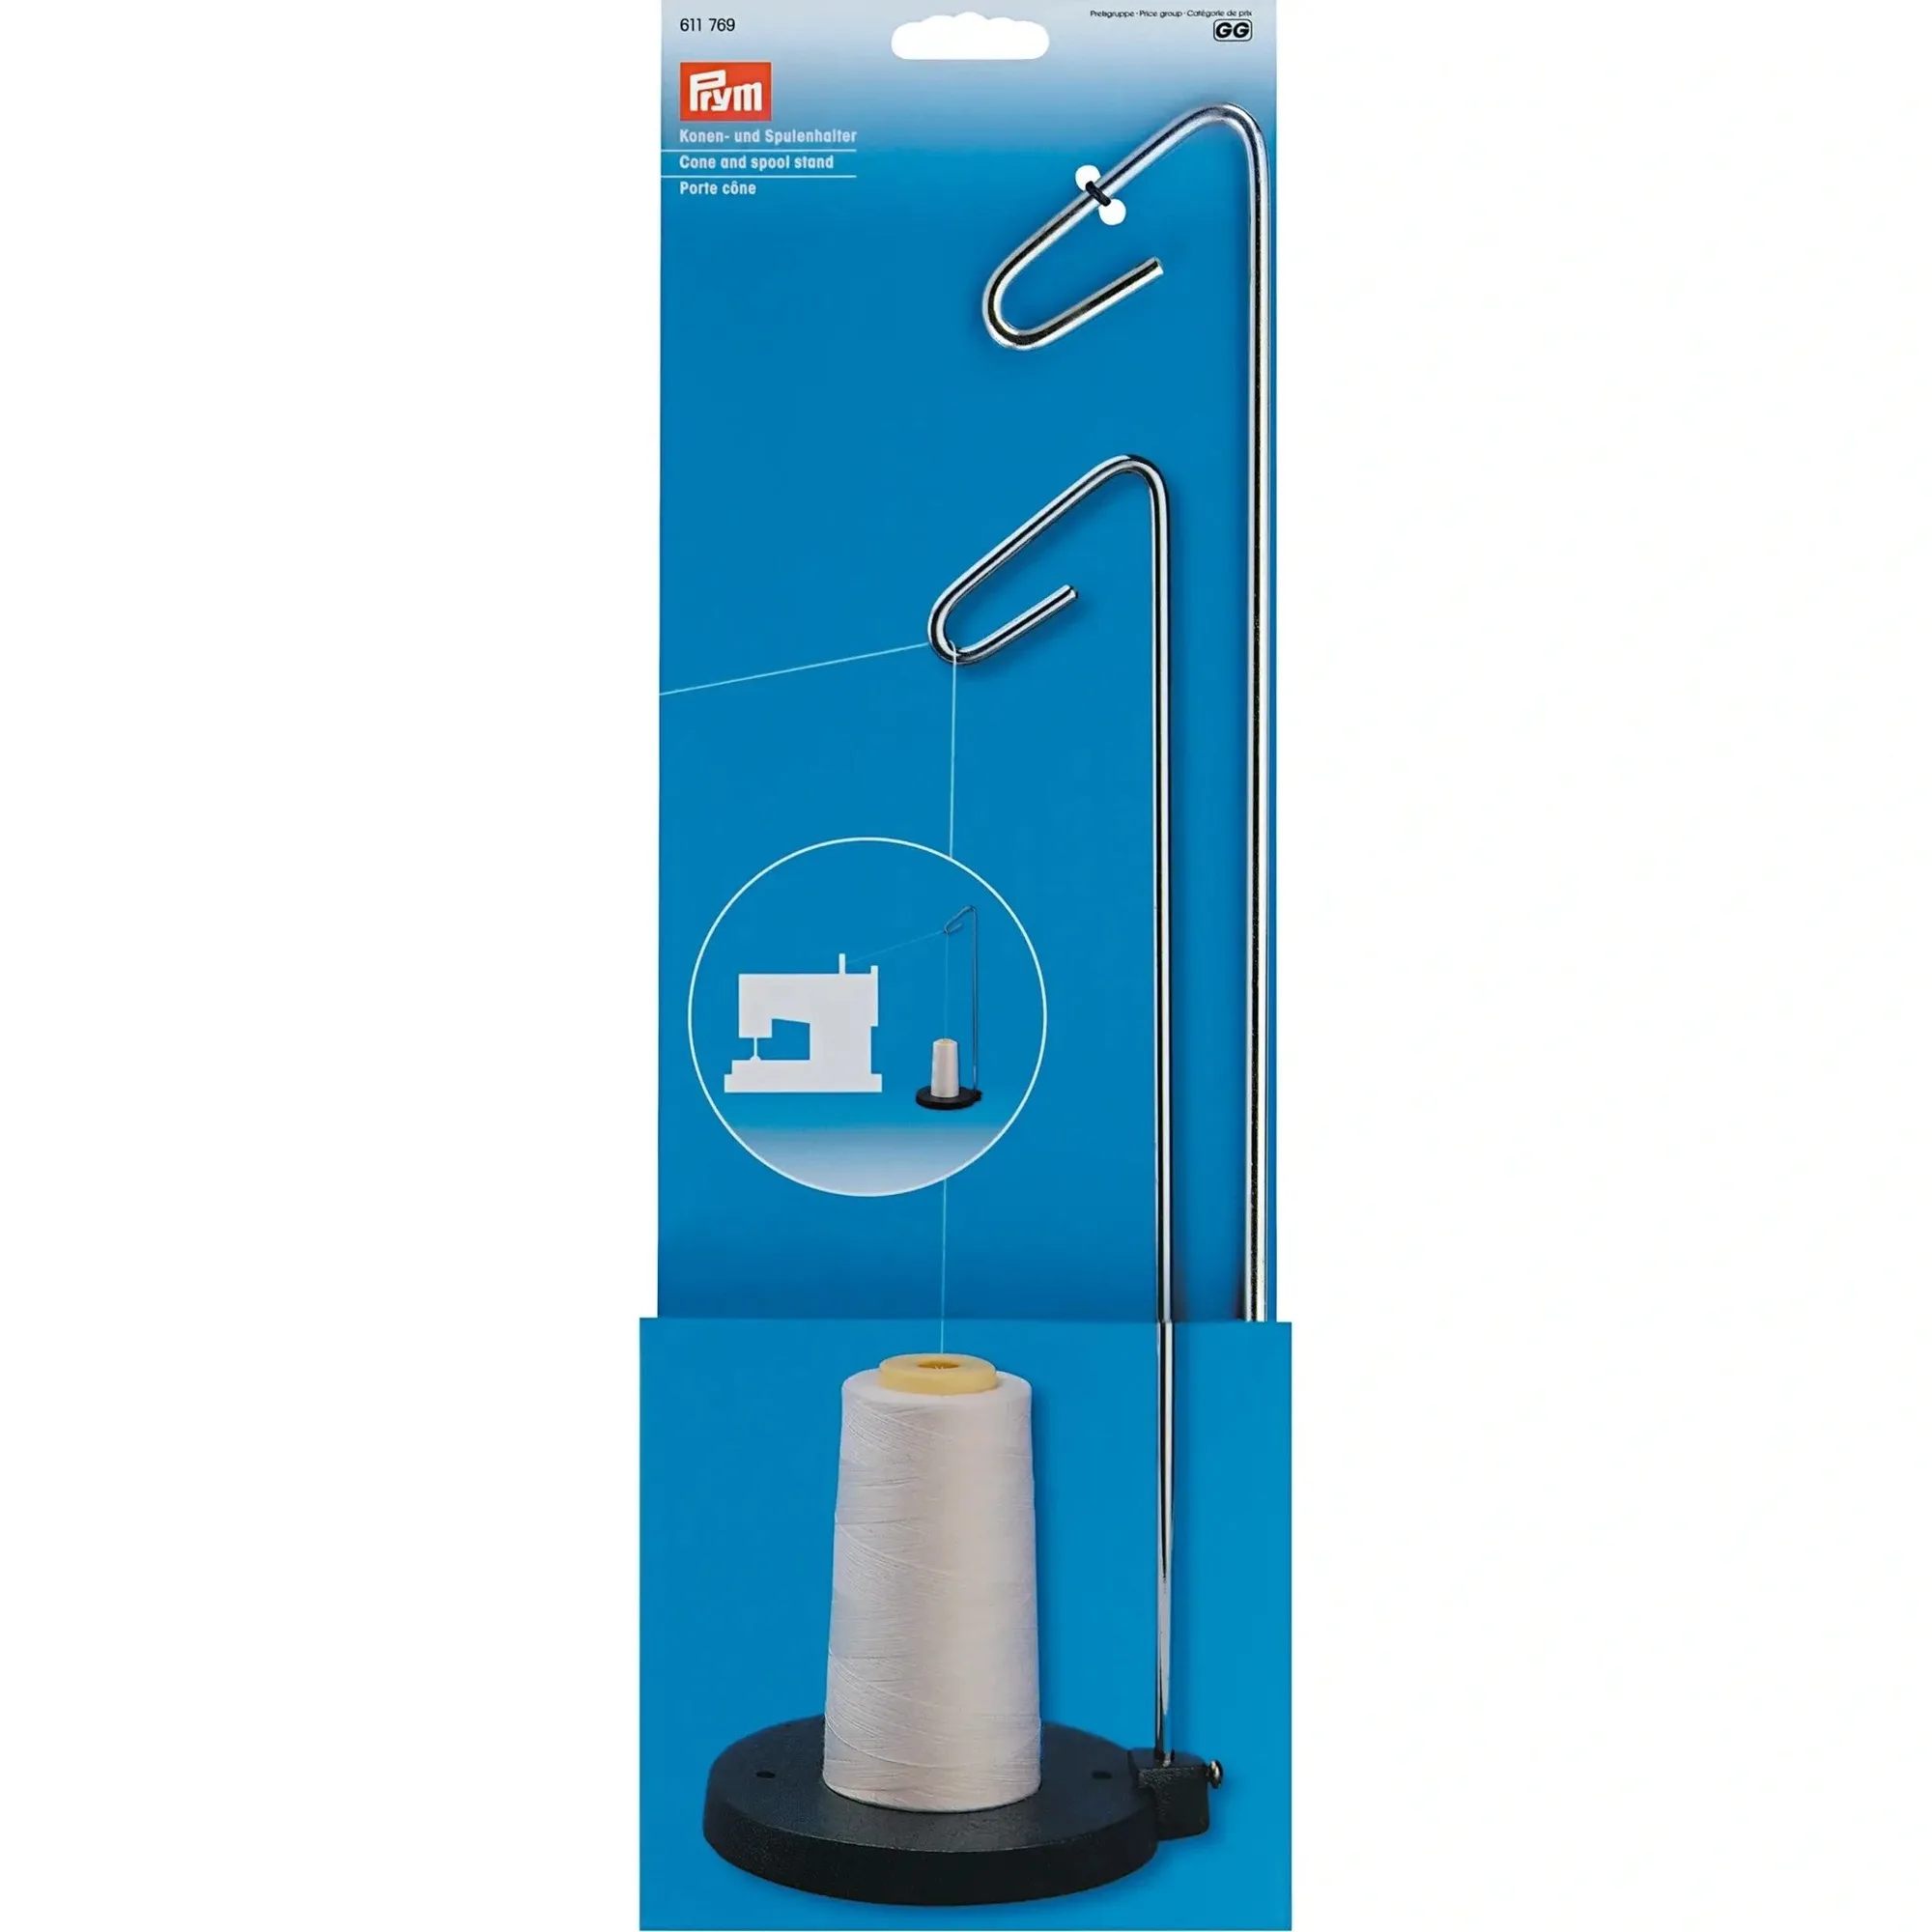
This guide walks through the exact order: test, prepare, mark, secure, stitch, and remove. You'll also see where a couple of Prym tools—like a skirt marker for long hems and a https://prymamerica.com/products/611769-b2b-ef6b5881f947d76c00d6d9dd-1318506cone holder for smooth thread feed—fit into the process. The goal is clean marks, no bleed-through, and no surprises after the first wash.
Why marking method matters for quilting
Quilting lines guide your stitching, so any mark that shifts, fades too soon, or won't wash out throws off the whole design. Marking pens are fast and precise on light fabrics, but some inks can reappear in cold temperatures or set if ironed directly. Iron-on tape avoids ink entirely, making it the safer choice for dark or delicate fabrics, though it adds a step and can leave residue if not removed promptly.
The right choice depends on fabric color, thread contrast, and how long the marks need to last. If you're marking a whole quilt in one sitting, a pen is efficient. If you're working over weeks or using fabrics that show every speck, tape is more forgiving.
- Always test both methods on a scrap of the same fabric before committing to the quilt top.
Step-by-step: marking pen and iron-on tape
Start by washing and pressing your fabric to remove sizing or finishes that can block ink or adhesive. For pens, test on a scrap: draw a line, let it dry, then press with a hot iron to see if the ink sets or disappears. For tape, cut a short strip, press it onto a scrap, stitch through it, then peel it off to check for residue.
When marking with a pen, work on the wrong side of the fabric if the ink might show through, or on the right side if the pen is designed to vanish. Use a ruler or template to keep lines straight. For tape, position it along the stitching line, press with a dry iron on a low setting (no steam), and stitch right next to the tape edge. Remove tape as soon as you finish stitching to prevent adhesive from curing.
- Checkpoint: after test-marking, wait 24 hours to see if the ink fades or darkens before marking the actual quilt.
Tools that make marking and stitching easier
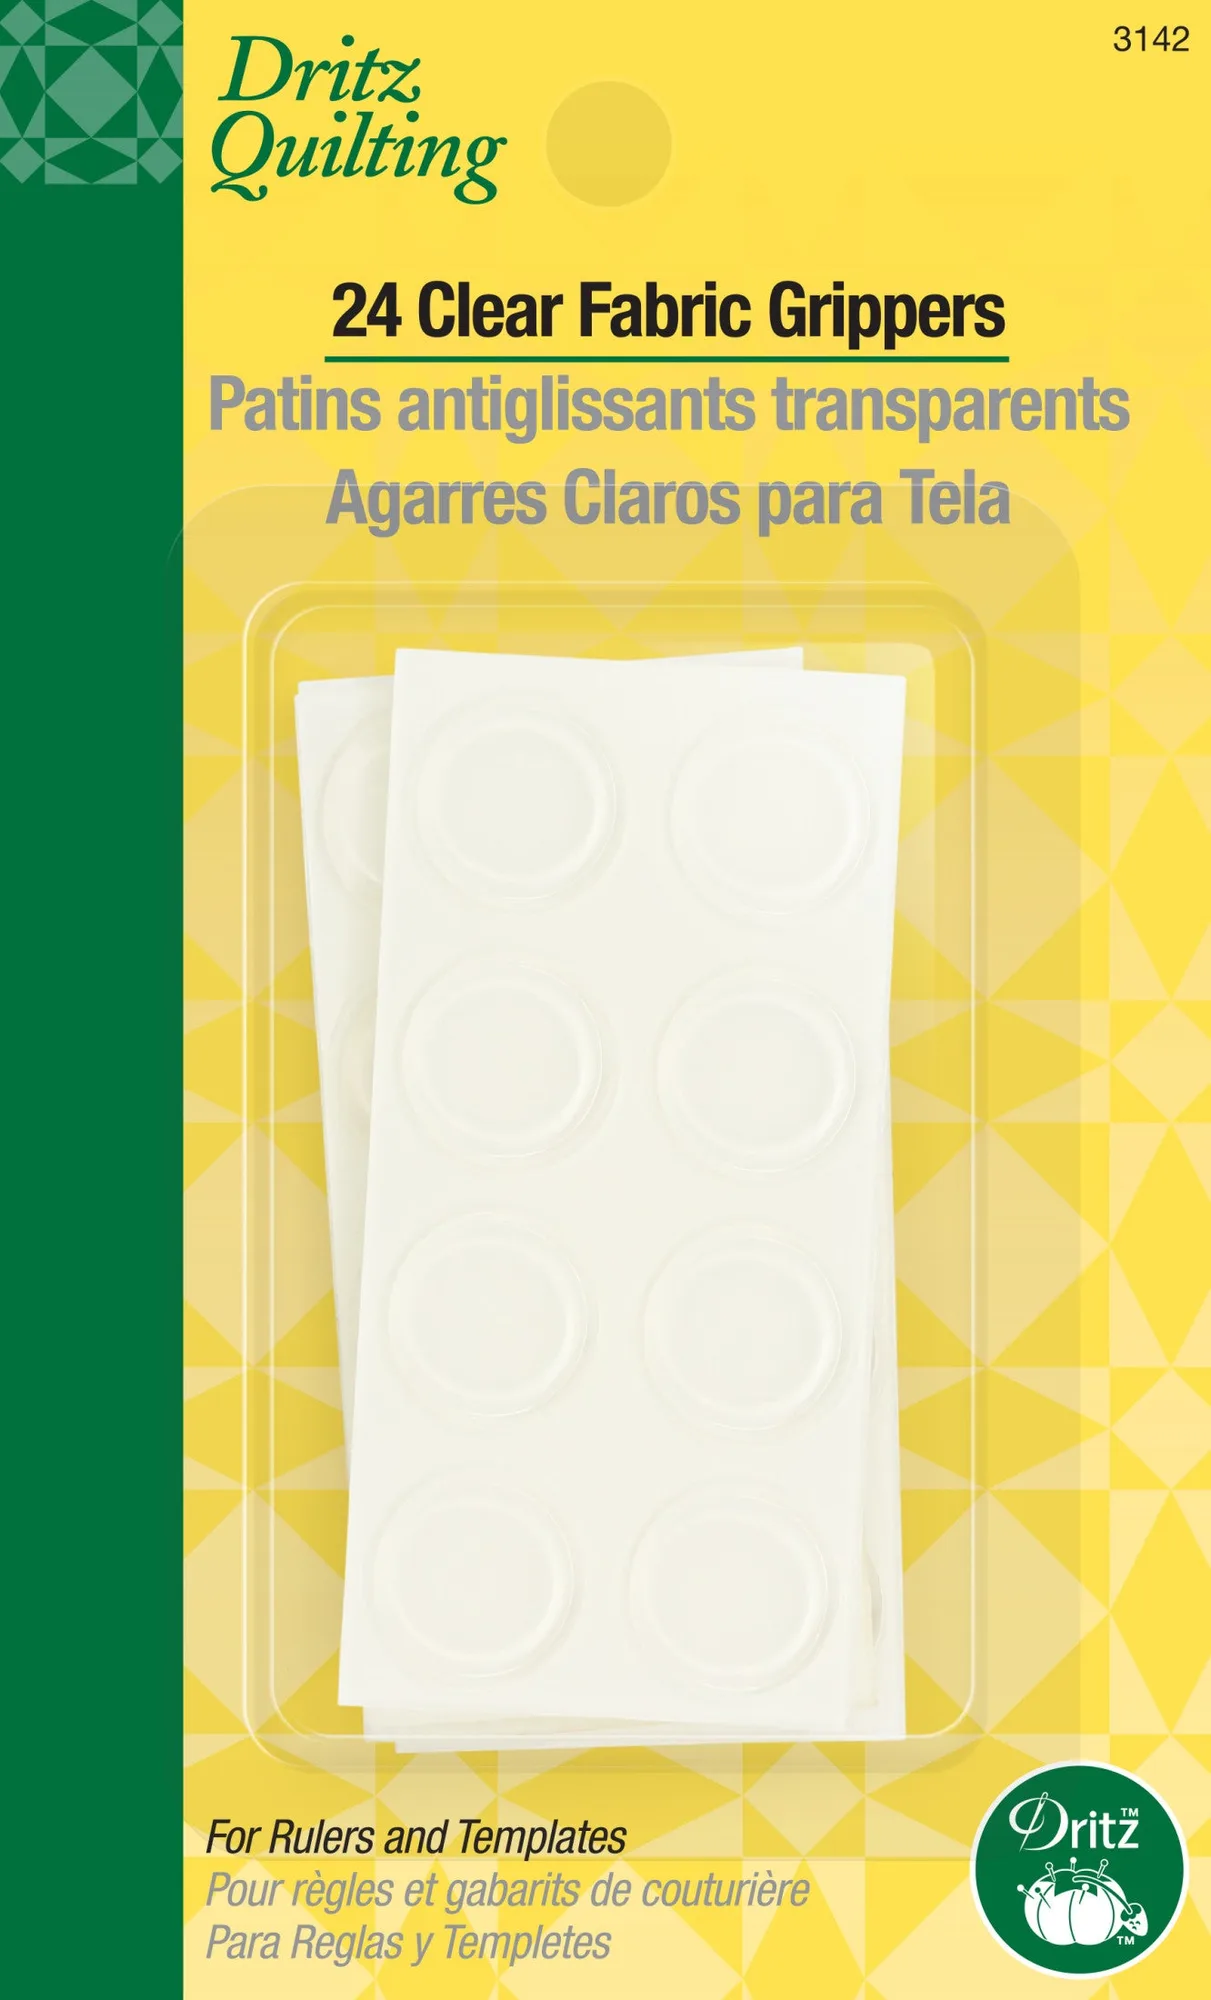
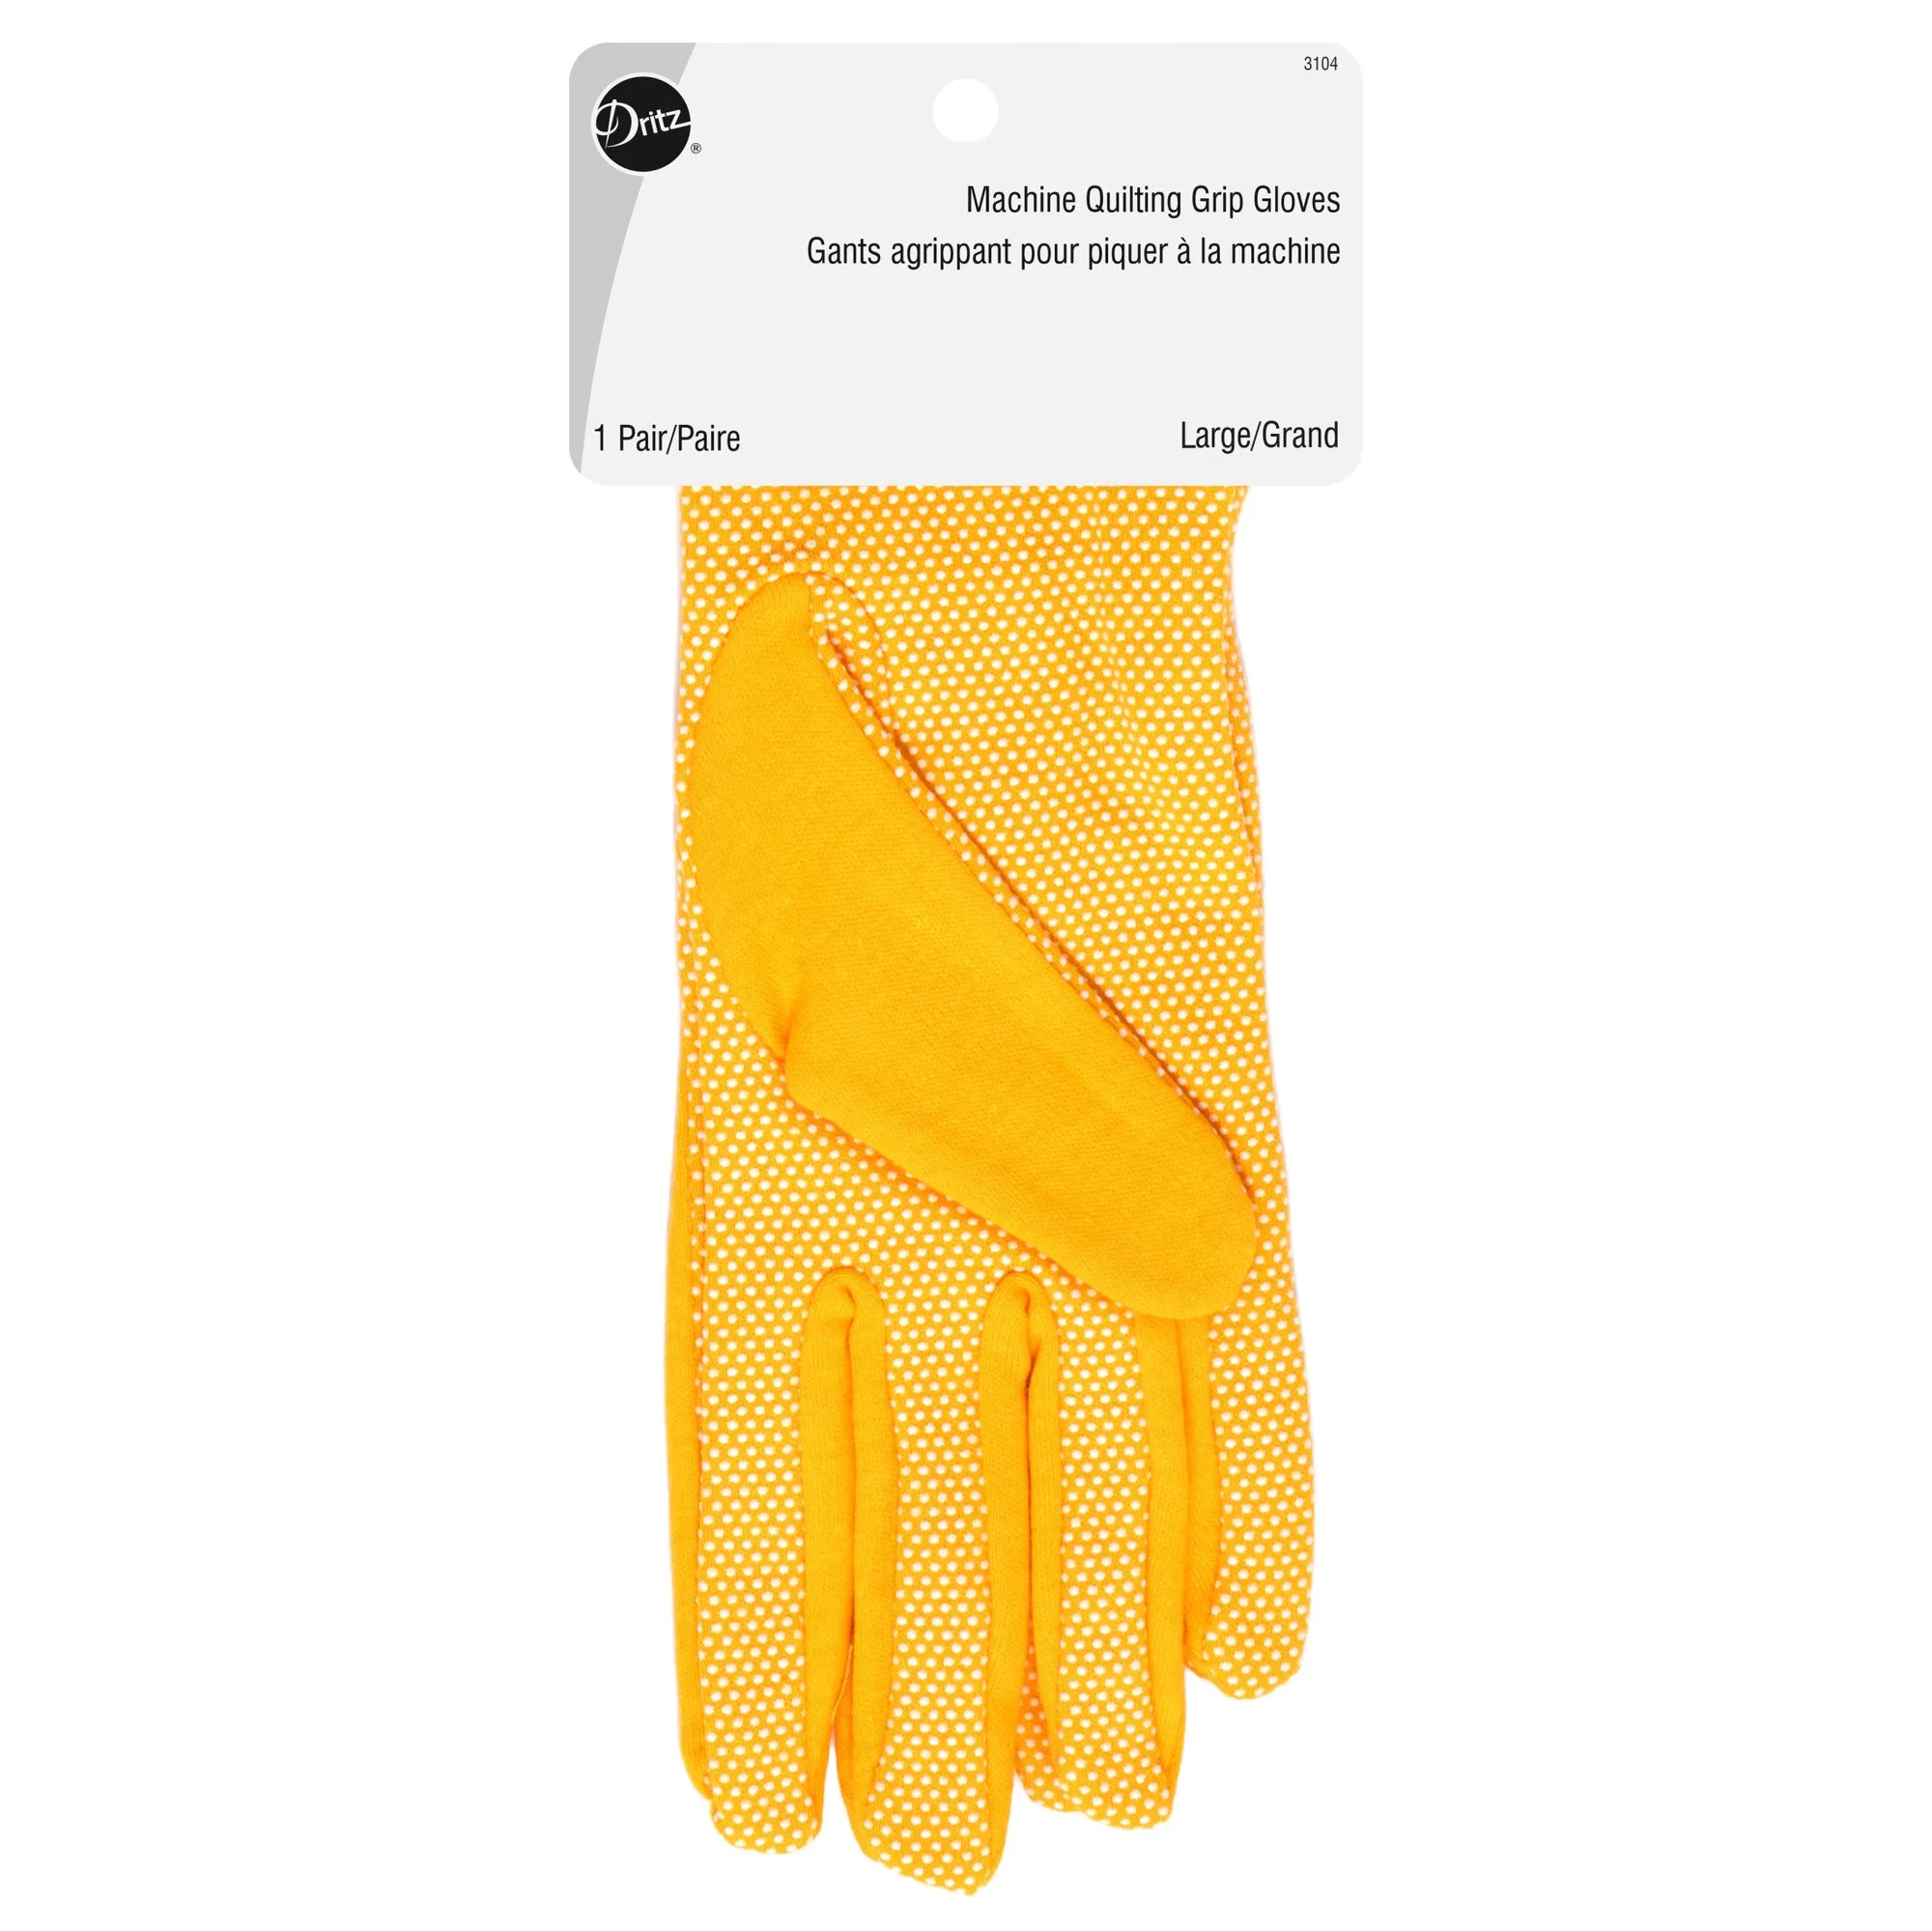
A few accessories can improve accuracy and comfort. Clear fabric grippers keep rulers from slipping when you're marking straight lines, which is especially helpful on shiny or stretchy fabrics. Grip gloves give you better control when maneuvering the quilt under the machine, reducing the chance of stitching over your marks. And a cone holder keeps thread feeding smoothly from large cones, so you're not stopping to rethread mid-project.
For long hems or borders, a skirt marker with chalk powder can mark a line all the way around without a pen or tape. It's not a replacement for either method, but it's a useful third option when you need a continuous guide.
- Keep a small scrap of each fabric you're using in your sewing kit for quick tests.
Your marking workflow: 6 steps
- Test on a scrap: Draw a line with your marking pen or press a strip of iron-on tape onto a scrap of the same fabric. Let the ink dry, then press with a hot iron to check for setting or bleeding. If the ink doesn't come out or the tape leaves residue, switch methods before marking the quilt.
- Prepare the fabric: Wash and press the fabric to remove sizing or finishes. Work on a flat, stable surface. If using a pen, mark on the wrong side or on the right side if the pen is designed to vanish. Skipping the wash can cause ink or adhesive to behave unpredictably.
- Mark with pen or apply tape: For pen: use a ruler or template to draw smooth, continuous lines. For tape: cut strips to length, position along the stitching line, and press with a dry iron on low heat—no steam. Checkpoint: lift a corner of the tape to make sure it's adhered but not melted.
- Secure the quilt for stitching: Put on grip gloves and, if needed, attach clear fabric grippers to your ruler for any additional marking. Set up your cone holder if you're using large thread cones. Good grip and smooth thread feed reduce the chance of stitching off your marks.
- Stitch along the marks: Sew at a steady speed, following the pen lines or the edge of the tape. If using tape, stitch right next to it—not over it—to avoid needle gumming. Stop and adjust if the fabric drags; forcing it can distort the quilt.
- Remove marks promptly: For pen marks, follow the manufacturer's instructions—usually cold water or a specific eraser. For tape, peel it away as soon as you finish stitching, before it sets. Leaving tape on too long or ironing over pen marks can make removal impossible.
Product facts
- https://prymamerica.com/products/3142-70b49dbd9707da647274c5b3-1316352Clear Fabric Grippers, 24 pc: These clear grippers peel and stick underneath a ruler or template to provide a secure grip when measuring fabrics, and the clear material lets you see the fabric underneath. They keep your ruler from sliding while you mark, so your quilting lines stay straight and you avoid re-marking.
- Machine Quilting Grip Gloves, Yellow, Large: Non-slip dots on the fingertips and palms grip fabric to help move quilts with ease, and the cotton knit construction protects fabric from dirt, oils, and perspiration. Better grip means smoother stitching along marked lines, and the gloves keep your fabric clean while you work.
- Cone Holder: The Prym cone and spool stand has a cast iron foot with a steel fixing rod and a boom for guiding thread, so large cone-shaped bobbins unwind cleanly even at fast sewing speeds. If you're quilting a large project, a cone holder prevents thread tangles and lets you sew without stopping to rethread.
- Skirt Marker, Metal: The skirt marker marks a hem all the way around with fine chalk powder, using a spray fitted to a stick at heights up to 32 inches, and the weighted foot gives it stability. For marking long borders or hems on a quilt, this tool provides a continuous chalk line without a pen or tape.
Marking your quilt doesn't have to be a gamble. Test first, choose the method that matches your fabric, and remove marks as soon as you're done. With a marking pen for quilting and iron-on tape for quilting in your toolkit—plus a few grip aids—you'll get clean lines and a finished quilt you're proud of.