Quick answer
Use clear acrylic miniature bases to show off painted terrain or MDF bases if you want to paint and flock them yourself. Either way, you get a stable, universal base for your custom minis.
Acrylic vs MDF: which base material fits your project?
Clear acrylic bases let your terrain and effects show through, which is great for area-of-effect markers or when you want the table surface to remain visible. MDF bases are paintable and flockable, so they work well if you plan to create a themed wooden look or match a specific game setting.
Both materials come in circle and hexagon shapes sized for all TTRPGs. The choice really comes down to whether you prefer transparency or a surface you can customize with paint and texture.
How to base and customize your miniatures
- Choose your base size and material: Select the base diameter that matches your miniature's footprint. For most standard minis, a 1 inch acrylic base works well. If you plan to paint or flock the base, go with MDF instead. Double-check that the base diameter fits your mini's slot or tab before gluing.
- Clean and dry the base surface: Wipe the base with a damp cloth to remove dust or oils. Let it dry completely. This step is crucial for both acrylic and MDF bases because any residue can prevent glue or paint from sticking. Use a lint-free cloth to avoid leaving fibers on clear acrylic.
- Attach the miniature to the base: Apply a thin layer of super glue or plastic cement to the mini's feet or slot tab, then press it onto the base. Hold for 15–20 seconds. For acrylic bases, use a glue formulated for plastics to avoid clouding. Avoid using too much glue – it can seep out from under the mini and ruin the clean look.
- Prime and paint the base (optional for MDF): If you chose MDF, apply a primer coat before painting. For acrylic, you can paint the rim if you want a colored border, but leave the center clear to preserve transparency. Test your paint on a scrap base first to make sure it adheres and doesn't chip off.
- Add flock, sand, or other texture (MDF only): Spread a thin layer of PVA glue on the base top, then dip it into flocking material or fine sand. Tap off the excess and let it dry. This gives your mini a natural ground look. Do not apply texture to acrylic bases – it will block the transparency you chose them for.
- Seal and protect the finished base: Spray a clear matte or gloss sealant over the painted or flocked base. This prevents paint from rubbing off during gameplay and keeps the base looking fresh. Work in a well-ventilated area and hold the can 8–12 inches away to avoid drips.
Product facts
-
Miniature Bases - Circle 1" Acrylic: Clear acrylic bases let you show off your terrain and make area-of-effect markers easily visible. You won't need to guess where spell zones land because the base stays transparent on the game board.
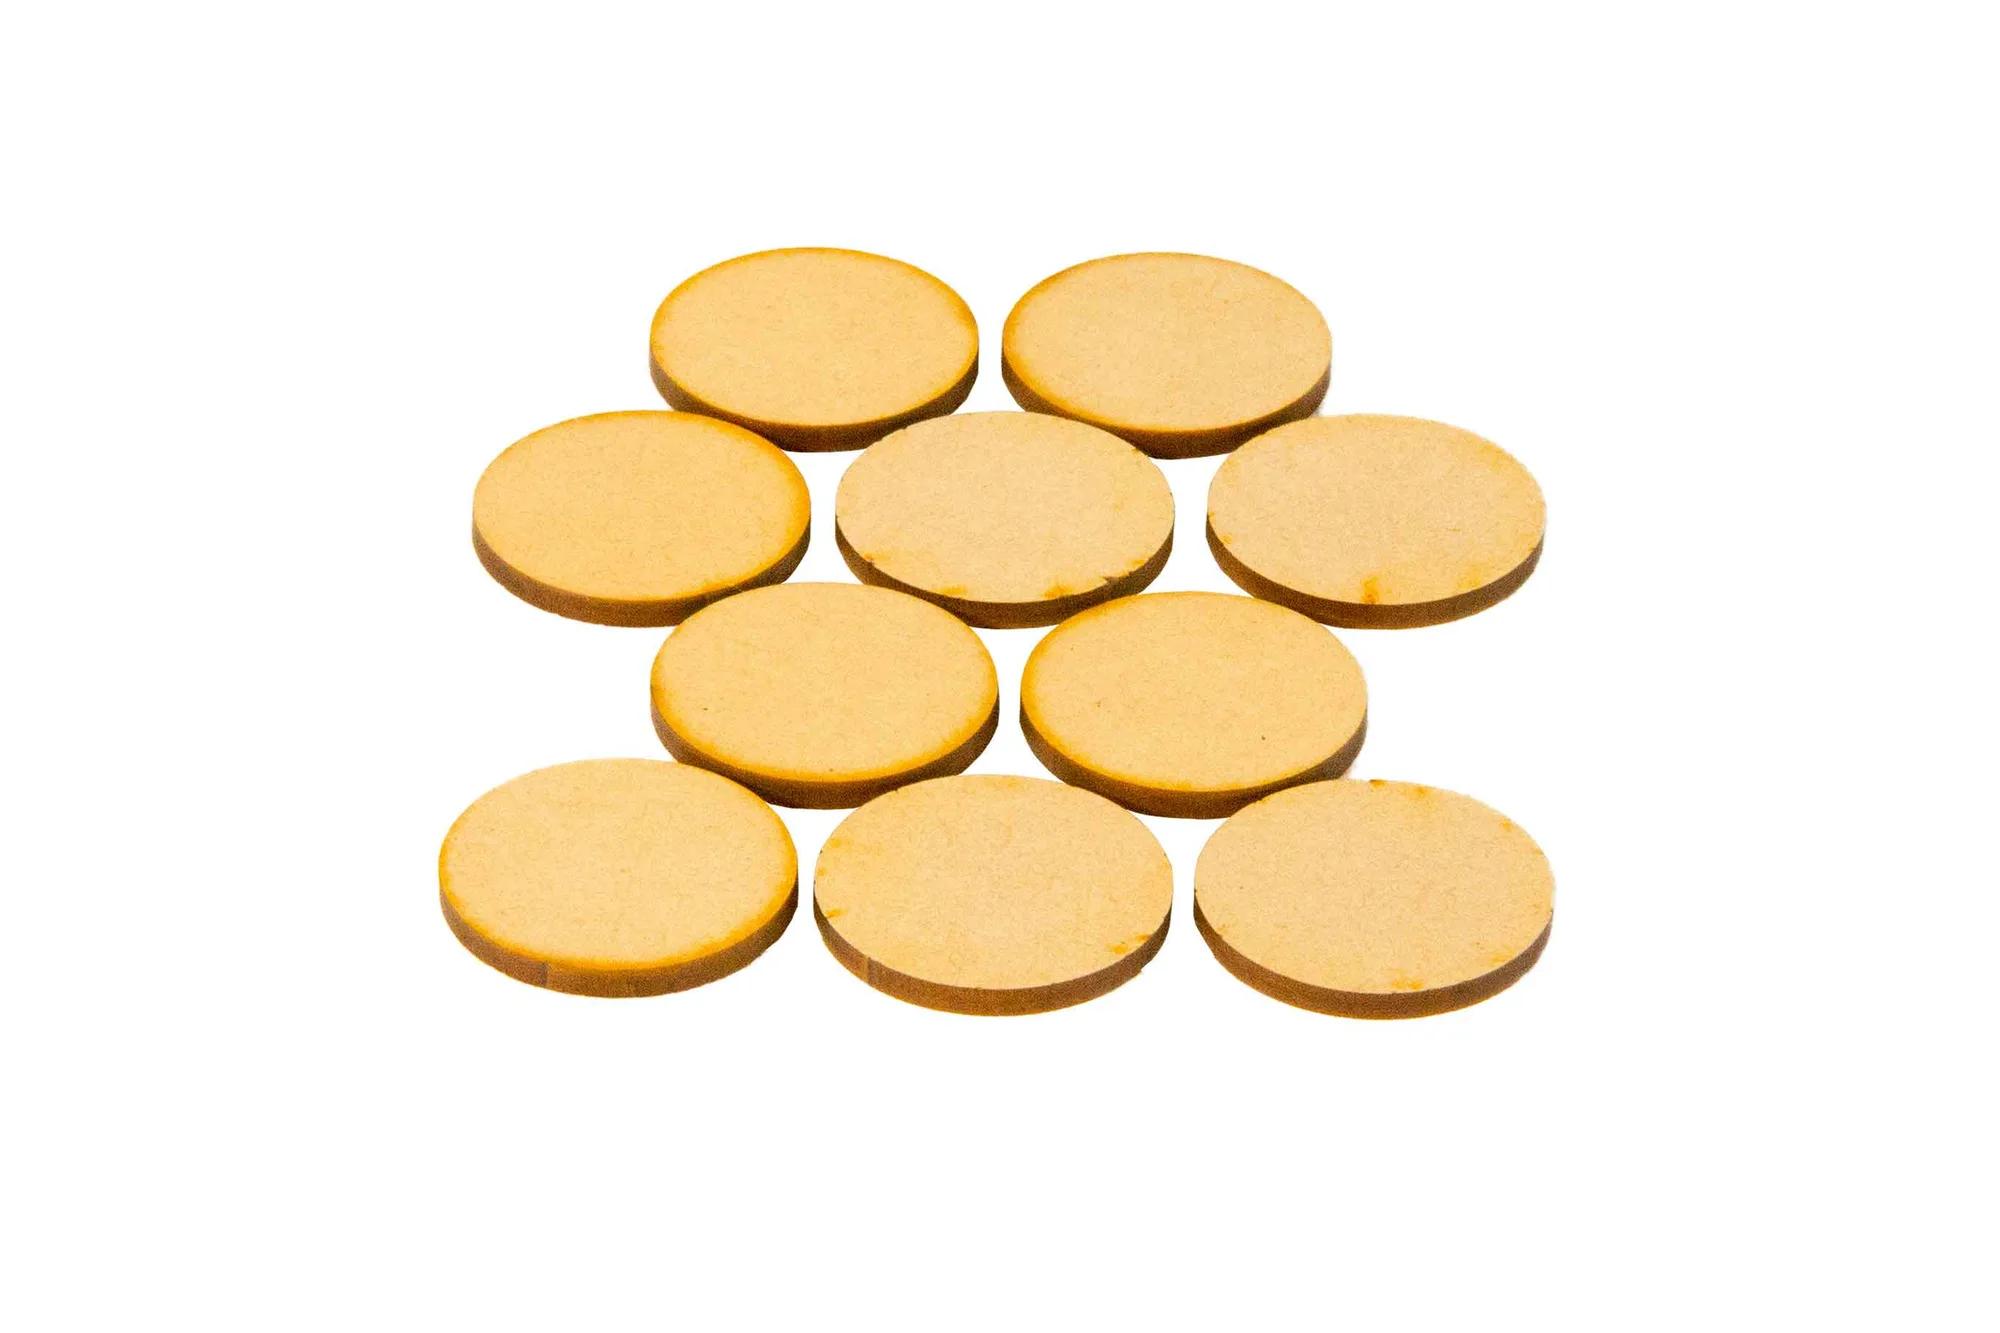
Miniature Bases - Circle 1" Acrylic