Quick Answer
To multi-mask effectively, apply different masks to different facial zones based on your skin's needs: clay or charcoal masks on oily areas, hydrating masks on dry patches, and soothing masks on sensitive or acne-prone spots. Start with a clean face, apply each mask with a brush or clean fingers, leave on for the recommended time, then rinse and follow with your usual serums and moisturizer.
Multi-masking is a smart way to address combination skin, where some areas are oily and others are dry or sensitive. Instead of forcing one mask to work for your whole face, you can tailor treatment to each zone for better results.
This guide walks you through a practical multi-mask routine, including how to choose masks for different skin zones, common mistakes to avoid, and how to layer the rest of your skincare afterward.
Why Multi-Masking Works for Combination Skin
Combination skin is common: the T-zone (forehead, nose, chin) tends to be oily, while the cheeks and jawline can be dry or sensitive. Using a single mask often means over-drying oily areas or not hydrating dry patches enough. Multi-masking lets you treat each zone with a targeted formula.
For example, a clay mask can help absorb excess oil on the T-zone, while a hydrating mask with hyaluronic acid can replenish moisture on the cheeks. This approach saves time and makes each mask work more effectively.
- Multi-masking is ideal for combination skin, but you can also adapt it for acne-prone skin by using a spot treatment on breakouts and a gentle hydrating mask elsewhere.
How to Choose Masks for Different Skin Zones
Start by identifying your skin's needs: oily areas benefit from clay, charcoal, or salicylic acid masks to control shine and unclog pores. Dry or flaky patches need hydrating masks with hyaluronic acid, glycerin, or ceramides. Sensitive or red areas call for soothing masks with ingredients like aloe, chamomile, or oat extract.
If you have acne-prone skin, look for masks with ingredients like salicylic acid or tea tree oil for breakouts, but avoid over-exfoliating. Always patch-test new masks on a small area before applying to your face.
- For a multi-mask kit, consider the Instant Glow Kit, which pairs a hydrating serum with a derma roller for an at-home treatment—though it's not a traditional mask, it can complement your routine.
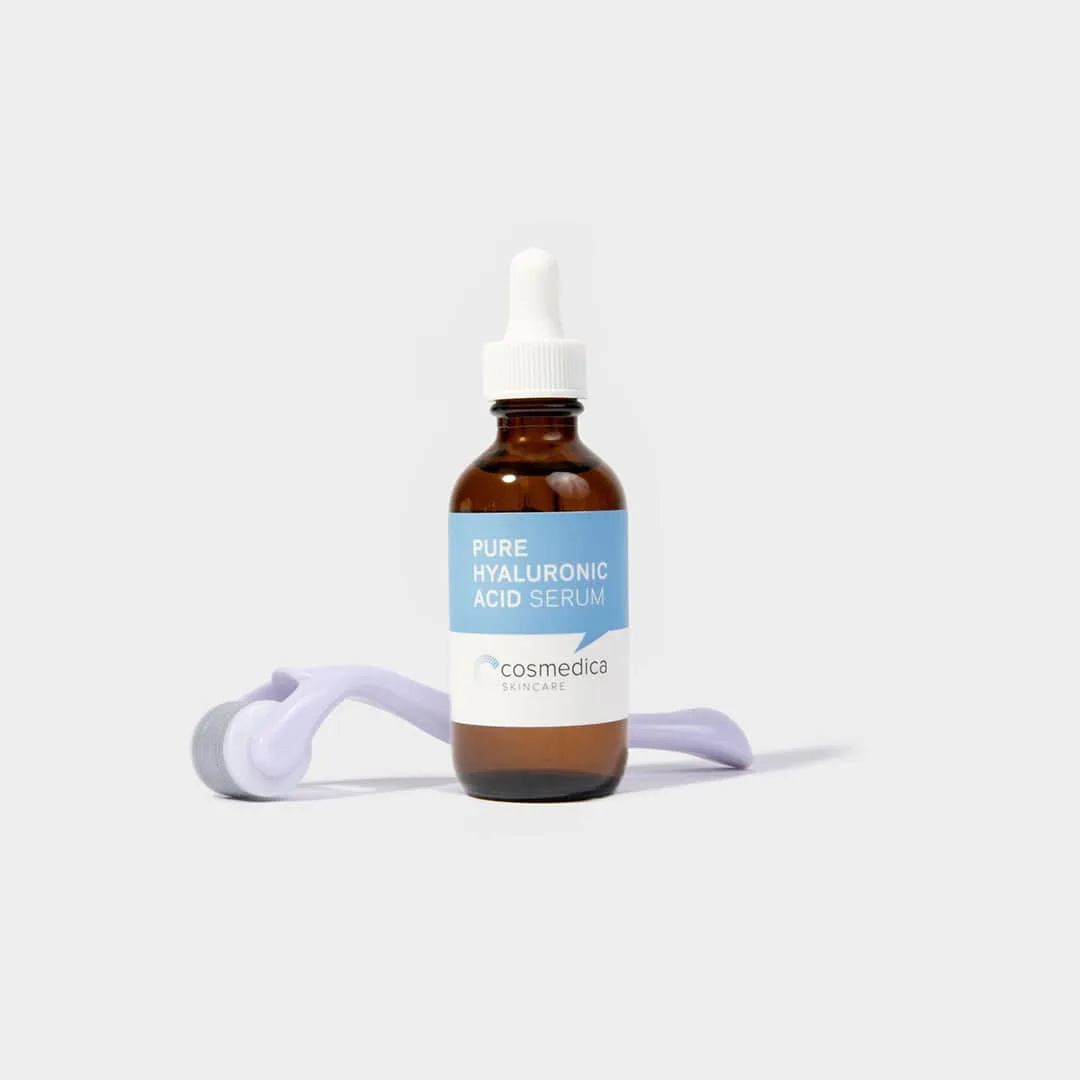
Instant Glow Kit
Step-by-Step Multi-Mask Routine
Start with a clean face: remove makeup and wash with a gentle cleanser. Pat your skin dry. Then, apply your chosen masks to the appropriate zones using a clean brush or fingers. Avoid the eye area and any open wounds. Leave the masks on for the time recommended on each product—usually 10-15 minutes. Rinse off with lukewarm water and gently pat dry.
After rinsing, follow with a toner to balance pH, then a serum and moisturizer. Your skin will be more receptive to treatments right after masking, so this is a great time to apply a hydrating serum or a lightweight moisturizer.
- Check the recommended time for each mask—different formulas may have different durations. Set a timer to avoid over-drying.
Common Mistakes to Avoid
One common mistake is applying masks too thickly or leaving them on too long, which can irritate skin. Another is using too many active ingredients at once—for example, combining a strong clay mask with a retinol serum can cause dryness. Also, don't forget to moisturize after masking, even if you have oily skin.
Always follow the instructions on each mask and listen to your skin. If you experience stinging or redness, remove the mask immediately and rinse with cool water.
- Avoid multi-masking more than 1-2 times per week to prevent over-exfoliation.
Multi-Mask Routine: Step-by-Step
- Cleanse your face: Remove makeup and wash with a gentle cleanser. Pat dry with a clean towel. Checkpoint: Your skin should be completely clean and dry before applying masks.
- Apply masks to different zones: Using a clean brush or fingers, apply a clay or charcoal mask to oily areas (T-zone), a hydrating mask to dry patches (cheeks), and a soothing mask to sensitive or acne-prone spots. Avoid the eye area. Checkpoint: Don't mix masks on the same area—keep each zone distinct.
- Leave on for the recommended time: Follow the time indicated on each mask, usually 10-15 minutes. Set a timer to avoid over-drying. Checkpoint: If any mask stings or feels uncomfortable, remove it immediately.
- Rinse off and pat dry: Use lukewarm water to rinse off all masks. Gently pat your skin dry with a soft towel. Checkpoint: Your skin should feel clean and not tight or stripped.
- Apply toner, serum, and moisturizer: Use a toner to balance pH, then a serum and moisturizer to lock in hydration. This step maximizes the benefits of your masks. Checkpoint: For daytime, finish with SPF to protect your skin.
Products That Can Help with Multi-Masking
- Hydrate & Tone Rosewater Witch Hazel Face Toner: Cosmedica Skincare’s Hydrate & Tone, Rosewater Witch Hazel Facial Toner will brighten aging dull skin, tighten and minimize enlarged pores and balance the complexion. This product can be paired with your AM or PM skincare routine and assists in balancing your skin’s pH. After multi-masking, using this toner helps rebalance your skin's pH and prepare it for serums and moisturizers, maximizing the benefits of your masks.
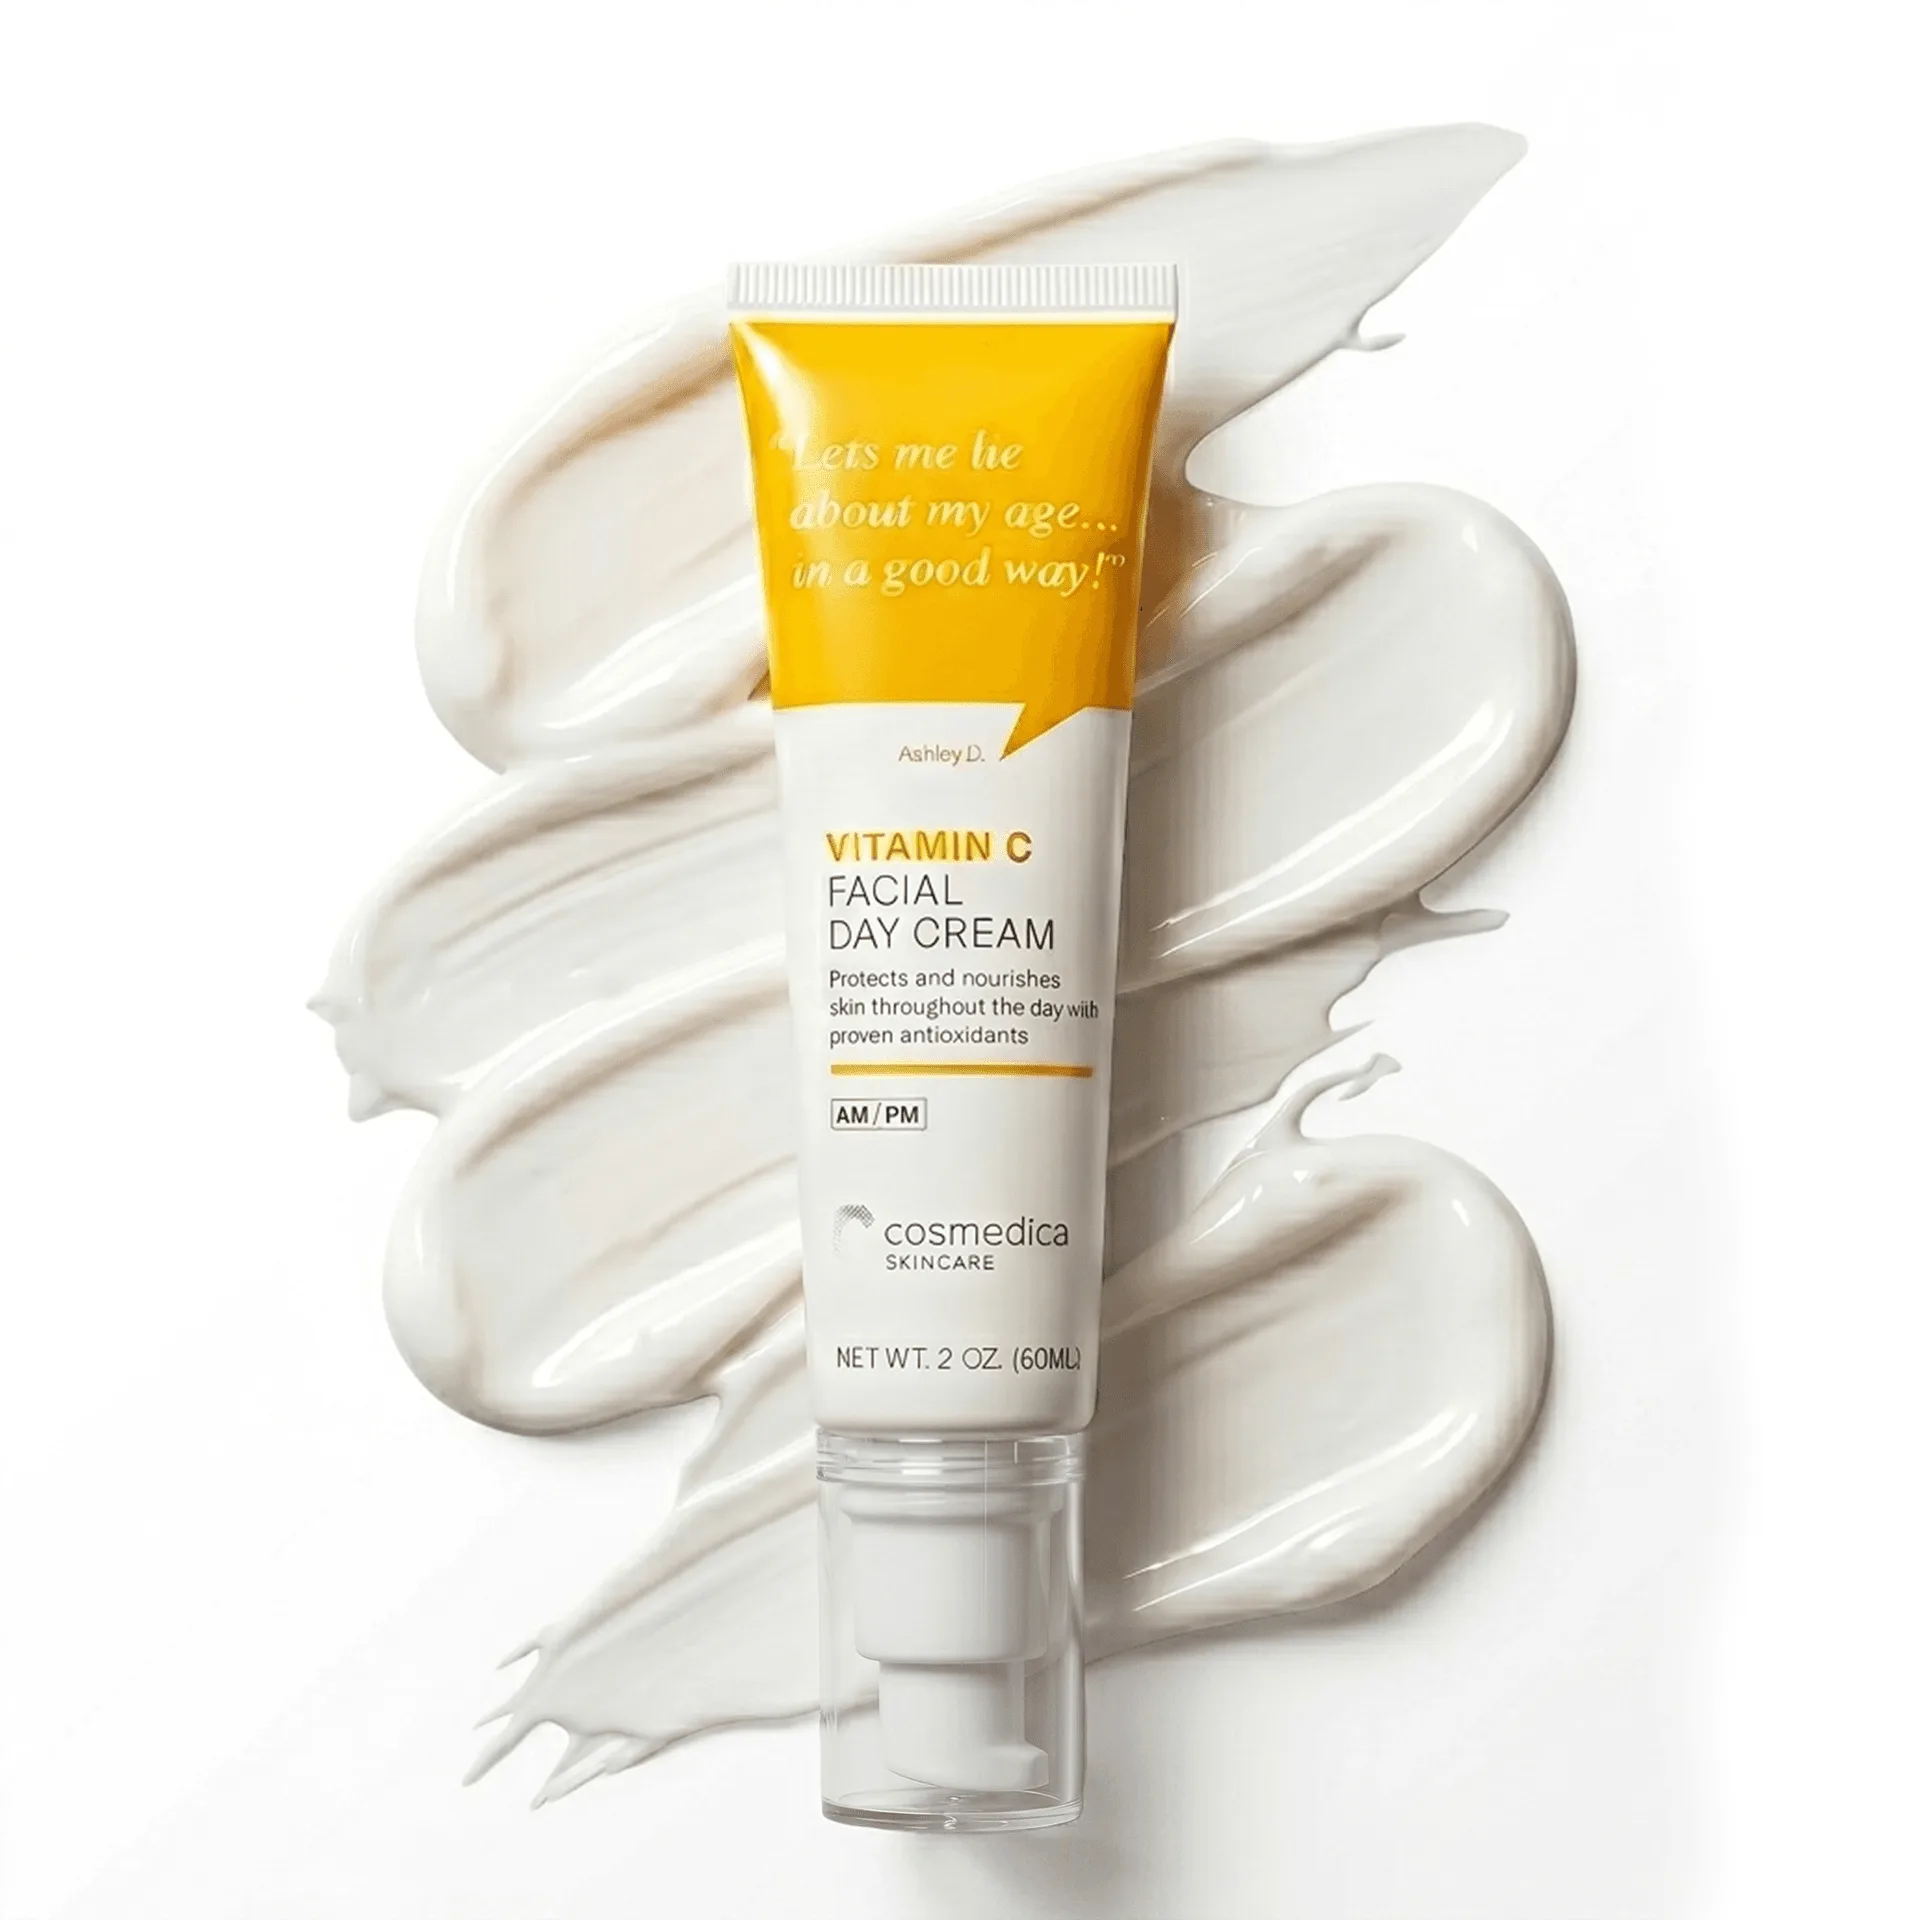
- Vitamin C Facial Day Cream: The Vitamin C Facial Day cream is a daytime moisturizer formulated to protect and nourish the skin with proven antioxidants. Our Vitamin C Facial Day cream is perfect for daytime hydration and adds extra protection against the sun’s damage when layered with SPF. After a multi-mask session, sealing in hydration with a moisturizer like this helps maintain the skin barrier and enhances the effects of your masks.
Multi-masking is a flexible and effective way to care for combination skin. By targeting each zone with the right mask, you can balance oil and hydration without over-stripping or over-moisturizing. Remember to follow up with toner, serum, and moisturizer, and adjust your routine based on how your skin feels.