Quick answer
Cure gel nail strips under the Nail Addict UV/LED Lamp for 60 seconds using the 60-second timer setting. Ensure each nail is fully covered by the lamp's light and avoid over-curing.
Why the right lamp matters for gel nail strips
Gel nail strips require a UV or LED light to harden the gel layer. The Nail Addict UV/LED Lamp's 6-Watt output and dual-wavelength design make it compatible with most gel strip brands. Its compact size is convenient for travel, but you must position your hand so each nail is directly under the lamp's emitters for even curing.
The lamp features two timer settings, which help you avoid guesswork. Using the correct timer prevents under-curing (sticky or peeling strips) or over-curing (brittle or discolored nails).
Before you start: prep your nails
Proper nail preparation is essential for adhesion. Push back cuticles, gently buff the nail surface, and wipe with rubbing alcohol to remove oils. Apply the gel strip according to the strip's instructions, ensuring no air bubbles or wrinkles exist. Smooth the strip firmly onto the nail plate.
How to cure gel nail strips with the Nail Addict UV/LED Lamp
- Step 1: Select the correct timer setting: Plug in the lamp using the included USB cable. Press the power button once for the 30-second timer or twice for the 60-second timer. For most gel nail strips, use the 60-second setting. Common mistake: Using the 30-second setting can leave gel strips under-cured and prone to peeling. Always check your strip's recommended cure time.
- Step 2: Place your hand under the lamp: Position your hand so the nail with the gel strip is centered under the lamp's light emitters. The lamp is small, so cure one hand at a time, one nail at a time if necessary. Checkpoint: If the lamp does not cover all five nails at once, cure each nail individually to ensure even exposure.
- Step 3: Cure for the full timer cycle: Press the power button to start the timer. Do not move your hand during curing. The lamp will automatically shut off when the timer ends. Repeat for each nail. Common mistake: Removing your hand early can interrupt curing. Wait for the lamp to turn off completely before moving.
- Step 4: Wipe off the tacky residue (if needed): After curing, some gel strips leave a sticky dispersion layer. Use a lint-free wipe soaked in rubbing alcohol to gently wipe the nail surface until it feels smooth and dry. Checkpoint: If your gel strips are no-wipe, skip this step. Check the strip packaging to confirm.
- Step 5: Apply a top coat (optional): For extra shine and durability, apply a gel top coat and cure again for 60 seconds. This step is not required but can extend the wear time of your manicure. Common mistake: Skipping the top coat on active hands may lead to chipping sooner. Apply it if you want longer-lasting results.
Product used in this guide
-
Nail Addict UV/LED Lamp: This personal sized 6-Watt UV/LED lamp features 2 timer settings and a 5000-hour lifetime. The two timer settings let you choose the correct cure time for your gel strips, and the long lifetime means the lamp will last through many manicures.
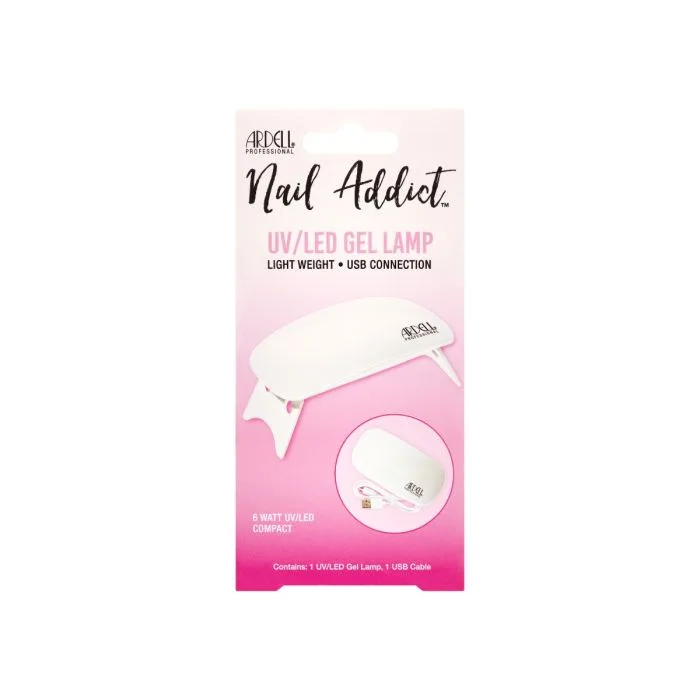
Nail Addict UV/LED Lamp