Quick answer
Start with clean, dry, oil-free nails, apply a base color and let it cure, then press the sticker down from the center outward. Seal the edges with a gel top coat and cure again. The seal is what turns a five-minute sticker manicure into one that survives hand washing and daily wear.
Nail stickers are the fastest route to detailed nail art without a steady hand or a full acrylic set. The catch is that most peeling and lifting happens in the first hour, not the first week, because the sticker was placed on a slick or oily surface.
This tutorial walks through a quick manicure with stickers from prep to final cure. Every step includes the one mistake that ruins the result, so you can check your work as you go.
Prep the nail so the sticker has something to grip
Buff the shine off the natural nail with a fine grit sanding band or hand file, then wipe away dust. Push back the cuticle and remove any clinging cuticle tissue with a cuticle nipper so the sticker can sit flat against the nail plate instead of riding over a ridge.
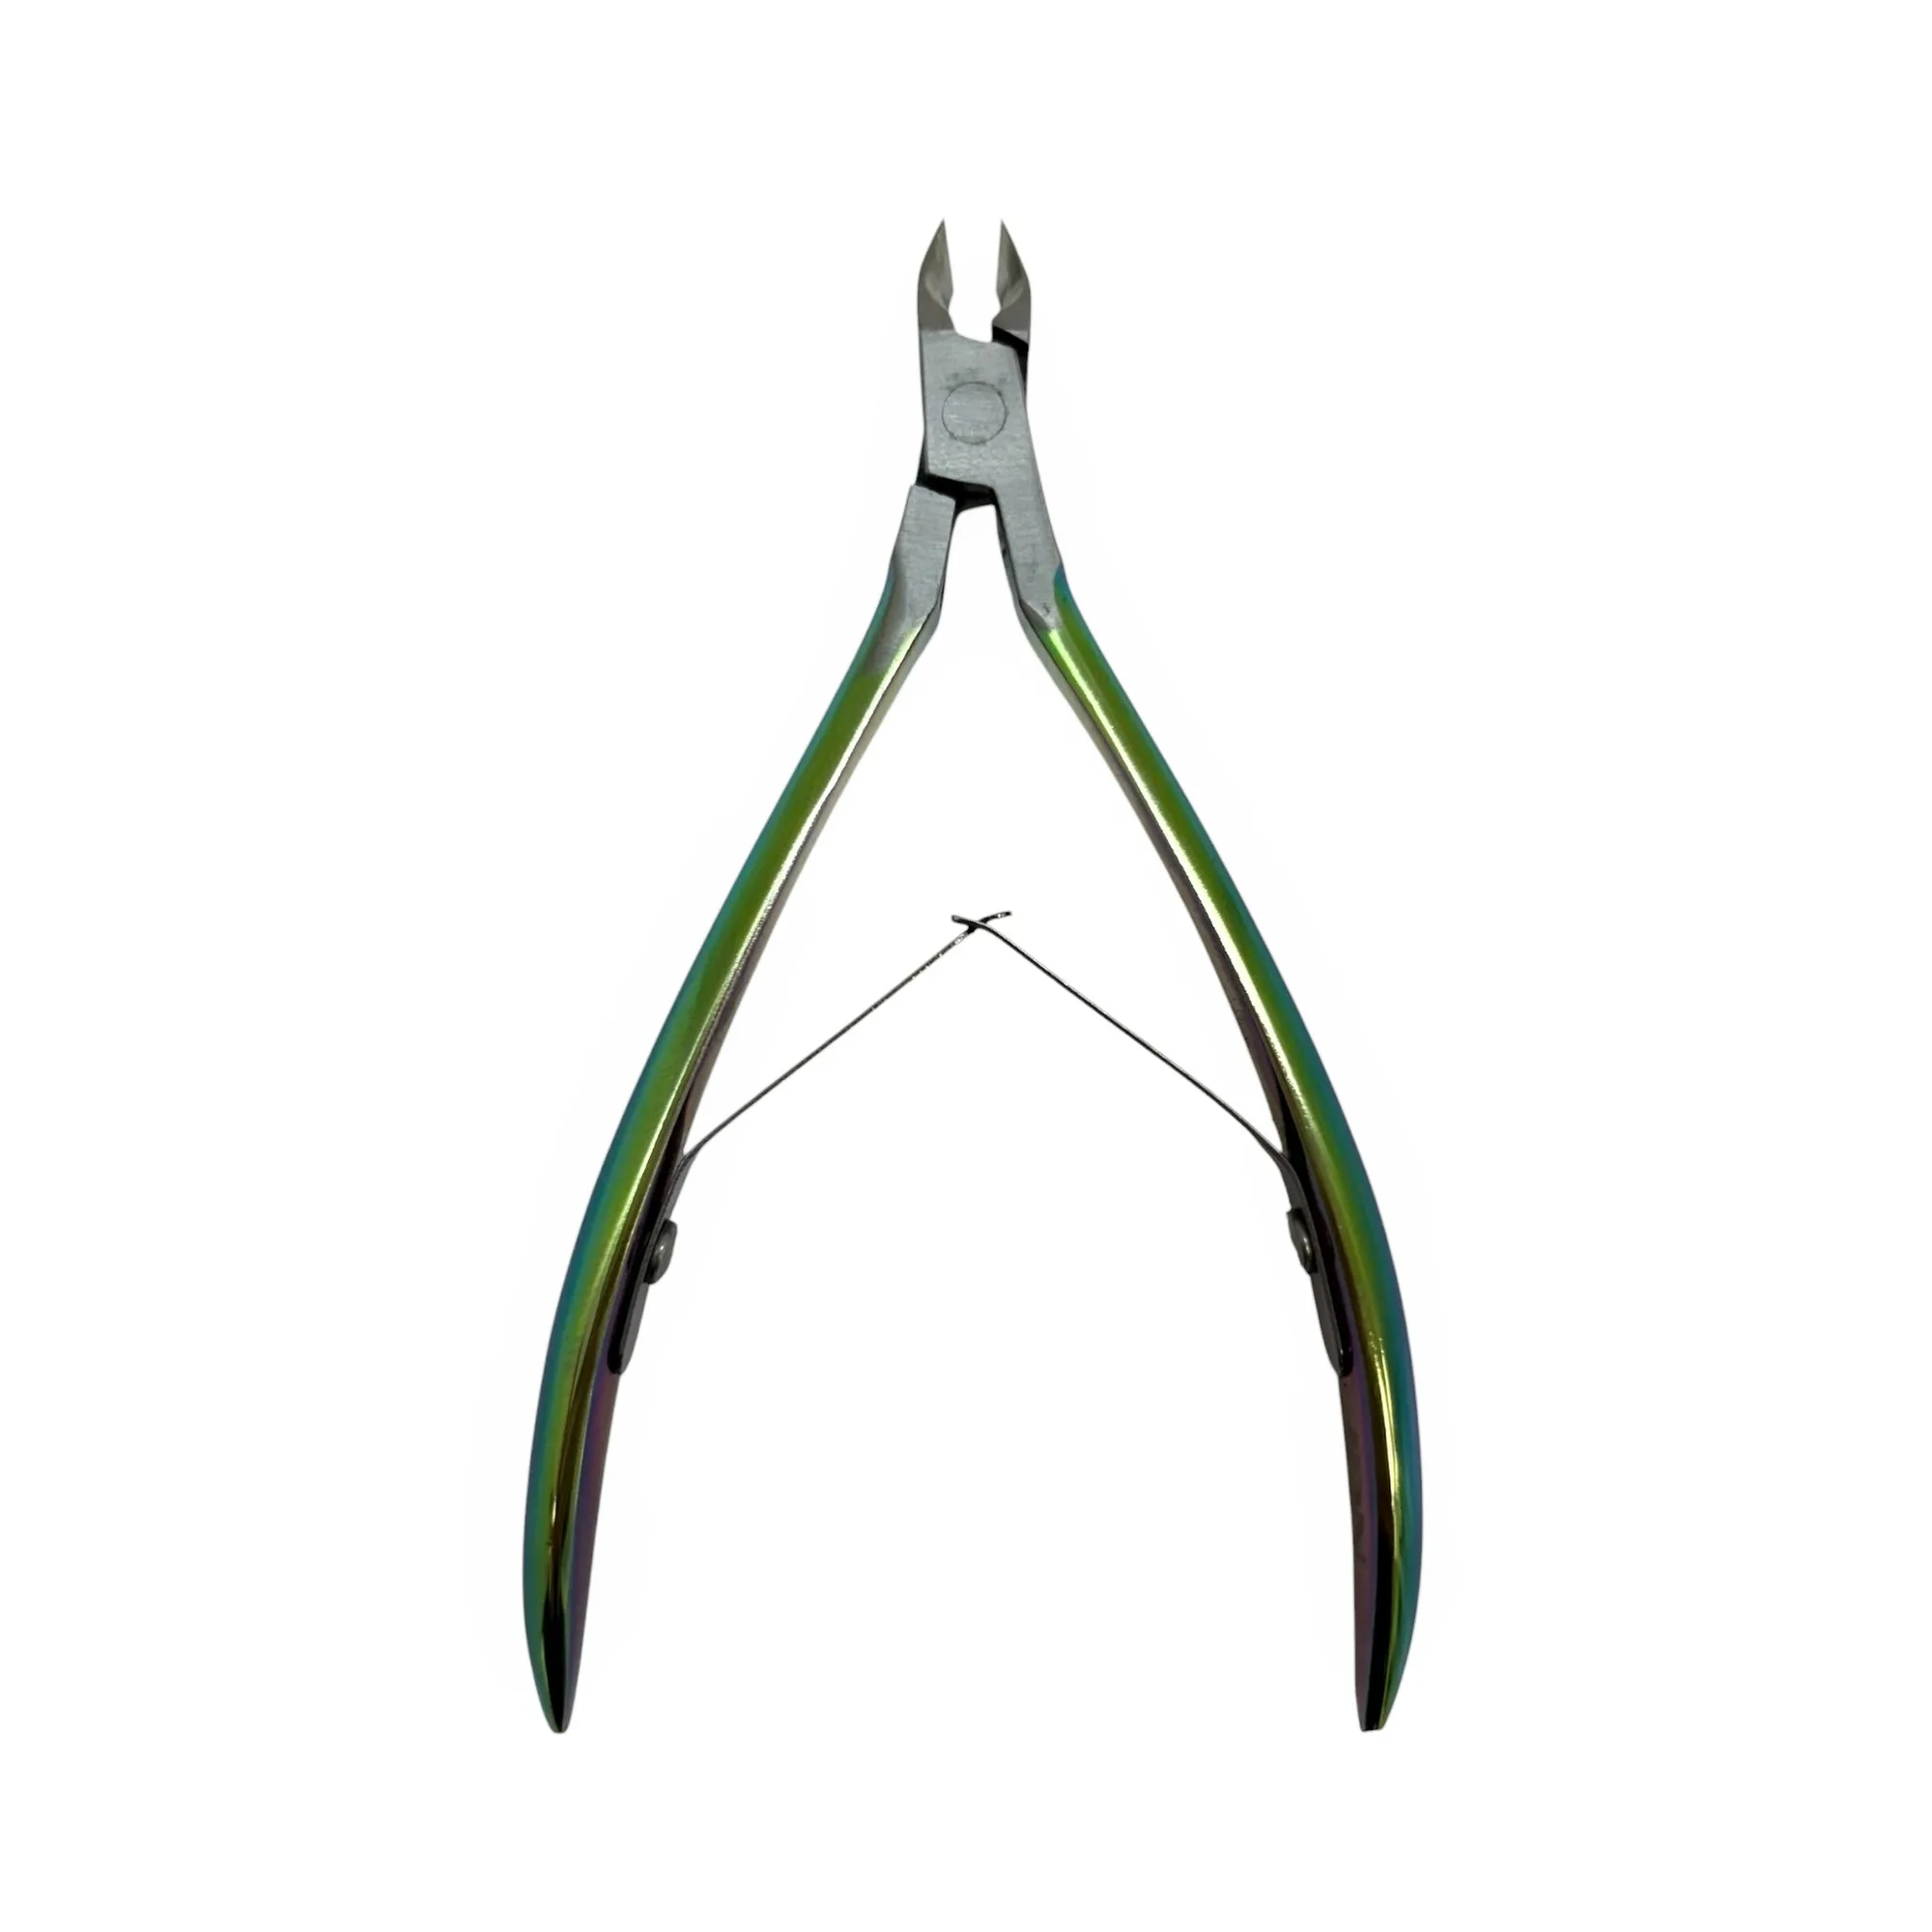
cuticle nipper
Dehydrate the nail with a lint-free wipe and a small amount of monomer or prep solution. Oil is the number one enemy of sticker adhesion, so skip cuticle oil until the manicure is completely finished.
- Checkpoint: run a dry finger across the nail. If it feels slick or oily, wipe again before continuing.
Apply a base color and cure it fully
Paint a thin layer of gel polish or builder gel as your base and cure it according to your lamp. A cured base gives the sticker a smooth, consistent surface and hides the natural nail underneath if the sticker has any transparency.
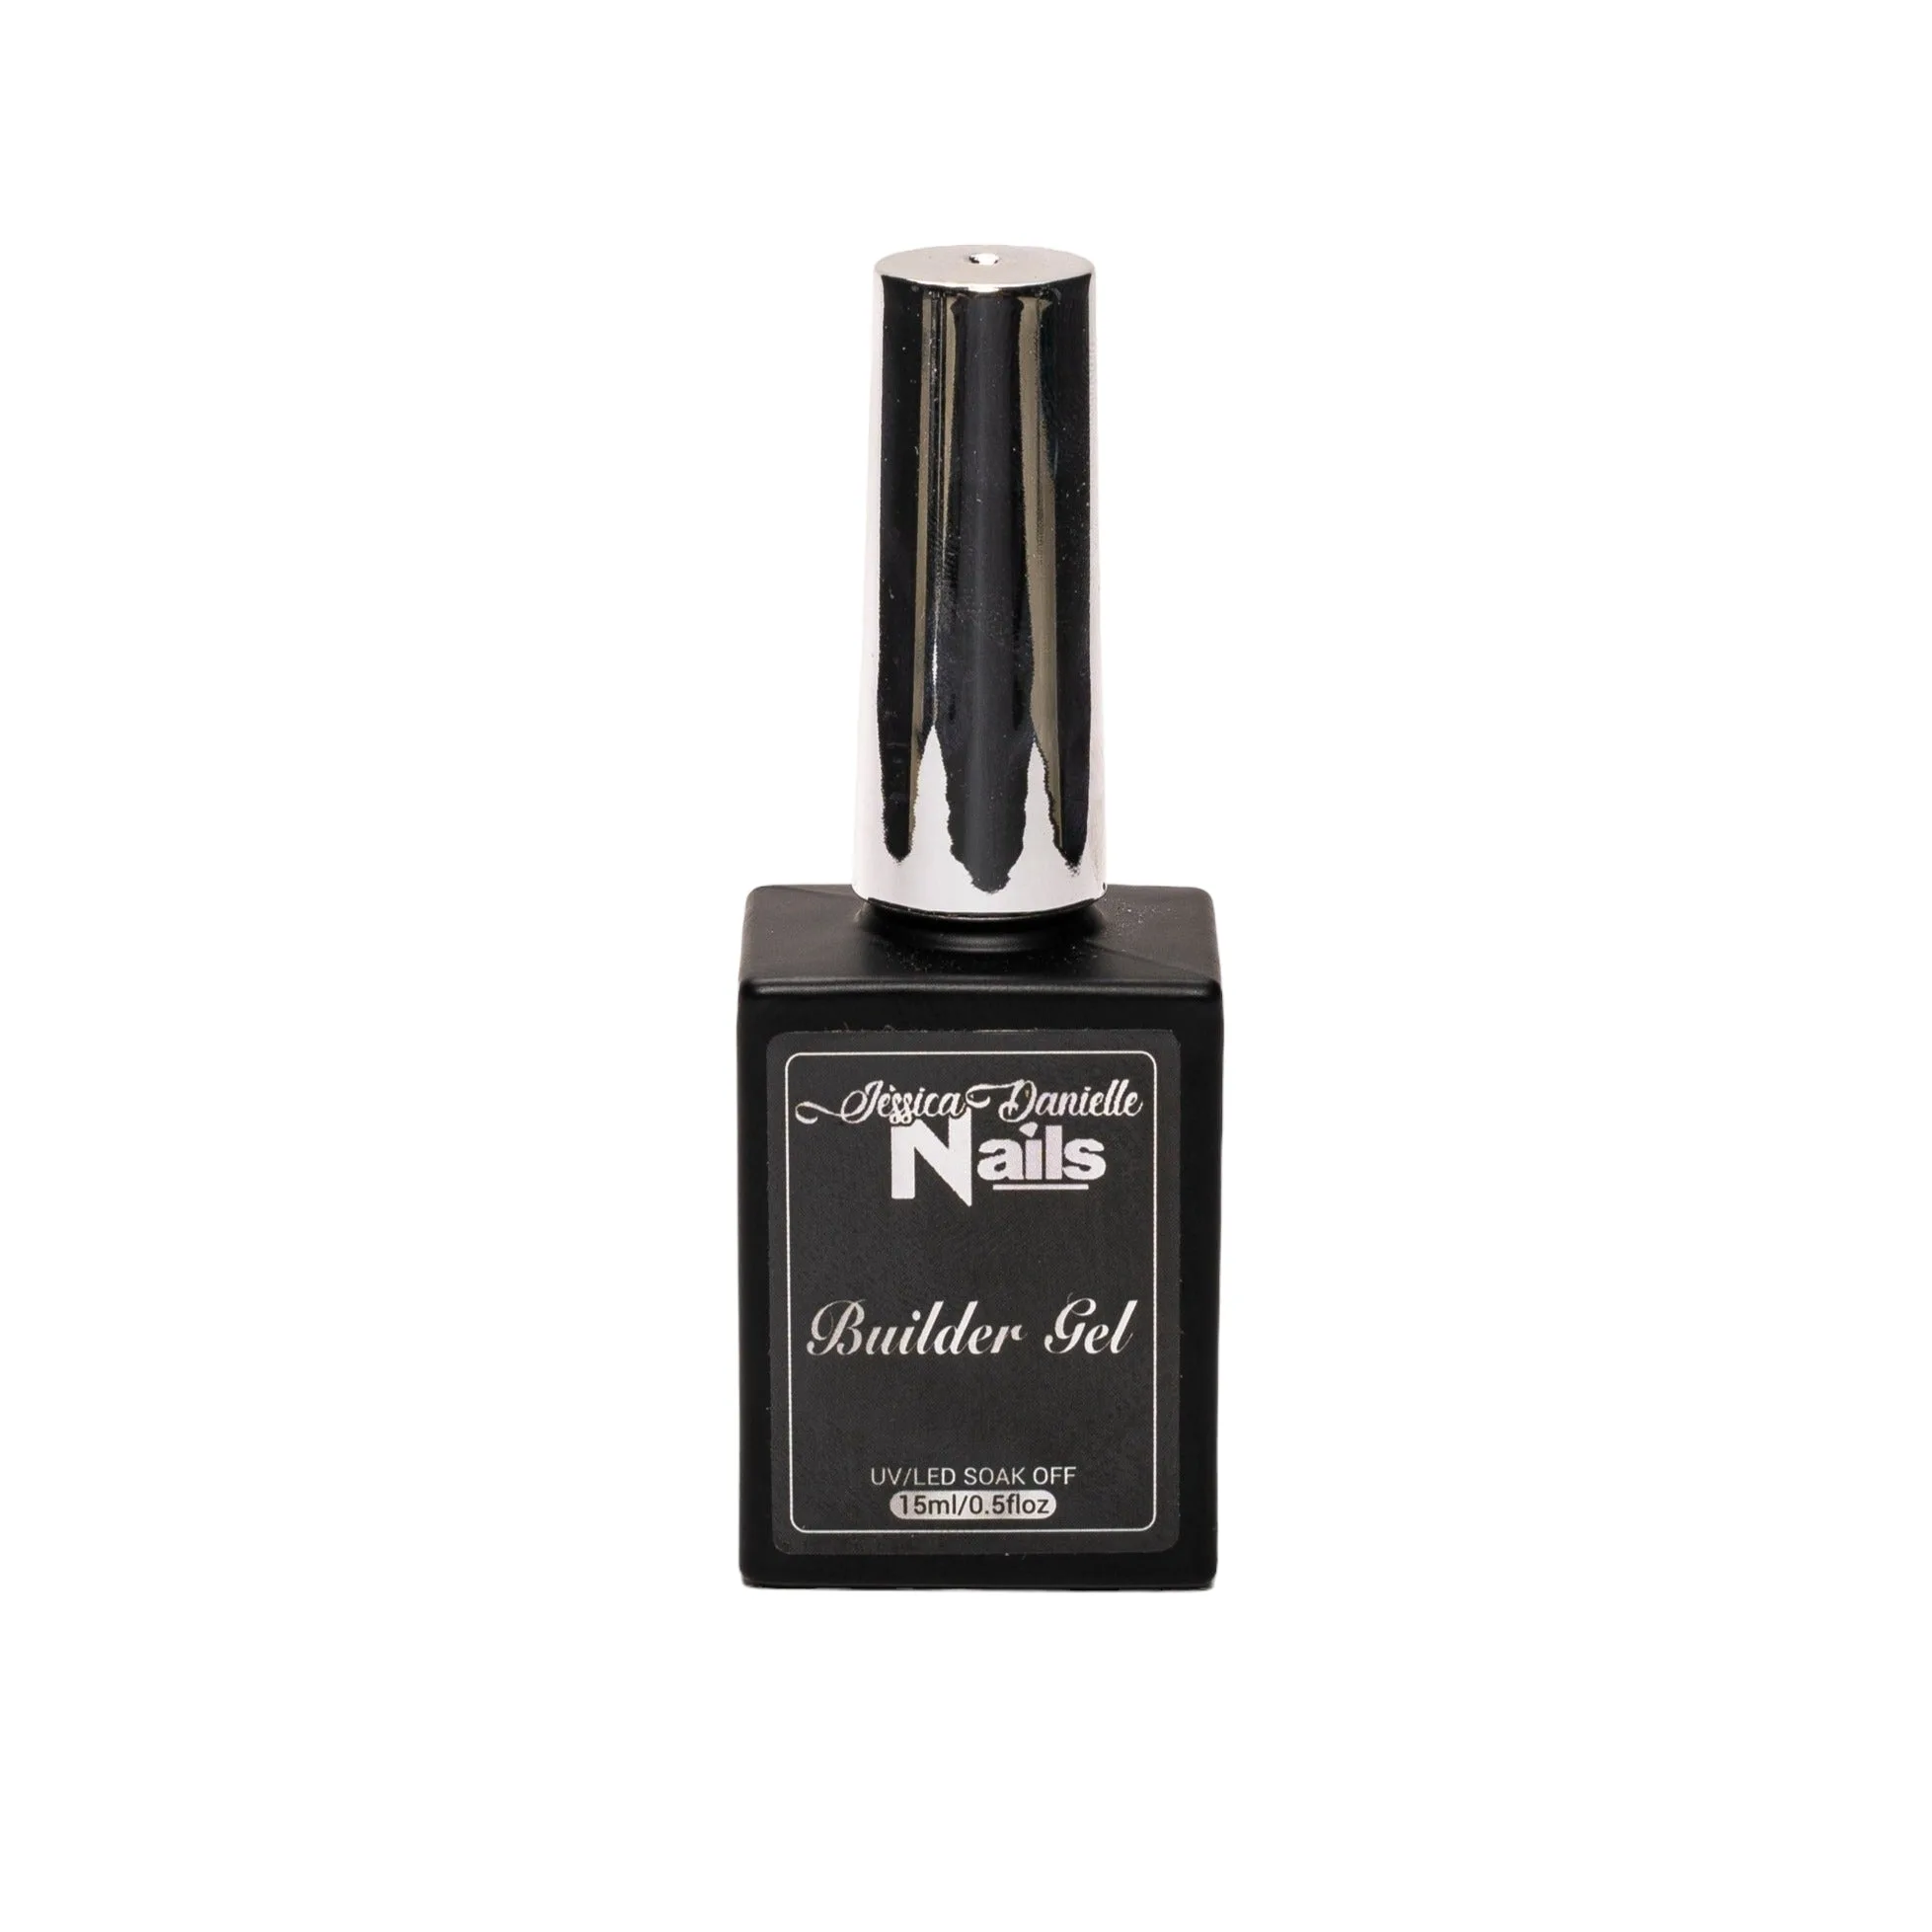
builder gel
Keep the base color close in tone to the sticker design. A nude or milky base flatters almost every sticker style, while a dark base can make light stickers look muddy around the edges.
- Mistake to avoid: leaving the base color tacky. If the surface is still wet, the sticker will slide and wrinkle.
Place the sticker from the center outward
Peel the sticker with tweezers rather than your fingers so you do not transfer oil to the adhesive. Set it down at the center of the nail first, then press outward toward the sidewalls and free edge with a silicone applicator or the pad of your finger.
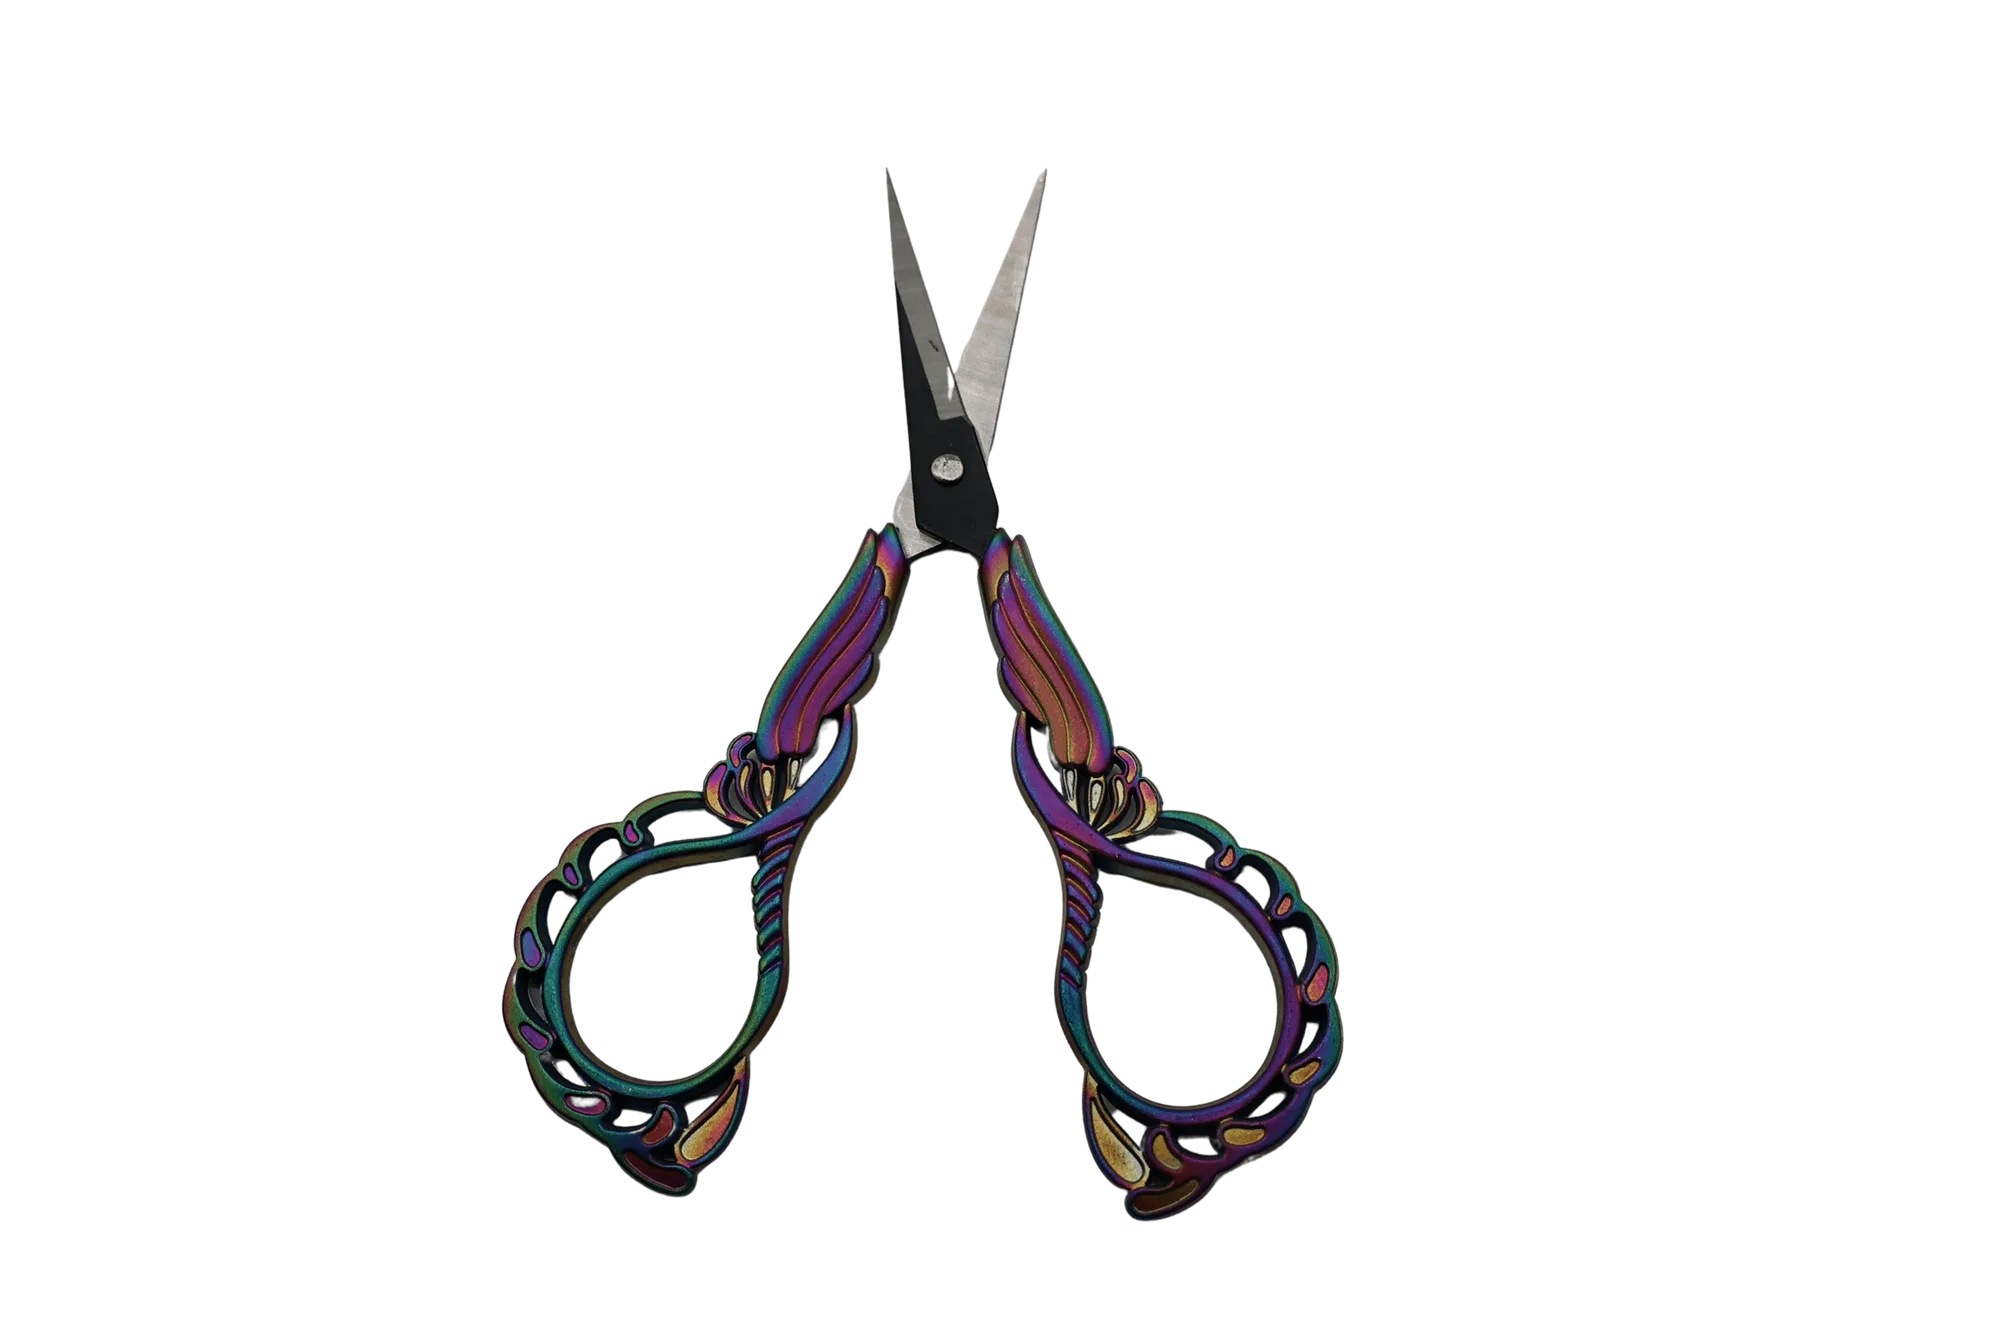
For a full-coverage sticker, trim the overhang with small curved scissors after pressing, then file the free edge downward in one direction. Sawing back and forth tears the sticker edge and leaves a ragged line.
- Checkpoint: look at the nail from the side. Any lifted corner needs to be pressed down again before you seal.
Seal the sticker with gel top coat
Apply a gel top coat over the entire sticker, wrapping the free edge and capping the sidewalls. This is the step that keeps the sticker from catching on hair, fabric, and zippers. Cure fully under your lamp.
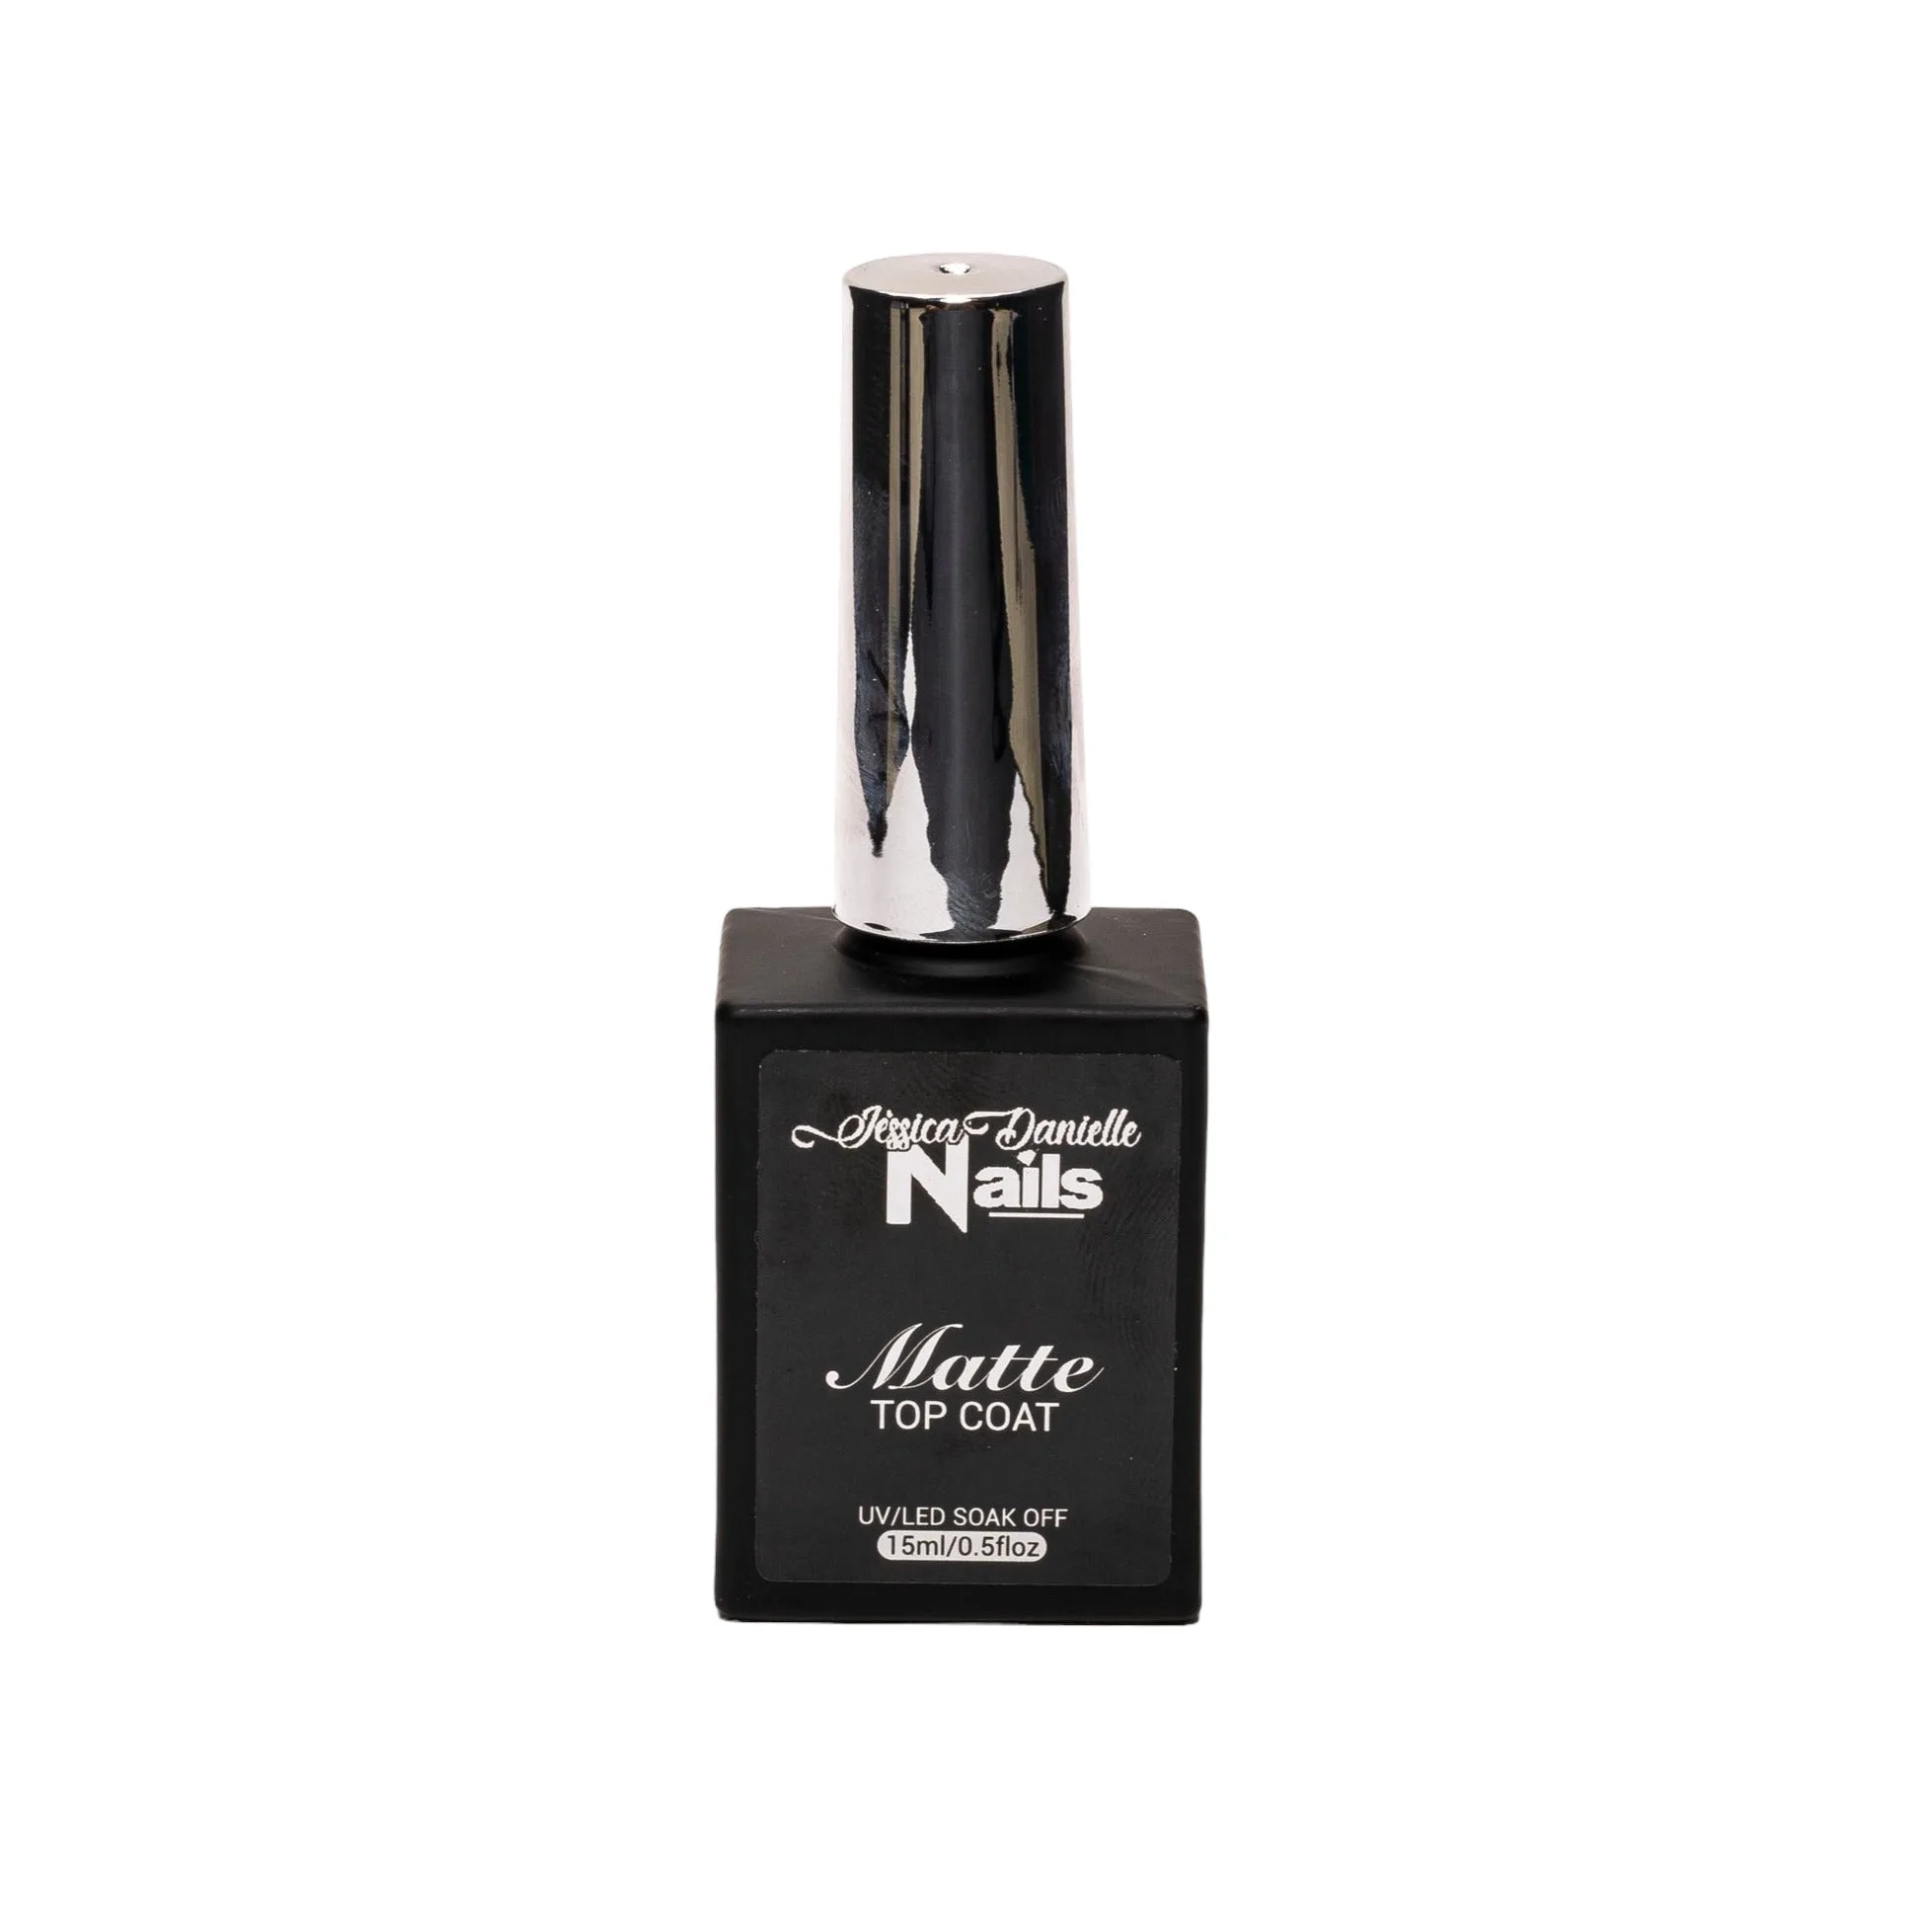
If the sticker has a matte finish you want to preserve, use a matte top coat instead, but still wrap the edges. A sealed matte sticker looks intentional; an unsealed one looks worn within a day.
- Mistake to avoid: floating the top coat too thick over the sticker. Thick layers can pool and cure unevenly at the edges.
Finish with cuticle oil and a quick maintenance check
Once everything is cured, apply cuticle oil to the skin around the nail, not the sticker itself. Keeping the surrounding skin hydrated reduces the urge to pick at edges, which is the most common reason sticker manicures fail early.
Check the sticker edges every couple of days. If a corner lifts, press it down and add a thin layer of top coat over that spot, then cure. Catching a lift early saves the whole design.
- Checkpoint: if a sticker keeps lifting in the same spot, that area of the nail is probably not fully dehydrated.
Sticker manicure steps at a glance
- Buff and dehydrate: Remove shine, push back cuticles, and wipe the nail with a lint-free pad until it feels dry and slightly rough. Checkpoint: no oil or shine left on the nail plate.
- Apply and cure a base: Paint a thin layer of gel polish or builder gel and cure it fully so the sticker has a stable surface. Mistake to avoid: a tacky base that lets the sticker slide.
- Place sticker center-out: Use tweezers to set the sticker at the center, then press outward to the sidewalls and free edge. Checkpoint: no lifted corners before sealing.
- Trim and file the overhang: Cut excess with curved scissors and file the free edge in one direction only. Mistake to avoid: sawing back and forth, which tears the sticker.
- Seal with top coat: Cover the whole sticker, wrap the free edge, and cap the sidewalls, then cure fully. Checkpoint: edges are fully encapsulated, not just painted over.
- Oil the skin, not the sticker: Apply cuticle oil around the nail after curing and re-check edges every few days. Next step: touch up any lift with a thin layer of top coat and cure.
Products that help a sticker manicure last
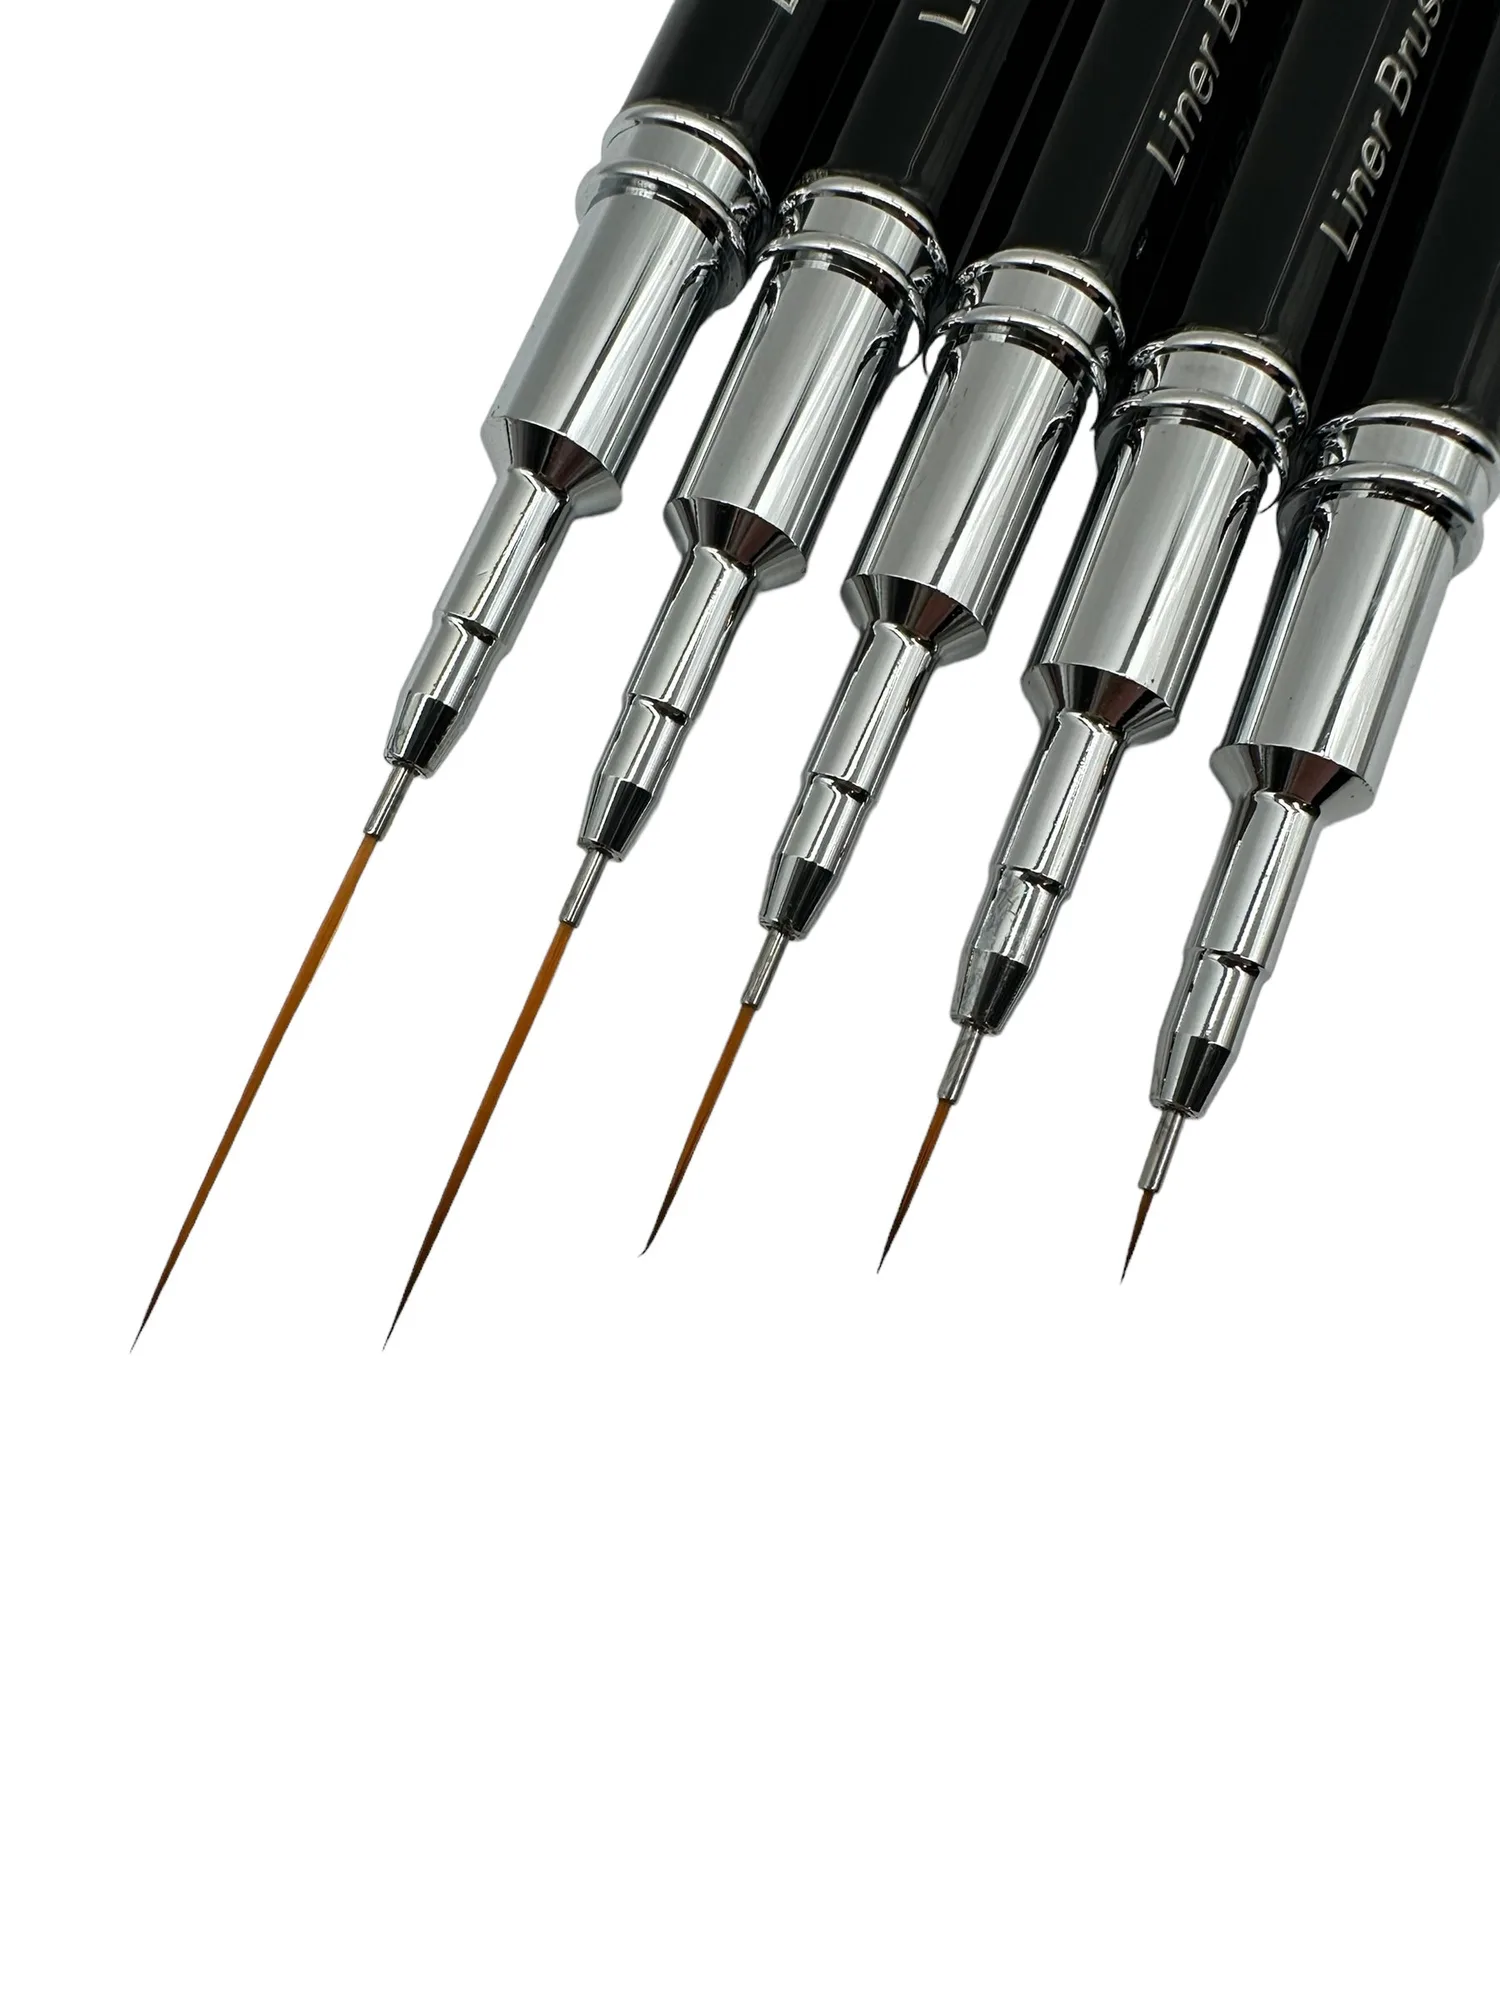
- Liner Brushes (5 piece set): Precision sizes: 4mm, 8mm, 12mm, 20mm, and 25mm, with ultra-fine bristles for intricate line work. A fine liner brush lets you add hand-painted lines or touch up gaps around a sticker without disturbing the design.
- Chrome Bond Gel: A no-wipe gel designed to pair with chrome powders and create a mirror effect, cured under UV or LED. If your sticker design leaves open nail space, a chrome accent adds contrast, but it must be sealed with top coat like any other gel layer.
- #30 Glass Of Bubbly - Acrylic Nail Powder: A super fine acrylic powder that can be applied with monomer or dip system, self-leveling, and available in 1oz, 2oz, 4oz, or 16oz jars. If you build a short acrylic base before applying stickers, this powder gives a smooth, even surface for the sticker to sit on.
Nail stickers reward patience in the prep and sealing stages, not in the placement. Keep the nail dry, press from the center out, and seal every edge with top coat. Do that, and a quick manicure with stickers can hold up through a normal week.