Quick Answer
Mix a few drops of Natural Glow Instant Sun Drops into your daily face moisturizer, then apply evenly to clean skin. Start with 2–3 drops for a light glow and increase for deeper color—no streaks, no guesswork.
Why Tanning Drops Work Better Than One-Shade Tanning Products
Unlike a standard self-tanner that forces you to commit to a single shade, tanning drops let you control the intensity drop by drop. Natural Glow Instant Sun Drops are designed to be mixed with your own moisturizer, so you can dial in the exact color depth you want—whether it's a subtle hint of warmth or a deeper bronze. This custom approach reduces the risk of an unnatural orange cast because you're building color gradually, not applying a one-size-fits-all formula.
Common Mistakes to Avoid for a Streak-Free Face Tan
The biggest mistake people make is applying tanning drops to dry, unprepared skin. Drops need a smooth, clean canvas to blend evenly. Another common error is using too many drops right away—starting with 4 or more can lead to patchiness, especially on the forehead and jawline where skin texture varies. Also, don't forget to wash your hands immediately after application; leftover formula on your palms can stain your palms or create dark spots on your face if you touch it later.
Step-by-Step Guide: How to Use Natural Glow Instant Sun Drops
- Step 1: Prep Your Skin: Start with a clean, dry face. Wash off any makeup, sunscreen, or excess oil. Exfoliate gently once a week to remove dead skin cells—this prevents the tan from clinging to dry patches. Wait 5 minutes after washing so your skin is completely dry before mixing. Applying drops to damp skin can cause uneven absorption and streaks.
- Step 2: Mix Drops with Moisturizer: Squeeze a pea-sized amount of your regular face moisturizer into your palm. Add 2–3 drops of Natural Glow Instant Sun Drops. Stir the mixture with your fingertip until the color looks even. For a lighter glow, stick with 2 drops; for a deeper tan, use 4–5 drops next time. Always start with fewer drops—you can always add more later, but you can't take color away.
- Step 3: Apply Evenly to Your Face: Using your fingertips, spread the mixture over your face in thin, even layers. Start at your cheeks and blend outward to your jawline and forehead. Don't forget your neck and the tops of your ears. Use a light hand around your hairline and eyebrows to avoid dark edges. Blend downward toward your neck to avoid a visible line where your face meets your jaw.
- Step 4: Wash Your Hands Immediately: Right after applying, wash your palms and between your fingers with soap and warm water. Any leftover formula can stain your hands or transfer to your face later. If you notice a dark spot on your palm later, use a gentle scrub or makeup remover to lift it. Orange palms are a dead giveaway—don't skip this step.
- Step 5: Let It Develop and Repeat: Allow the tan to develop for at least 6–8 hours before showering or applying makeup. The color will deepen over the next few hours. To build a gradual tan, repeat the process every 2–3 days. For maintenance, use 1–2 drops mixed with moisturizer every other day. Don't expect instant results—the final color appears after a few hours, so be patient.
Product Spotlight
-
Natural Glow Instant Sun Drops: Color shouldn’t be one size fits all. Now, Jergens puts glow control in your hands with new Instant Sun Sun Drops. Instantly transforms your favorite moisturizer into a glowy sunless tanner. The more drops, the more color. Just right every time. This means you can use your go-to moisturizer and still get a custom tan—no need to buy a separate face tanner or worry about mismatched shades.
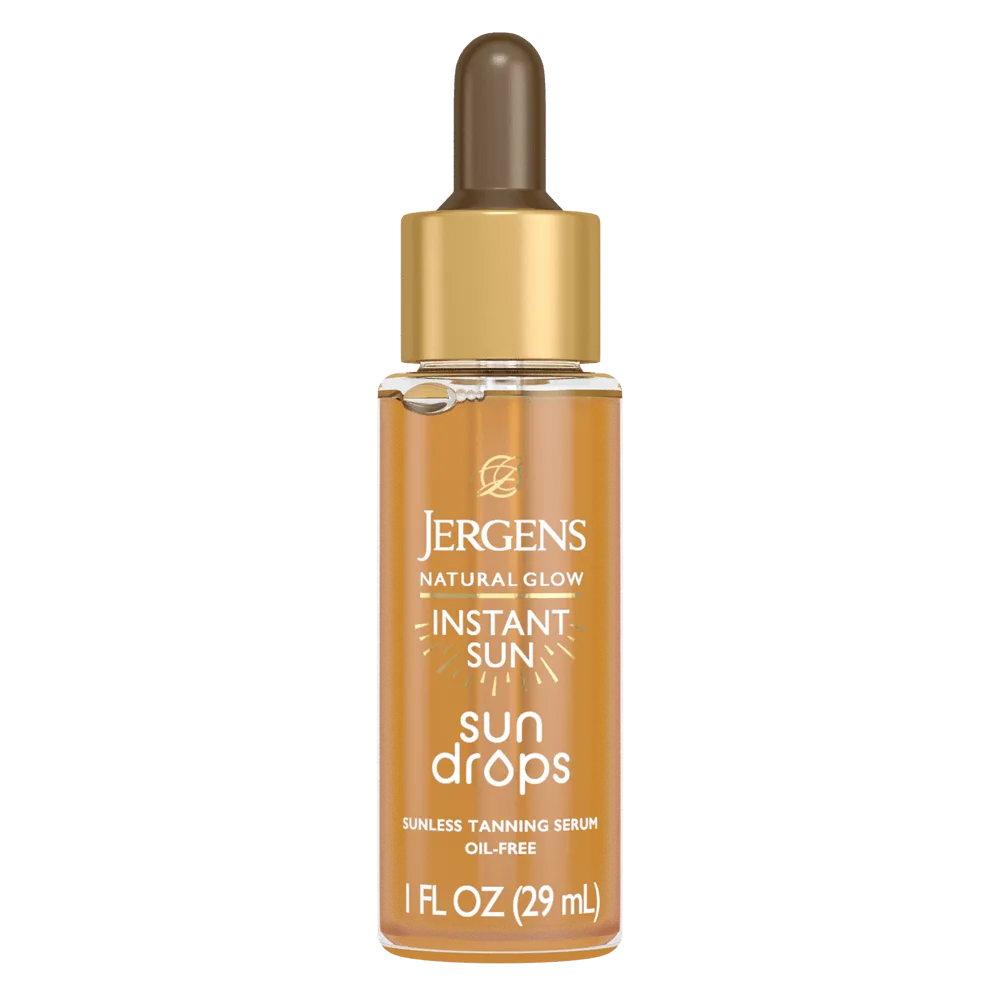
Natural Glow Instant Sun Drops