Quick answer
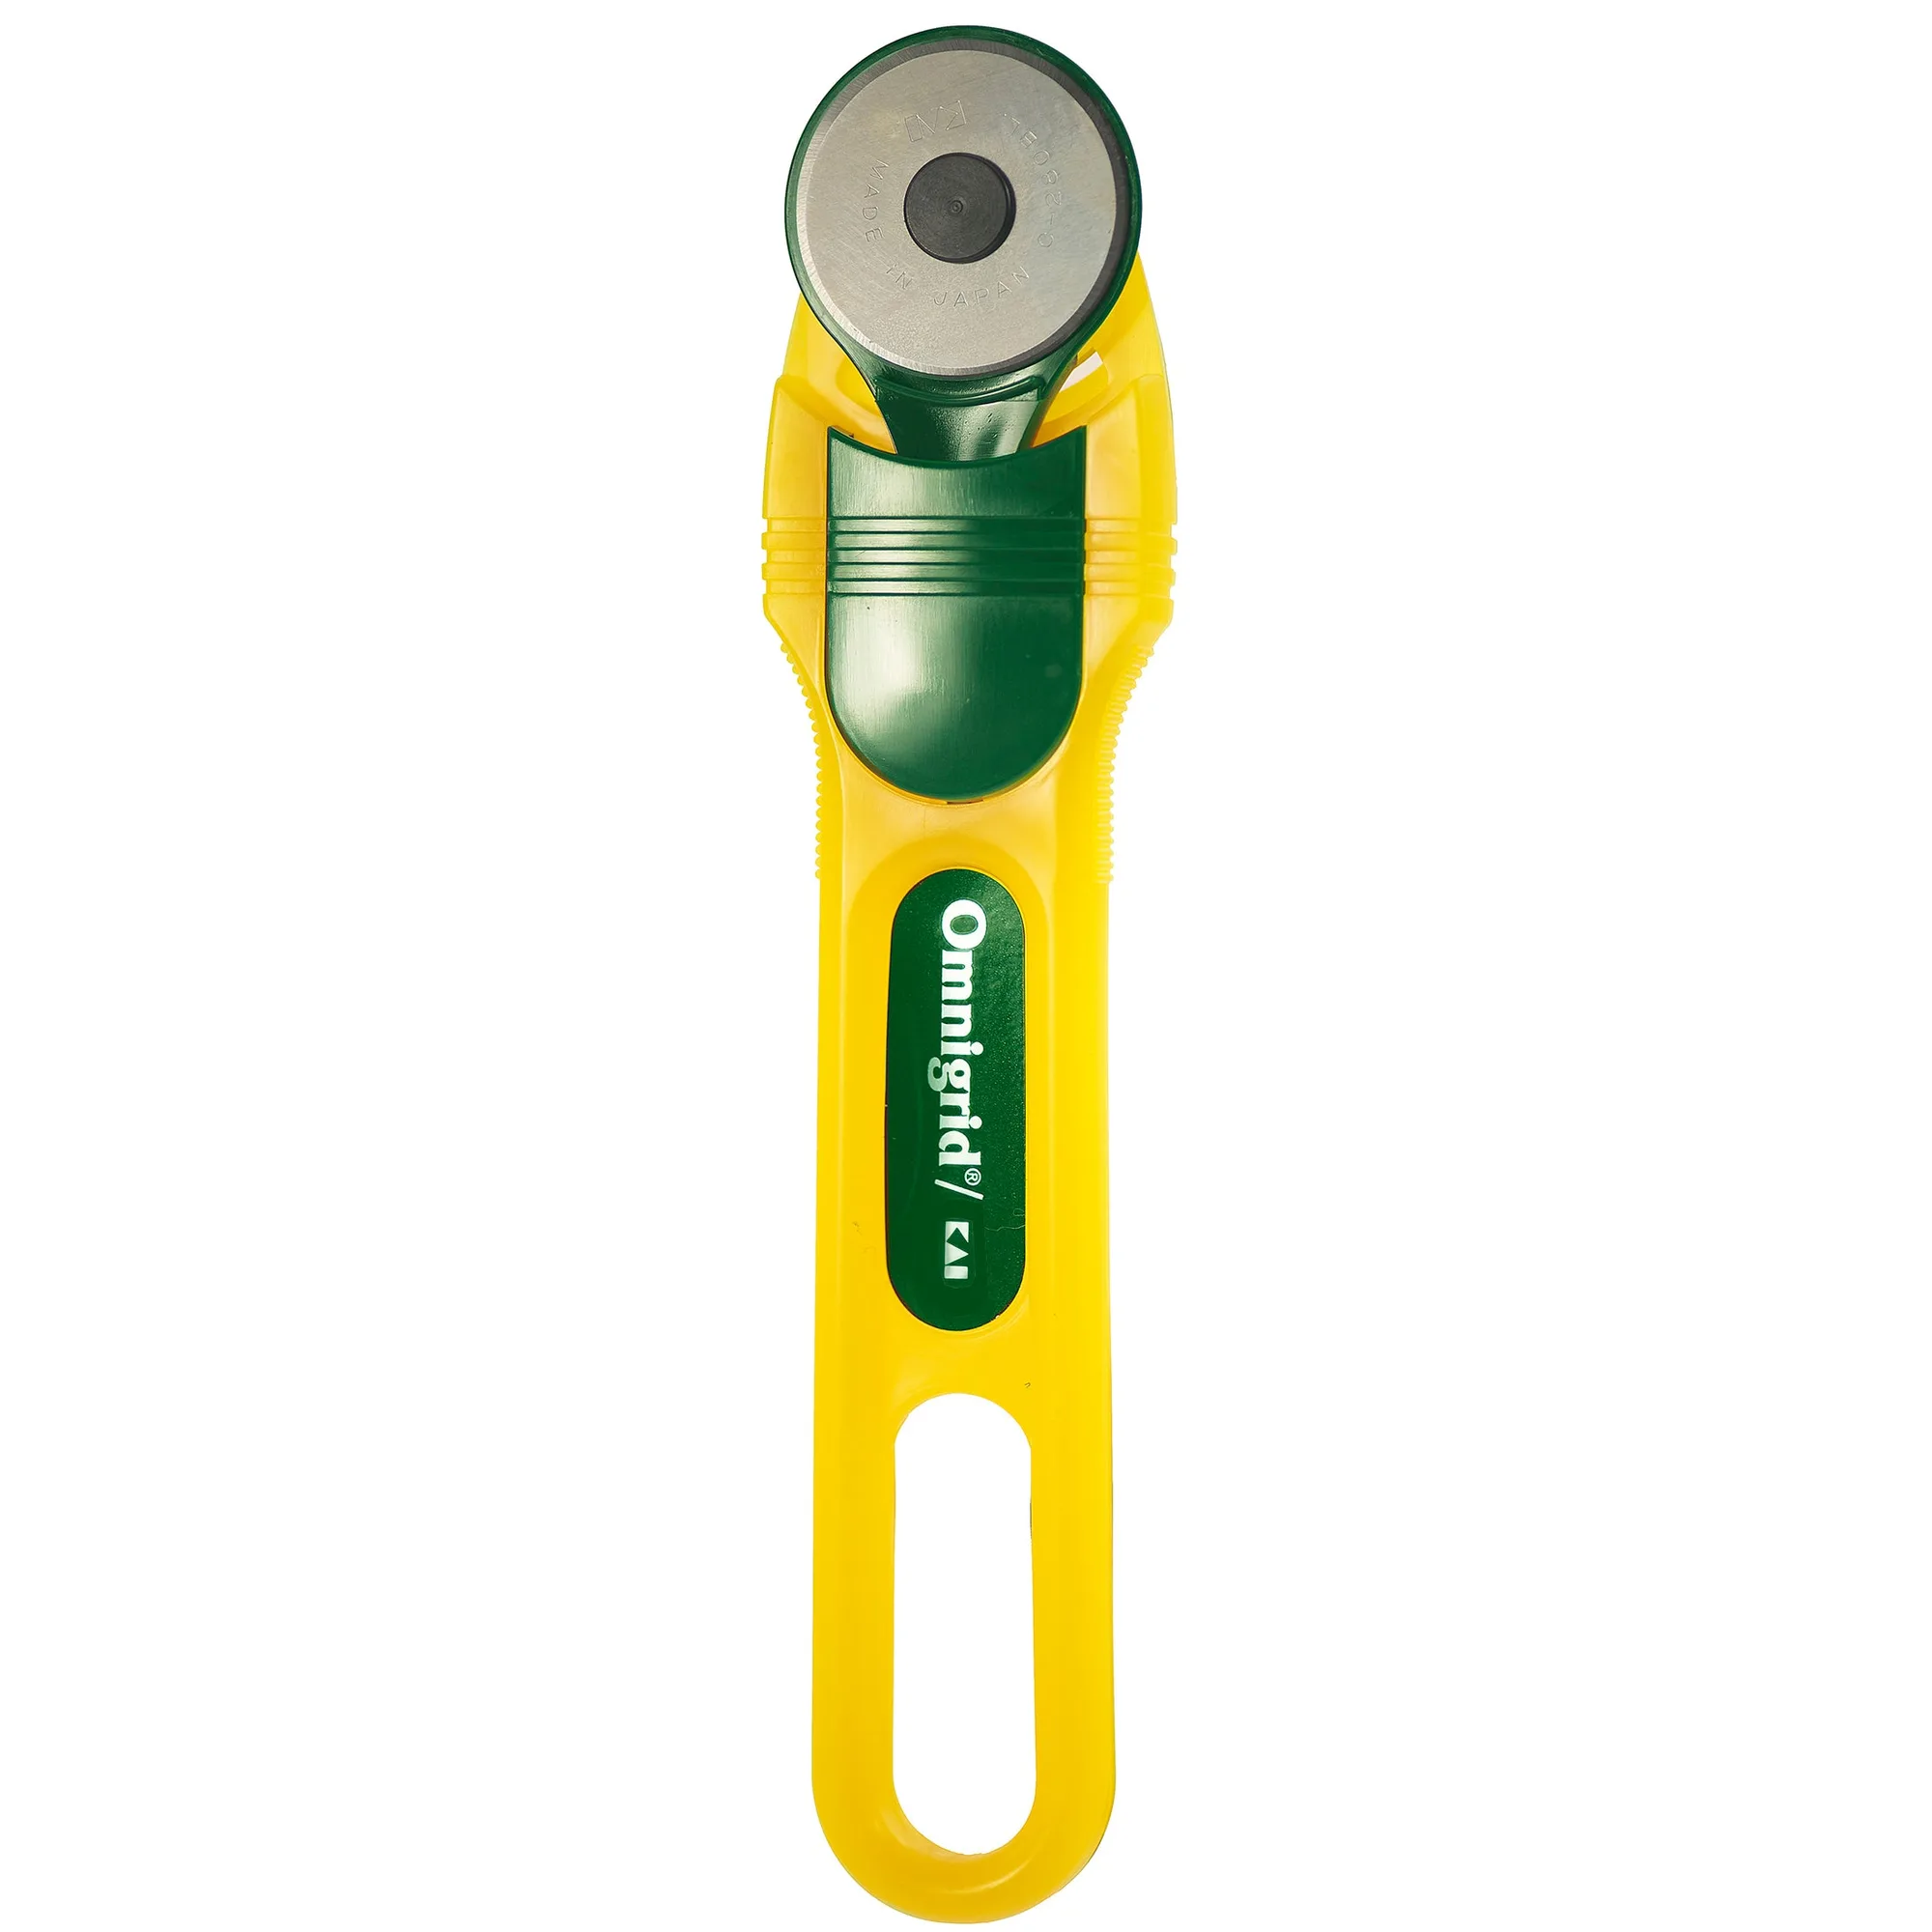
Place your pin cushion on a flat, stable surface within arm's reach but out of the path of your sewing machine needle and https://prymamerica.com/products/omnigridrc-9ae17850c2891c3d711e1185-1316278rotary cutter. Push pins in point-first, keep the cushion away from fabric edges you are actively cutting, and empty it at the end of each session so stray pins never end up on the floor or in a project.
Choose a cushion that matches how you work
A pin cushion is not just a pretty accessory; its fill and surface decide how securely pins stay put. A firmly filled cushion grips pins so they do not fall out when you lift or bump it. A magnetic cushion holds pins on the surface with magnets, which is convenient beside a sewing machine but means you should keep it away from computerized machines, credit cards, and other magnet-sensitive items. If you use fine fabrics, match the cushion to the pins you use so the pins do not damage the cloth.
Set up a safe, reachable placement
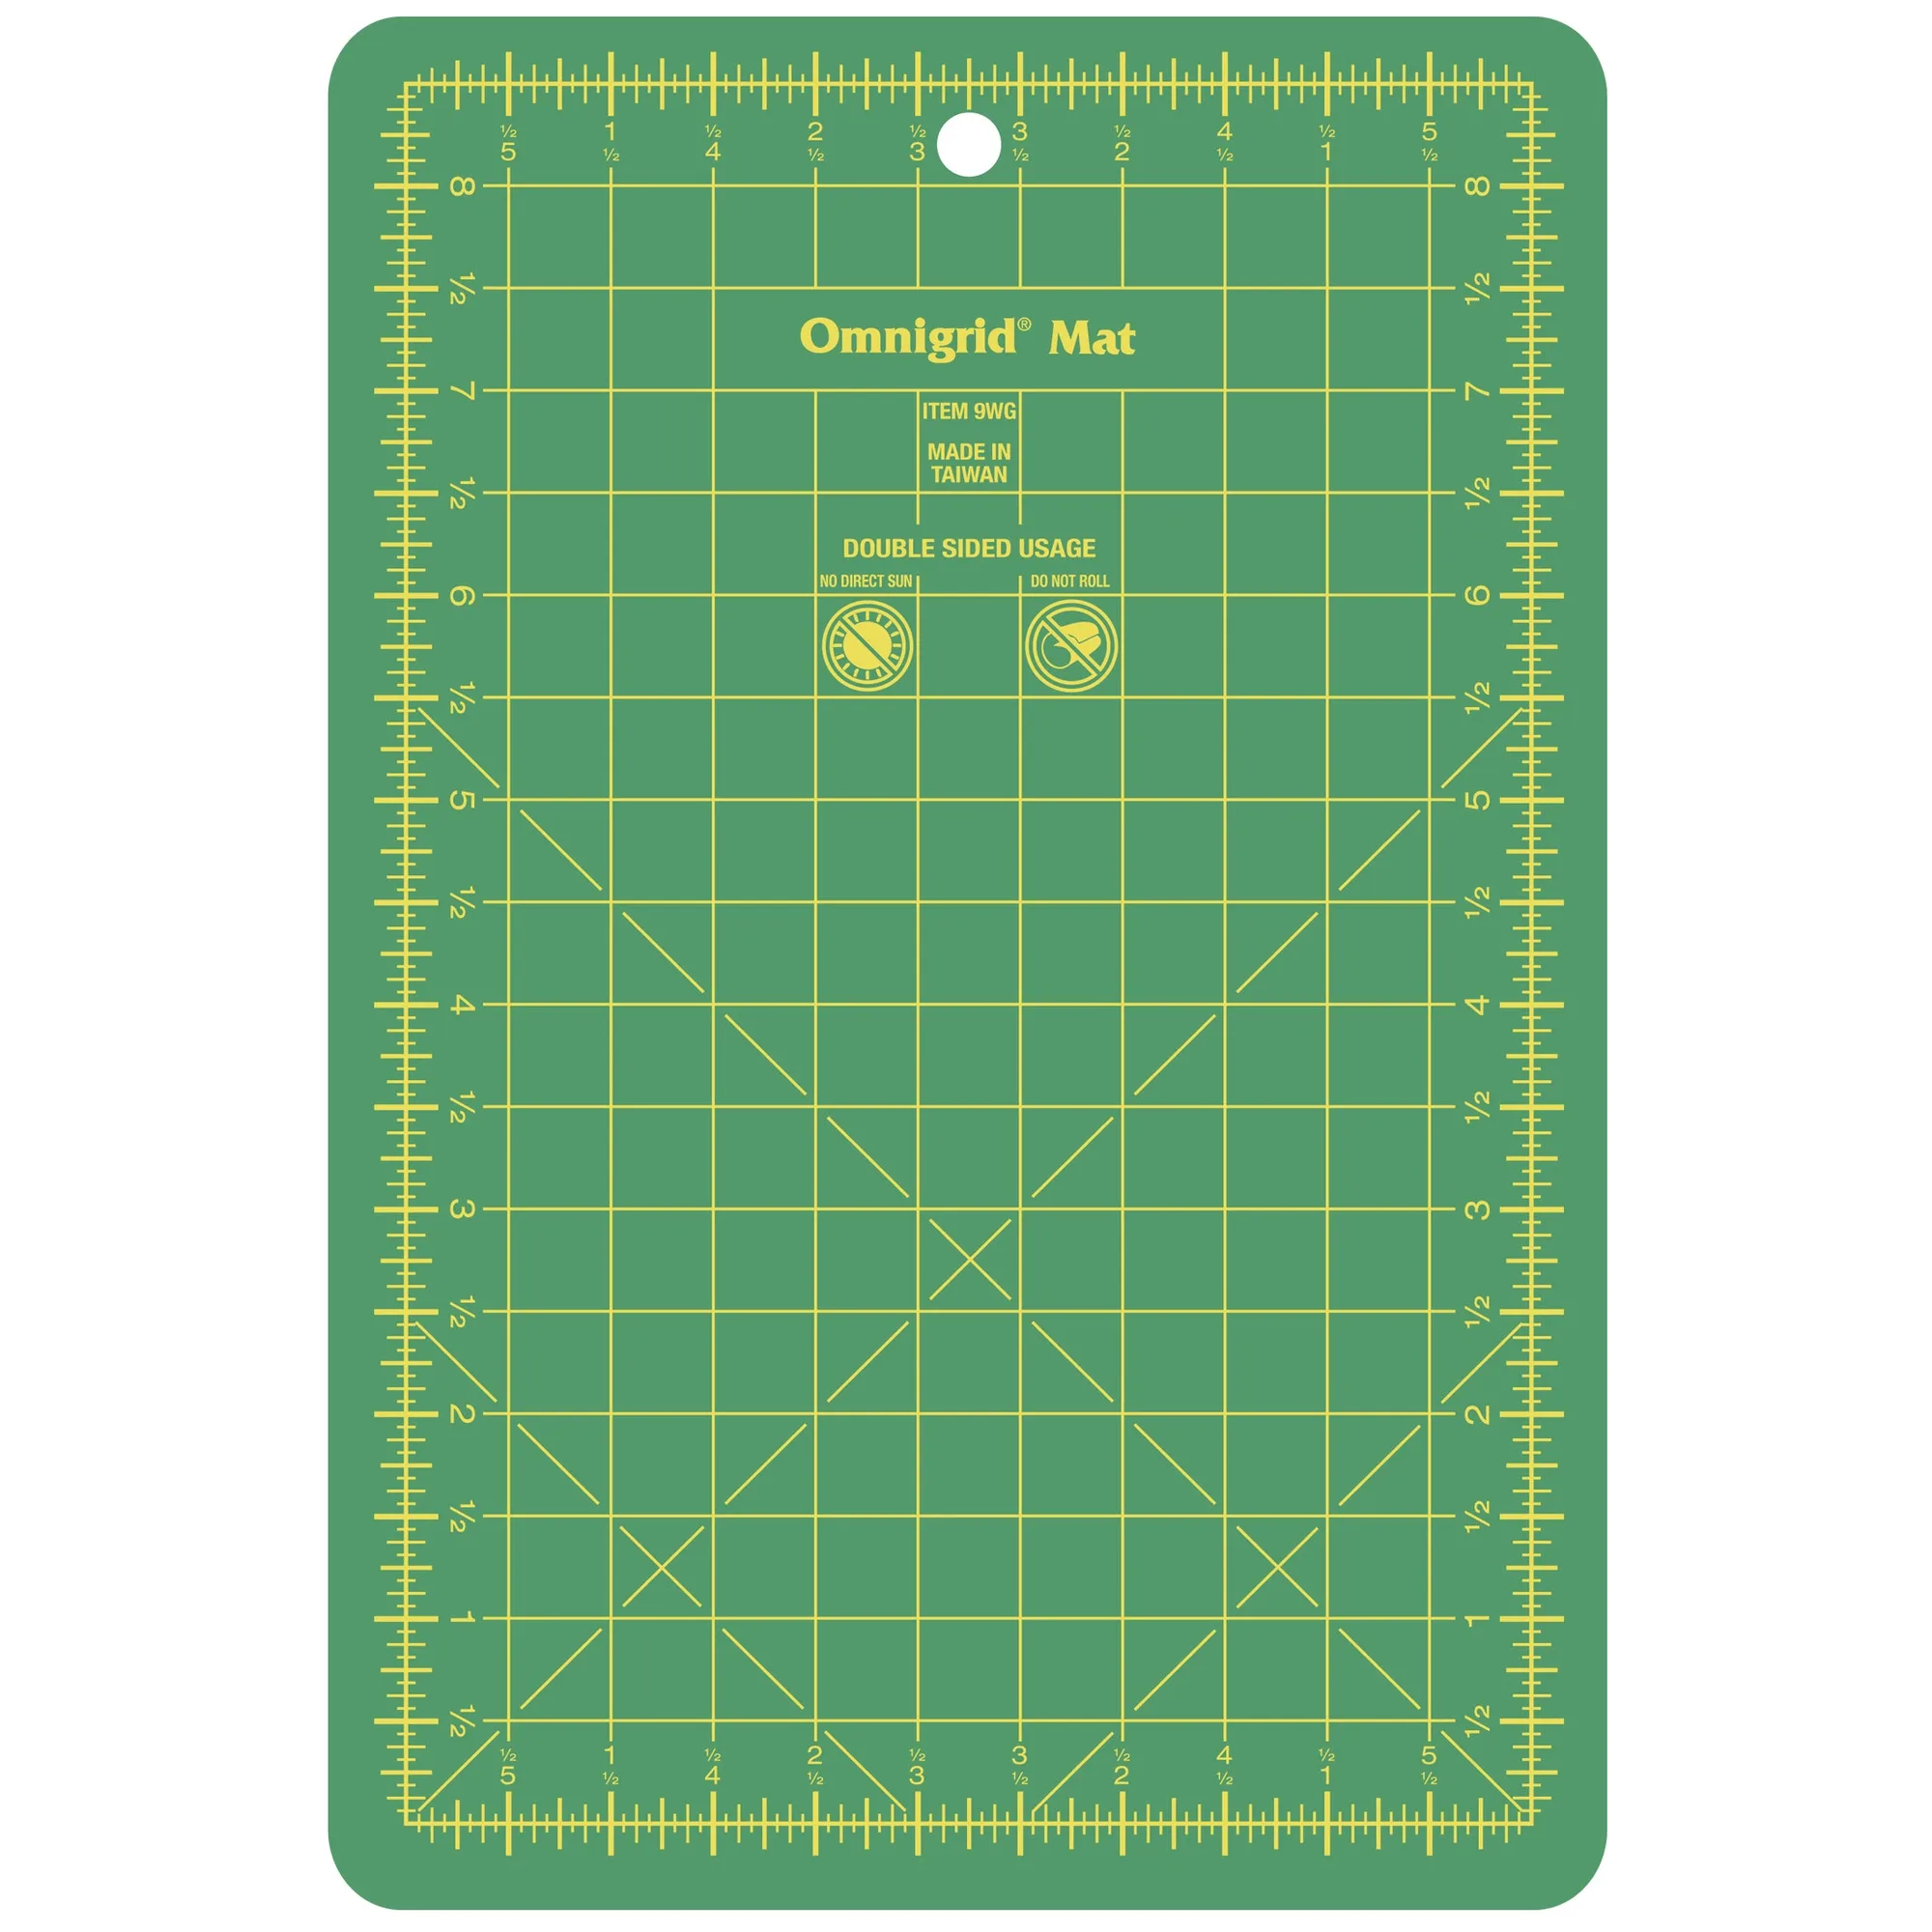
The safest spot is on a flat table surface at your dominant-hand side, close enough to reach without leaning over the machine. Keep it behind the needle area, never in front of the presser foot where your hands travel. If you use a rotary cutter, place the cushion outside the https://prymamerica.com/products/omnigridcmwg-f459b5fb481749673145e475-1316292cutting mat zone so you never sweep a pin into the blade path. A small square magnetic cushion can sit right beside the machine, while a larger tomato cushion works better on a side table where it will not be knocked over.
Use pins without creating hazards
Push pins into the cushion point-first and leave the heads exposed so you can pull them out without touching the sharp end. Do not overfill a cushion to the point where pins cross and jam; a firm fill grips better when pins are inserted straight. When you remove a pin from fabric, place it directly into the cushion instead of setting it down on the table, which is how most stray pins end up on the floor. Keep a small container nearby for bent or damaged pins so they do not go back into the cushion.
Store and maintain the cushion between projects
At the end of a sewing session, count or at least scan the cushion and remove any pins that are bent, dull, or rusted. Store the cushion in a drawer or covered bin if you have pets or small children, because a cushion left on an open table is an easy target. If the fill becomes loose and pins start slipping, replace the cushion rather than adding more pins to compensate. Wipe the surface occasionally if you use it near lint-producing fabrics.
Step-by-step: safe pin cushion setup and use
- Clear and level the surface: Wipe the table area where the cushion will sit and make sure it is flat. Remove scissors, rotary cutters, and drinks from the immediate zone. Common mistake: placing the cushion on a sloped or cluttered surface where it can slide or be knocked off. Checkpoint: the cushion should not wobble when you press a pin into it.
- Position for reach, not for looks: Set the cushion on your dominant-hand side, behind the needle and outside the cutting mat. If you share the table, mark a spot with tape so it goes back to the same place. Common mistake: putting it directly in front of the machine, where your hands and fabric pass over it. Checkpoint: you can grab a pin without leaning across the needle.
- Load pins point-first and spread them out: Insert pins with the point into the cushion and the head up. Spread them across the surface instead of clustering in one spot. Common mistake: pushing pins in at an angle so they cross and jam, which makes them harder to pull out safely. Checkpoint: each pin pulls out with light resistance, not a hard tug.
- Return every pin immediately after use: When you remove a pin from fabric, put it straight into the cushion or a magnetic surface. Do not set it down on the table 'for a second.' Common mistake: leaving loose pins near the machine, where they can fall to the floor or get sewn into a seam. Checkpoint: a quick glance at the table shows no loose pins.
- Retire damaged pins at the end of each session: Inspect pins as you put them away. Bent, dull, or rusted pins go into a separate sharps container, not back into the cushion. For fine pins that are hardened and tempered, check the points before reuse. Common mistake: mixing damaged pins with good ones so you grab a bad pin on the next project. Checkpoint: the cushion contains only straight, clean pins.
- Store the cushion safely when you finish: Put the cushion in a drawer or covered bin if you have pets or children. If you leave it out, keep it against a wall or in a tray so it cannot roll. Common mistake: leaving a full cushion on an open table overnight, where it can be knocked over and scatter pins. Next step: choose a dedicated storage spot and return the cushion there every time.
Pin cushions and pins that support safe habits
- 4" Tomato Pin Cushion, Black Button Print: Oversized Dritz tomato pin cushion with a 4-7/8 inch diameter and 2-7/8 inch height; firm fill grips pins securely. The extra-large capacity means you can keep many pins organized without overcrowding, and the firm fill helps pins stay put when you bump the cushion.
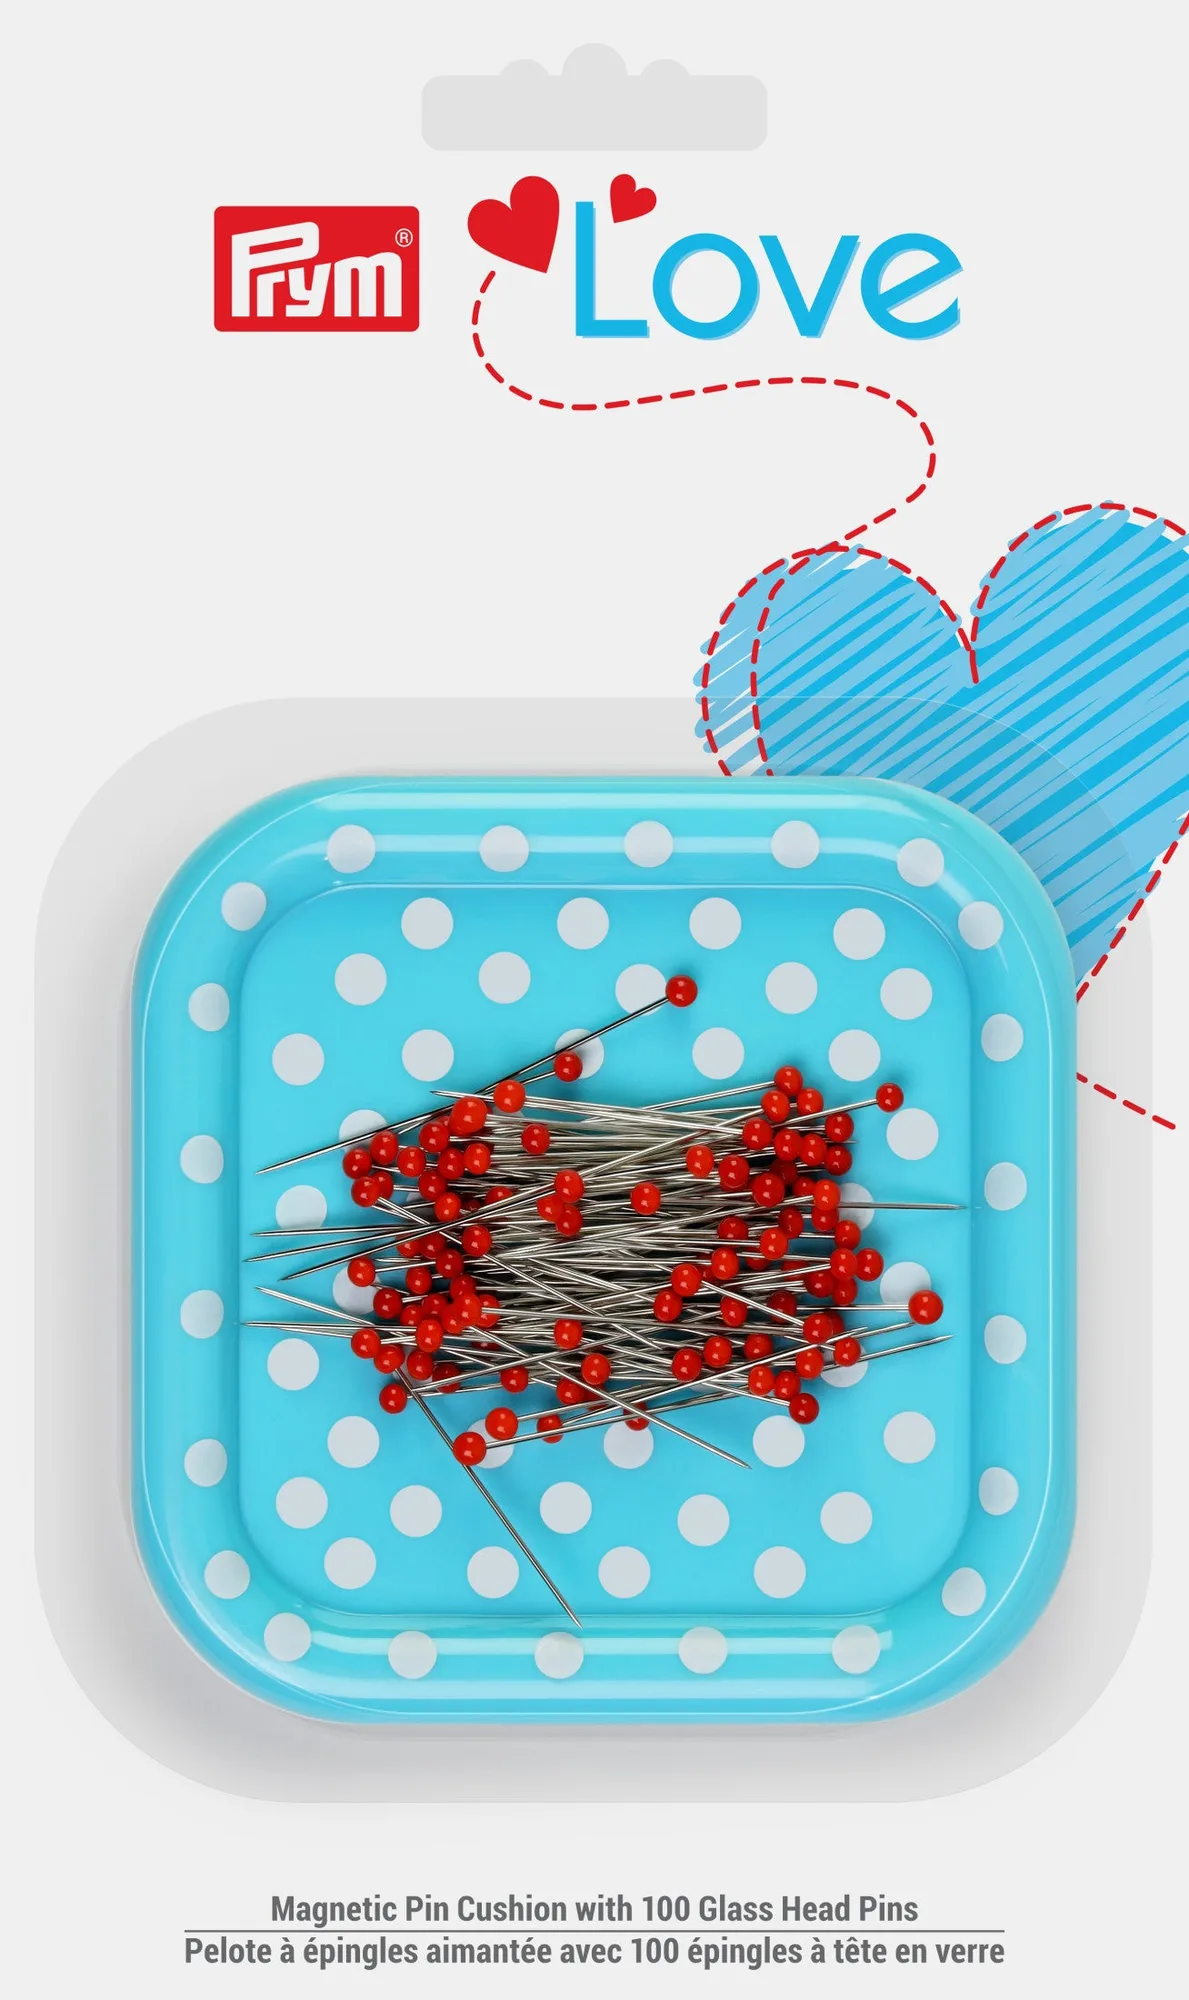
- Magnetic Pin Cushion with 100 Glass Head Pins: Prym Love magnetic pin cushion with 100 heat-resistant glass head pins; strong magnets keep pins in place on the square cushion. The magnetic surface makes it easy to pick up and replace pins one-handed beside a sewing machine, and the glass heads are heat resistant for pressing nearby.
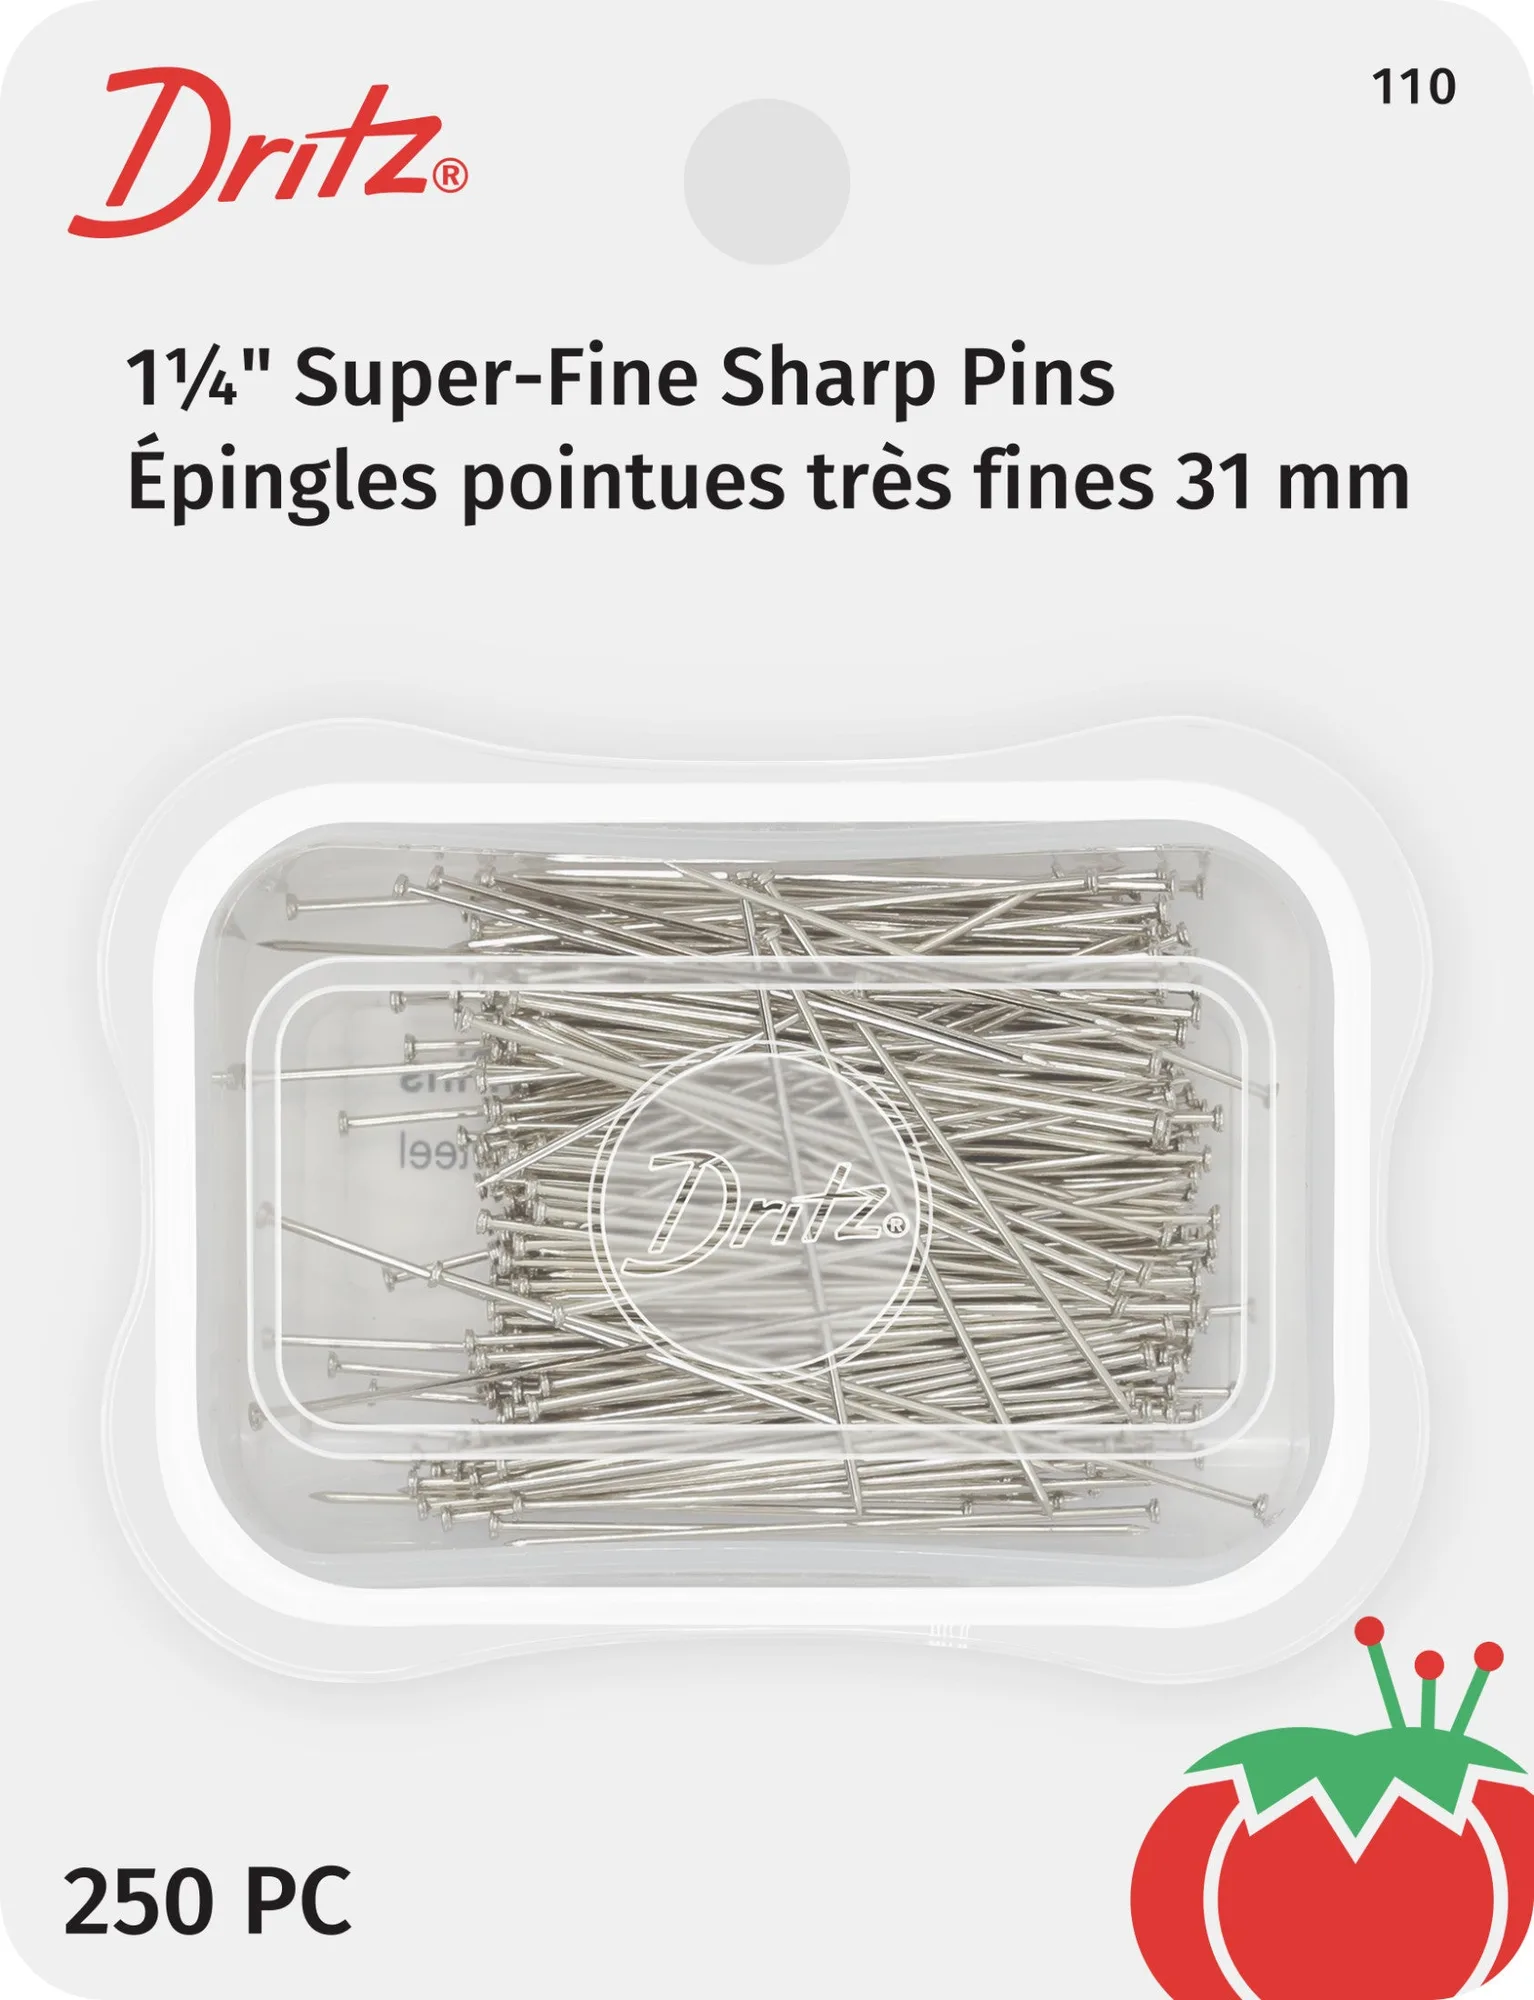
- 1-1/4" Super Sharp Fine Pins, Nickel, 250 pc: Dritz Super-Fine Sharp Pins, 1-1/4 inch, nickel, 250 pieces; hardened and tempered so they break rather than bend, ideal for fine and delicate fabrics including microfibers. Fine pins reduce fabric damage on delicate projects, and because they break instead of bending, you should inspect them before returning them to the cushion.