Quick answer
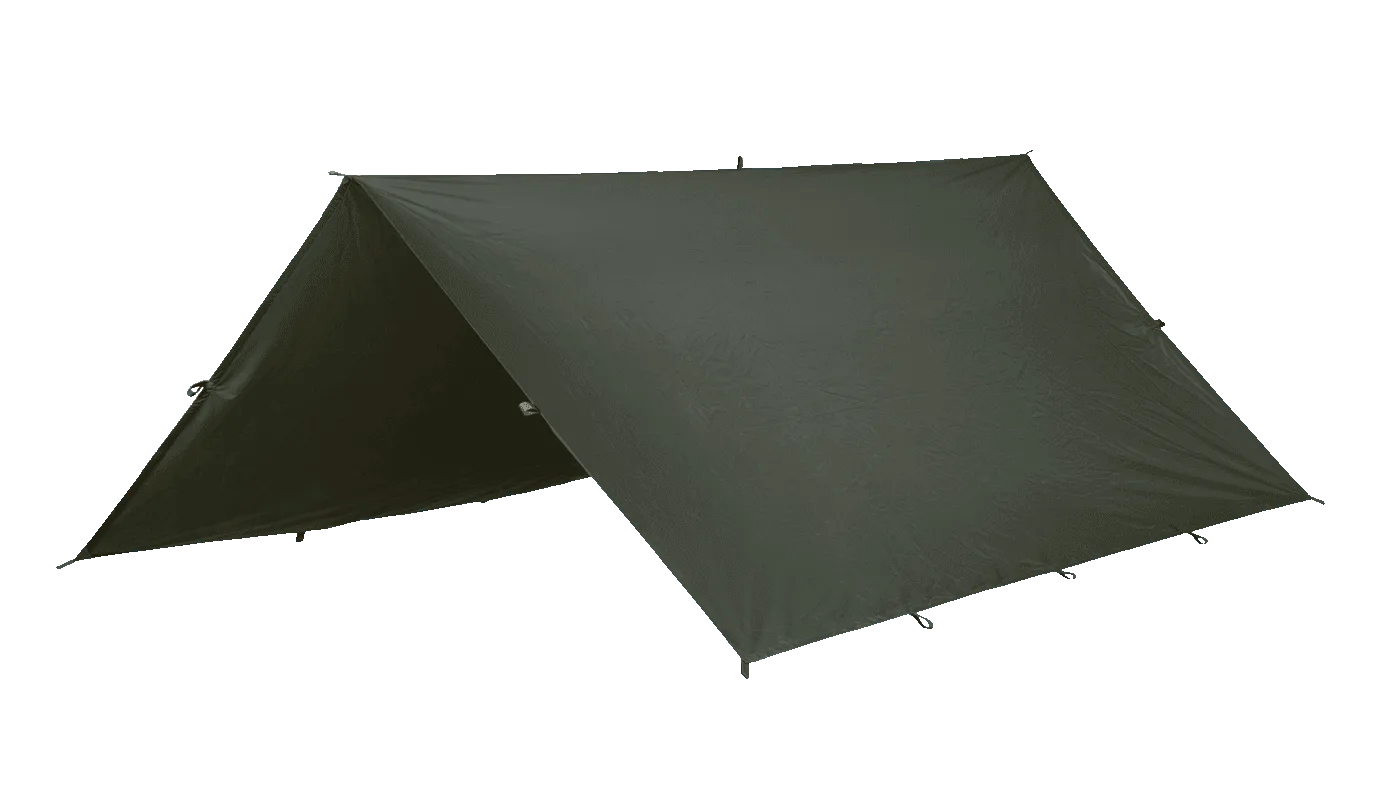
Pitch a Savotta tarp by choosing level, drained ground, anchoring the two ridgeline corners first at roughly waist height, then tensioning the remaining corners and edges so the fabric is taut but not stretched. Start with the classic A-frame for all-round weather protection, switch to a lean-to when you want an open fire view, and re-tension the tarp before you sleep. The exact tie-out points and included hardware depend on your specific tarp model, so check your tarp's own instructions before you rely on a configuration.
A tarp is the most versatile shelter you can carry: it covers you in rain, shades you in sun, and doubles as a dry workspace when the weather turns. The trick is not owning one, it is knowing which shape to build and in what order to tension it.
This guide walks through a repeatable Savotta tarp setup you can use for everything from a quick lunch stop to a multi-day base camp. It assumes you already have a tarp, a ridge line or guy lines, and something to anchor to. If you are still deciding what to carry, the packing accessories further down make the job easier.
Step 1: Choose ground that drains and shelter that blocks wind
Before you unpack anything, look for ground that is slightly raised and free of roots, rocks, and dead branches overhead. Avoid hollows and dry creek beds, because that is exactly where rainwater collects. If you can, pick a spot that already has natural wind protection from trees, a rock face, or a bank.
Check which way the prevailing weather is coming from and orient your planned opening away from it. A tarp pitched across the wind sheds rain far better than one facing it. Once you have decided, clear the ground of sharp objects that could abrade the fabric overnight.
- Common mistake: pitching in a low, comfortable-looking hollow that turns into a puddle after an hour of rain.
- Checkpoint: stand where you plan to sleep and confirm no dead branches hang above you.
Step 2: Lay out the tarp and identify your tie-out points
Spread the tarp flat and find the reinforced corners, edge loops, and any centre tie-outs. Knowing which points are load-bearing before you start pulling saves you from tearing a weak spot. Work out which corner will become your ridgeline high point and which two will become the ground-level anchors.
If your tarp has multiple tie-out options, decide now whether you are building a symmetrical A-frame or an asymmetrical lean-to. Marking that decision early stops you from re-rigging halfway through. Keep guy lines attached to the corners so you are not hunting for them in the rain.
- Common mistake: yanking on a non-reinforced edge loop because it was the closest point to hand.
- Checkpoint: every line you plan to tension should attach to a reinforced point.
Step 3: Set the ridgeline first, then work outward
Anchor the two ridgeline corners first, at roughly waist height if you are using trees or poles. Tension the line until the fabric is taut but still has a slight give. This single line defines the whole shelter, so getting it right makes every later step easier.
Once the ridge is set, pull the two opposite corners out and down to the ground and stake them. Then tension the mid-points and any side tie-outs. Work from the highest point downward and from the centre outward, adjusting as you go rather than cranking one corner to maximum.
- Common mistake: over-tensioning the first corner so hard that the opposite side cannot reach its anchor.
- Checkpoint: press the flat of your hand against the roof panel; it should deflect slightly and spring back.
Step 4: Pick a tarp shelter configuration for the conditions
The A-frame is the default for a reason: it sheds rain on both sides and gives you headroom along the ridge. Use it when you expect wind and rain from changing directions. A lean-to uses one raised edge and one ground edge, which is ideal when you want an open view and a fire in front of you.
A flat or slightly angled fly works well as a sun shade or a cooking shelter in calm, dry weather. If the forecast is genuinely severe, keep the pitch low, reduce the exposed surface area, and accept less headroom. Lower is warmer, drier, and more stable.
- Common mistake: building a tall, open configuration because it looks roomy, then discovering it acts like a sail in gusts.
- Checkpoint: match the configuration to the worst weather you expect, not the weather you have right now.
Step 5: Storm-proof the pitch and manage water runoff
Add extra guy lines to any large unsupported panel if wind is forecast. Angle them so they pull the fabric outward and down, not straight sideways. If you are using trekking poles, push them slightly deeper than feels necessary and check them again after the first hour.
Make sure no part of the tarp touches the ground across a low point, because that is where water wicks through. Dig a shallow drainage channel on the uphill side if heavy rain is likely, and route it away from your sleeping area. Re-tension everything once the fabric has settled and stretched.
- Common mistake: leaving a loose panel that flaps all night and slowly works the stakes out of the ground.
- Checkpoint: after 30 minutes, walk the perimeter and re-tension every line that has gone slack.
Step 6: Pack down clean and dry
Shake off debris and wipe down the tarp before folding. If it is wet, dry it fully at home rather than storing it damp, because trapped moisture is what shortens fabric life. Fold along the original creases and roll rather than stuff where you can.
Keep guy lines and stakes together with the tarp so the next pitch is fast. A simple stuffsack or pack liner keeps the tarp separate from your dry clothing and sleeping bag. That separation matters more than most people expect on a wet trip.
- Common mistake: stuffing a wet tarp into the same compartment as your spare layers.
- Checkpoint: the tarp goes back into the pack in the same state you would want to find it.
Tarp setup checklist, in order
- Read the ground and the sky: Pick raised, drained ground with no dead branches overhead, and note the wind direction before unpacking. If the spot looks like a puddle waiting to happen, move on.
- Identify reinforced tie-outs: Lay the tarp flat and confirm which corners and loops are load-bearing before you tension anything. Only pull on reinforced points.
- Ridgeline first: Anchor the two ridgeline corners at roughly waist height and tension until taut with slight give. This line defines the whole shelter, so take your time here.
- Corners, then edges: Stake the opposite corners to the ground, then tension mid-points and side tie-outs from the top down. Adjust incrementally instead of maxing out one corner.
- Match the shape to the weather: Use an A-frame for all-round protection, a lean-to for an open front, and a low pitch when conditions are severe. Build for the worst forecast, not the current calm.
- Storm-proof and re-tension: Add guy lines to large panels, keep fabric off the ground, and route runoff away from your sleeping area. Re-check every line after the first 30 minutes.
- Pack down dry: Shake off debris, dry fully before storage, and keep the tarp and its lines in their own stuffsack. Store it the way you would want to find it next time.
Gear that makes tarp camping easier
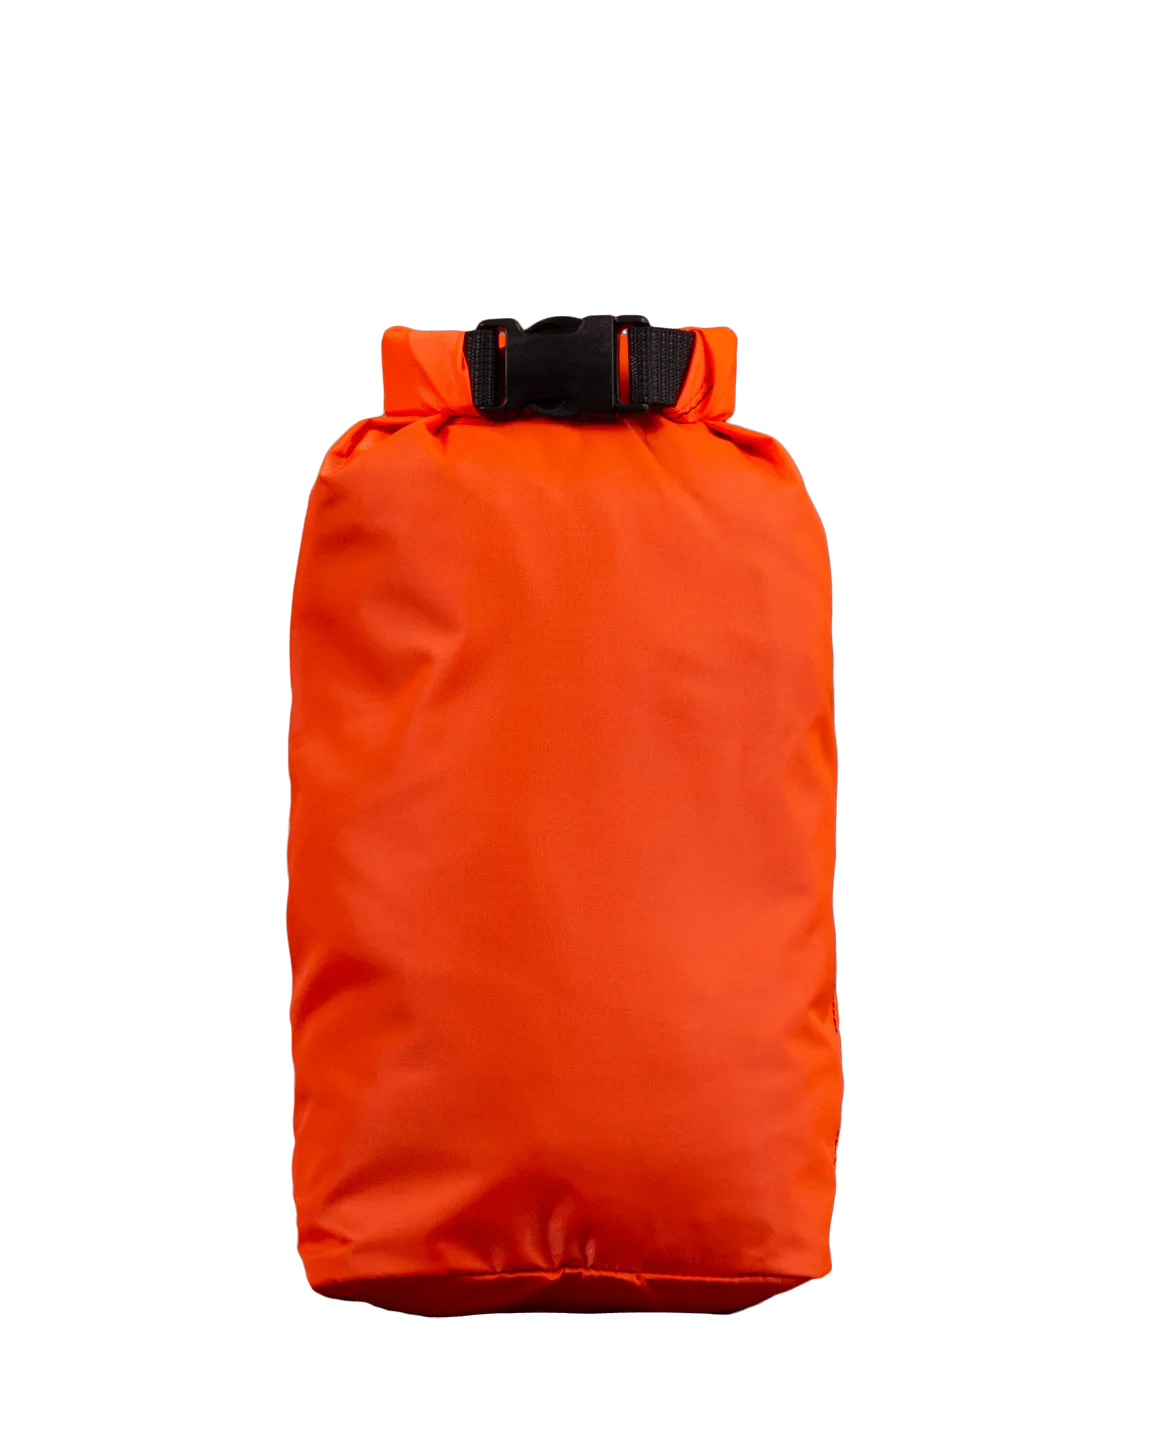
- Rolltop stuffsack, 210D: These 210D simple stuffsacks are relatively lightweight and quite water resistant, with a rolltop closure, and are described as an all-round packing accessory for most situations. Use one to keep a damp tarp and its guy lines away from your dry sleeping bag and spare layers.
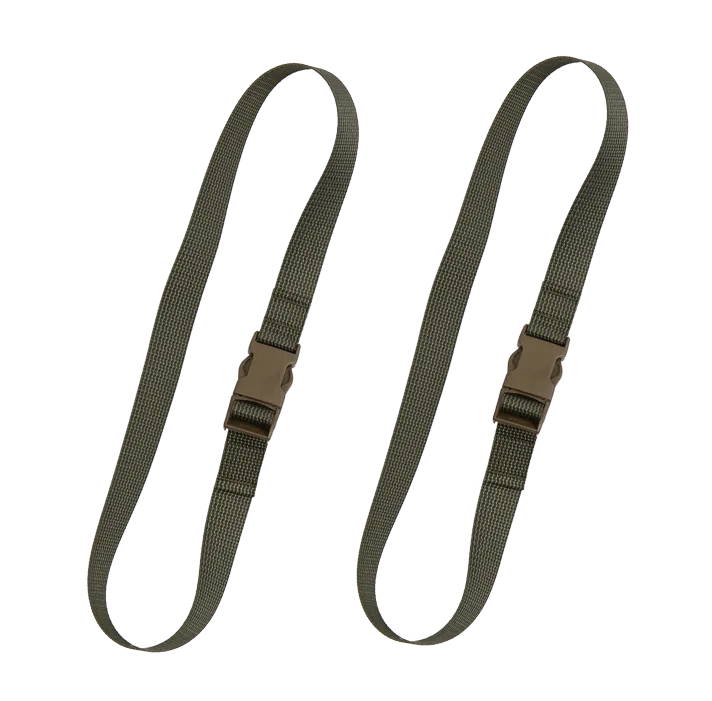
- Pack straps, SR buckle, 2 pcs: The fast and lightweight side release (SR) plastic buckle is offered as a sure choice for most uses, and the straps come in distinct buckle and length options. A spare pair lets you improvise a ridge line, lash a pole, or replace a failed strap without ending the trip.
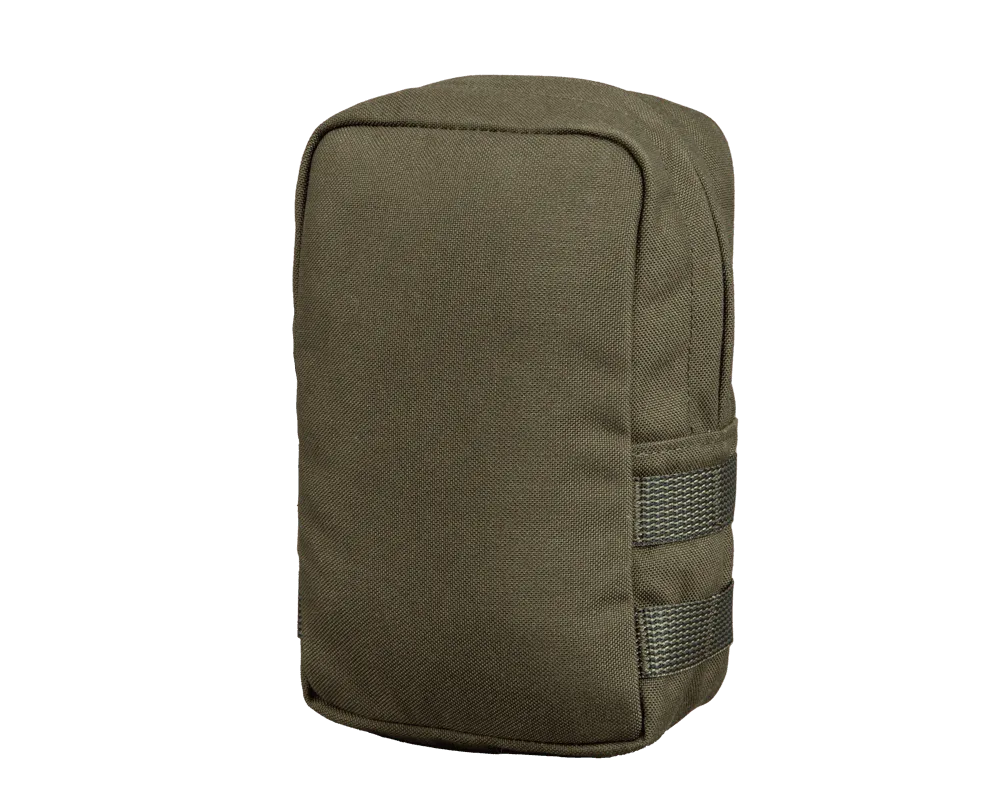
- Zipped GP pouch 3x4: This taller zipper-closure general purpose pouch has an internal flat compartment, elastic loops, a tie-down point, and a PALS and belt compatible attachment system. Keep stakes, line tensioners, and small repair bits together so setup and pack-down stay quick.
- Savotta leather patch: The patch is a tribute to the company's heritage as a family company with more than seven decades of history, referencing the first logo from when the company was known as Pylkönmäen Nahkatyö. A small way to mark your own kit and tell your tarp or pack apart from identical gear at a group camp.
A tarp rewards a little practice more than any other piece of shelter. Pitch the same A-frame three or four times in your garden or a local park and the sequence becomes automatic, which is exactly what you want when the weather is doing its worst.