Quick Answer
Peel, stick, and sew self-adhesive binding tape to bag edges and seams for a clean finish without clips or pins. Press firmly as you go, then sew slowly to avoid wrinkles and needle gumming.
Why Self-Adhesive Binding Tape Works Well for Bags
Self-adhesive binding tape is a practical choice for bag makers because it holds the binding in place while you sew, eliminating the need for clips or pins. The full adhesive backing means you can position the tape precisely, which is especially helpful on curved edges and tight corners.
The tape's water-resistant, smooth nylon-like surface reduces fraying and wrinkling, so your bag edges look neat even after repeated use. This makes it a reliable option for both beginners and experienced sewists who want a quick, clean finish.
When to Choose Sew-In Binding Instead
While self-adhesive tape is convenient, sew-in binding may be better for projects where you want a softer, more flexible edge or when you prefer a traditional hand-finished look. Adhesive tape adds a slight stiffness, which can be an advantage for structured bags but might not suit floppy totes.
Also, if you are working with very delicate fabrics that might be damaged by the adhesive residue, a sew-in option could be safer. Consider the final use of the bag and the fabric type when deciding.
Step-by-Step: Applying Self-Adhesive Binding Tape to Bags
- Prepare the edge: Trim and press the bag edge so it is smooth and free of loose threads. A clean edge helps the tape adhere evenly. Check that the edge is straight; uneven edges cause puckering.
- Cut the tape to length: Cut a piece of self-adhesive binding tape slightly longer than the edge you are covering. Leave a little extra for corners or overlaps. Always cut longer than needed; you can trim after sticking.
- Peel and stick: Peel a small section of the backing paper and press the adhesive side onto the edge, starting at one end. Work in small sections, pressing firmly as you go to avoid air bubbles. Press with your fingers or a bone folder; avoid stretching the tape.
- Fold around the edge: Fold the tape over the edge so it wraps evenly to the other side. On curves, make small snips on the inner side to help it lie flat. Snip only the inner edge; too many cuts weaken the tape.
- Sew the tape in place: Using a straight stitch, sew slowly along the edge, keeping the needle close to the tape's inner edge. Sew from the right side for a clean finish. Sew slowly to prevent the needle from gumming; test on a scrap first.
- Trim excess and finish: Trim any excess tape at the ends and press the finished edge with a cool iron (if the fabric allows) to set the adhesive. Check for any lifted edges and re-press if needed.
Product Facts
-
1" Stick 'n Sew™ Self-Adhesive Binding Tape in Grunge Rainbow Stripes (10 Yard Roll): Stick 'n Sew™ Self-Adhesive Binding Tape in Grunge Rainbow Stripes is a 10-yard roll, 1 inch wide, with full adhesive backing. The 10-yard length is enough for several small to medium bags, and the full adhesive backing lets you position the tape without clips, saving time on edge finishing.
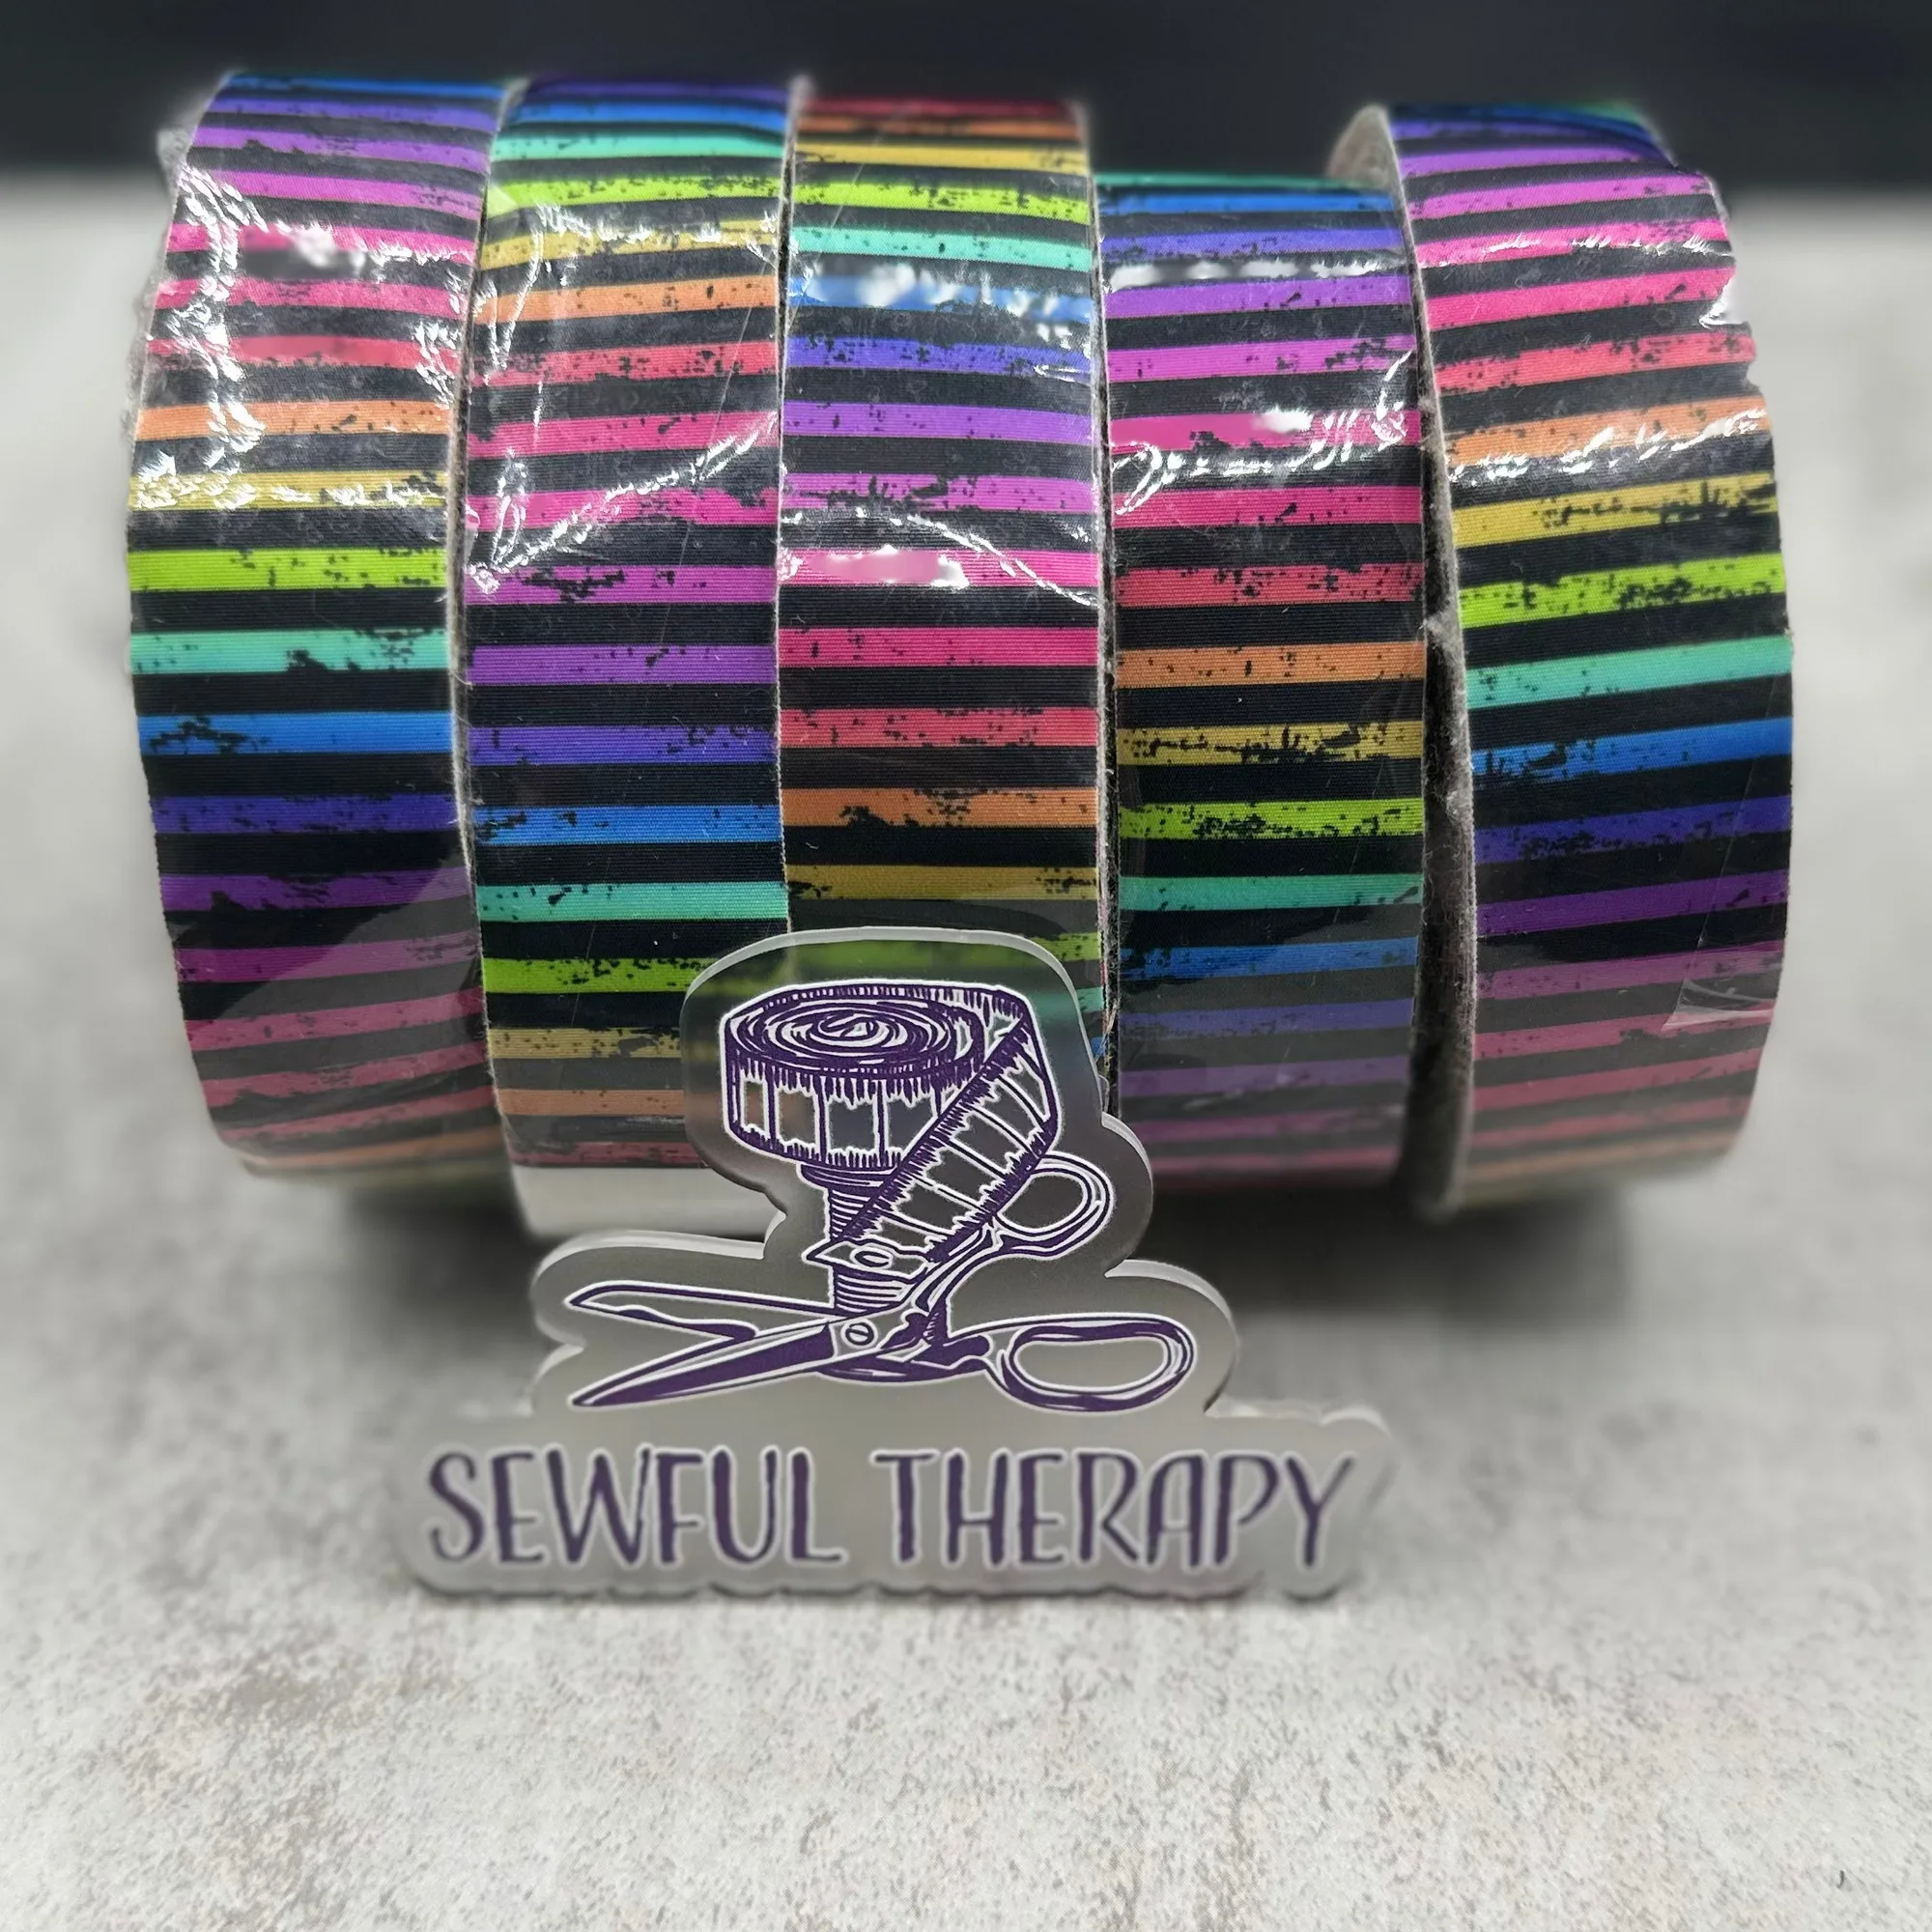
1" Stick 'n Sew™ Self-Adhesive Binding Tape in Grunge Rainbow Stripes (10 Yard Roll)


