Quick answer
Use SPORT mini tools by matching the punch, die, and fastener to your material, then applying steady vertical pressure with the tool's handle rather than forcing it. Work on a firm, flat surface, test on scrap first, and set each snap, eyelet, or rivet with one firm compression. The https://prymamerica.com/products/390903-3f83bafd6f14ae342e0be8a2-1318534Vario Creative Tool handles punching and setting in one multi-functional design, while dedicated kits like the 5/32" Eyelets & Tool are best when you only need eyelets.
SPORT mini tools are small hand tools that punch holes and set fasteners such as snaps, eyelets, and rivets. They are popular for DIY craft projects because they are portable, affordable, and easier to control than a hammer and anvil set. The key is understanding how the tool applies force and matching the right die to the right fastener.
This tutorial walks through the process step by step, from preparing your workspace to setting your first fastener cleanly. It also covers the mistakes that cause crooked snaps, torn fabric, and split eyelets, so you can avoid them on your first try.
Step 1: Gather your tools and check the fastener size
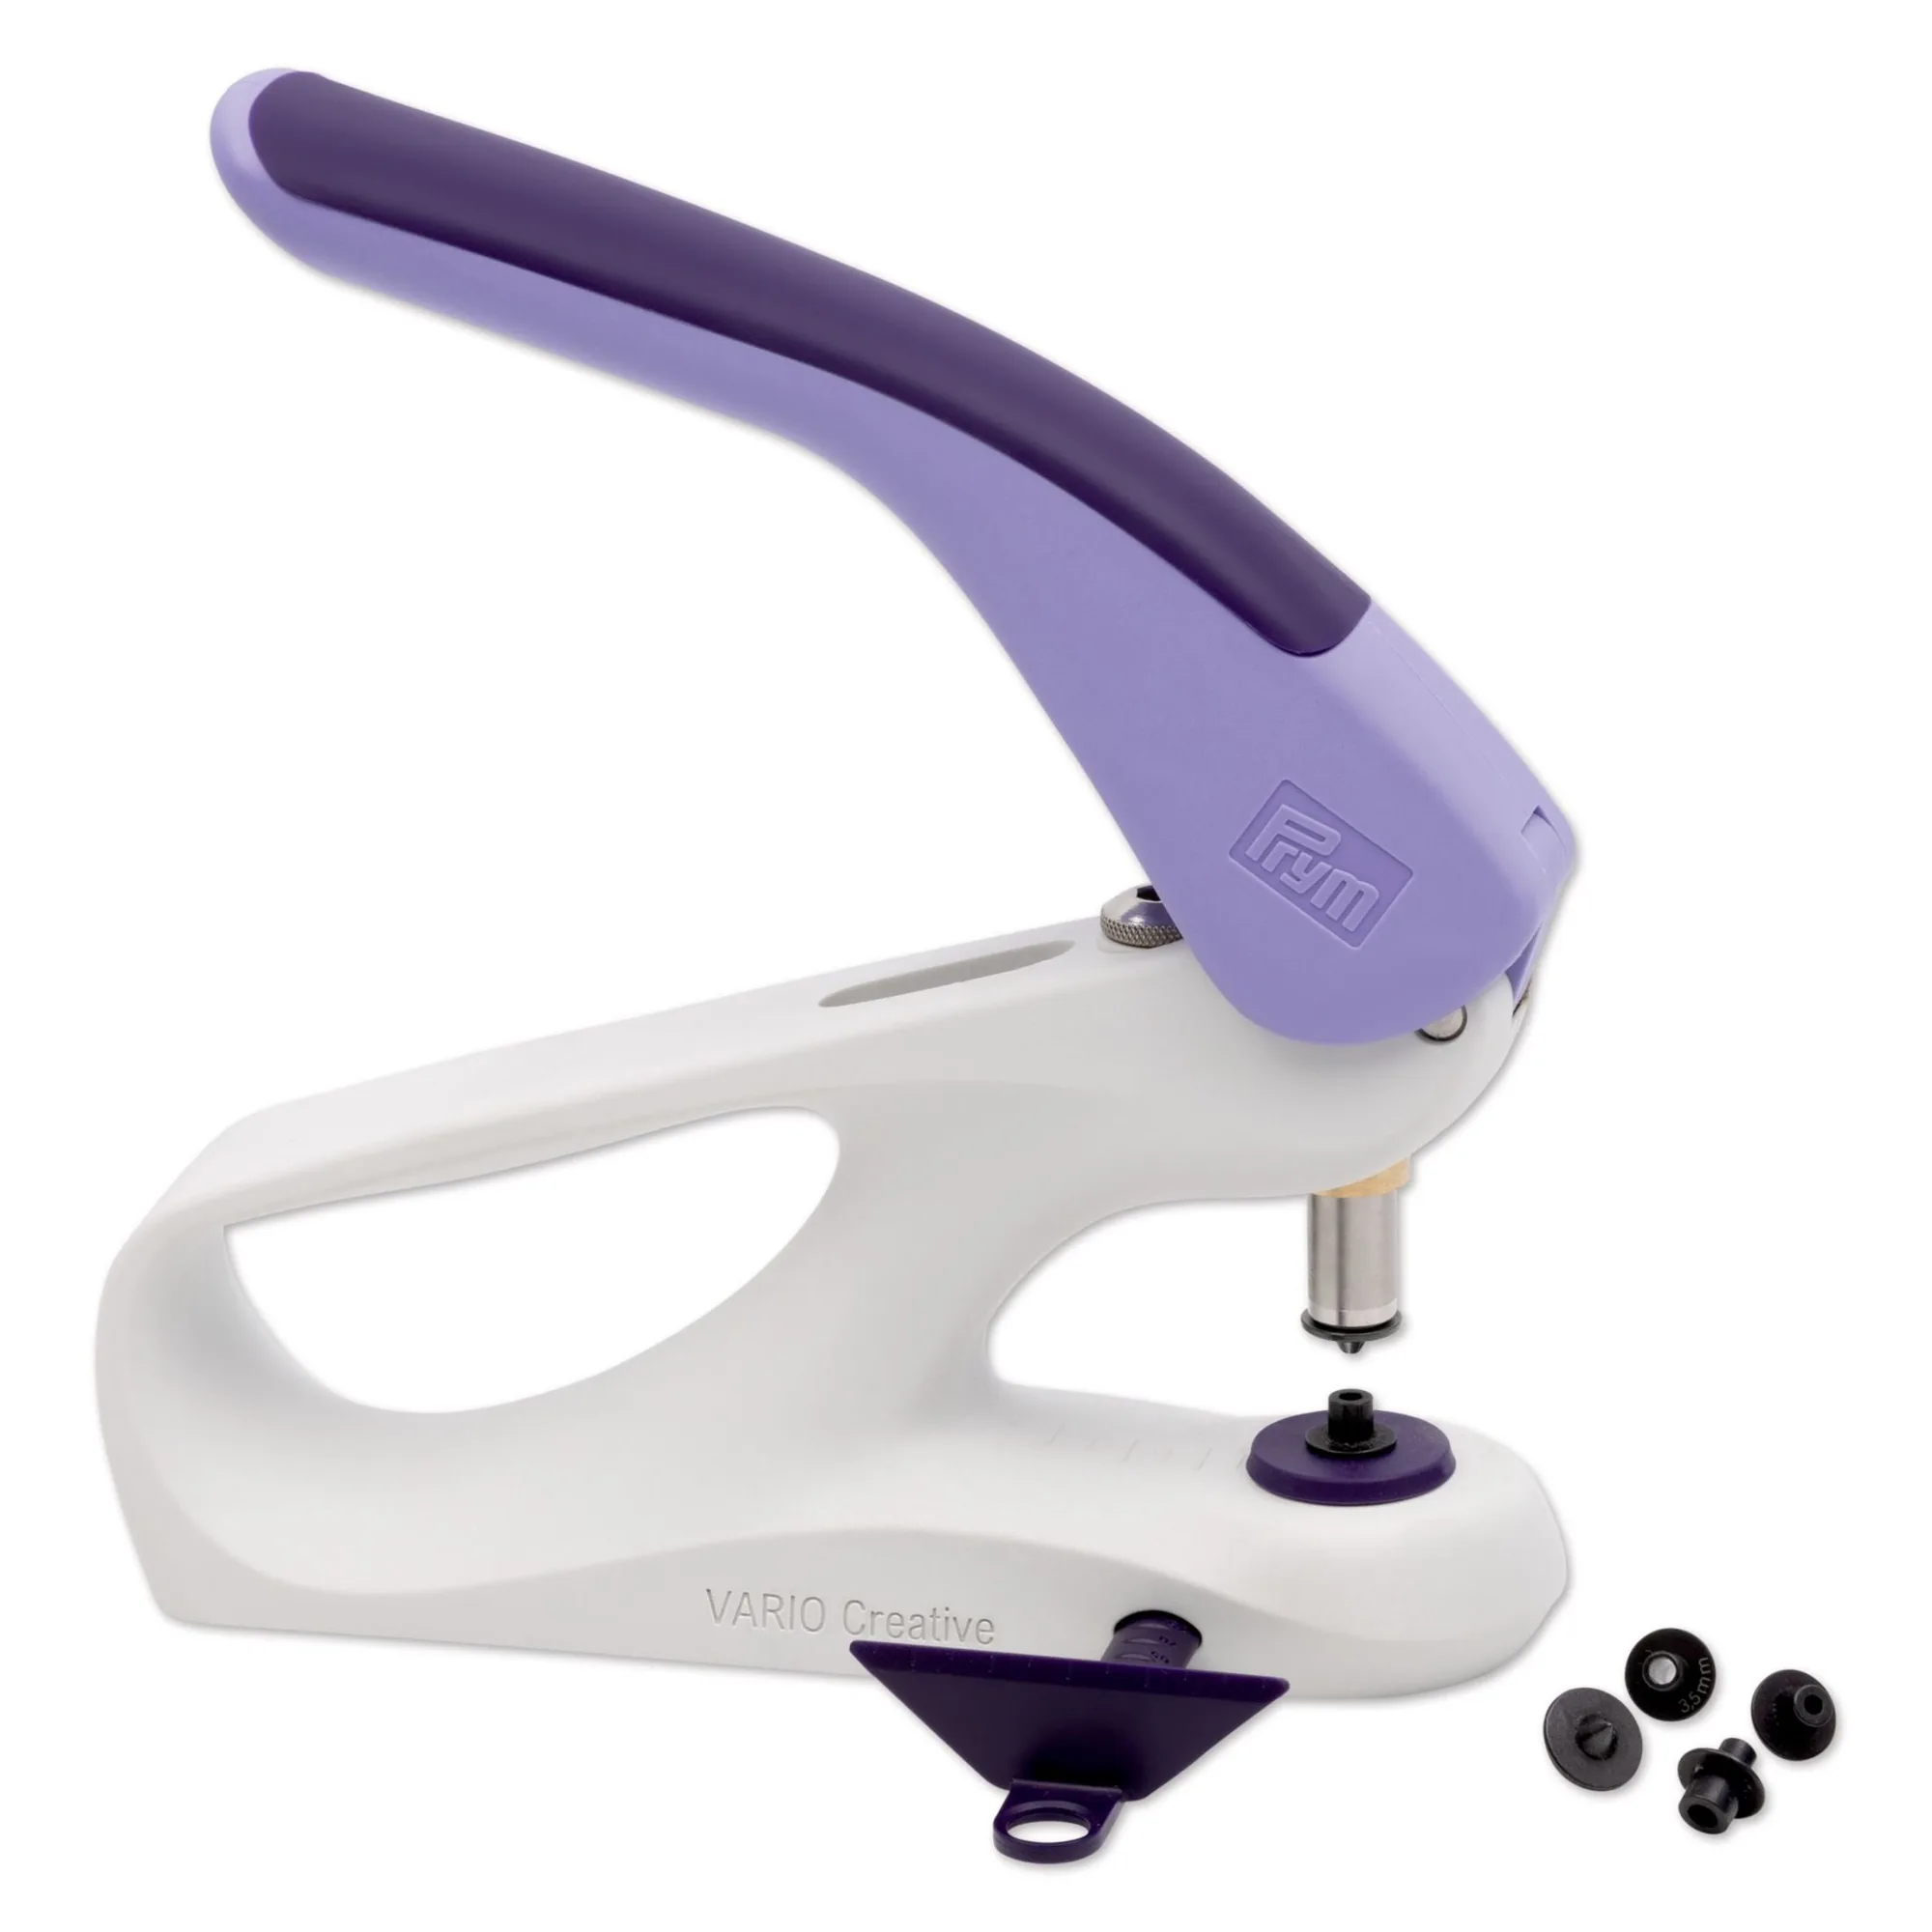
Before you start, lay out your mini tool, the correct die or adapter, your fasteners, and your material. Check that the fastener size matches the die. For example, the 5/32" Eyelets & Tool kit includes 25 nickel eyelets and two tools sized for that eyelet, so you do not have to guess compatibility. If you are using a multi-functional tool like the Vario Creative Tool, confirm which adapter is installed for the operation you plan to do.
A common mistake is grabbing the first die that fits loosely. A loose die lets the fastener shift during setting, which causes crooked snaps and deformed eyelets. If the die or adapter does not seat firmly, stop and check the packaging or instructions for the correct size.
- Checkpoint: the die should hold the fastener snugly with no side-to-side play before you apply pressure.
Step 2: Prepare a firm, flat work surface
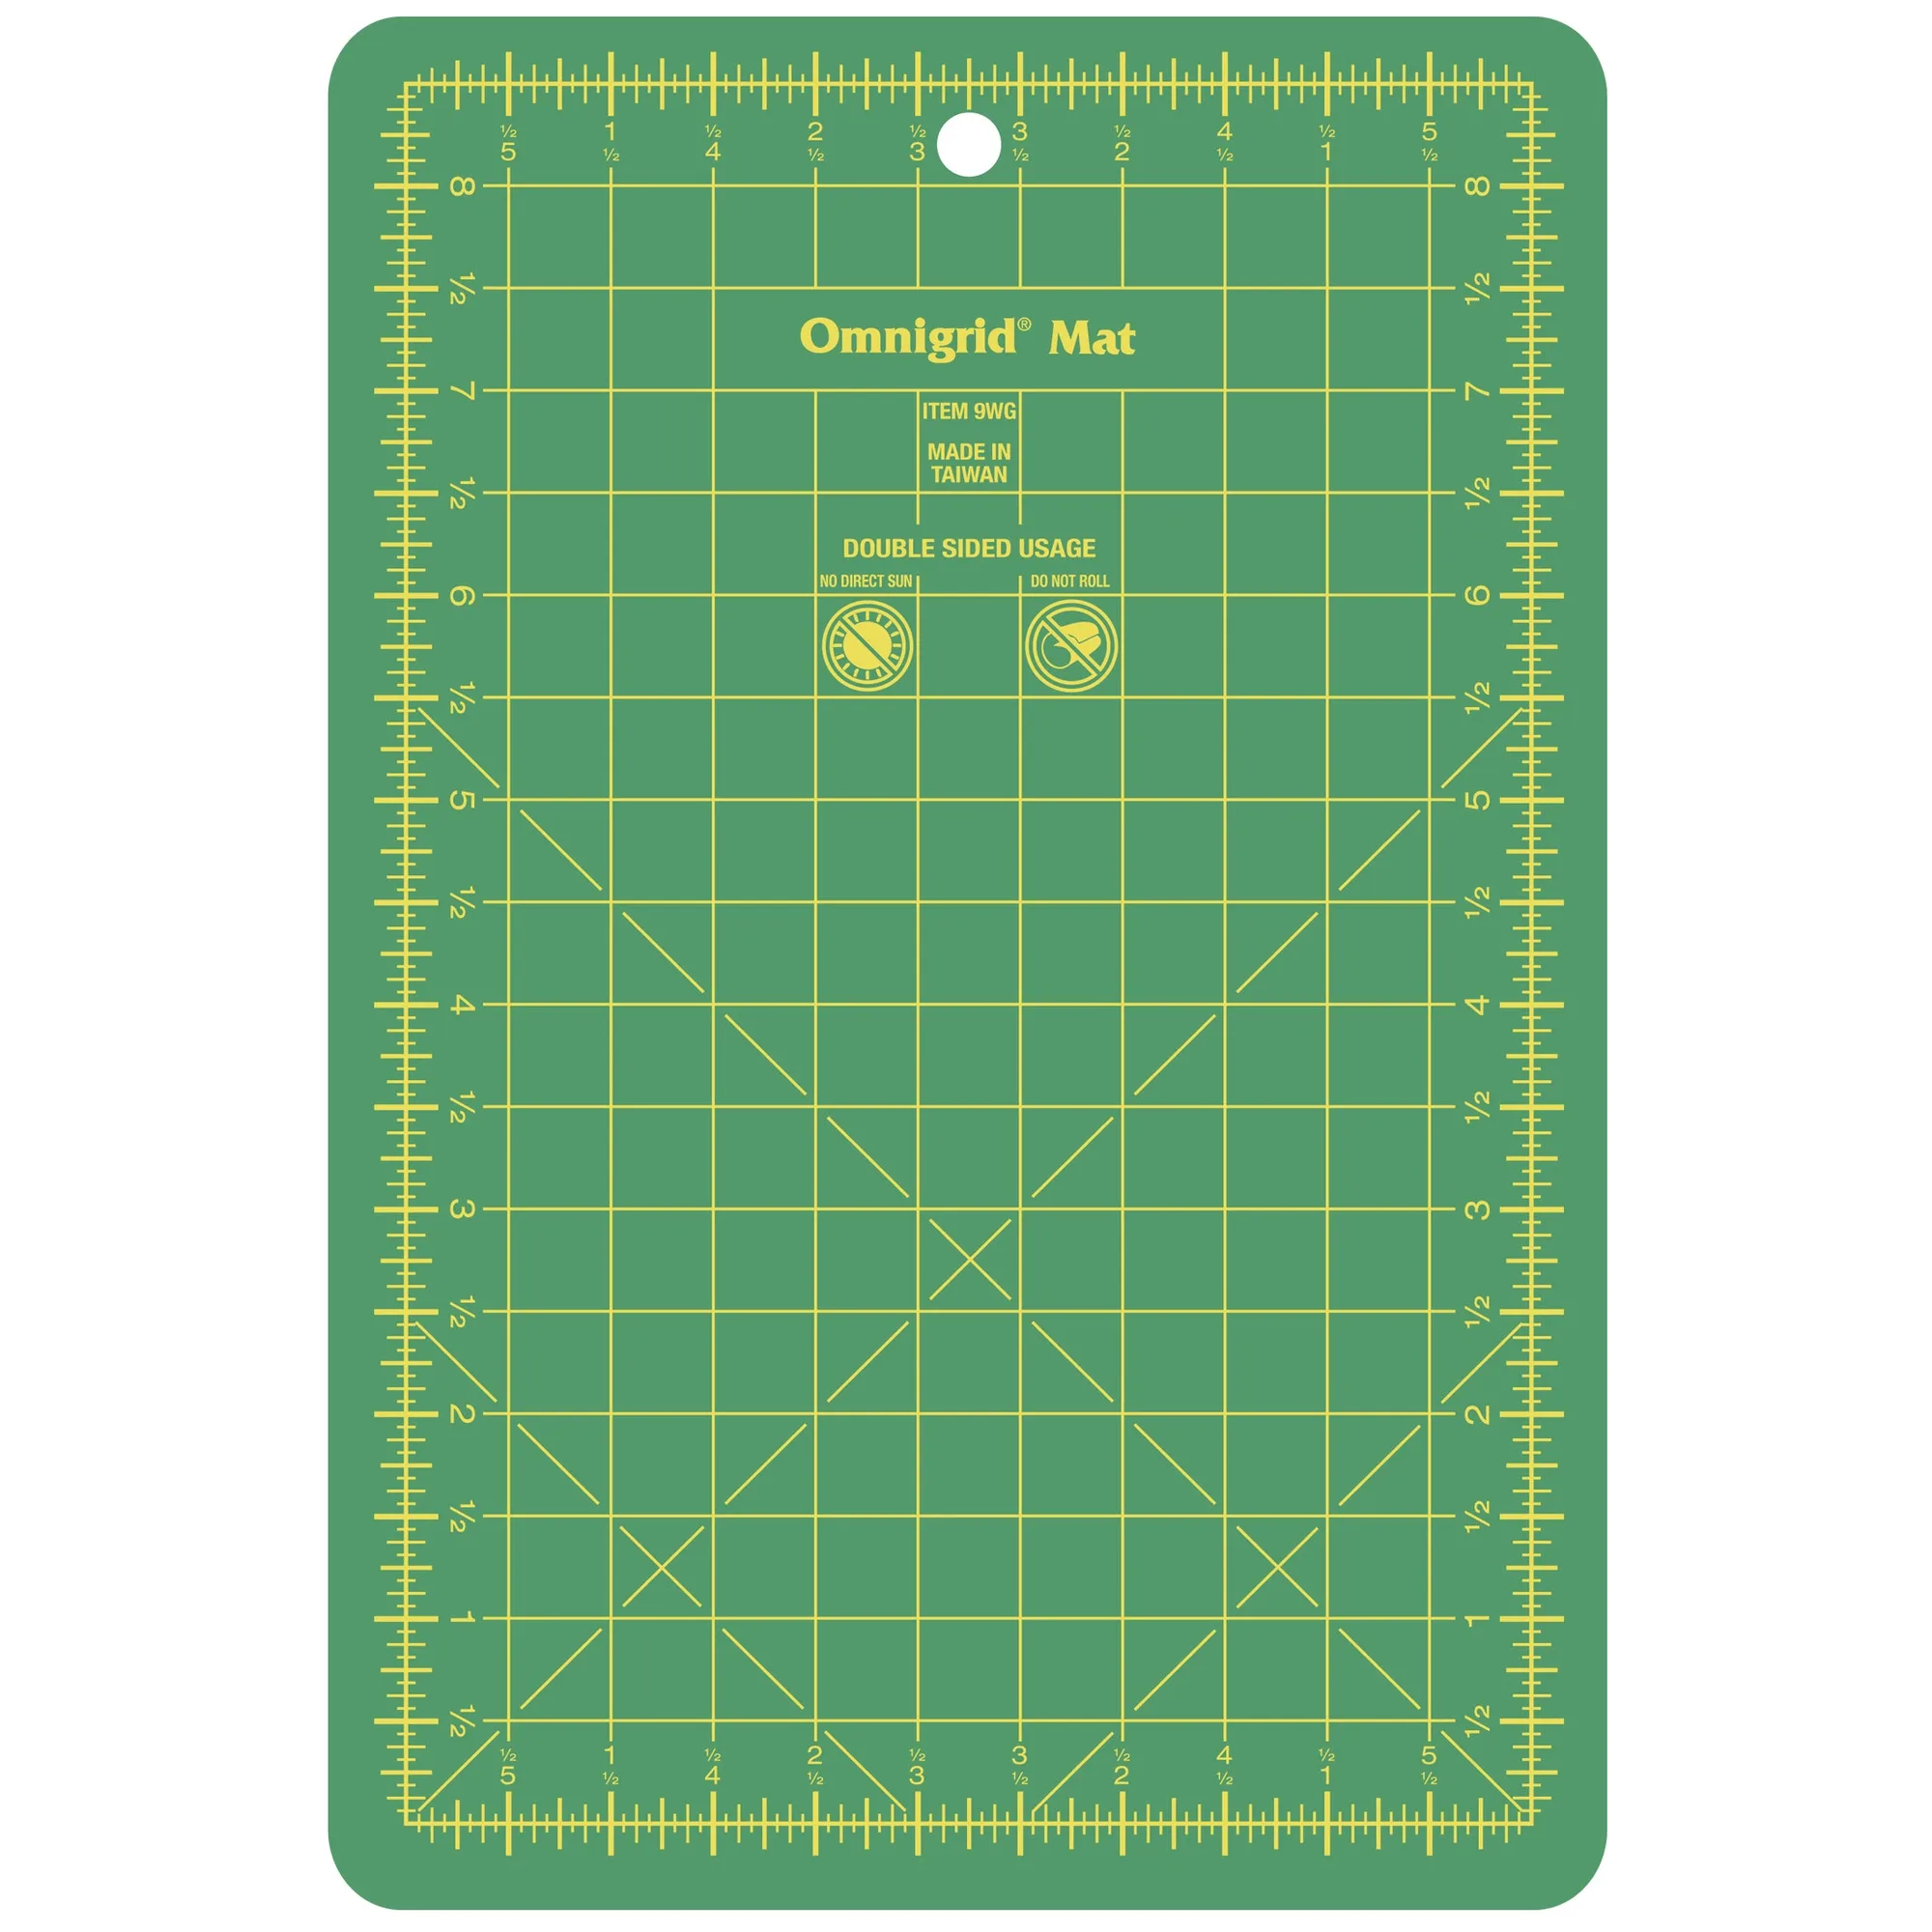
Mini tools transfer force through the handle and base, so the surface underneath matters. Work on a sturdy table or a https://prymamerica.com/products/omnigridcmwg-f459b5fb481749673145e475-1316292cutting mat over a solid table. Avoid working on a bed, carpet, or your lap, because soft surfaces absorb pressure and make it harder to set the fastener fully. A wide support base, like the one on the Vario Creative Tool, helps stabilize the tool and directs force vertically.
Another common mistake is stacking fabric layers unevenly or letting the material hang off the table. Keep the area around the hole flat and supported so the fastener sits level. If you are working on a curved or bulky item, reposition it so the target area lies flat before you punch.
- Checkpoint: press down on the tool without a fastener to confirm the base does not rock or sink into the surface.
Step 3: Mark the hole placement and punch
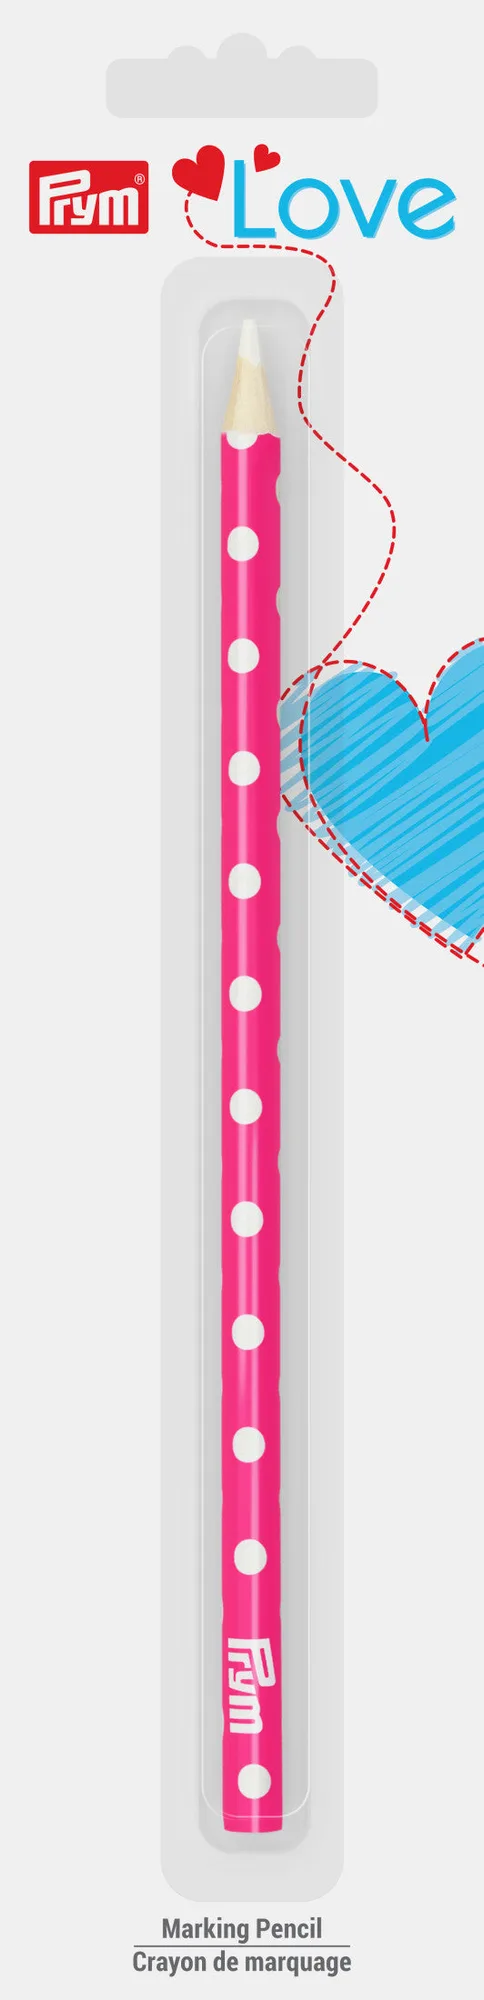
Measure and mark where you want the hole. For wearable items, try the garment on or hold it against the body before punching, because you cannot undo a hole. Mark with a removable tool such as the Stitcher's Highlighter Tape or a water-soluble marking pencil. The Fabric Marking Pencil, Pink uses white water-soluble lead that can be removed with water, but always test on a scrap of the same fabric first to be sure the mark comes out satisfactorily.
Position the punch over the mark and apply firm, vertical pressure. Let the tool do the work rather than twisting or angling the handle. If the punch does not cut cleanly, check that the material is not too thick for the tool and that the punch is sharp and correctly seated.
- Checkpoint: the punched hole should be round and clean, with no stretched or frayed edges.
Step 4: Insert the fastener and set it with steady pressure
Place the eyelet, snap, or rivet into the hole with the correct side facing out. Fit the setting die over the fastener and press down firmly and evenly. The Vario Creative Tool is designed with an ergonomic soft-touch handle and vertical application pressure to deliver maximum pressure with minimal effort, which helps you set fasteners without hammering. For eyelet-only projects, the 5/32" Eyelets & Tool kit gives you a dedicated tool and eyelets in one pack.
The most common mistake here is pressing partway, checking, and pressing again. That can misalign the fastener. Commit to one firm, smooth compression. If the fastener is not fully set after one press, reposition and press again, but do not hammer the tool.
- Checkpoint: the fastener should sit flat and tight against the fabric with no gap between the two halves.
Step 5: Inspect, test, and finish the project
After setting, inspect the fastener from both sides. Tug gently on the fabric around it and open and close snaps a few times to confirm they hold. If an eyelet or snap is crooked, you usually cannot fix it in place; remove it carefully and start with a fresh hole nearby. Keep your small parts organized so you do not lose dies or fasteners between steps. A magnetic case like the Needle Nest Case can hold pins, needles, and threaders securely, and the same idea applies to keeping mini tool accessories contained.
Once your fasteners are set, remove any marking lines with water according to the product instructions. Store your dies and adapters together so the next project starts faster.
- Checkpoint: fasteners hold under light tension, and no sharp edges catch on your fingers or fabric.
SPORT mini tool quick-start steps
- Match the die to the fastener: Confirm the die or adapter holds the eyelet, snap, or rivet snugly with no side-to-side play. Checkpoint: a loose die is the top cause of crooked fasteners.
- Set up a firm, flat surface: Work on a sturdy table or cutting mat so the tool's base stays stable and pressure goes straight down. Checkpoint: if the tool rocks, move to a harder surface.
- Mark and punch once: Mark placement with removable tape or a water-soluble pencil, then punch with firm vertical pressure. Checkpoint: a clean round hole means you are ready to set the fastener.
- Set with one smooth compression: Insert the fastener, fit the setting die, and press down evenly in one motion rather than tapping repeatedly. Checkpoint: the fastener should sit flat with no gap.
- Inspect and test: Check both sides, open and close snaps, and tug gently on the fabric around the fastener. Checkpoint: if it is crooked, remove it and start a fresh hole nearby.
Tools that make mini tool projects easier
- Vario Creative Tool: Multi-functional tool that punches holes, attaches snaps, and applies eyelets and rivets, with an ergonomic soft-touch handle, wide support base, and vertical application pressure for optimized force. One tool covers punching and setting so you can switch between snaps, eyelets, and rivets without buying separate setters.
- 5/32" Eyelets & Tool, 25 pc, Nickel: Pack includes 25 silver 5/32-inch laundry-proof eyelets and two tools for reinforcing holes in belts, vests, jackets, laced enclosures, curtains, duffel bags, tarps, and windsocks. A dedicated eyelet kit is a low-cost way to start if your projects only need eyelets, and the laundry-proof rating helps for items that get washed.
- Stitcher's Highlighter Tape: Low tack, removable, and repositionable 1/4-inch tape for keeping your place on cross-stitch charts and knitting or crochet patterns; semi-transparent for chart visibility; 3 rolls, each 1/4 inch by 21 yards. Useful for marking placement lines or holding small pattern notes without damaging paper, and it lifts off cleanly when you are done.
- Fabric Marking Pencil, Pink: Prym Love Fabric Marking Pencil with white water-soluble lead; marks can be removed with water, and the pencil sharpens with a standard pencil sharpener. Lets you mark hole placement clearly on dark fabric, but you should test removal on a scrap first because results vary by fabric.
SPORT mini tools reward preparation more than force. Match the die to the fastener, work on a firm surface, and commit to one steady press. Start with a scrap of the same fabric and a kit like the 5/32" Eyelets & Tool or the Vario Creative Tool, and you will get clean, secure results on your first DIY craft project.