Quick answer
Match the stitch guide to your exact tote canvas before you thread a needle, then work the guide in order, one area at a time. Read the whole booklet first, test each stitch on spare canvas, and check your work against the guide every few rows. If the guide does not match the canvas you own, stop and confirm with the shop rather than improvising.
A tote canvas is bigger and more visible than a small ornament, so every stitch choice shows. A stitch guide turns that pressure into a plan: it tells you which stitch goes in which area, in what order, so you are not guessing halfway through a panel.
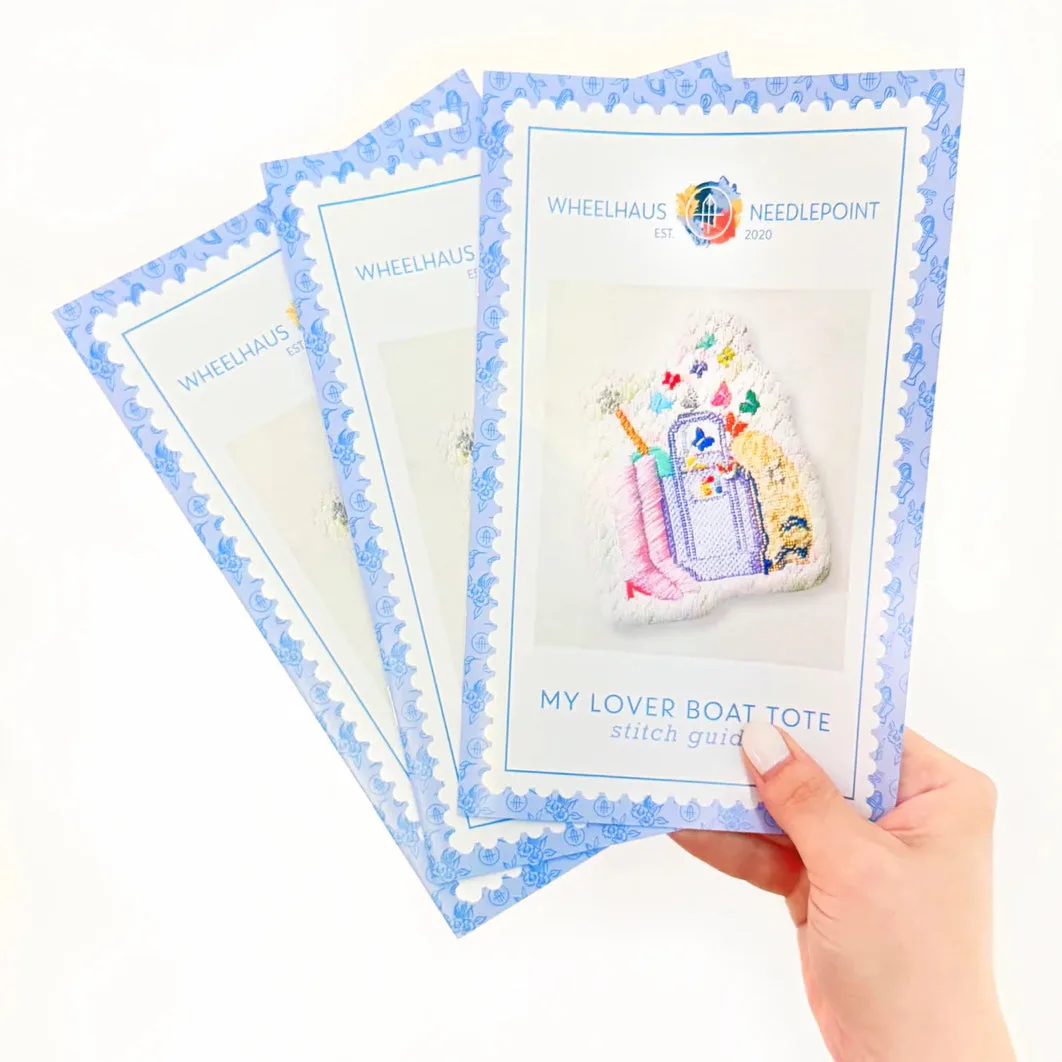
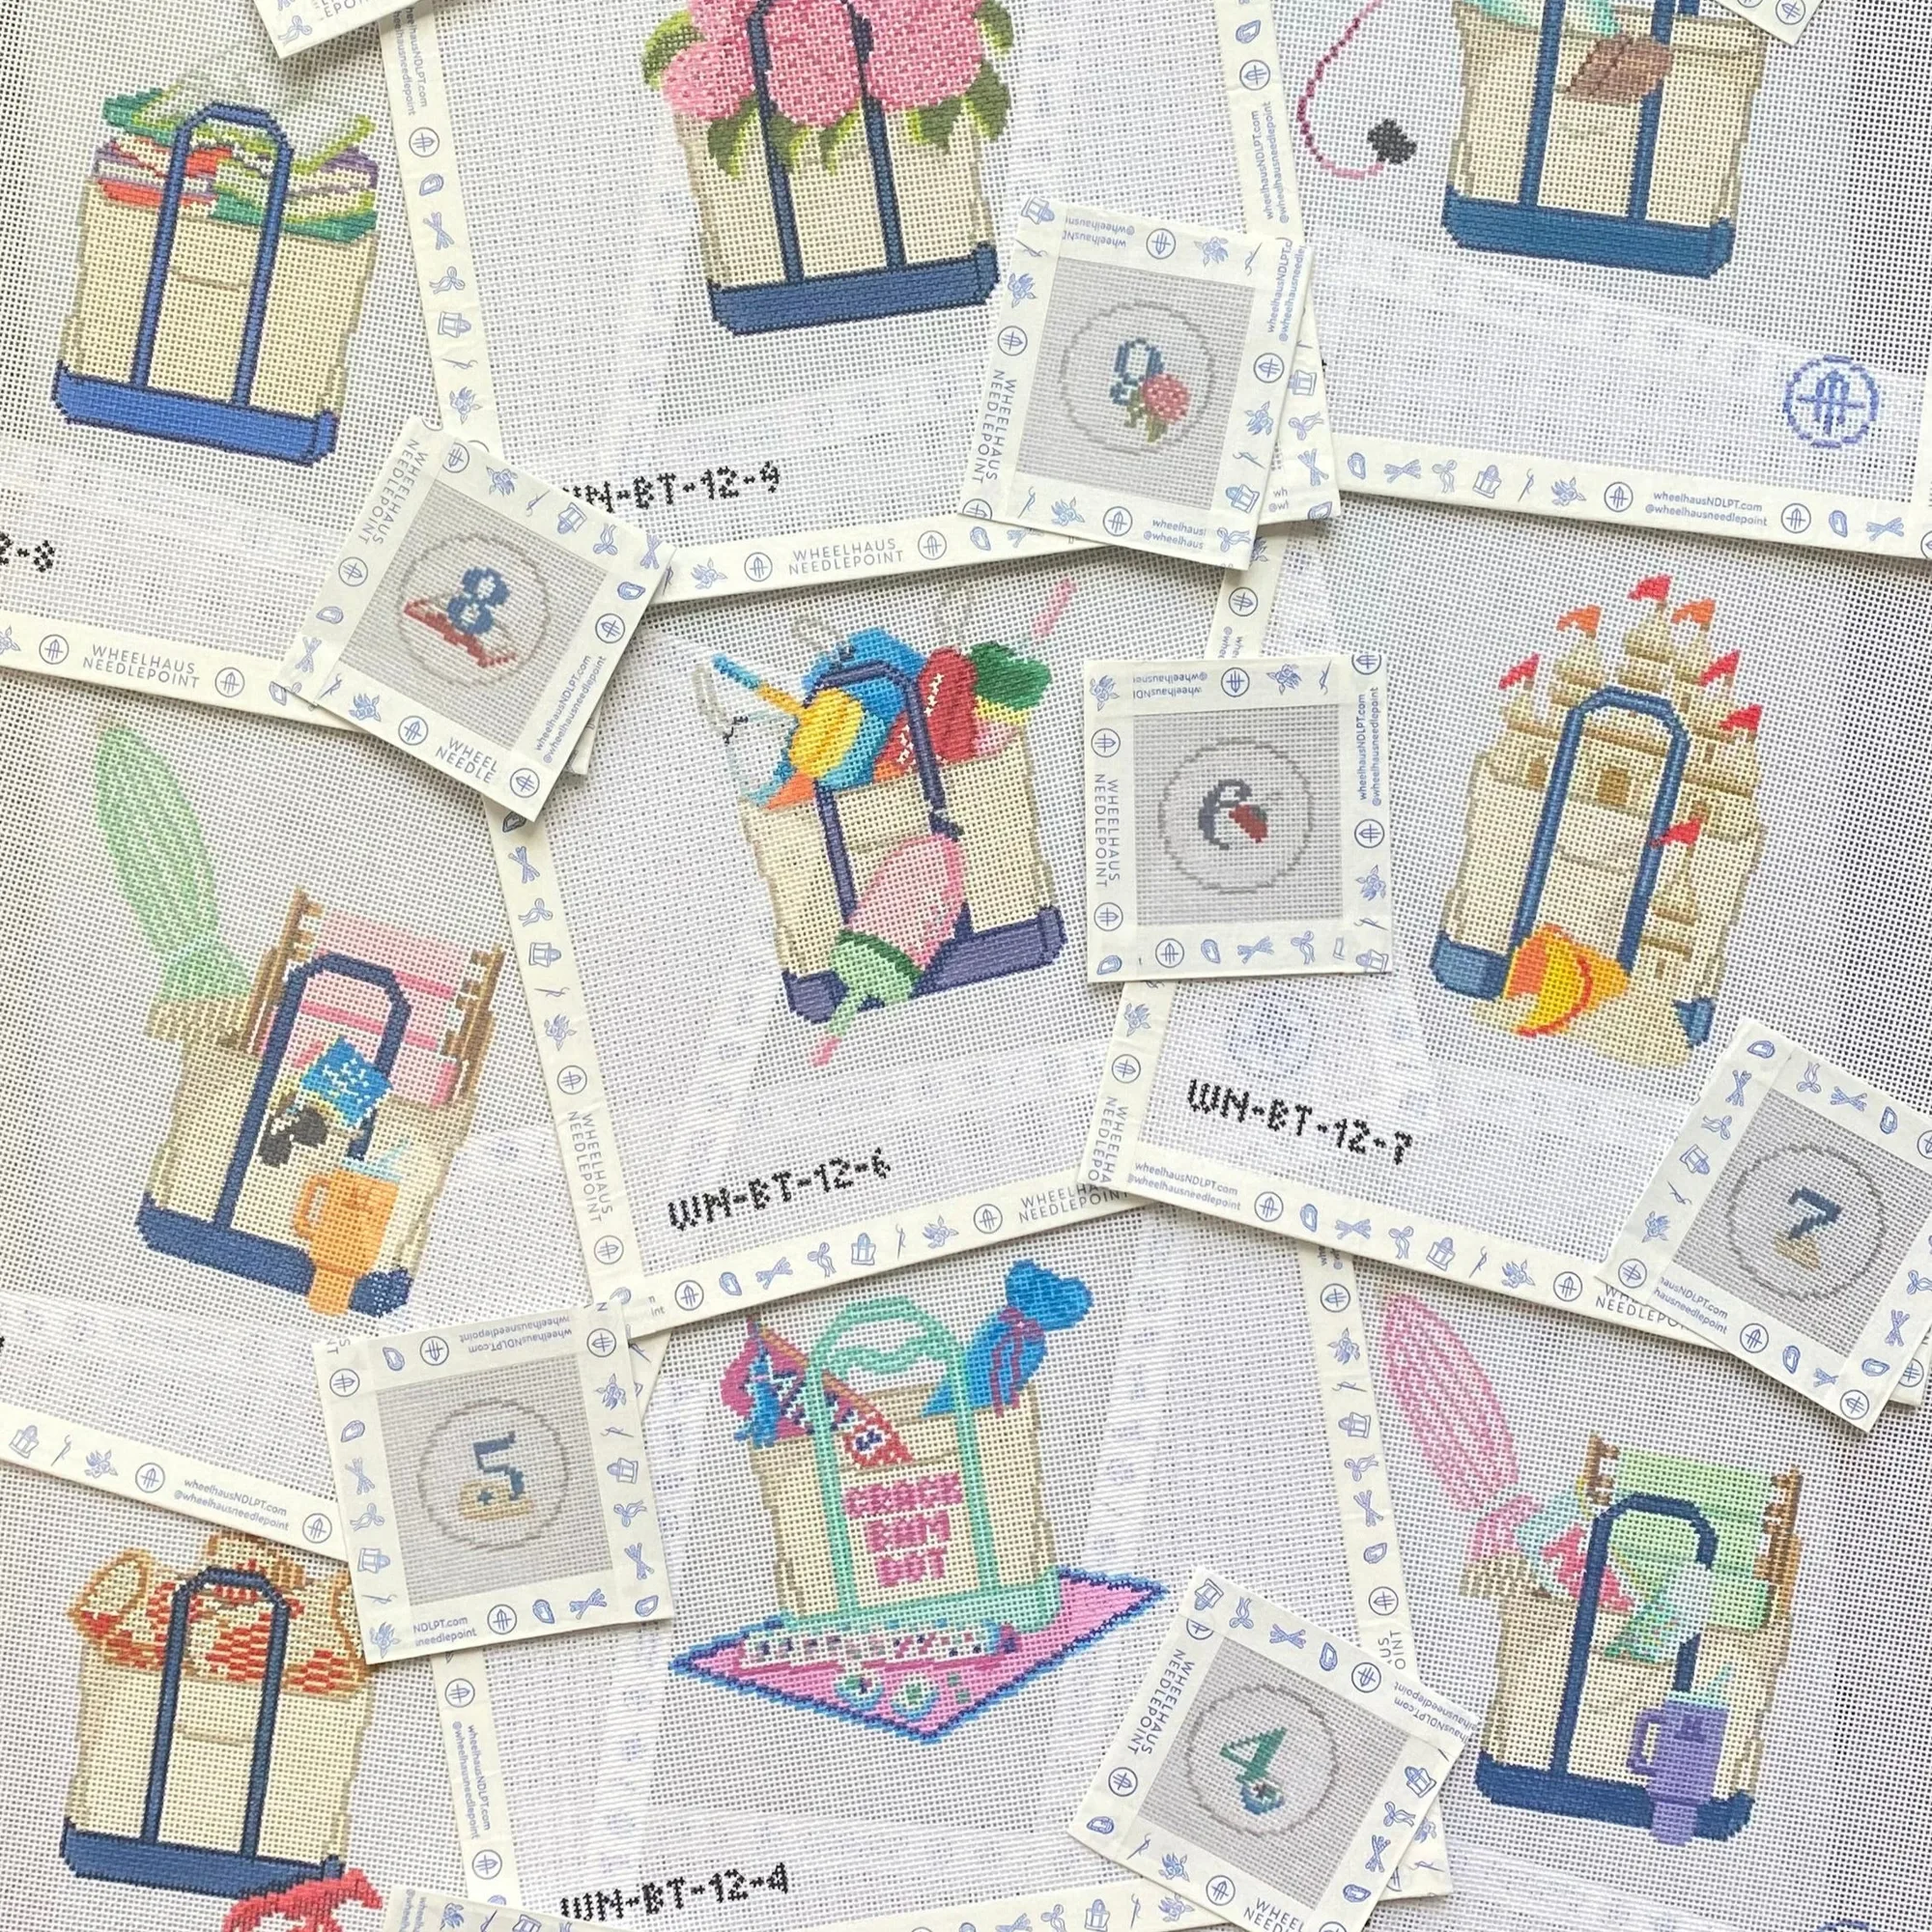
This walkthrough covers the full process for a needlepoint tote project, from checking that the guide belongs with your canvas to finishing the bag. It uses real Wheelhaus Needlepoint products as examples, including the 12 Days of Tote Series and the https://wheelhausndlpts.com/products/my-lover-tote-stitch-guide-c1299b3597f88386a718be3f-1389239My Lover Tote Stitch Guide.
Before you start: match the guide to the canvas
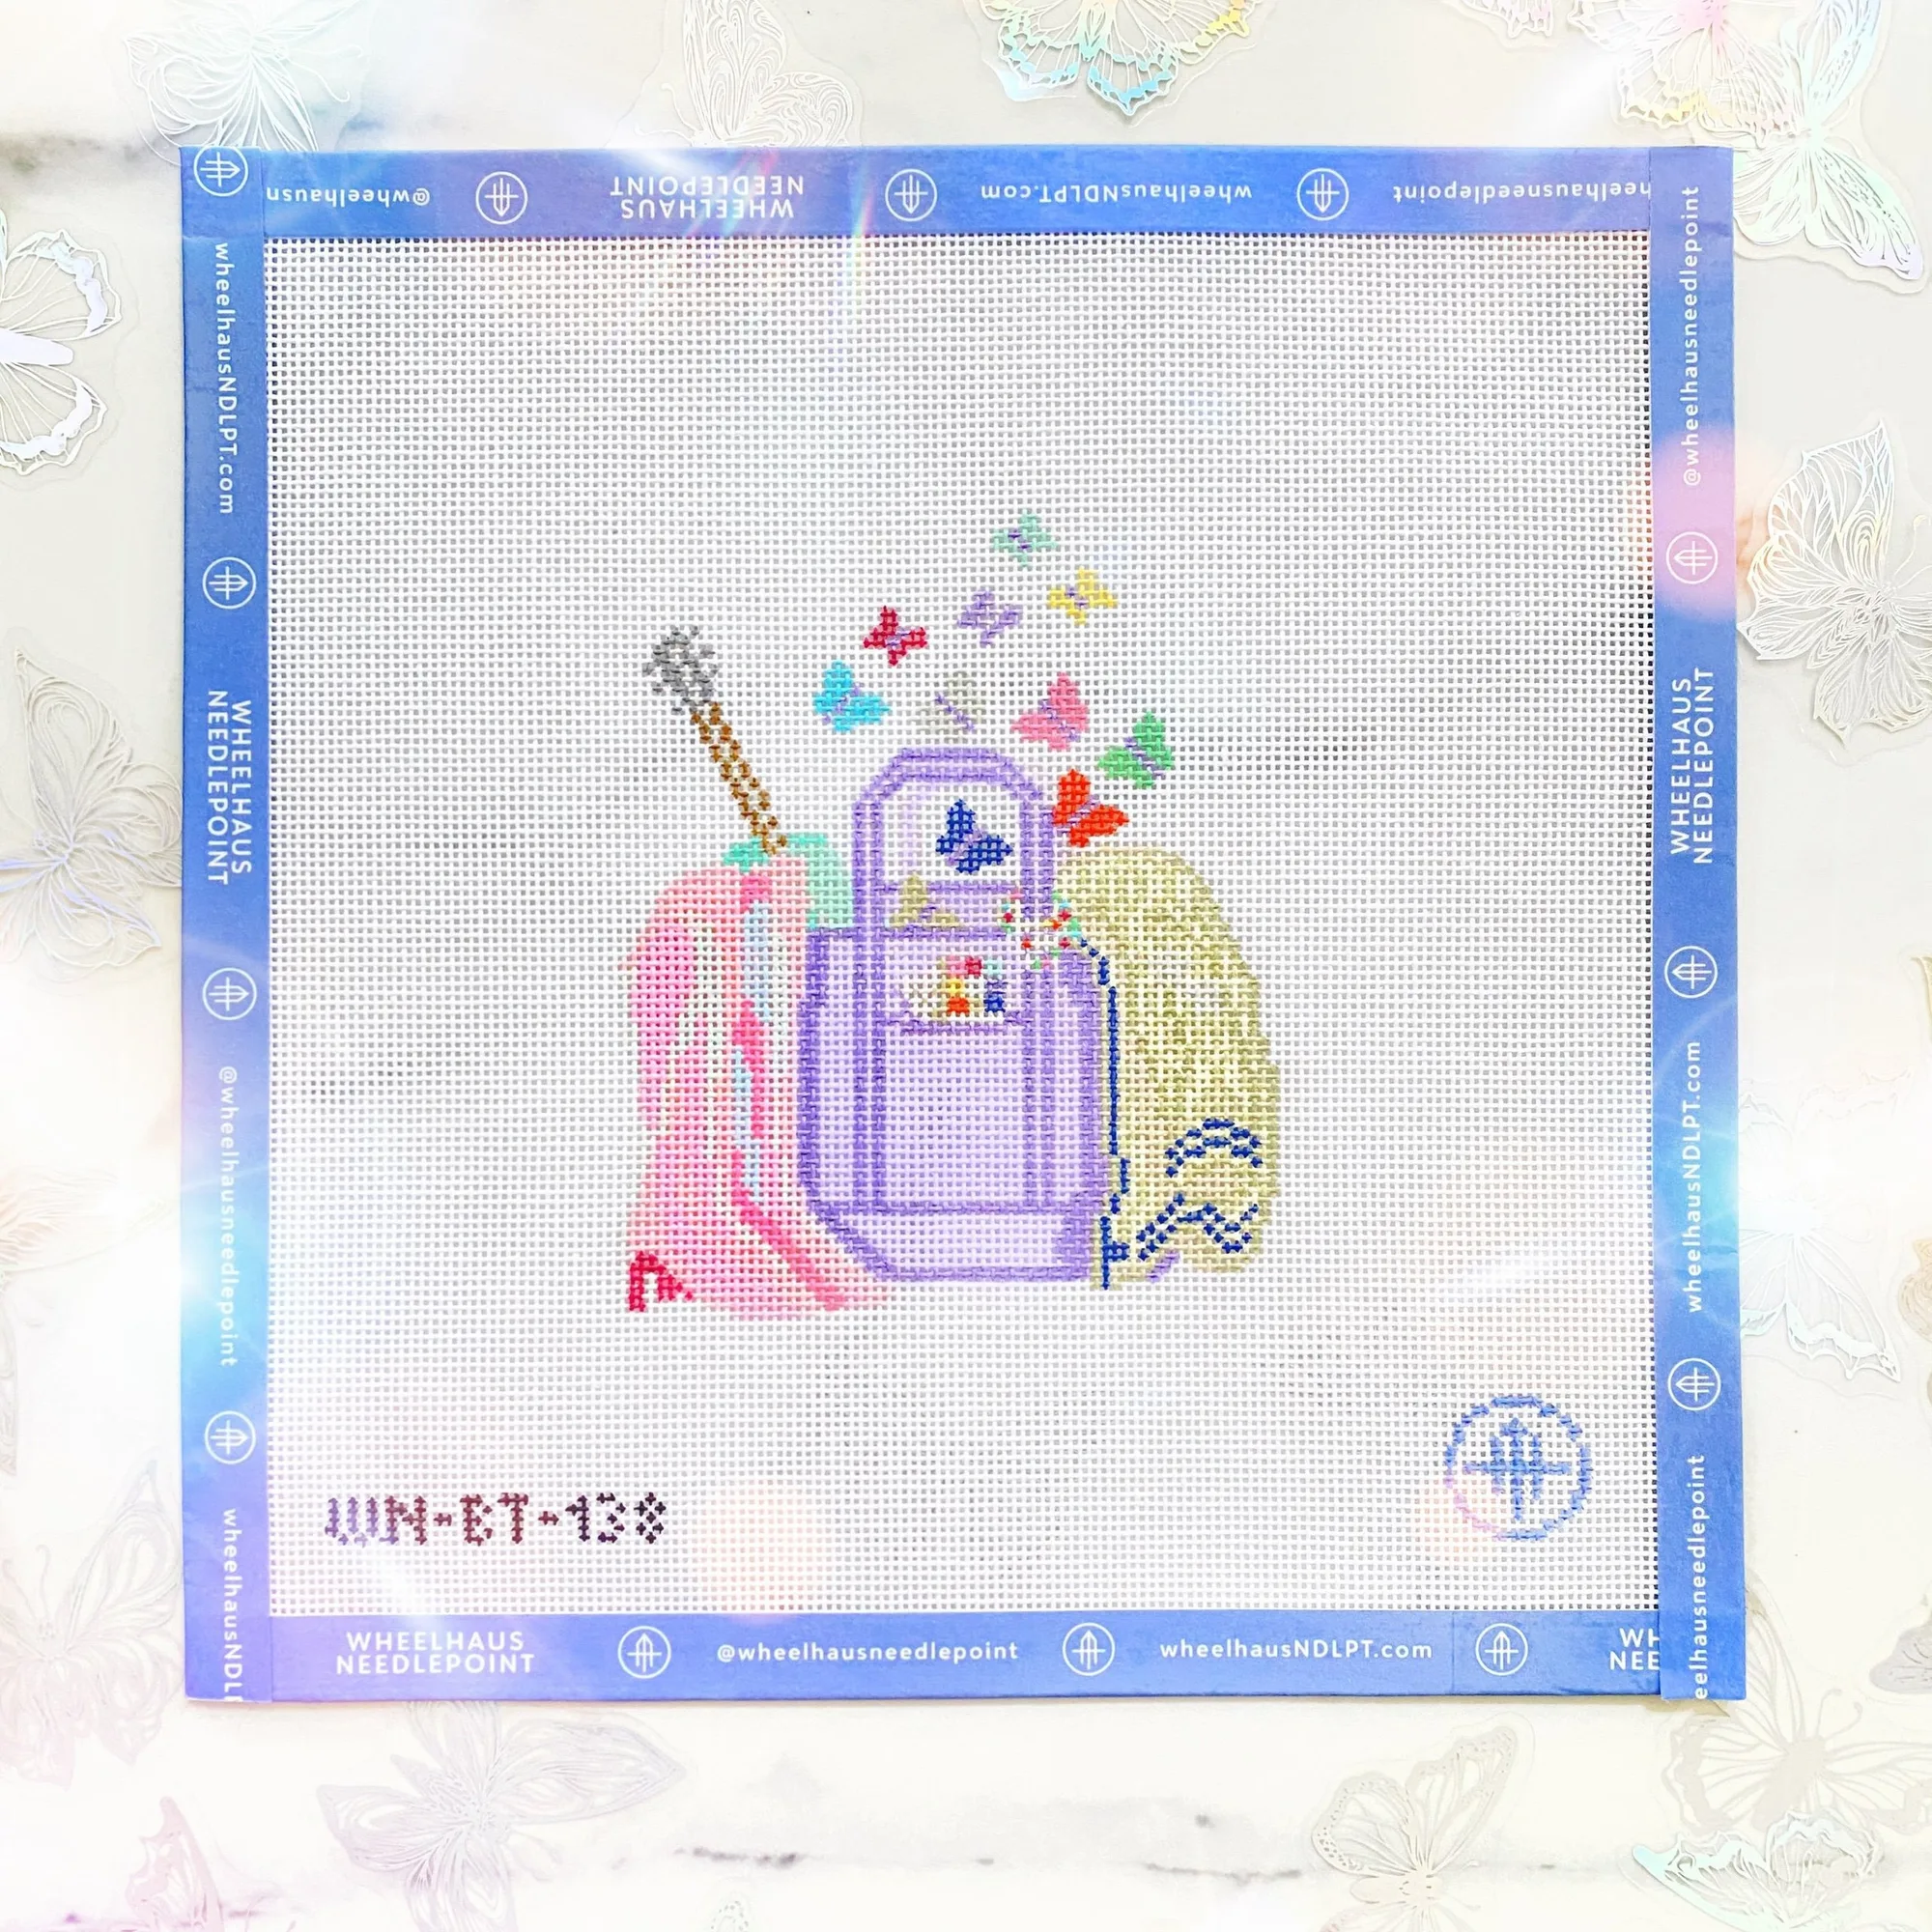
Not every stitch guide is written for every canvas. Some guides are designed for a specific design, and the catalog notes that a guide may not align with a thread kit even when both relate to the same project. Before you buy threads or start stitching, confirm the guide names the canvas you own and that the design areas line up.
If you are buying both at once, look at the product details rather than assuming. A guide sold as a separate booklet is usually mailing only and non-returnable, so a quick check up front saves a frustrating exchange later.
- Lay the guide next to the canvas and confirm the design areas match before you stitch a single row.
Read the whole guide before the first stitch
A stitch guide is a sequence, not a menu. Later sections often depend on earlier ones, especially where a background stitch needs to be worked around a focal area. Read the entire booklet once, then mark the order you plan to stitch in.
Pay attention to any notes about thread coverage, stitch direction, or areas that should stay unstitched until the end. These notes usually exist because the designer hit a problem while stitching the model.
- Number the sections in pencil so you can follow your own order without flipping back and forth.
Gather supplies and test stitches on spare canvas
Most Wheelhaus canvases ship with one of seven stitch pamphlets, a WIP project card, and a reusable PVC protective project baggy when you buy canvas only. Threads are not included unless you buy a kit, so plan your thread purchase separately if you are stitching from stash.
Test each new stitch on a scrap of canvas in the same mesh count before you use it on the tote. A stitch that looks compact in a booklet can behave differently at 18 mesh versus 13 mesh, and testing costs you a few minutes instead of a ripped-out area.
- Keep the project baggy closed between sessions so the painted canvas and your working threads stay clean.
Work the tote in a sensible order
Start with the focal design area, then move to borders, then backgrounds. Stitching the focal point first lets you adjust thread choices while the canvas is still mostly open. Backgrounds last also means you can compensate around any stitch that grew or shrank more than expected.
For a tote, remember that the canvas will be handled and possibly lined. Keep the back of your work reasonably tidy, especially along edges that will be seamed, so the finisher has clean margins to work with.
- Checkpoint: after each area, lay the canvas flat and compare it to the guide photo before moving on.
Track your progress and protect the canvas
A tote takes many sessions, so use the WIP project card to note which stitch and thread you used in each area. If you set the project down for a month, you will not have to reverse-engineer your own choices.
Store the canvas in the reusable PVC project baggy with your guide and remaining threads. Painted canvases can pick up lint and pet hair, and a tote panel is large enough that a small smudge becomes noticeable.
- Photograph your progress after each session so you have a visual record of thread and stitch choices.
Finish the tote and check durability
Canvas does not come finished or stitched, so a tote project ends with a finishing step, whether you sew it yourself or send it to a finisher. Before finishing, inspect the stitched panel for loose threads, skipped stitches, and any area where the guide's stitch did not cover as expected.
If you plan to carry the tote regularly, reinforce the seams and consider a lining. A lined bag protects the back of your stitching and helps the tote hold its shape, which matters more on a bag than on a framed piece.
- Checkpoint: block or gently steam the stitched canvas before finishing so the panel is square.
Tote stitch guide steps at a glance
- Confirm the guide matches the canvas: Compare the guide's design areas to your tote canvas and confirm the mesh count matches the guide's instructions. Do not start stitching until the match is confirmed.
- Read the guide end to end: Read the full booklet once and mark the order you will stitch in, noting any areas that must wait until last. A quick read prevents rework on large background areas.
- Test stitches on spare canvas: Work each unfamiliar stitch on scrap canvas in the same mesh count before using it on the tote. Test on 18 mesh for the 12 Days of Tote Series.
- Stitch the focal area first: Begin with the main design, then borders, then backgrounds so you can adjust thread choices while the canvas is open. Check against the guide photo after each area.
- Track threads and stitches: Use the WIP project card to record which thread and stitch went where, and store the canvas in the PVC project baggy. Photograph progress after each session.
- Finish and inspect the tote: Block the stitched panel, check for loose or skipped stitches, then sew or send the tote for finishing with a lining if it will be carried often. Reinforce seams on a bag that gets daily use.
Products used in this walkthrough
- 12 Days of Tote Series: 18 mesh, stitch painted, with a How to buy option for choosing designs and number tags. The 18 mesh count means finer detail and a denser stitch surface, so test stitches on 18 mesh scrap before committing to a large area.
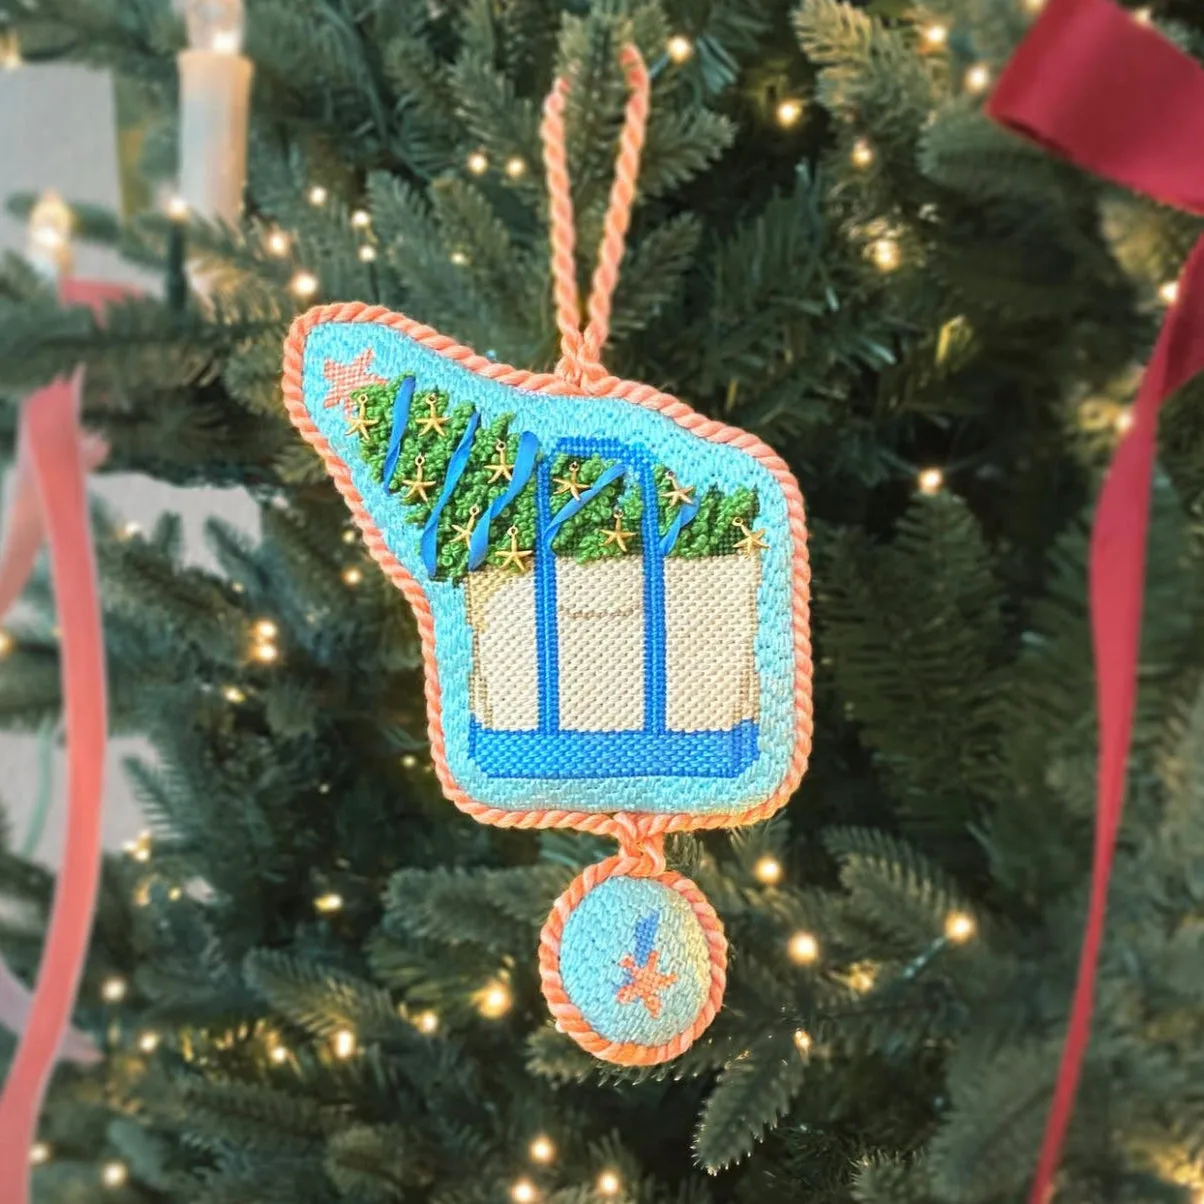
- Starfish Christmas Tree Tote - Day 1: 18 mesh design measuring 3.5 inches wide by 4.25 inches high, sold as canvas only with a stitch pamphlet and needle. The compact focal area is a good place to start a tote project, and the included pamphlet gives you a stitch reference before you buy a separate guide.
- My Lover Tote Stitch Guide: One stitch guide booklet, mailing only, and it does not align with the thread kit. Buy the guide and threads as separate decisions, and confirm the guide matches your canvas before ordering.
- French Bistro Monogram Tile Coaster - Customizable: 13 mesh, 5.5 by 5.5 inches, with a downloadable digital Lettering Chart sent to your checkout email. A 13 mesh canvas is a useful practice piece for testing stitches at a larger count before applying them to an 18 mesh tote.
A stitch guide does its best work when you treat it as a plan: match it to your canvas, read it fully, test as you go, and finish the tote with the same care you stitched it. Start with a small focal area like the Starfish Christmas Tree Tote - Day 1, and the larger panels will feel far less intimidating.