Quick answer
Use a student magnetic whiteboard with letters and numbers to run hands-on phonics activities that build letter-sound recognition, sight word fluency, and early writing skills.
Why a magnetic whiteboard works for phonics
A student magnetic whiteboard turns abstract phonics concepts into something a child can see and touch. Moving magnetic letters helps learners connect sounds to symbols, which is especially helpful for kinesthetic learners who need to manipulate materials to stay engaged.
Because the board is small and portable, it fits easily on a desk or lap, making it a practical choice for both classroom centers and at-home practice. The included letters and numbers support a range of activities beyond phonics, so you can extend the same tool to numeracy practice later.
Trade-offs to keep in mind
Magnetic letters can be misplaced, so count the pieces before and after each session. Also, the board's size limits how many words you can build at once; keep activities to short, focused tasks rather than long sentences.
For young children, letter size and magnetic strength matter. If the pieces are small, they may pose a choking hazard, so supervise children under three and store the set out of reach when not in use.
Step-by-step phonics practice routine
- Set up the board and letters: Place the whiteboard on a flat surface and organize the magnetic letters into groups (vowels, consonants, or letters the child already knows). Keep the letter tray or a small container nearby to avoid losing pieces. Check that all letters are present before starting; count them again at the end.
- Introduce letter-sound matching: Say a sound (for example, /b/) and ask the child to find the letter that makes that sound and place it on the board. Start with a small set of letters and gradually add more as the child gains confidence. If the child hesitates, narrow the choices to two or three letters instead of the whole alphabet.
- Build simple CVC words: Choose a three-letter word like 'cat' and have the child place the letters in order on the board. Encourage them to sound out each letter and then blend the sounds together to read the word. If blending is tricky, try sliding a finger under the letters as you say each sound, then faster for the whole word.
- Practice sight words: Write a sight word (like 'the' or 'was') on the board with a dry-erase marker. Have the child find the matching magnetic letters and place them over the written word, then remove the letters and try to spell it from memory. Start with one or two sight words per session to avoid overwhelming the child.
- Use the board for writing practice: After building a word with magnets, ask the child to trace the letters with a dry-erase marker on the board below the magnets. This connects letter formation to the phonics they just practiced. Keep a soft cloth or eraser handy; let the child wipe the board clean themselves to build ownership.
Product spotlight
-
Student Magnetic Whiteboard with Letters and Numbers: This Student Magnetic Whiteboard comes with a full set of colourful magnetic letters and numbers, designed to help children explore sounds, spelling, number recognition and counting. Having the complete alphabet and digits on hand lets you run phonics activities immediately without buying extra letter tiles or cards.
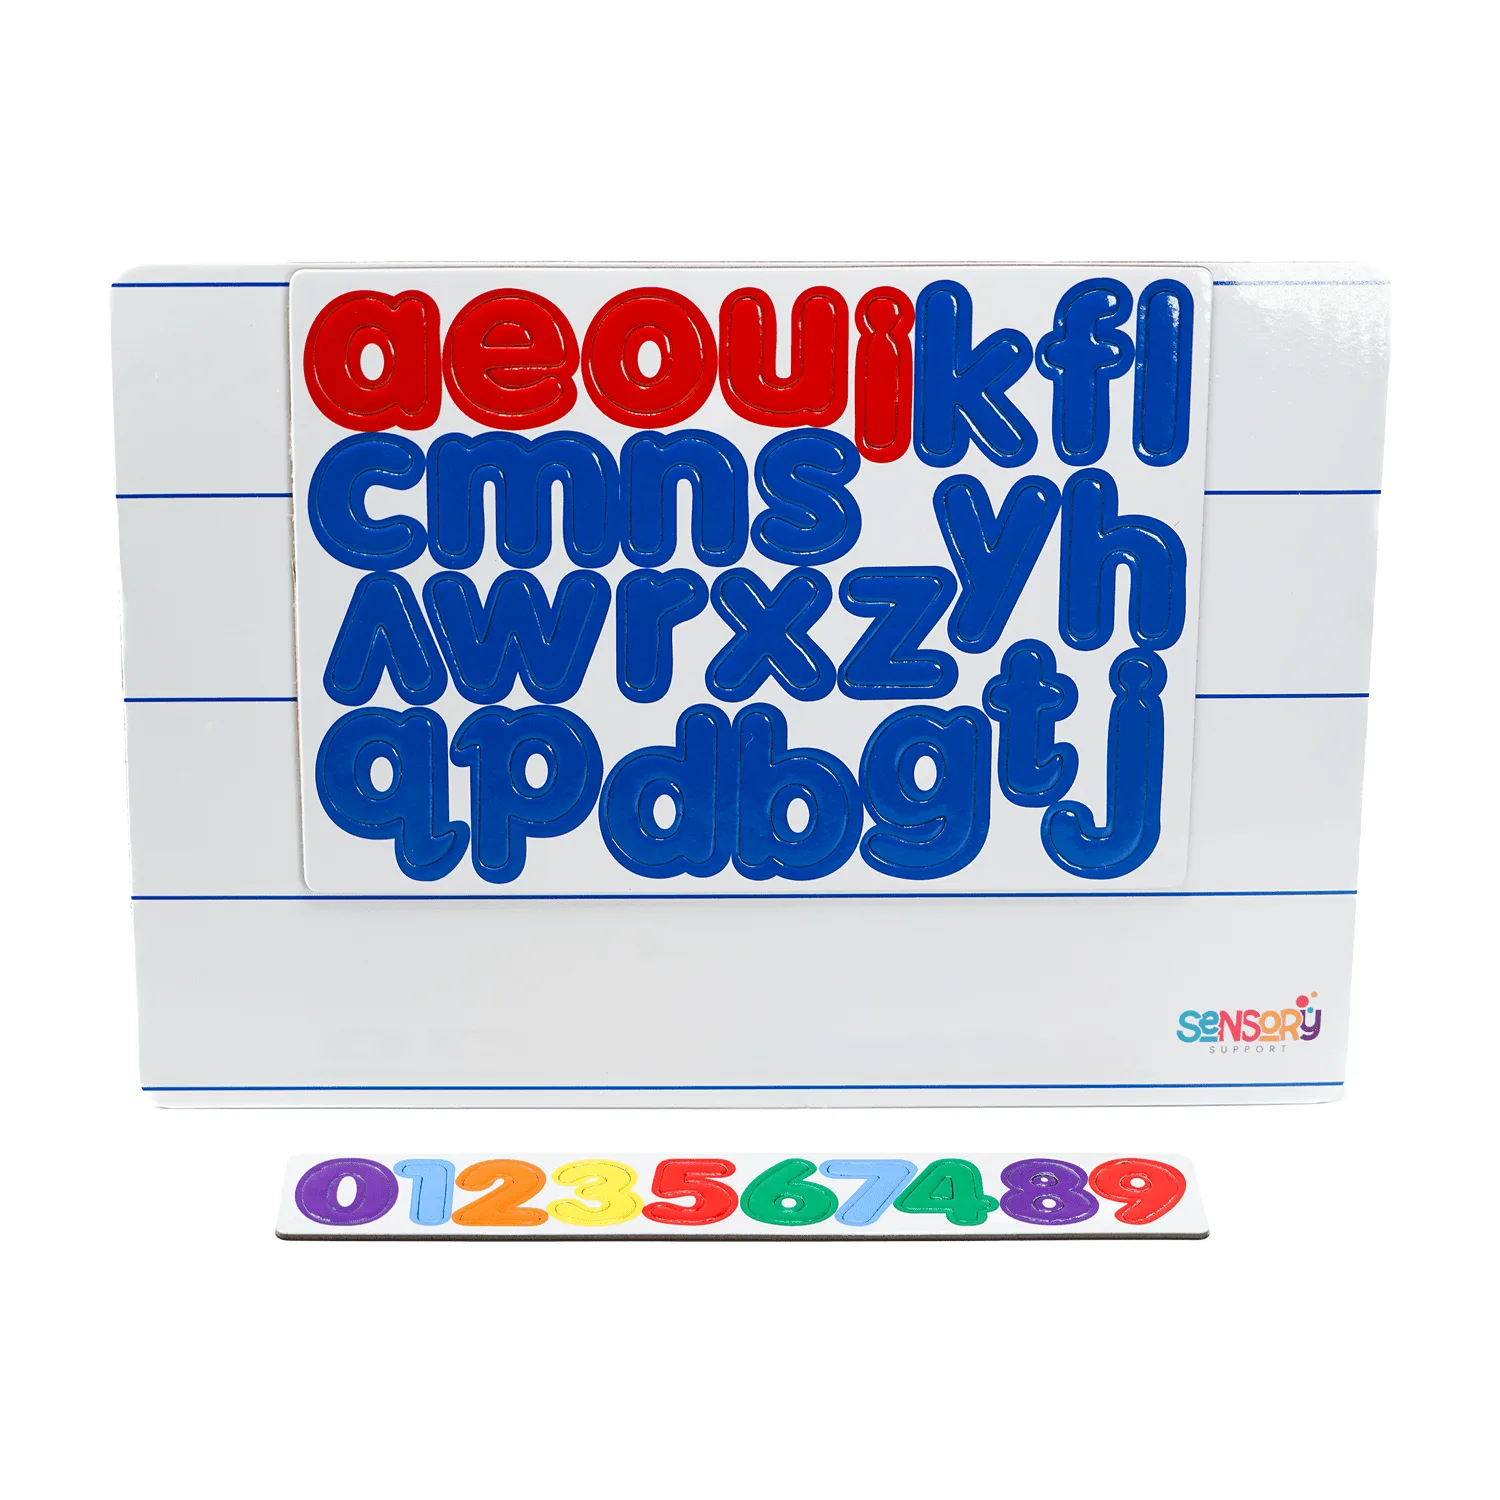
Student Magnetic Whiteboard with Letters and Numbers