Quick answer
Set your tabletop fire pit on a level, heat-safe surface with nothing flammable overhead, keep it at least three feet from tents, tarps, and soft gear, and never leave it burning unattended. Feed it in small increments, keep a water source within arm's reach, and let the unit cool completely before you touch or pack it. If you are using a DOD Pera Moe fire pit, follow the same sequence and treat the flame as you would any open fire.
A tabletop fire pit gives you a small, contained flame exactly where you want it: on the camp table, beside the chairs, close enough to roast a marshmallow without building a full fire ring. That convenience is also the risk. A unit that sits at chest height near fabric, food, and people needs a routine, not improvisation.
The steps below cover the whole session, from choosing the surface to packing a cold unit back in the car. Each step includes the mistake that most often causes trouble, so you can check yourself before you light anything.
Before you light: site and surface checks
Choose a level, non-combustible surface first. A metal camp table, a stone picnic table, or bare mineral soil all work. Wooden picnic tables, plastic folding tables, and tablecloth-covered surfaces do not, because radiant heat travels downward as well as up and can scorch or warp the surface under the unit.
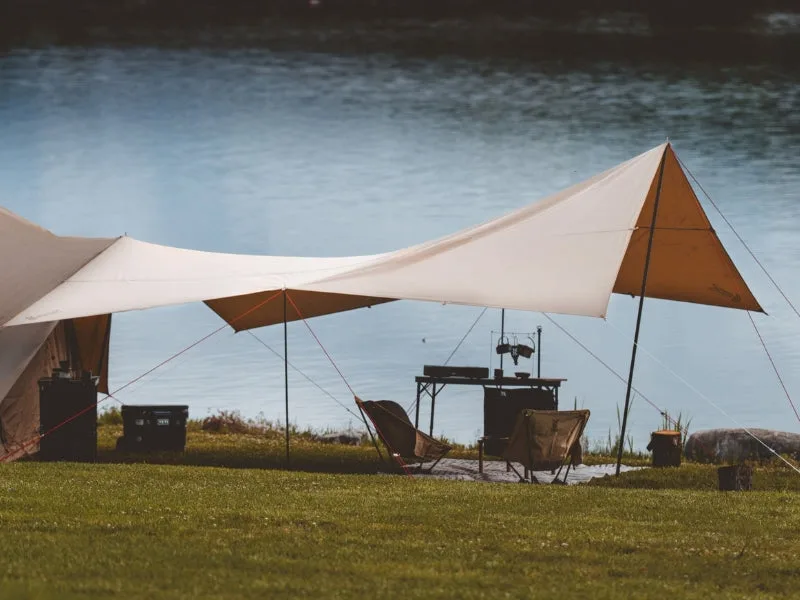
Next, look up and around. Overhanging branches, tarp ridgelines, and tent porches are the classic problems. Keep the pit clear of anything that can droop into the flame, and check the wind direction so smoke and embers drift away from sleeping areas rather than across them.
- Check whether your campground allows open flames at all, and whether a fire ban is in effect before you unpack.
- Keep a bottle or bucket of water and a lid or metal tray within arm's reach, not across the campsite.
Fuel and loading: small and steady wins
Load fuel in small increments rather than filling the unit to the top. A modest flame is easier to control, produces less radiant heat at table height, and is far less likely to flare when the wind shifts. If your pit uses gel, solid fuel, or a specific burner insert, follow the manufacturer's instructions for that fuel type and never mix fuels.
Never add fuel to a burning or still-warm unit. This is the single most common cause of sudden flare-ups at camp tables. Let the flame die down, wait for the unit to cool, then reload if you want another session.
- Keep the fuel container closed and stored away from the pit once you have loaded it.
- If the flame starts to climb, stop feeding it and let it burn down instead of adjusting it with your hands.
Managing wind, guests, and kids
Wind is the variable that turns a tidy tabletop flame into a hazard. A light breeze is fine, but gusts can push flame sideways toward tablecloths, napkins, or sleeves. If the flame leans consistently in one direction, reposition the pit or move the session indoors-free but sheltered, such as behind a windbreak, rather than fighting it.
Set a simple rule for the group: no reaching across the flame, no leaning over it to warm hands, and no moving the unit while it is lit. Children and dogs need a defined boundary, ideally a chair line or a marked edge of the table, and an adult seated within reach whenever the pit is burning.
- Assign one person to watch the pit at all times, and hand that role over explicitly if you step away.
- Keep loose sleeves, scarves, and long hair tied back while you are near the flame.
Extinguishing and cooling down
When you are finished, let the fuel burn out if the unit is designed for that, or smother the flame with a lid or metal tray. Water can work on some units and damage others, so check your instructions before you pour. Whatever method you use, the flame going out is not the end of the process.
Cool-down takes longer than people expect. Metal bodies, burner cups, and ash pans hold heat well after the visible flame is gone. Treat the unit as hot until you can hold your hand near it comfortably, and never pack it into a bag, tent, or vehicle while it is still warm.
- Dispose of ash and fuel residue only where the campground allows it, and never into dry grass or brush.
- If the unit uses a fuel canister, follow the label for storage and transport rather than leaving it connected.
Packing and storing between trips
Once the pit is fully cool, wipe it down and store it so it cannot rattle against other gear. Small accessories and fuel parts are easy to lose, which is where a dedicated carrier earns its place. The DOD Pole Case, for example, uses a diagonal zip opening and a two-chamber layout to keep long items separated, and it fits sections up to 24 inches, so it works for poles and similarly shaped camp hardware rather than loose small parts.
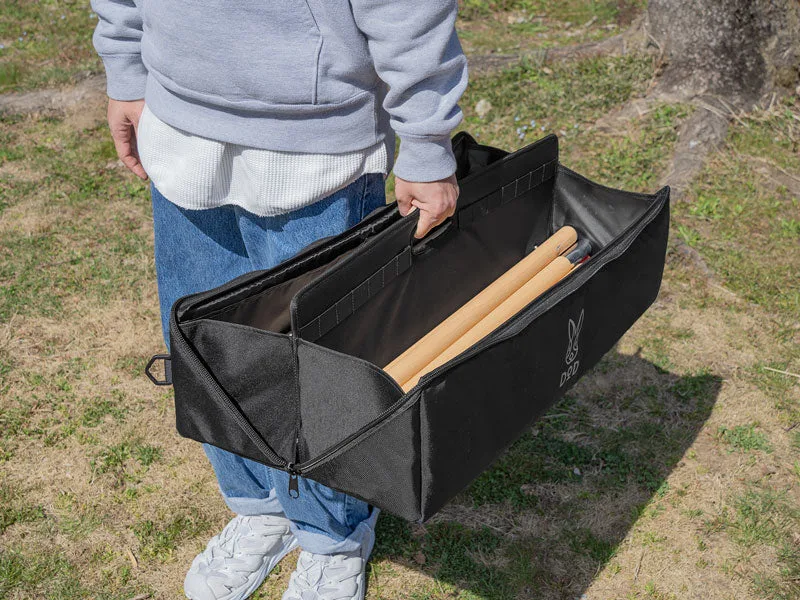
Pole Case
At home, store the unit dry and out of the weather. Moisture plus ash residue is what turns a clean fire pit into a corroded one by the next season.
- Photograph or note the fuel type you used so you can restock the same one next time.
- Check the unit for cracks, loose fittings, or damaged seals before the next trip, not after you have already set up camp.
Tabletop fire pit safety, step by step
- 1. Check the rules and the forecast: Confirm the campground permits open flames and that no fire ban is active, then check wind speed and direction for the evening. If flames are banned or gusts are strong, plan a different evening activity rather than testing it.
- 2. Pick a level, heat-safe surface: Use metal, stone, or bare mineral soil, and clear anything flammable from underneath and overhead. Mistake to avoid: setting the pit on a wooden or plastic table because it looks stable.
- 3. Set the clearance zone: Keep at least three feet between the pit and tents, tarps, chairs, and soft gear, and establish a boundary for kids and pets. Checkpoint: if you cannot walk a full circle around the pit without ducking or stepping over gear, move something.
- 4. Load fuel in small increments: Add a modest amount, light it, and let it establish before considering more. Never top up a burning or warm unit. Mistake to avoid: refueling to keep the flame big, which is the main cause of flare-ups.
- 5. Keep water and a snuffer within reach: Place a water bottle or bucket and a lid or metal tray beside you before the first flame, not after. Checkpoint: if you have to stand up and walk to reach your extinguishing method, it is too far.
- 6. Watch the wind, not just the flame: Reposition or end the session if the flame leans consistently or embers start drifting toward tents or dry grass. Mistake to avoid: assuming a small flame cannot spread; embers travel further than people expect.
- 7. Never leave it unattended: Hand off responsibility to a specific adult if you step away, and keep the pit in view the entire time it burns. Checkpoint: an unattended tabletop pit is the same risk as an unattended campfire.
Gear notes that matter for fire-side setups
- Pole Case: Diagonal zip opening for easy access, a two-chamber design to prevent clutter, and room for poles with sections up to 24 inches. Keeps long, awkward camp hardware separated and easy to reach, so fire-side gear does not end up loose in the car or tangled with other equipment.
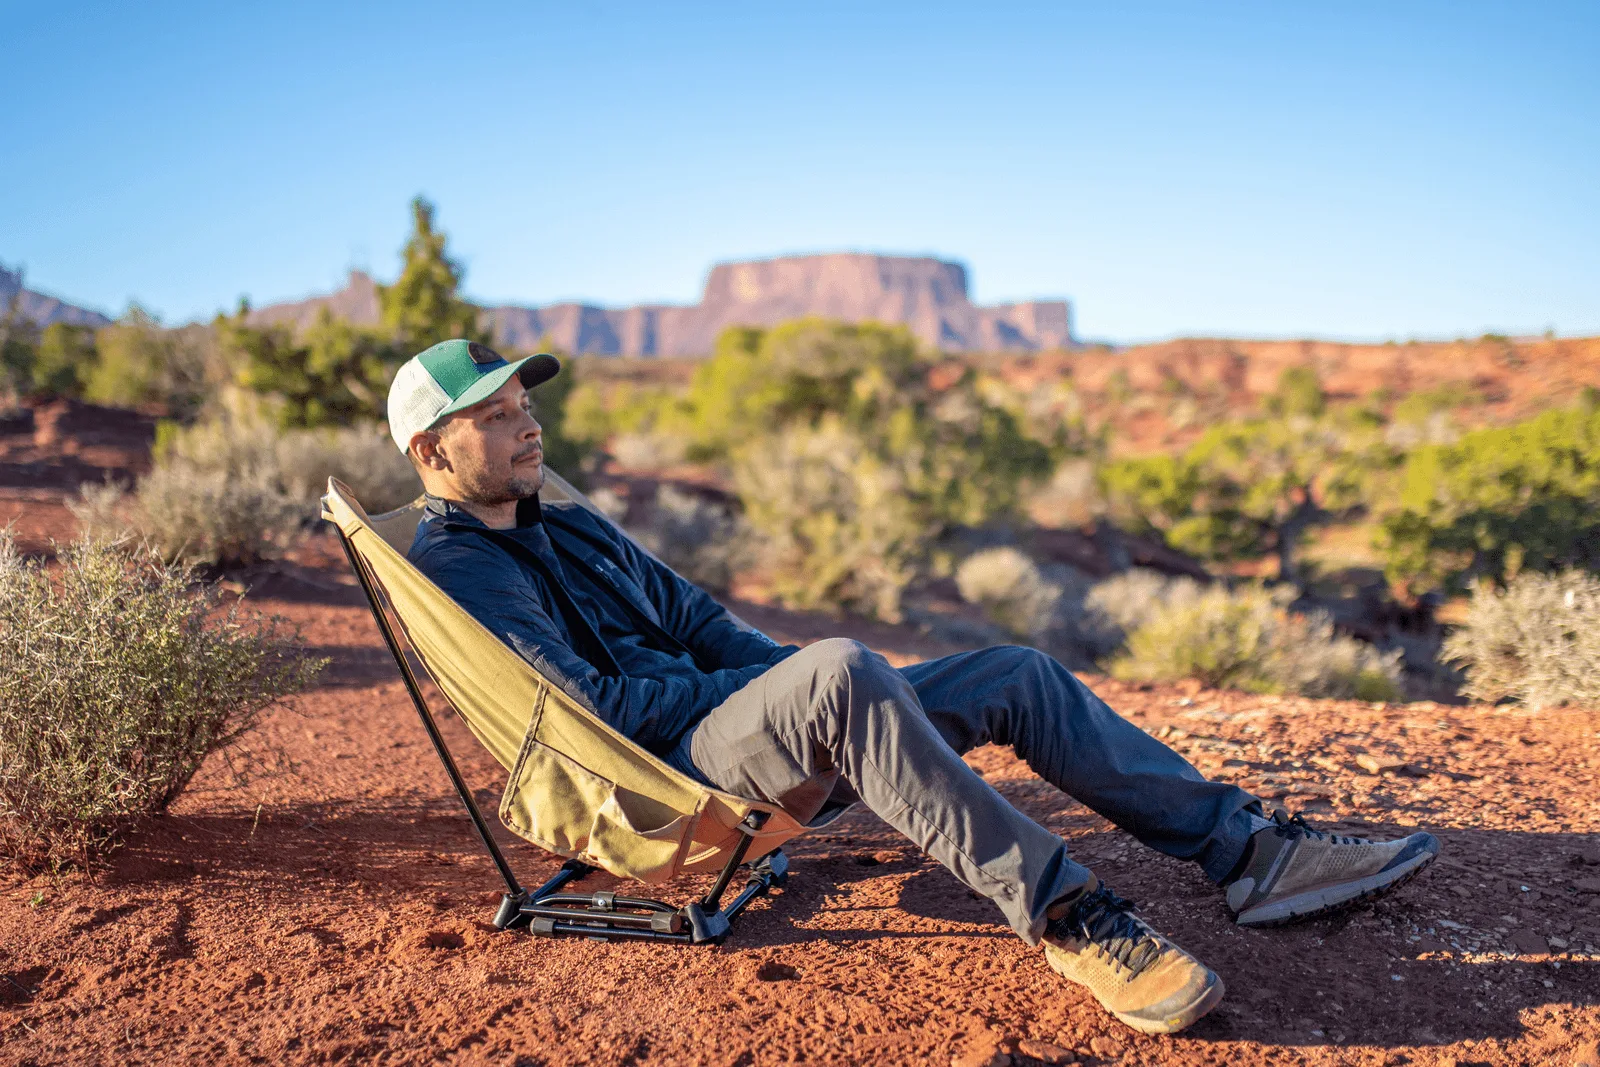
- Sugoi Chair: Adjusts to all seating positions, so height and angle can change for a meal at the table or a marshmallow session at the fire. You can sit back at a safer distance from a tabletop flame during cooking, then adjust for a relaxed position afterward instead of dragging a chair around.
Tabletop fire pit safety comes down to a repeatable routine: safe surface, safe distance, small fuel loads, constant attention, and a full cool-down before anything gets packed. Run those steps every time and the pit stays a convenience instead of a problem.