Quick answer
Tamiya Masking Tape gives hobbyists a low-tack hold that seals tightly against paint edges without damaging the surface, making it ideal for achieving sharp paint lines on plastic model kits.
Why low-tack tape matters for paint lines
Standard household tapes often leave sticky residue or pull up fresh paint when removed. Tamiya Masking Tape is formulated with a gentle adhesive that holds firmly enough to prevent paint bleed but releases cleanly, even after a few hours of drying.
The tape's thin, flexible backing conforms to curved surfaces like vehicle hoods or doll limbs, reducing the chance of gaps that cause fuzzy edges.
Common trade-off: hold vs. duration
Because Tamiya Masking Tape is a low-hold tape, it works best for masking sessions that last a few hours to a day. If left on for several days, especially in warm or humid conditions, the adhesive can become more aggressive and increase the risk of residue.
For long-term masking (over 24 hours), consider testing a small area first or using a stronger hobby tape designed for extended application.
Step-by-step: Clean paint lines with Tamiya Masking Tape
- Prepare the surface: Make sure the area you're masking is clean, dry, and fully cured. Any dust, oil, or moisture will break the tape's seal and let paint creep underneath. Wipe the surface with isopropyl alcohol on a lint-free cloth and let it dry completely before applying tape.
- Apply the tape with even pressure: Cut a piece of Tamiya Masking Tape slightly longer than needed. Press it down starting from the center of the edge you want to protect, then smooth outward to avoid air bubbles. Use a burnishing tool or your fingernail to press the tape edge firmly against the surface. A common mistake is pressing too hard on the tape body, which can stretch it and create gaps. Focus pressure along the paint edge only.
- Seal the edge with a clear coat (optional but recommended): Spray or brush a thin layer of clear gloss or the same paint color over the tape edge. Let it dry for 10–15 minutes. This seals the tape's edge and prevents the next color from bleeding under. Skipping this step is the most common cause of fuzzy paint lines, especially with airbrushing.
- Paint your main color: Apply your chosen paint in thin, even coats. Avoid heavy wet coats that could pool against the tape edge and seep underneath. Allow each coat to dry before the next. If you see paint pooling near the tape, blot it with a paper towel immediately rather than trying to brush it away.
- Remove the tape at the right time: Peel the tape off slowly at a 45-degree angle, pulling back over itself. For best results, remove the tape while the paint is still slightly soft (within an hour of the final coat) to avoid tearing the paint edge. Waiting too long (overnight) can cause the tape to bond more strongly and lift paint. If that happens, warm the tape gently with a hairdryer on low before peeling.
Product used in this guide
-
Tamiya Masking Tape: This masking tape is a low hold tape that can be used all over the place. Not only can you use it to mask off areas that you don't want painted, you can also use it anywhere you want a little bit of hold, but not the damage that harsher tapes will leave behind. Its gentle adhesive makes it safe for delicate surfaces like cured lacquer or enamel paint, and versatile enough for holding stencils or securing small parts during assembly.
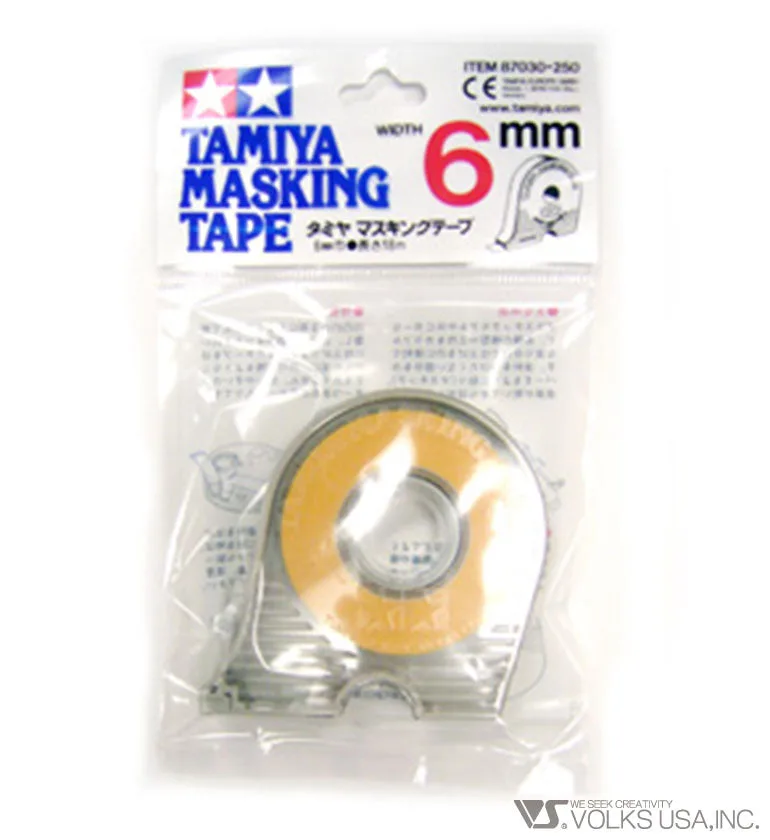
Tamiya Masking Tape