Quick answer
Thickening foam adds volume and lift to fine curly hair without weighing it down. Apply it to soaking-wet hair in sections, scrunch upward, then diffuse or air-dry for bouncy, defined curls.
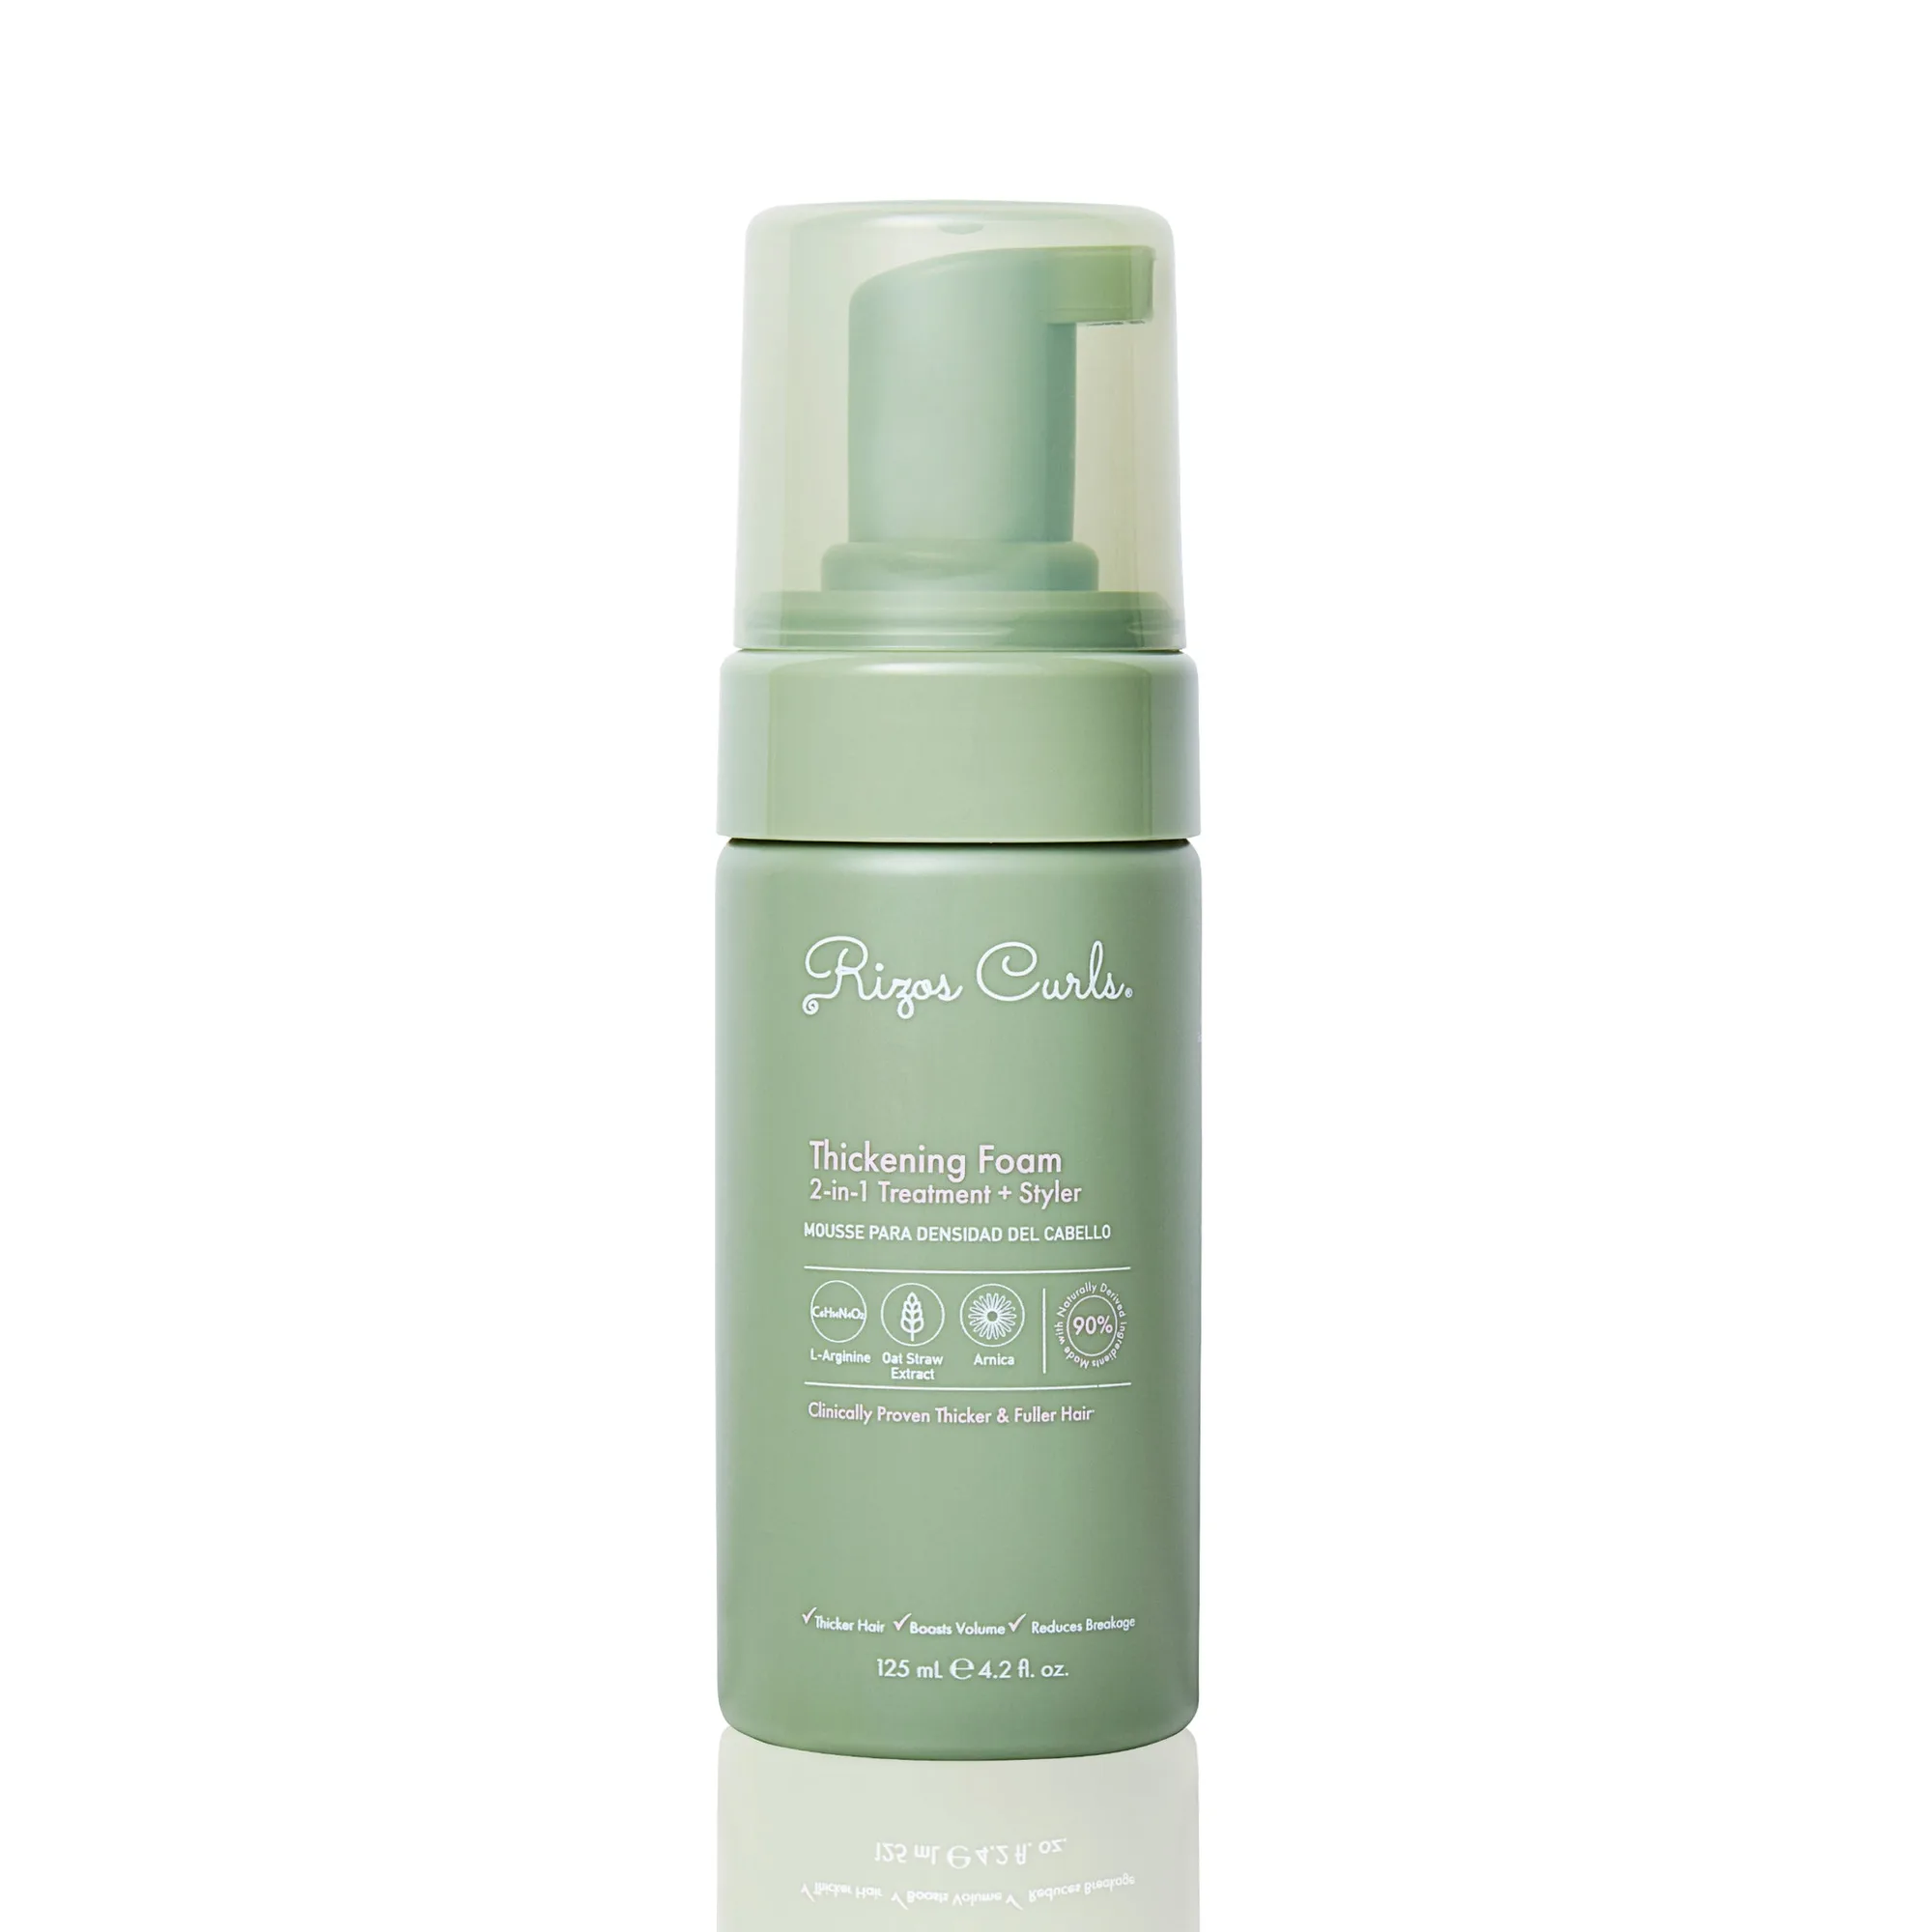
Thickening foam
Why thickening foam works for fine curls
Thickening foam is a lightweight styler that coats each strand with polymers that expand as hair dries, creating the appearance of thicker, fuller curls. Unlike heavy creams or gels, foam won't flatten fine hair or cause buildup. It also helps hold curl shape without stiffness, making it ideal for those who want volume and definition in one step.
For best results, pair your foam with a moisturizing leave-in or curl cream underneath, especially if your hair is dry or prone to frizz. The foam seals in moisture while adding structure.
What to look for in a thickening foam
Choose a foam labeled for fine or thin hair. Look for ingredients like hydrolyzed wheat protein, rice protein, or panthenol, which add body without residue. Avoid foams with heavy oils or silicones high on the ingredient list, as they can weigh curls down. A good thickening foam should also provide medium to firm hold to maintain volume throughout the day.
Step-by-step guide: How to apply thickening foam for voluminous curls
- Start with clean, soaking-wet hair: Wash and condition your hair, then leave it dripping wet. Thickening foam distributes best on wet hair, and water helps the foam expand evenly. Do not towel-dry first. Common mistake: applying foam to damp or dry hair, which causes uneven coverage and less volume.
- Section your hair into 4 parts: Use clips to divide your hair into four sections (top, left, right, back). This ensures every curl gets product. Work with one section at a time. Checkpoint: if you skip sectioning, the foam may only reach the outer layer, leaving inner curls flat.
- Shake the foam bottle and dispense a golf-ball-sized amount: Shake the can well, then pump a dollop into your palm. For shoulder-length hair, one to two golf-ball-sized pumps per section is enough. Adjust for longer or shorter hair. Common mistake: using too much foam, which can cause stiffness or flaking. Start small and add more if needed.
- Apply foam with praying hands, then scrunch: Glide the foam over the section using a praying-hands motion (palms flat, hair sandwiched between them). Then cup the ends and scrunch upward toward your scalp to encourage curl formation and lift. Checkpoint: if you don't scrunch, you lose the volume-boosting effect. Scrunching is what creates the spring and body.
- Repeat on all sections, then diffuse or air-dry: After applying foam to every section, either diffuse on low heat with a bowl diffuser, or let hair air-dry. Avoid touching curls while they dry to prevent frizz and preserve volume. Common mistake: touching or scrunching hair while it's drying, which disrupts the foam's hold and leads to frizz.
- Scrunch out the cast (if any) for soft, voluminous curls: Once hair is 100% dry, gently scrunch each curl with a few drops of oil or simply with dry hands to break any slight crunch. Your curls will be soft, bouncy, and full. Final tip: if you want extra volume at the roots, flip your head upside down while diffusing or air-drying.
Product spotlight
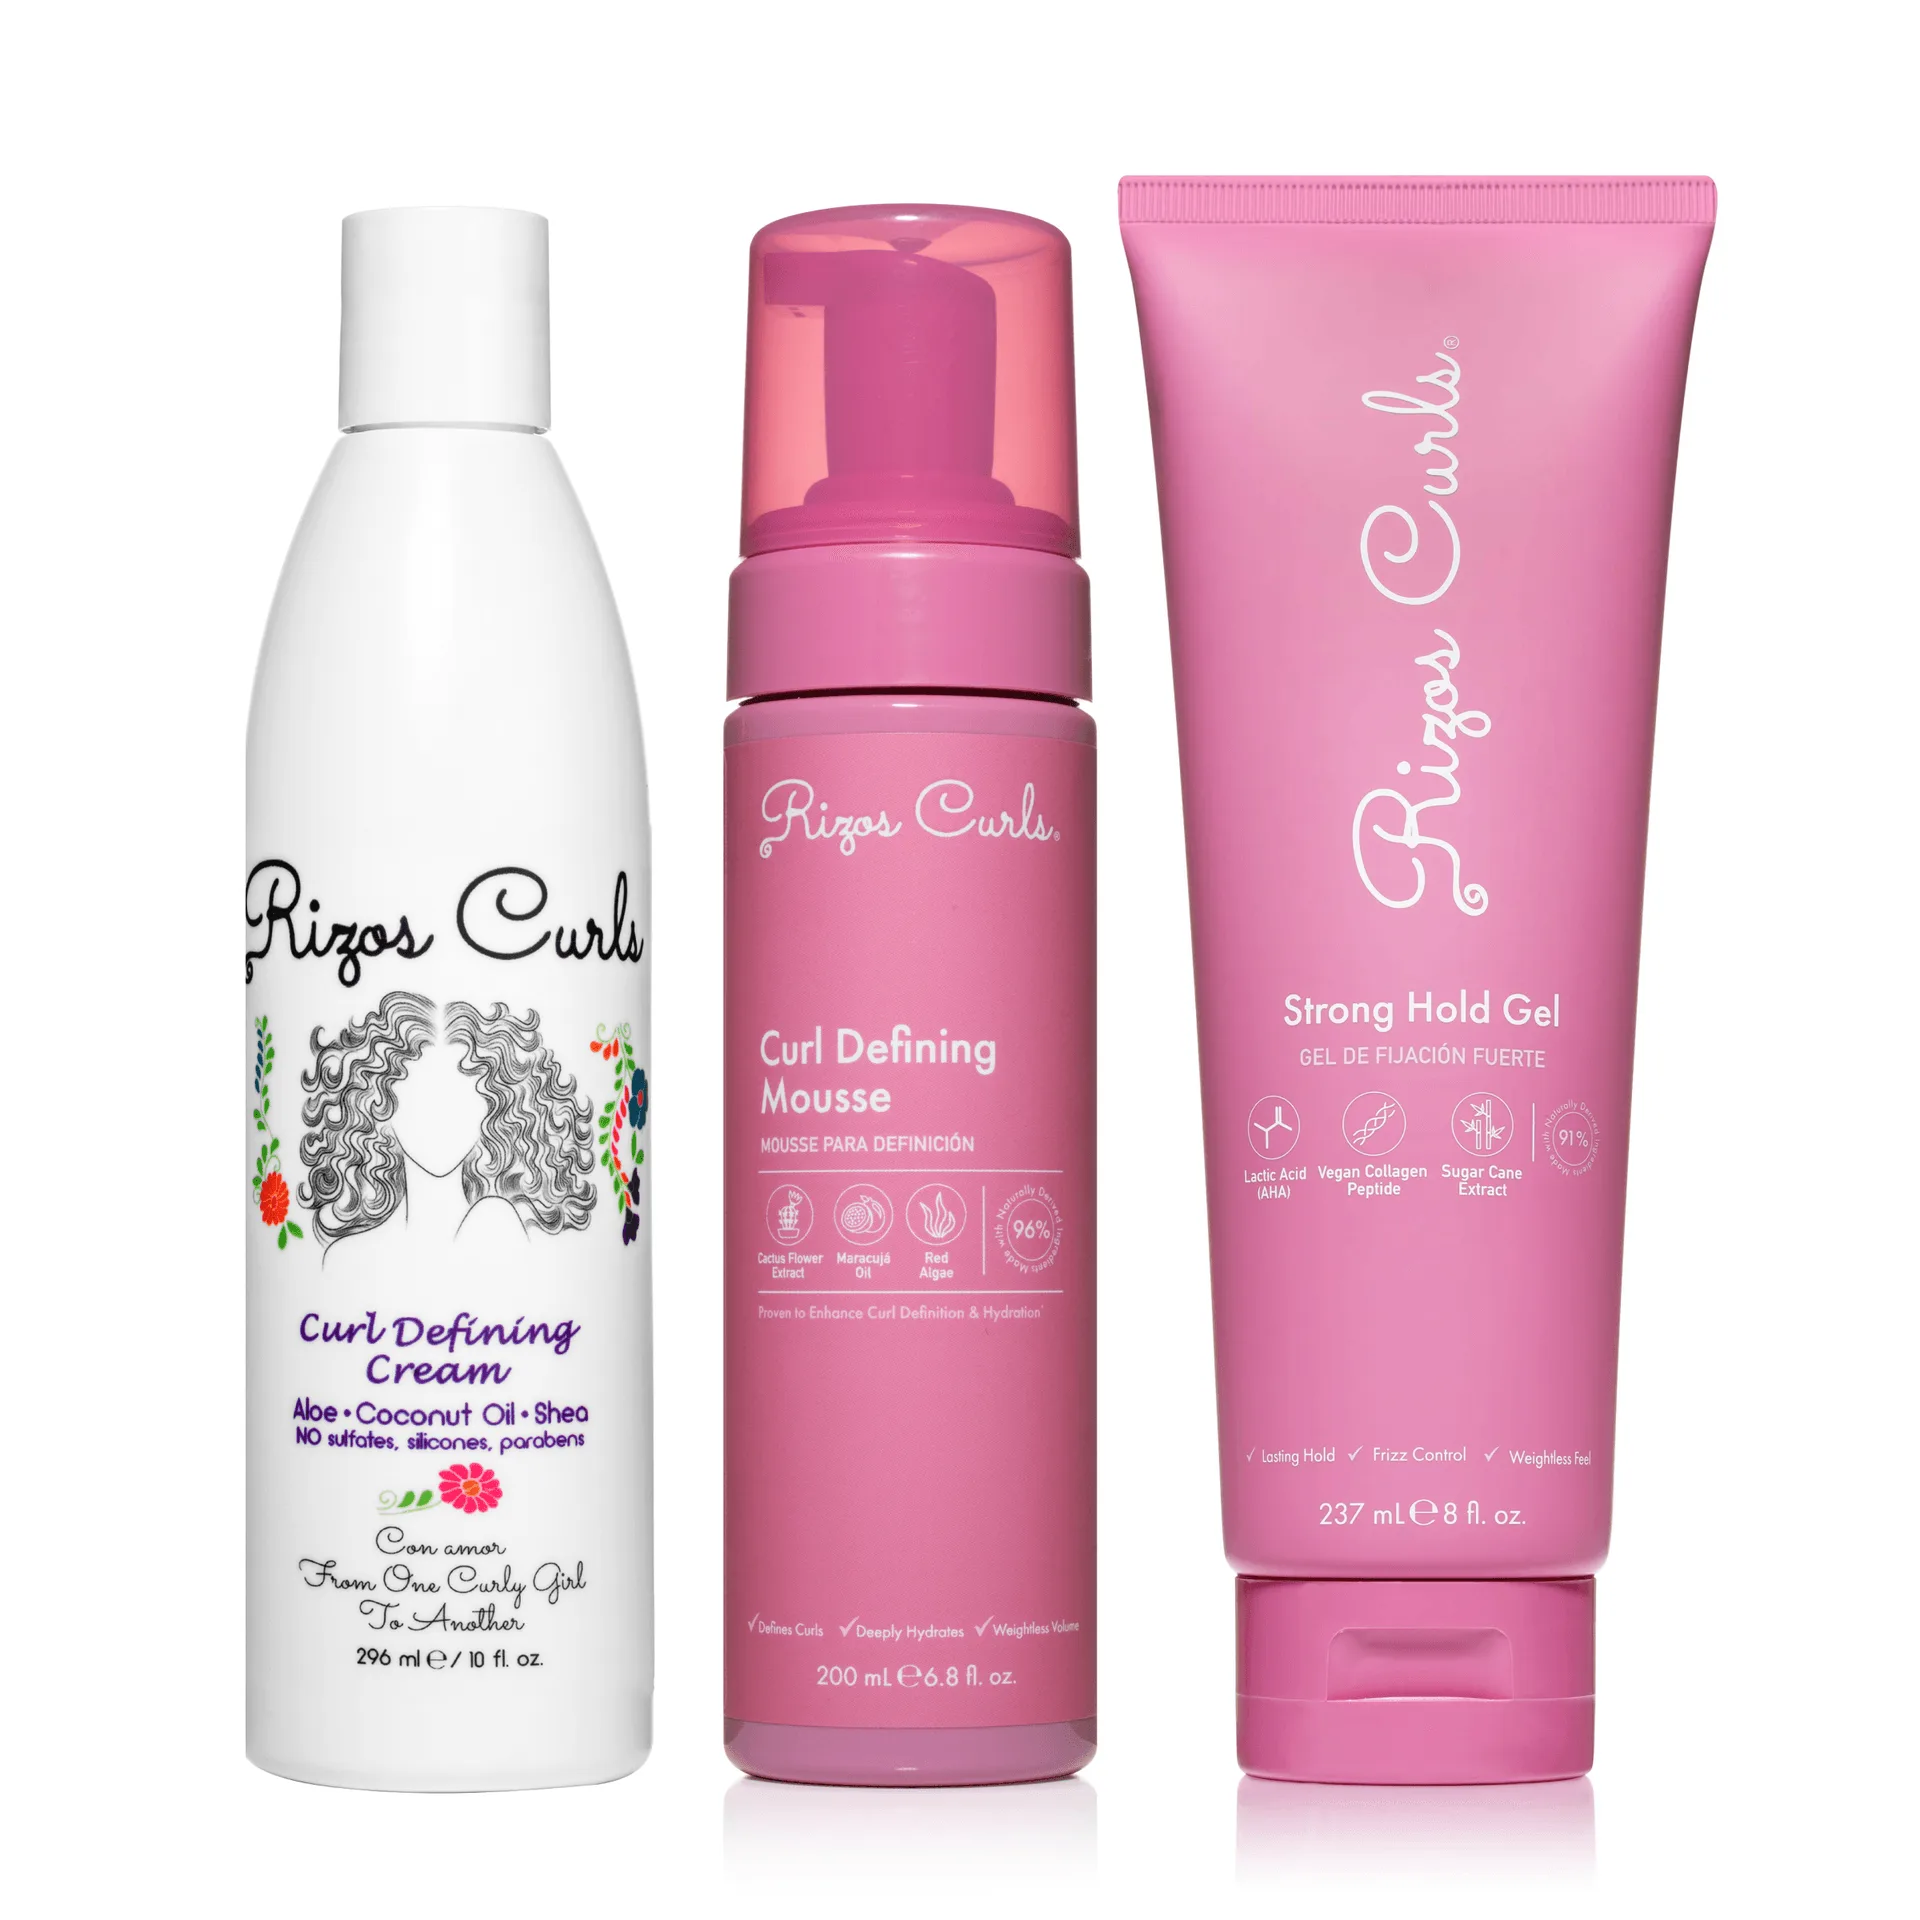
- 3-Step Styling Kit for Curls: The 3-Step Styling Kit for Curls includes top-selling styling products formulated to keep curly hair hydrated and nourished while providing lasting hold and definition. This kit gives you a complete system for defined, voluminous curls. Using the included stylers together with a thickening foam can boost both moisture and lift, especially for fine curl types.