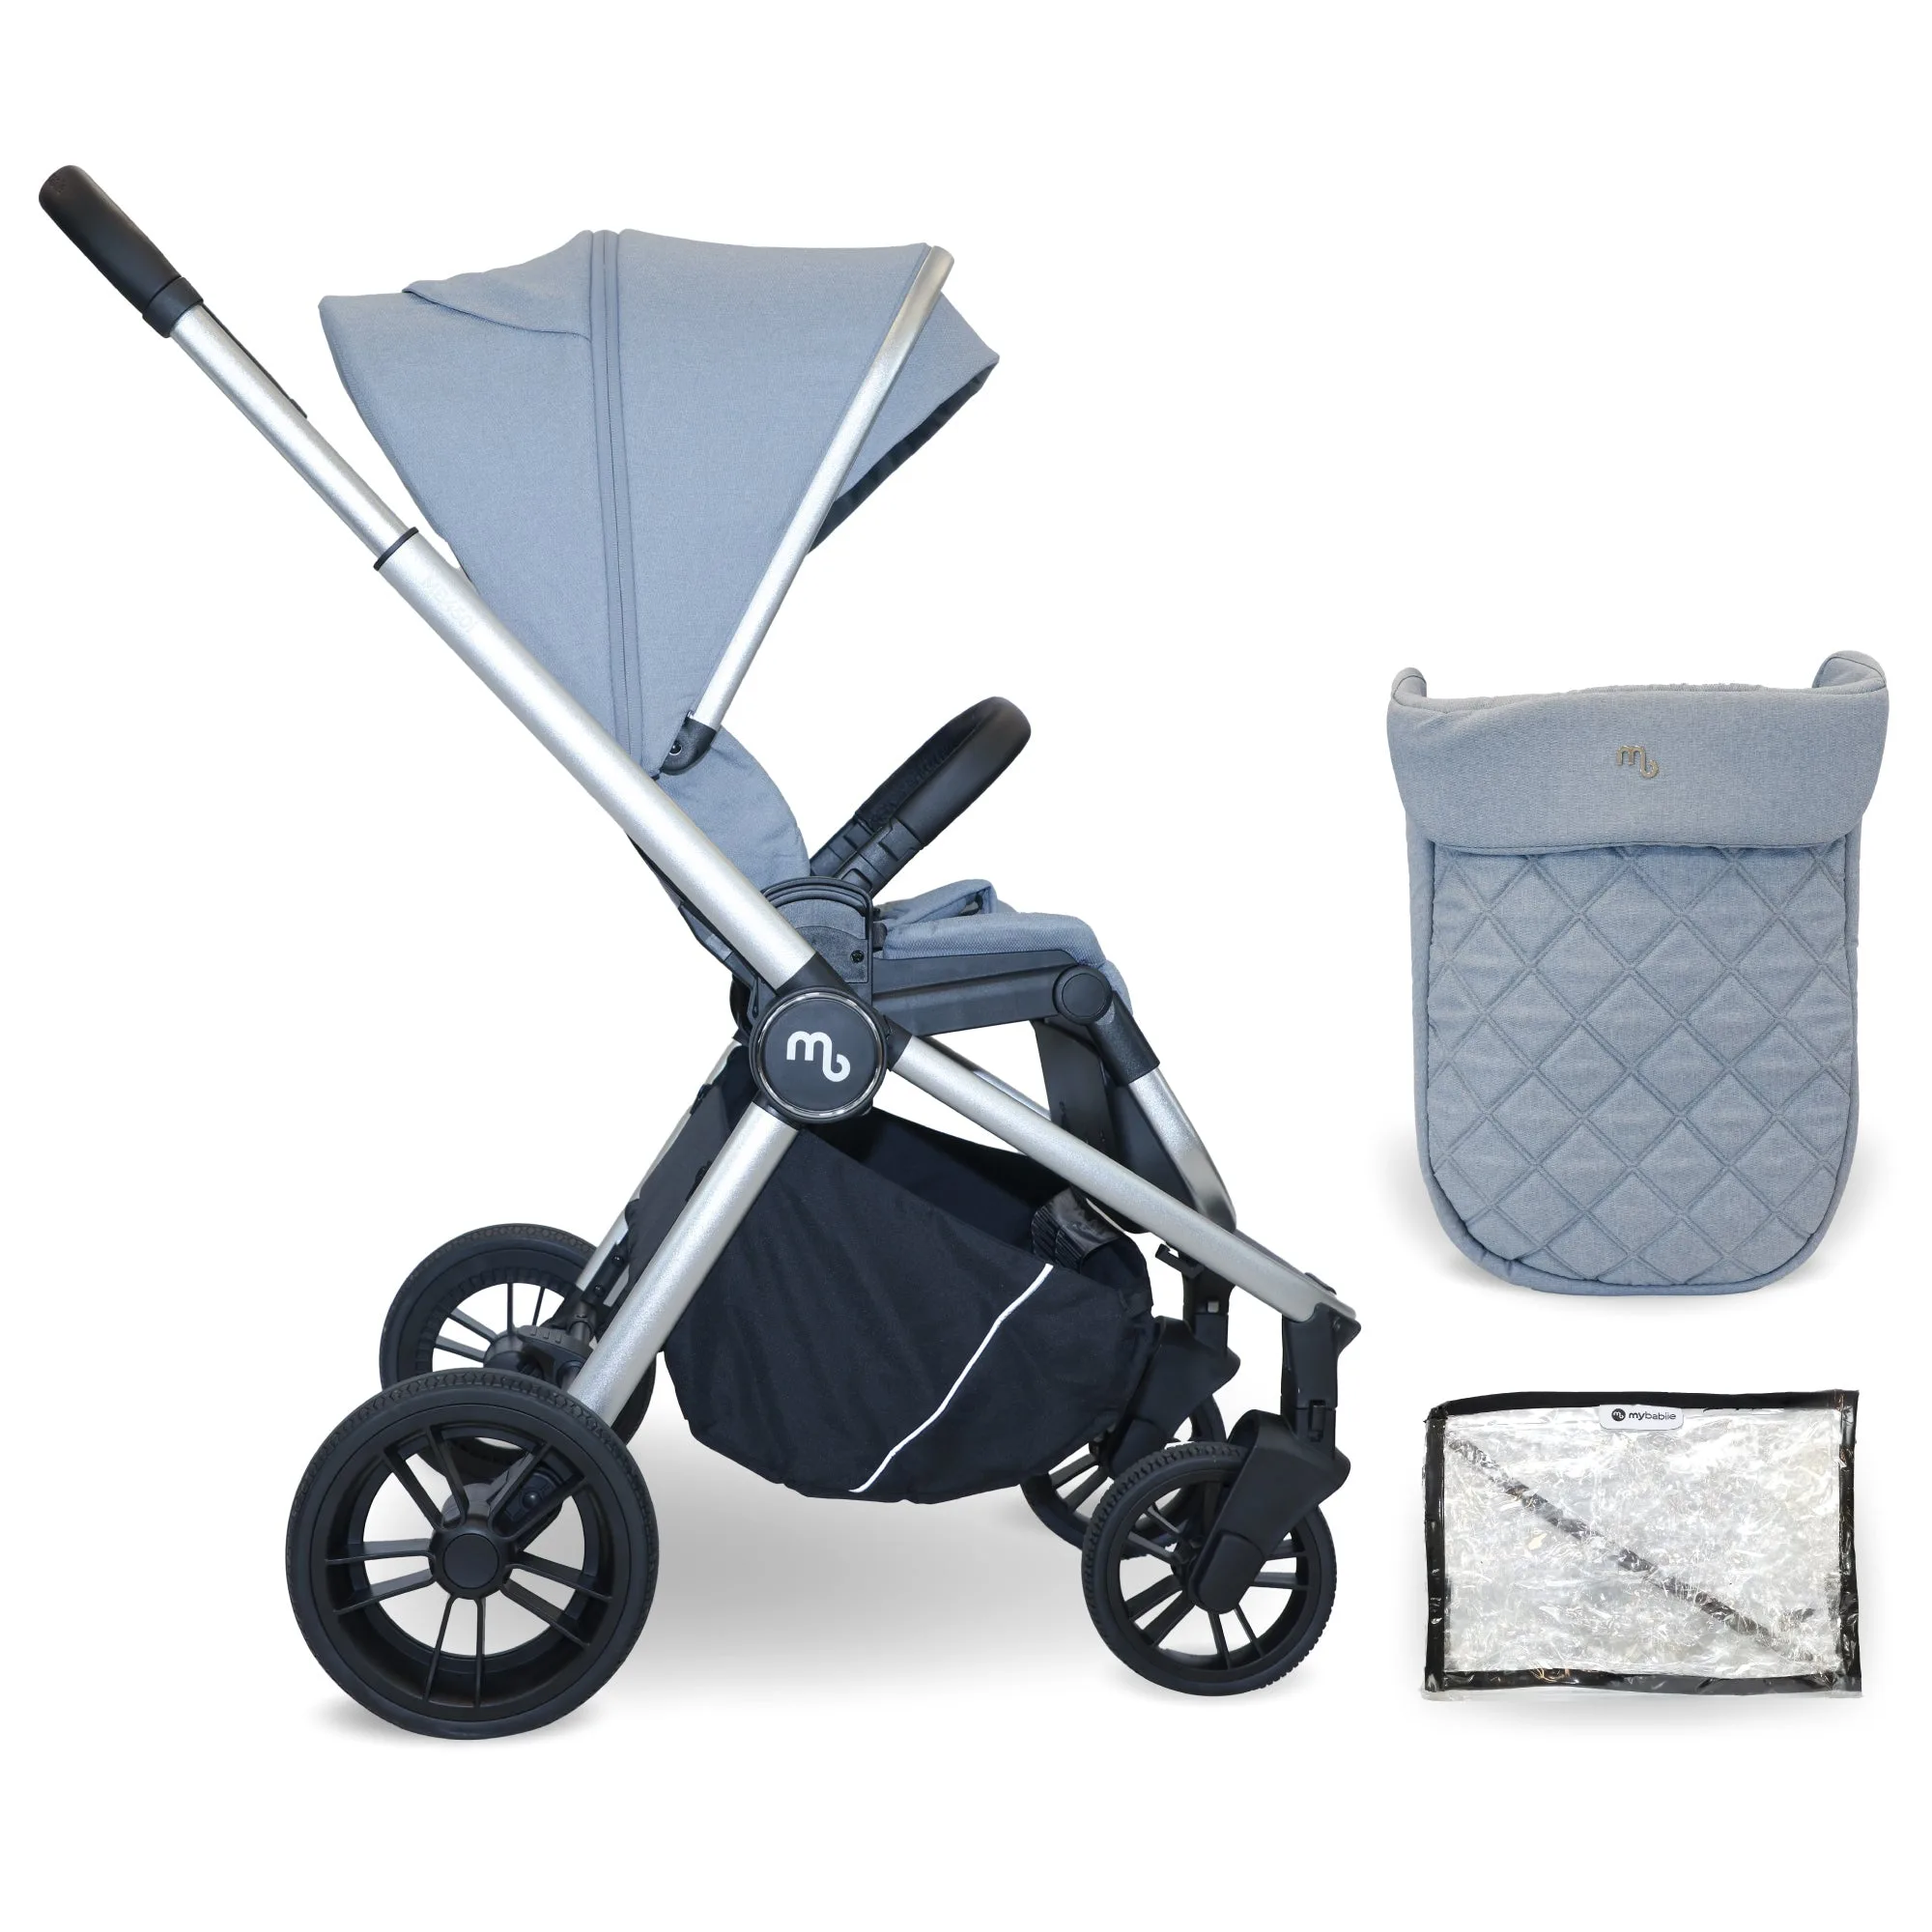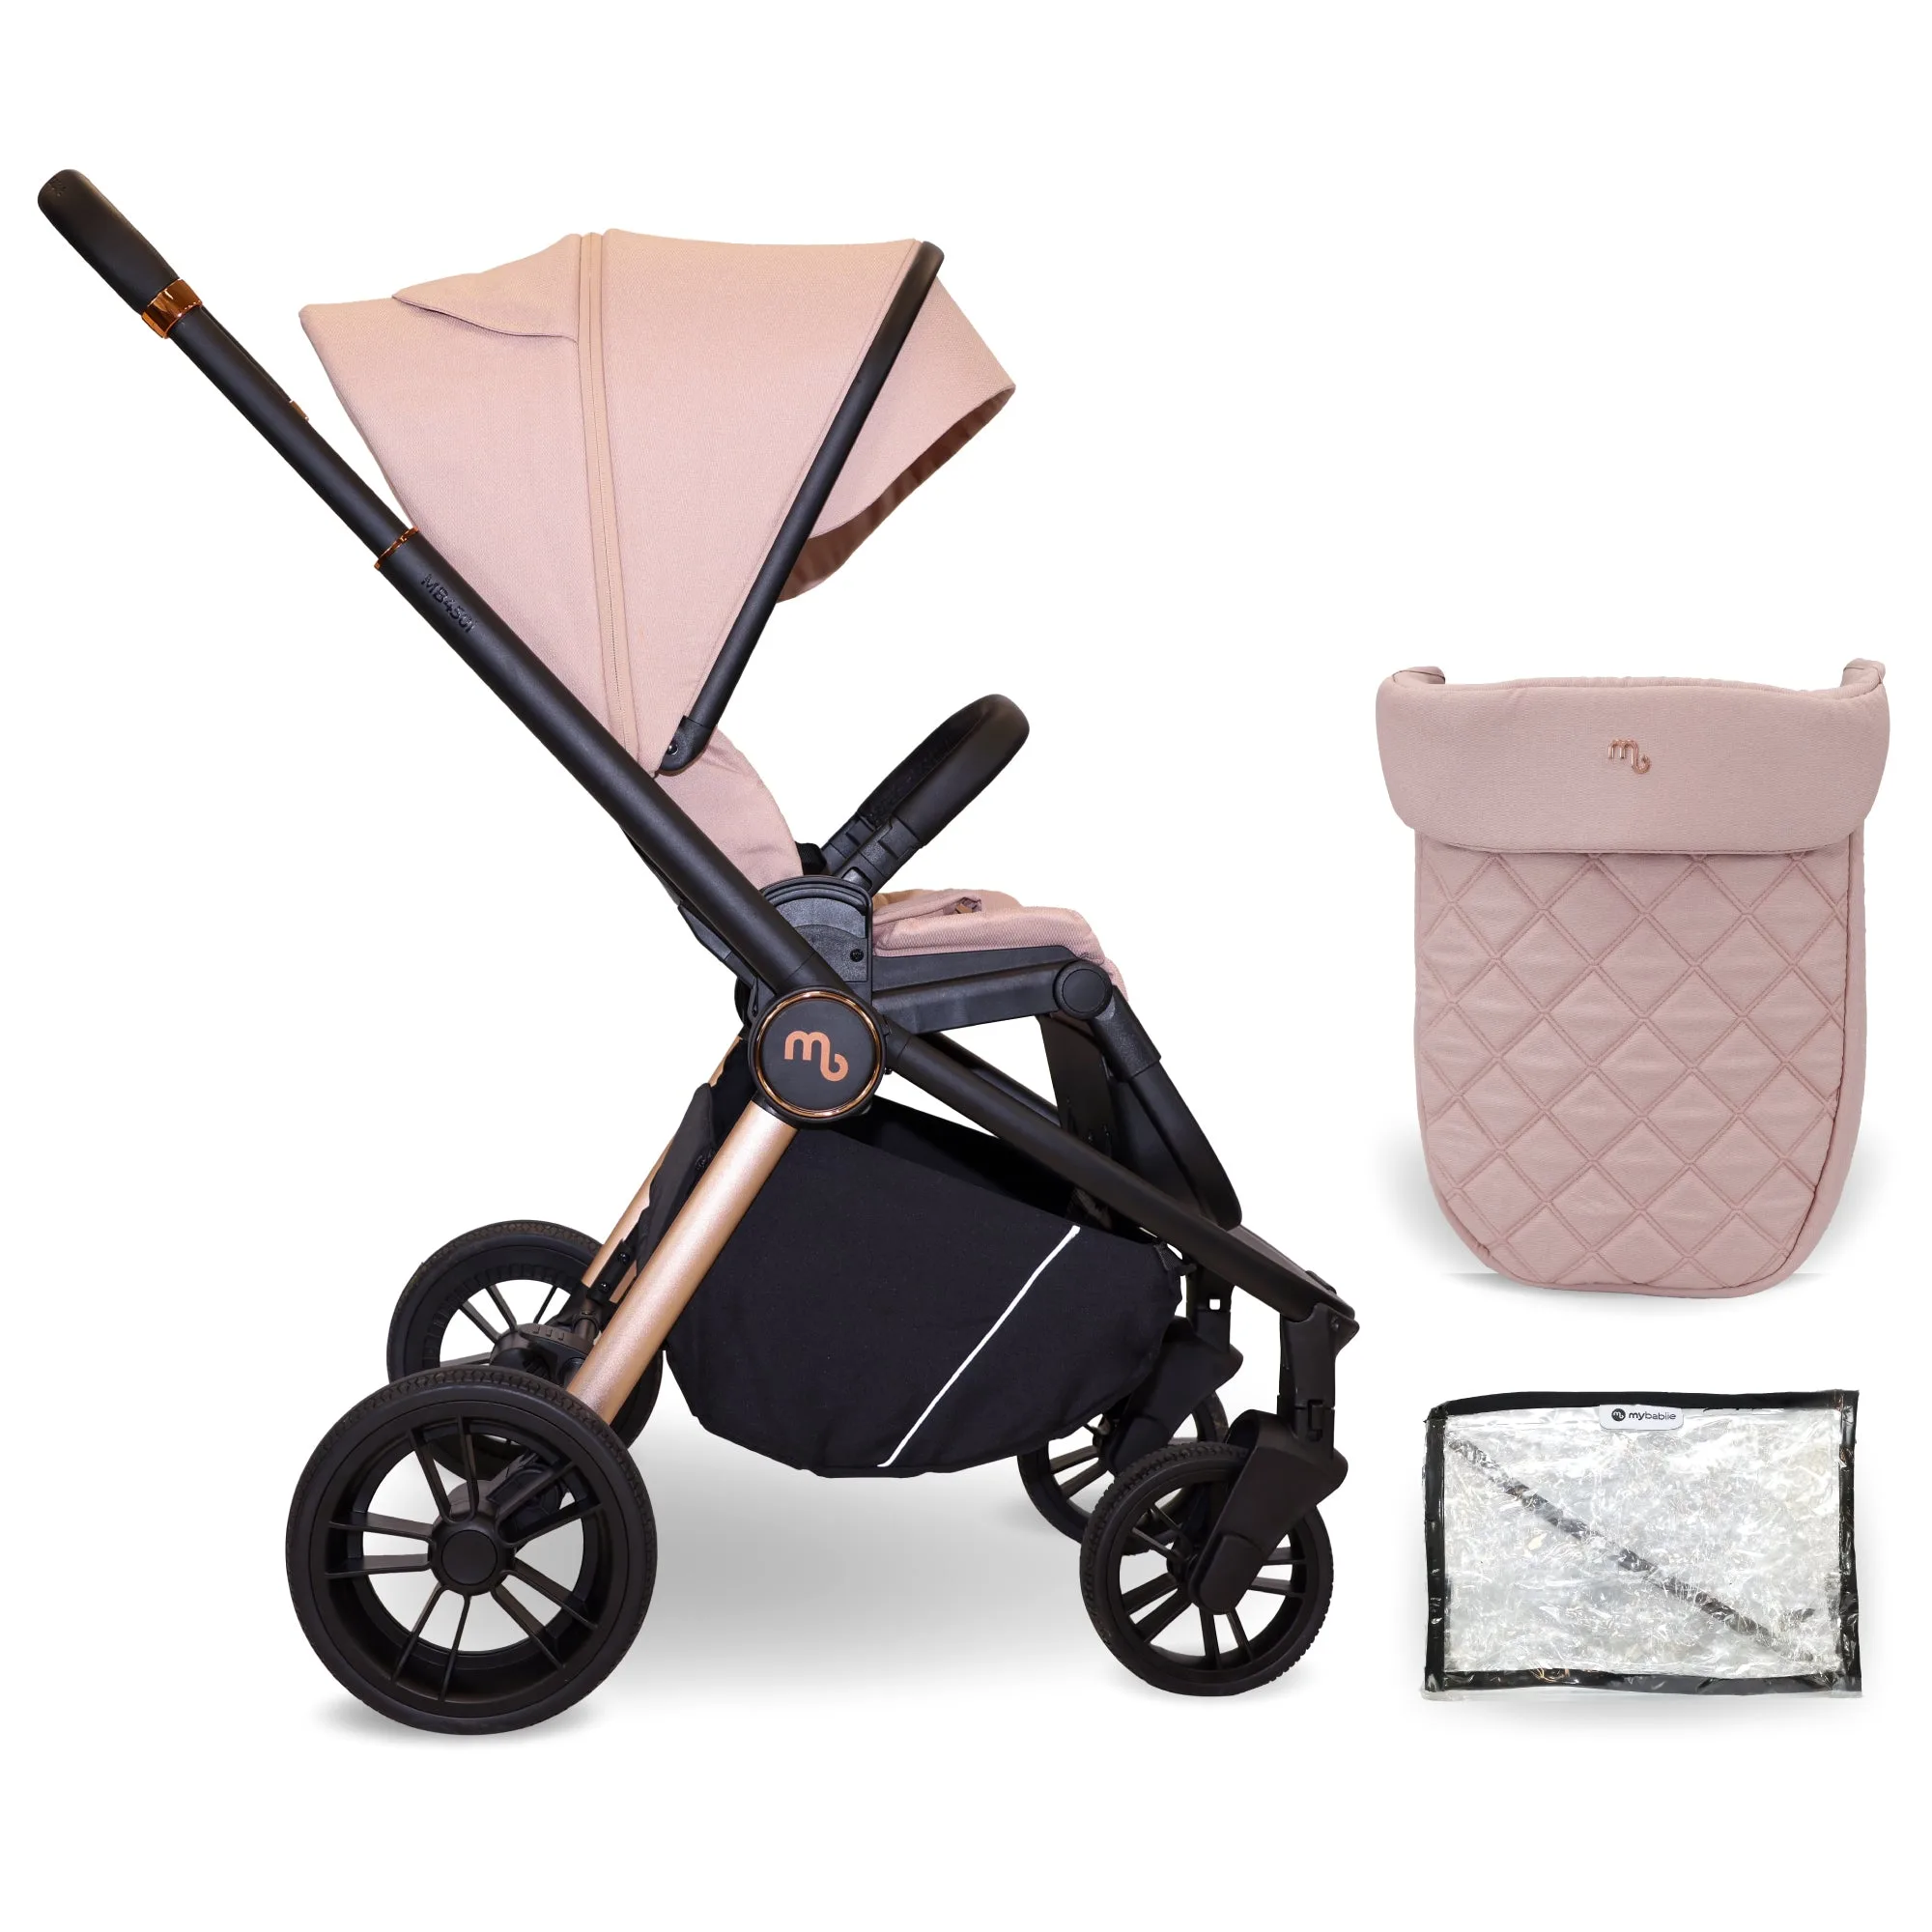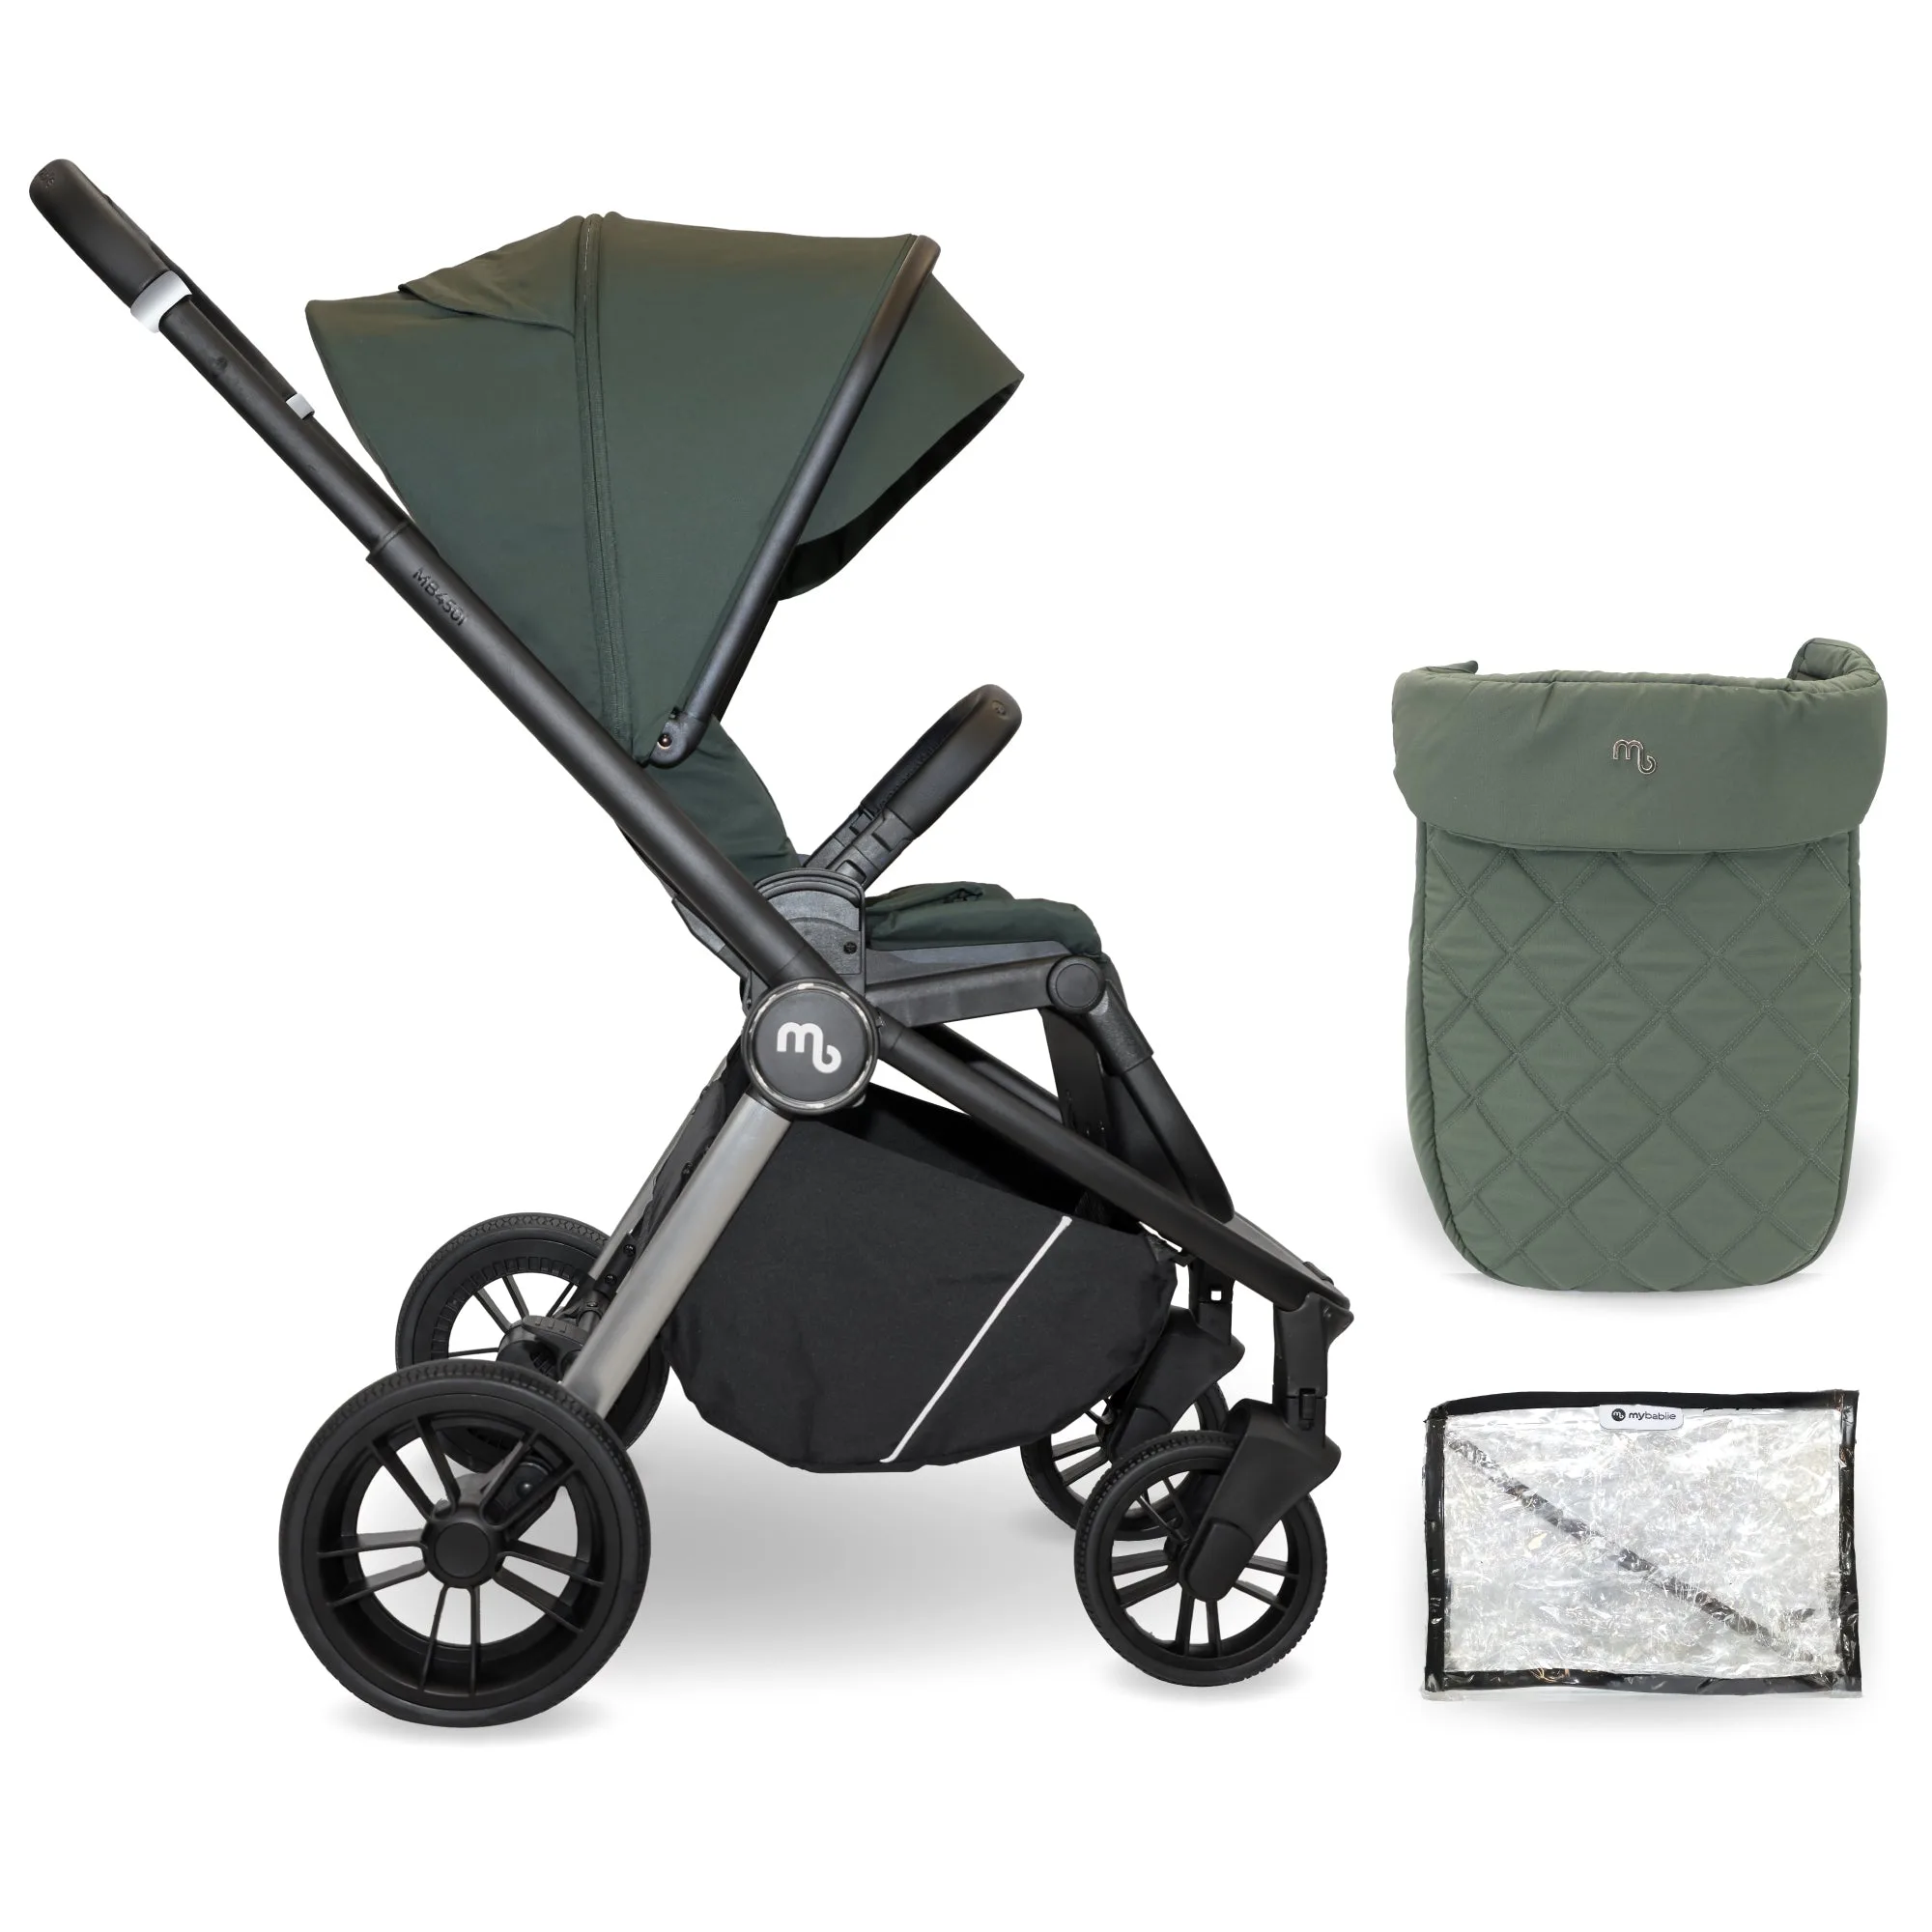
Quick answer
Attach a parasol to your My Babiie pushchair by locating the dedicated clamp slot on the frame, inserting the parasol pole, and tightening the clamp. Ensure the clamp is fully secured before use to prevent the parasol from shifting.
What You Need Before Starting
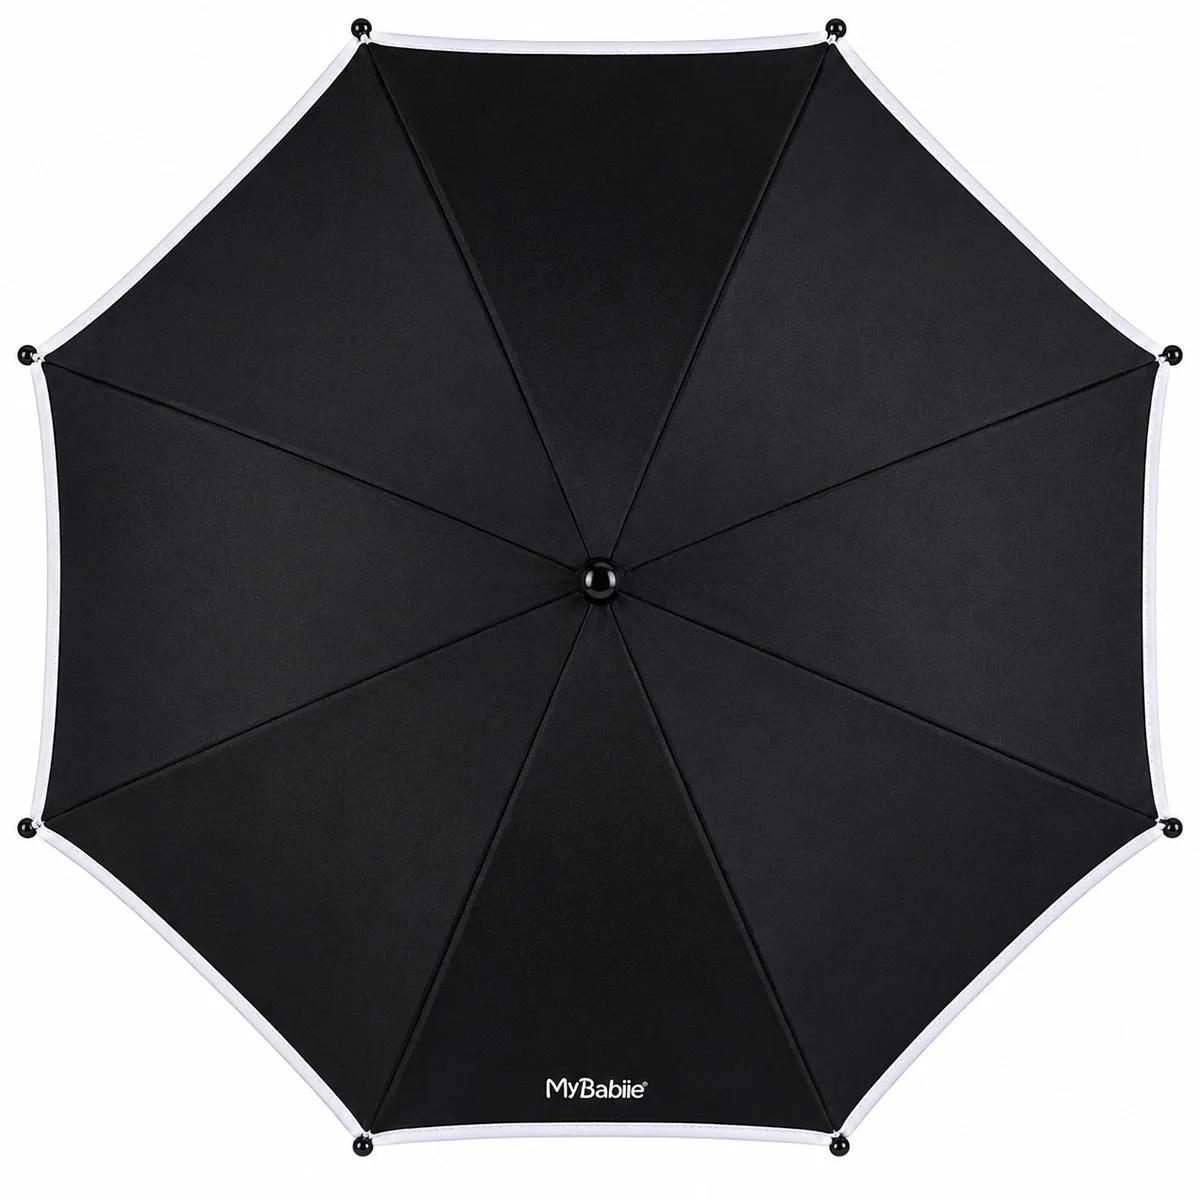
Before attaching a parasol, check that your My Babiie pushchair has a compatible clamp slot or bracket on the frame. Most My Babiie models, including the MB450 series, include a dedicated mounting point near the handle or canopy hinge. You will also need a universal pushchair parasol with a flexible pole and a clamp that fits round or oval tubing up to about 30 mm in diameter. Avoid using a parasol that lacks a secure clamp, as it may slide or detach while pushing.
If your pushchair did not come with a parasol, you can purchase a universal one from most baby retailers. Ensure the clamp material is sturdy plastic or metal with a rubberized grip to avoid scratching the frame. A parasol with a UV-rated fabric offers better sun protection for your child.
Choosing the Right Parasol Position
Position the parasol so that it shades your child's face and upper body without blocking your view of the path ahead. The ideal spot is slightly forward of the canopy, angled downward. Avoid mounting the parasol directly above the seat, as this can create a hot pocket of air and reduce airflow. Also, make sure the parasol does not interfere with the pushchair's folding mechanism or the handlebar when you push.
Step-by-Step Parasol Attachment Guide
- Locate the Clamp Slot: Find the dedicated clamp slot or bracket on your My Babiie pushchair frame. On the MB450 models, it is typically located on the left or right side of the frame, just below the canopy hinge. If you cannot find a slot, check the user manual or look for a small indentation on the tubing. Common mistake: Attaching the clamp to a curved part of the frame where it cannot tighten fully. Always use a straight section of tubing.
- Insert the Parasol Pole: Open the clamp by turning the tightening knob counterclockwise. Slide the parasol pole into the clamp until the pole sits securely. Adjust the angle of the parasol so that it shades your child without touching their face or the canopy fabric. Checkpoint: The pole should not protrude past the clamp on the opposite side, as it could poke you or snag on clothing.
- Tighten the Clamp Firmly: Turn the tightening knob clockwise until the clamp grips the frame and the pole tightly. Give the parasol a gentle tug to ensure it does not rotate or slide. If it moves, tighten further or reposition the clamp on a thicker section of tubing. Common mistake: Overtightening can crack plastic clamps. Stop turning as soon as the parasol feels secure and does not wiggle.
- Test the Pushchair Fold: With the parasol attached, try folding your pushchair (if applicable) to confirm the parasol does not block the mechanism. On the MB450 ARC, the folding carrycot stays attached, so you may need to remove the parasol before folding. On the standard MB450 Pushchair, the parasol can often remain in place if the clamp is low on the frame. Checkpoint: If the parasol prevents a smooth fold, detach it before storing the pushchair.
Product Facts
- MB450 ARC 2-in-1 Pushchair & Folding Carrycot - Himalayan Green: The MB450 ARC 2-in-1 Pushchair & Folding Carrycot features an innovative folding carrycot that stays attached to the chassis and folds down with the frame, creating one compact unit. If you own the MB450 ARC, you can attach a parasol to the frame without removing the carrycot, making it easy to keep your baby shaded during naps on the go.
- MB450 Pushchair - Forest Green: The MB450 Pushchair includes a magnetic buckle harness system and a 360 swivel bumper bar for easy buckling. When attaching a parasol, ensure the clamp does not interfere with the magnetic buckle or the swivel bumper bar, so you can still access these features smoothly.