Quick answer
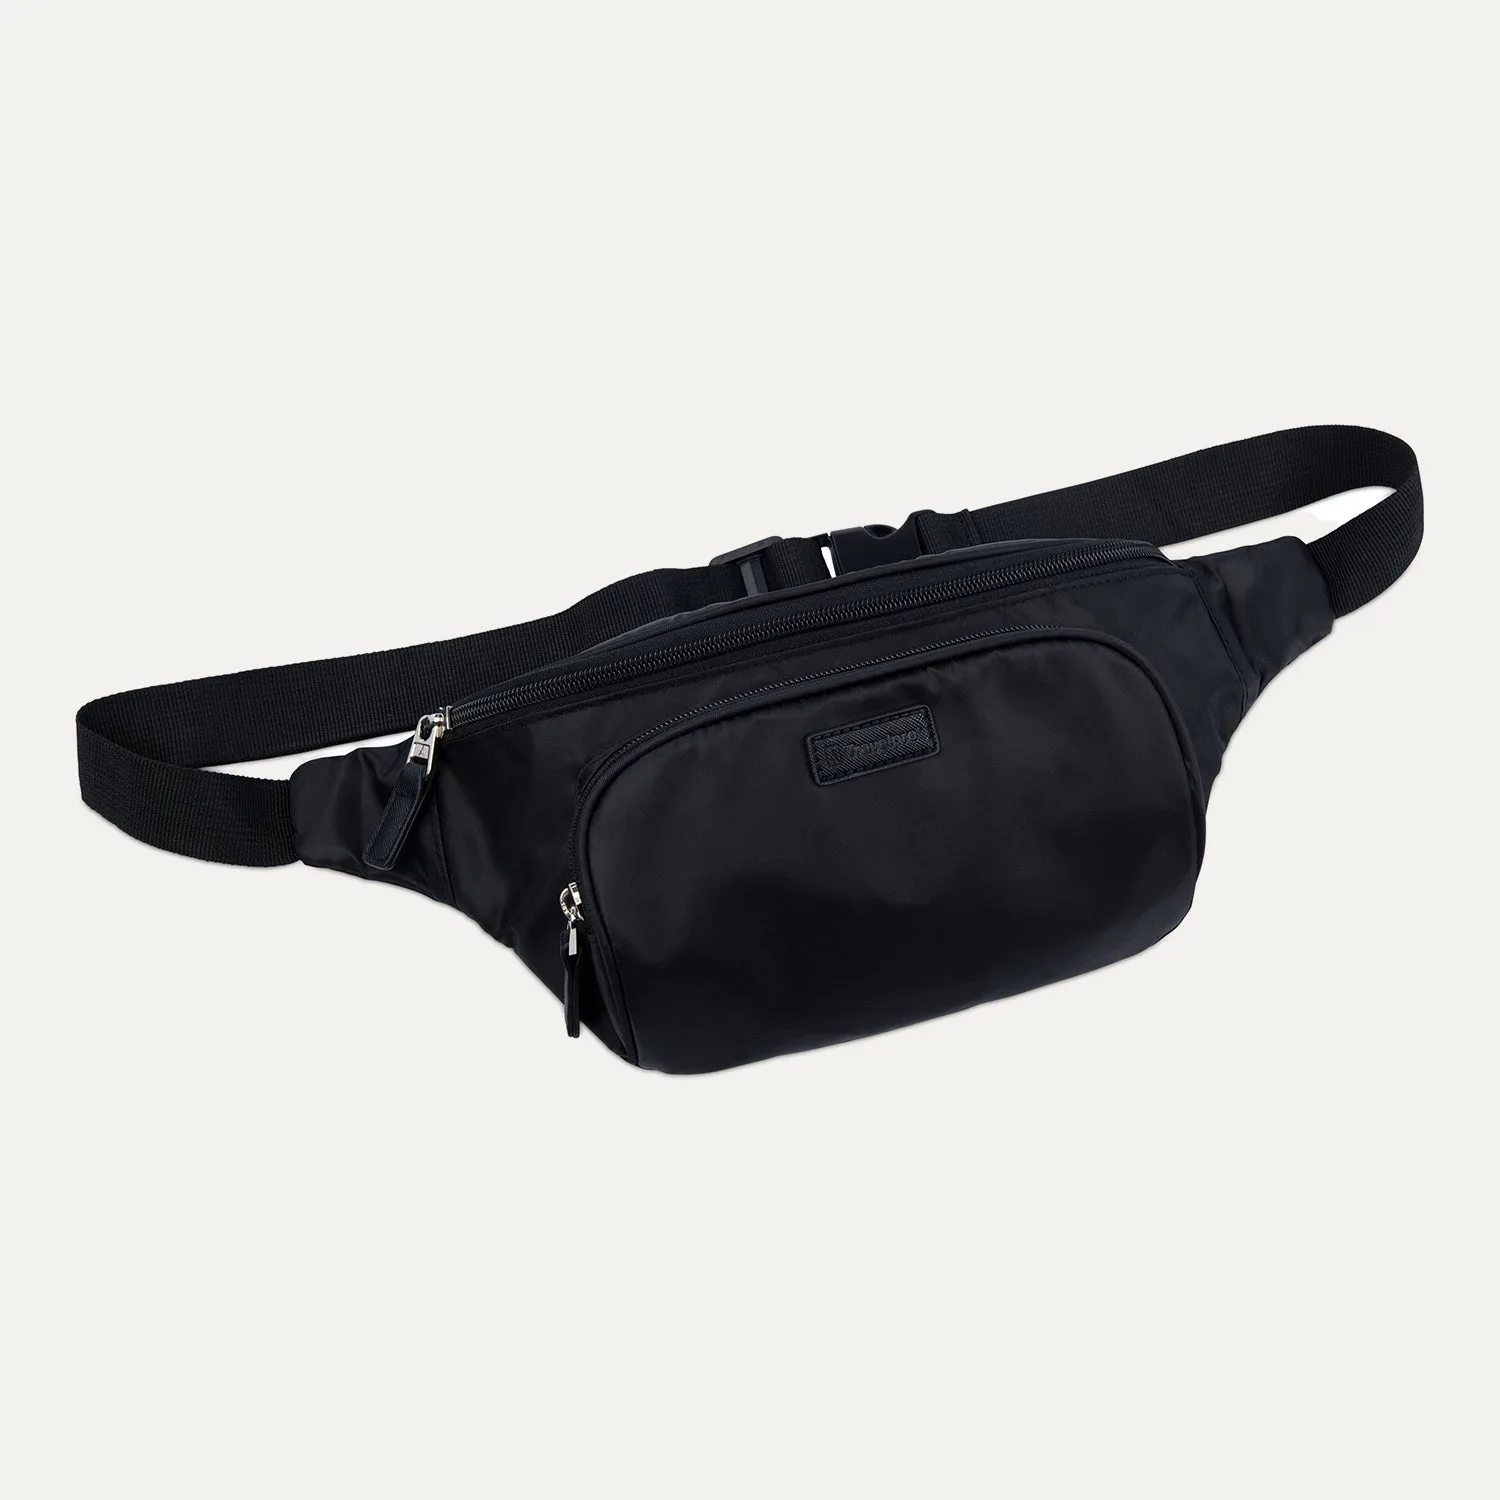
Wear the Travelpro Essentials Waist Bag with the pouch in front, buckled snugly at your natural waist, and your most valuable items in the rear zip pocket for security. Pack it light so it stays flat, and keep only the day's essentials in the main compartment. This setup keeps your hands free for sightseeing and your cards and passport protected.
Why a waist bag beats a daypack for sightseeing
A waist bag keeps weight at your center of gravity, so you can walk all day without shoulder fatigue. The Travelpro Essentials Waist Bag is made from high-density polyester that resists abrasion and stays light, and it adjusts to fit different body sizes. Unlike a backpack, it stays within arm's reach, so you can grab a phone or transit card without stopping. The tradeoff is capacity: this is a day-trip bag, not a camera bag or a place for a water bottle and rain jacket.
Wear it in front, not behind
For crowded streets, markets, and transit, rotate the bag so the pouch sits in front of your hip or across your stomach. This puts the zippers in your line of sight and makes the bag harder to open without you noticing. If you prefer a back carry for comfort, slide it around to the front before entering busy areas. The adjustable strap lets you switch positions without unbuckling.
Pack for a day, not for a trip
The bag has two zippered compartments, so use the rear one for cards, cash, and your passport, and the front for a phone, transit pass, and small items. Keep bulk out: a compact power bank, a folded tote, and a lip balm are reasonable; a full-size water bottle is not. If you carry a larger item, use a separate tote or the Travelpro x Travel + Leisure Carry-On Spinner as your base and treat the waist bag as your quick-access pouch.
Day-trip setup steps
- Adjust the strap before you leave: Buckle the bag at your natural waist and tighten until it sits flat against your body without riding up. Try it over the layers you'll actually wear that day. Checkpoint: if the bag bounces when you walk, tighten one more notch.
- Load the rear compartment first: Put your passport, credit cards, and emergency cash in the rear zippered compartment, which uses ID TheftBlock protection. Close the zipper fully and tuck the pull tab down. Common mistake: putting cards in the front pocket where they're exposed when you open the bag.
- Fill the front compartment with quick-access items: Add your phone, transit card, a small power bank, and a compact sunscreen. Keep the load flat so the bag doesn't bulge. Checkpoint: if the bag feels heavy after 10 minutes, remove one item and carry it in a tote instead.
- Rotate the bag to the front in crowds: Before entering a market, station, or festival, spin the bag so the pouch faces forward. Keep one hand resting on it in tight crowds. Common mistake: leaving the bag on your back in a crowd, where you can't see or feel the zippers.
- Do a final check before heading out: Confirm both zippers are closed, the strap is snug, and nothing is pressing against your phone screen. If you're carrying a larger bag, keep the waist bag as your personal item and the larger bag as your day base. Next step: if you need more capacity for a full day, pair the waist bag with a carry-on spinner for the items you don't need every hour.
Product facts
- Travelpro® Essentials™ Waist Bag: Crafted from high-density polyester fabric that resists abrasion and doesn't weigh you down, and easily adjusts to fit users of different sizes. You can wear it all day without shoulder strain, and the adjustable strap fits different body types and layers.
- Travelpro® Essentials™ Waist Bag: Engineered with Travelpro ID TheftBlock to keep credit cards and passports protected against identity theft, with two zippered compartments. Use the rear compartment for cards and your passport so they stay shielded, and keep the front compartment for items you need to reach quickly.