Quick answer
To use trekking poles effectively, adjust them so your elbows are at about 90 degrees, plant them opposite to your legs, and use a shorter length for uphill and a longer length for downhill. Focus on pushing down through the poles to reduce strain on your knees and legs.
Trekking poles are more than just extra gear—they can reduce joint impact, improve balance, and help you move more efficiently on the trail. But to get those benefits, you need to use them correctly. This guide walks through practical techniques for both uphill and downhill hiking, so you can hike longer and feel better afterward.
Whether you're a seasoned hiker or new to poles, mastering a few basics—like pole length, planting rhythm, and body alignment—makes a noticeable difference. Let's break down the steps.
Adjusting Your Pole Length
Pole length is the foundation of good technique. When standing on flat ground with the pole tip on the ground, your elbow should be bent at about a 90-degree angle. This neutral position works for most terrain. For uphills, shorten the poles by 5–10 centimeters (about 2–4 inches) to encourage a more upright posture and effective pushing. For downhills, lengthen them by the same amount to help maintain balance and reduce knee strain.
Many poles have adjustable sections with markings, so you can quickly switch lengths as terrain changes. If you're using fixed-length poles, choose a length that suits the majority of your hike and adapt your grip slightly—slide your hand down for uphill and up for downhill.
- Check your pole length on flat ground first: elbow at 90 degrees.
Uphill Technique: Plant, Push, and Step
When hiking uphill, plant your poles slightly behind your body and push down as you step forward. This transfers some of the work from your legs to your arms and shoulders. Keep your poles angled backward so you're pushing into the ground, not pulling yourself up. Coordinate opposite arm and leg: plant the left pole as you step with the right foot, and vice versa.
Shorten your poles for uphill to maintain a comfortable push angle. Avoid planting too far ahead, which can cause you to hunch and reduce efficiency. Instead, think of the poles as extra legs that help you drive upward.
- Common mistake: Planting poles too far in front—keep them closer to your body.
Downhill Technique: Plant and Brake
Downhill hiking can be hard on your knees. Lengthen your poles and plant them slightly ahead of your body to act as brakes. This helps absorb impact and improves stability. Keep your poles angled forward so you can apply pressure to slow your descent. Again, use the opposite arm-leg pattern to maintain a natural rhythm.
Focus on a light touch—don't lean heavily on the poles. Let them help you balance, but keep your weight centered over your feet. On steep descents, you can plant both poles together for extra support, but this can slow you down, so use it selectively.
- Common mistake: Leaning too heavily on poles, which can cause slips—maintain a light grip and centered weight.
Step-by-Step Trekking Pole Essentials
- Set your pole length: Stand on flat ground and adjust poles so your elbows are at 90 degrees. Shorten for uphill, lengthen for downhill. Checkpoint: Your elbows should form a right angle when the tip touches the ground.
- Learn the opposite-arm pattern: Plant the left pole as your right foot steps forward, then alternate. This mimics natural walking and improves balance. Common mistake: Using same-side arm and leg, which throws off your rhythm.
- Master uphill pushing: Plant poles behind your body and push down to drive yourself upward. Keep your torso upright and poles angled back. Checkpoint: You should feel your arms engaging, not just your legs.
- Master downhill braking: Plant poles ahead of your body and apply gentle pressure to slow down. Keep your weight centered and poles angled forward. Common mistake: Planting too close to your feet, which reduces braking effect.
- Practice on varied terrain: Try poles on flat, uphill, and downhill sections to build muscle memory. Adjust length as needed for each condition. Checkpoint: After practice, you should feel more stable and less fatigued.
Gear That Supports Your Trekking
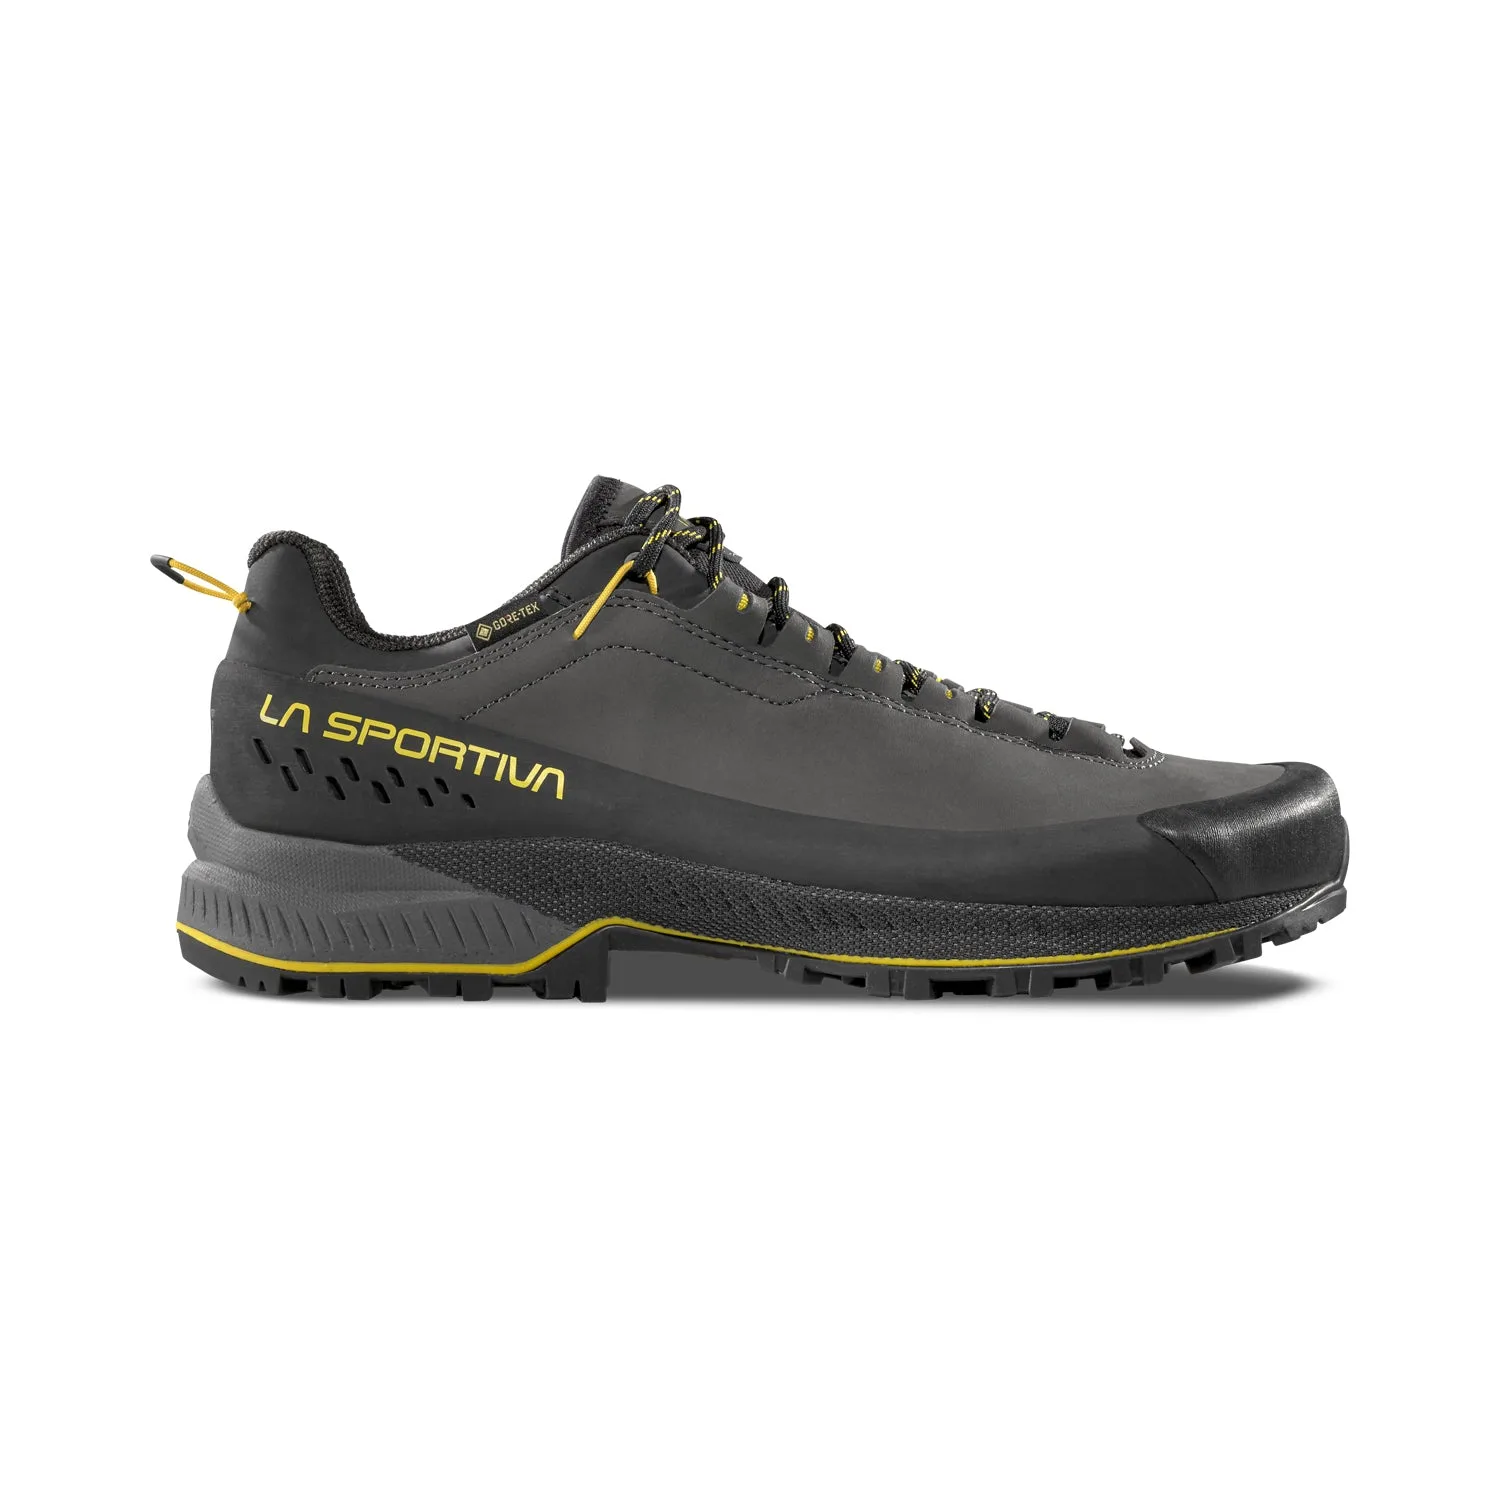
- TX5 EVO GTX Women's: The Nubuck leather upper combined with waterproof, breathable Gore-Tex® ePE Extended Comfort keeps your feet dry through stream crossings, wet rock, and unpredictable mountain weather. When using trekking poles, you'll cross varied terrain and streams. Waterproof footwear keeps your feet dry and comfortable, so you can focus on your technique.
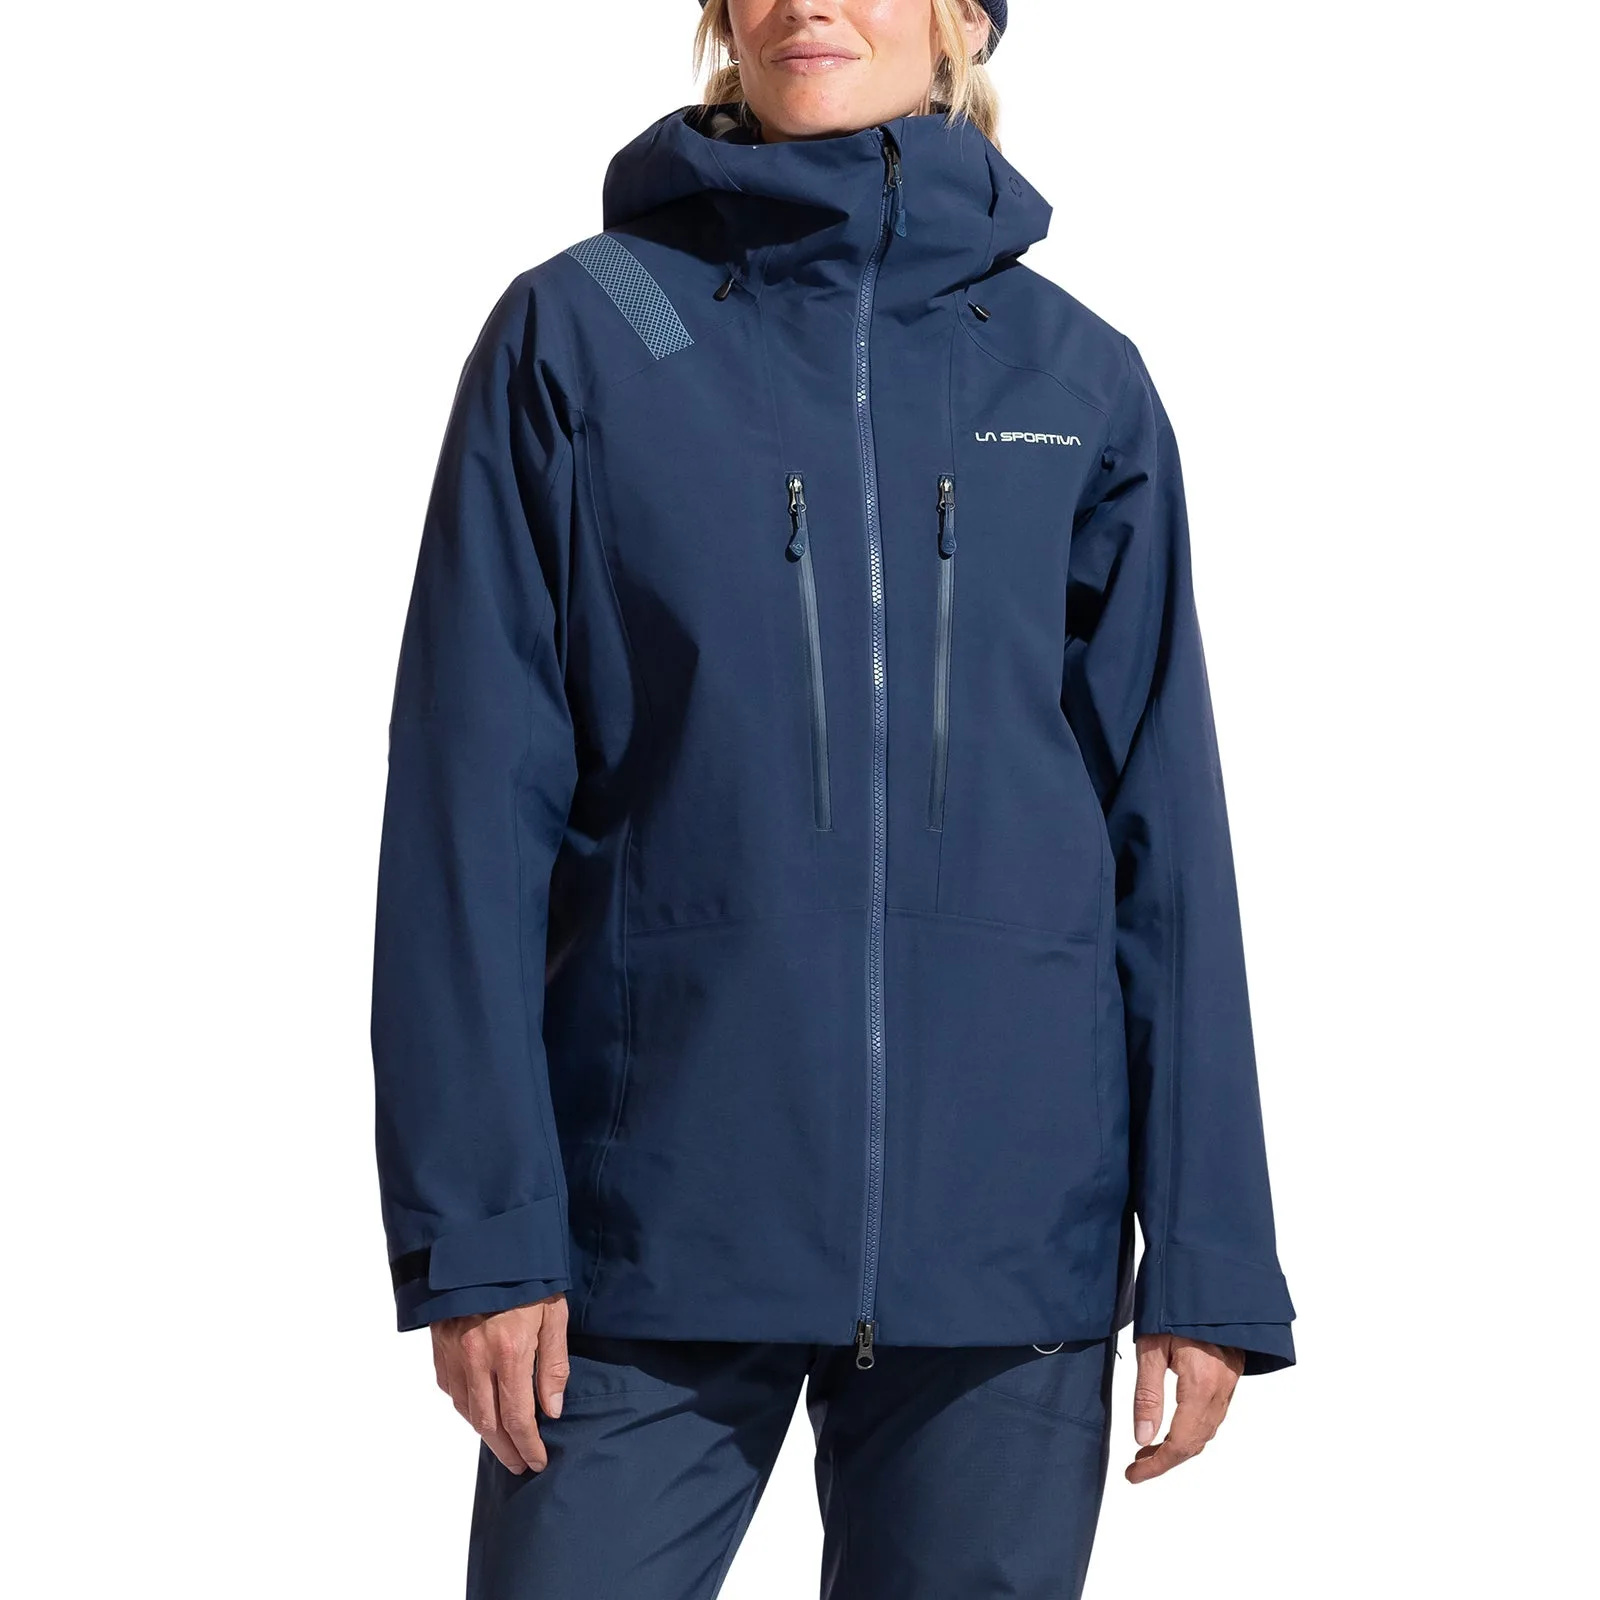
- West Crest Pants Women's: The West Crest Pants offer robust fabric and technical features to ensure you stay comfortable on all of your adventures, from long-distance to high-altitude hiking. Flexible, durable pants allow a full range of motion when you're stepping and planting poles, and multiple zippered pockets keep small items secure.
Using trekking poles effectively comes down to adjusting your length, practicing the opposite-arm rhythm, and adapting your technique for uphill and downhill. With a little practice, you'll hike with better balance, less strain, and more confidence on any trail.