Quick answer
You can use vacuum seal bags without a vacuum by hand-rolling the air out or using a mini pump. For carry-on packing, roll soft clothes tightly, seal the bag, then press or roll from the sealed end to push air out. This compresses clothes enough to fit more in your bag without special equipment.
Packing for a carry-on only trip means every inch counts. Vacuum seal bags are a popular solution, but what if you don't have a vacuum handy? The good news is you don't need one. With a little technique, you can compress clothes and maximize space using just your hands or a small pump.
This guide walks you through how to use vacuum seal bags without a vacuum for carry-on packing. You'll learn the hand-roll method, how to avoid common mistakes, and which TAKE OFF Luggage products can make the process easier. By the end, you'll be able to pack more in less space and skip the checked bag fee.
Why vacuum seal bags work for carry-on packing
Vacuum seal bags remove air from your clothes, shrinking bulky items like sweaters and jackets. This is especially useful for carry-on packing, where space is limited. Even without a vacuum, you can expel enough air to make a noticeable difference. The key is to compress soft, flexible items and avoid rigid or delicate pieces that might wrinkle.
When you use vacuum bags for travel with no vacuum, you rely on manual compression. This method works best with clothing that can be folded or rolled tightly. Items like jeans, t-shirts, and light jackets compress well. Bulky items like thick towels or shoes may not compress as much, so pack them separately.
- Stick to soft fabrics: cotton, fleece, and knits compress best.
- Avoid compressing items you want to keep wrinkle-free, like dress shirts.
Step-by-step: How to use vacuum seal bags without a vacuum
Start by laying your vacuum seal bag flat. Fold or roll your clothes as tightly as possible and stack them inside, leaving about an inch of space at the opening. Don't overstuff; the bag needs room to seal properly. Once filled, zip the bag closed, leaving a small gap at the end for air to escape.
Next, roll the bag from the sealed end toward the opening, pressing down firmly to push air out. You can also use your hands to press the air out. After most air is expelled, seal the gap completely. If you have a mini vacuum pump, you can use it for even better compression. Otherwise, your hand-rolled bag is ready to pack.
- Checkpoint: Make sure the seal is completely closed before rolling.
- Common mistake: Overfilling the bag so the zipper can't close.
Tools that make no-vacuum compression easier
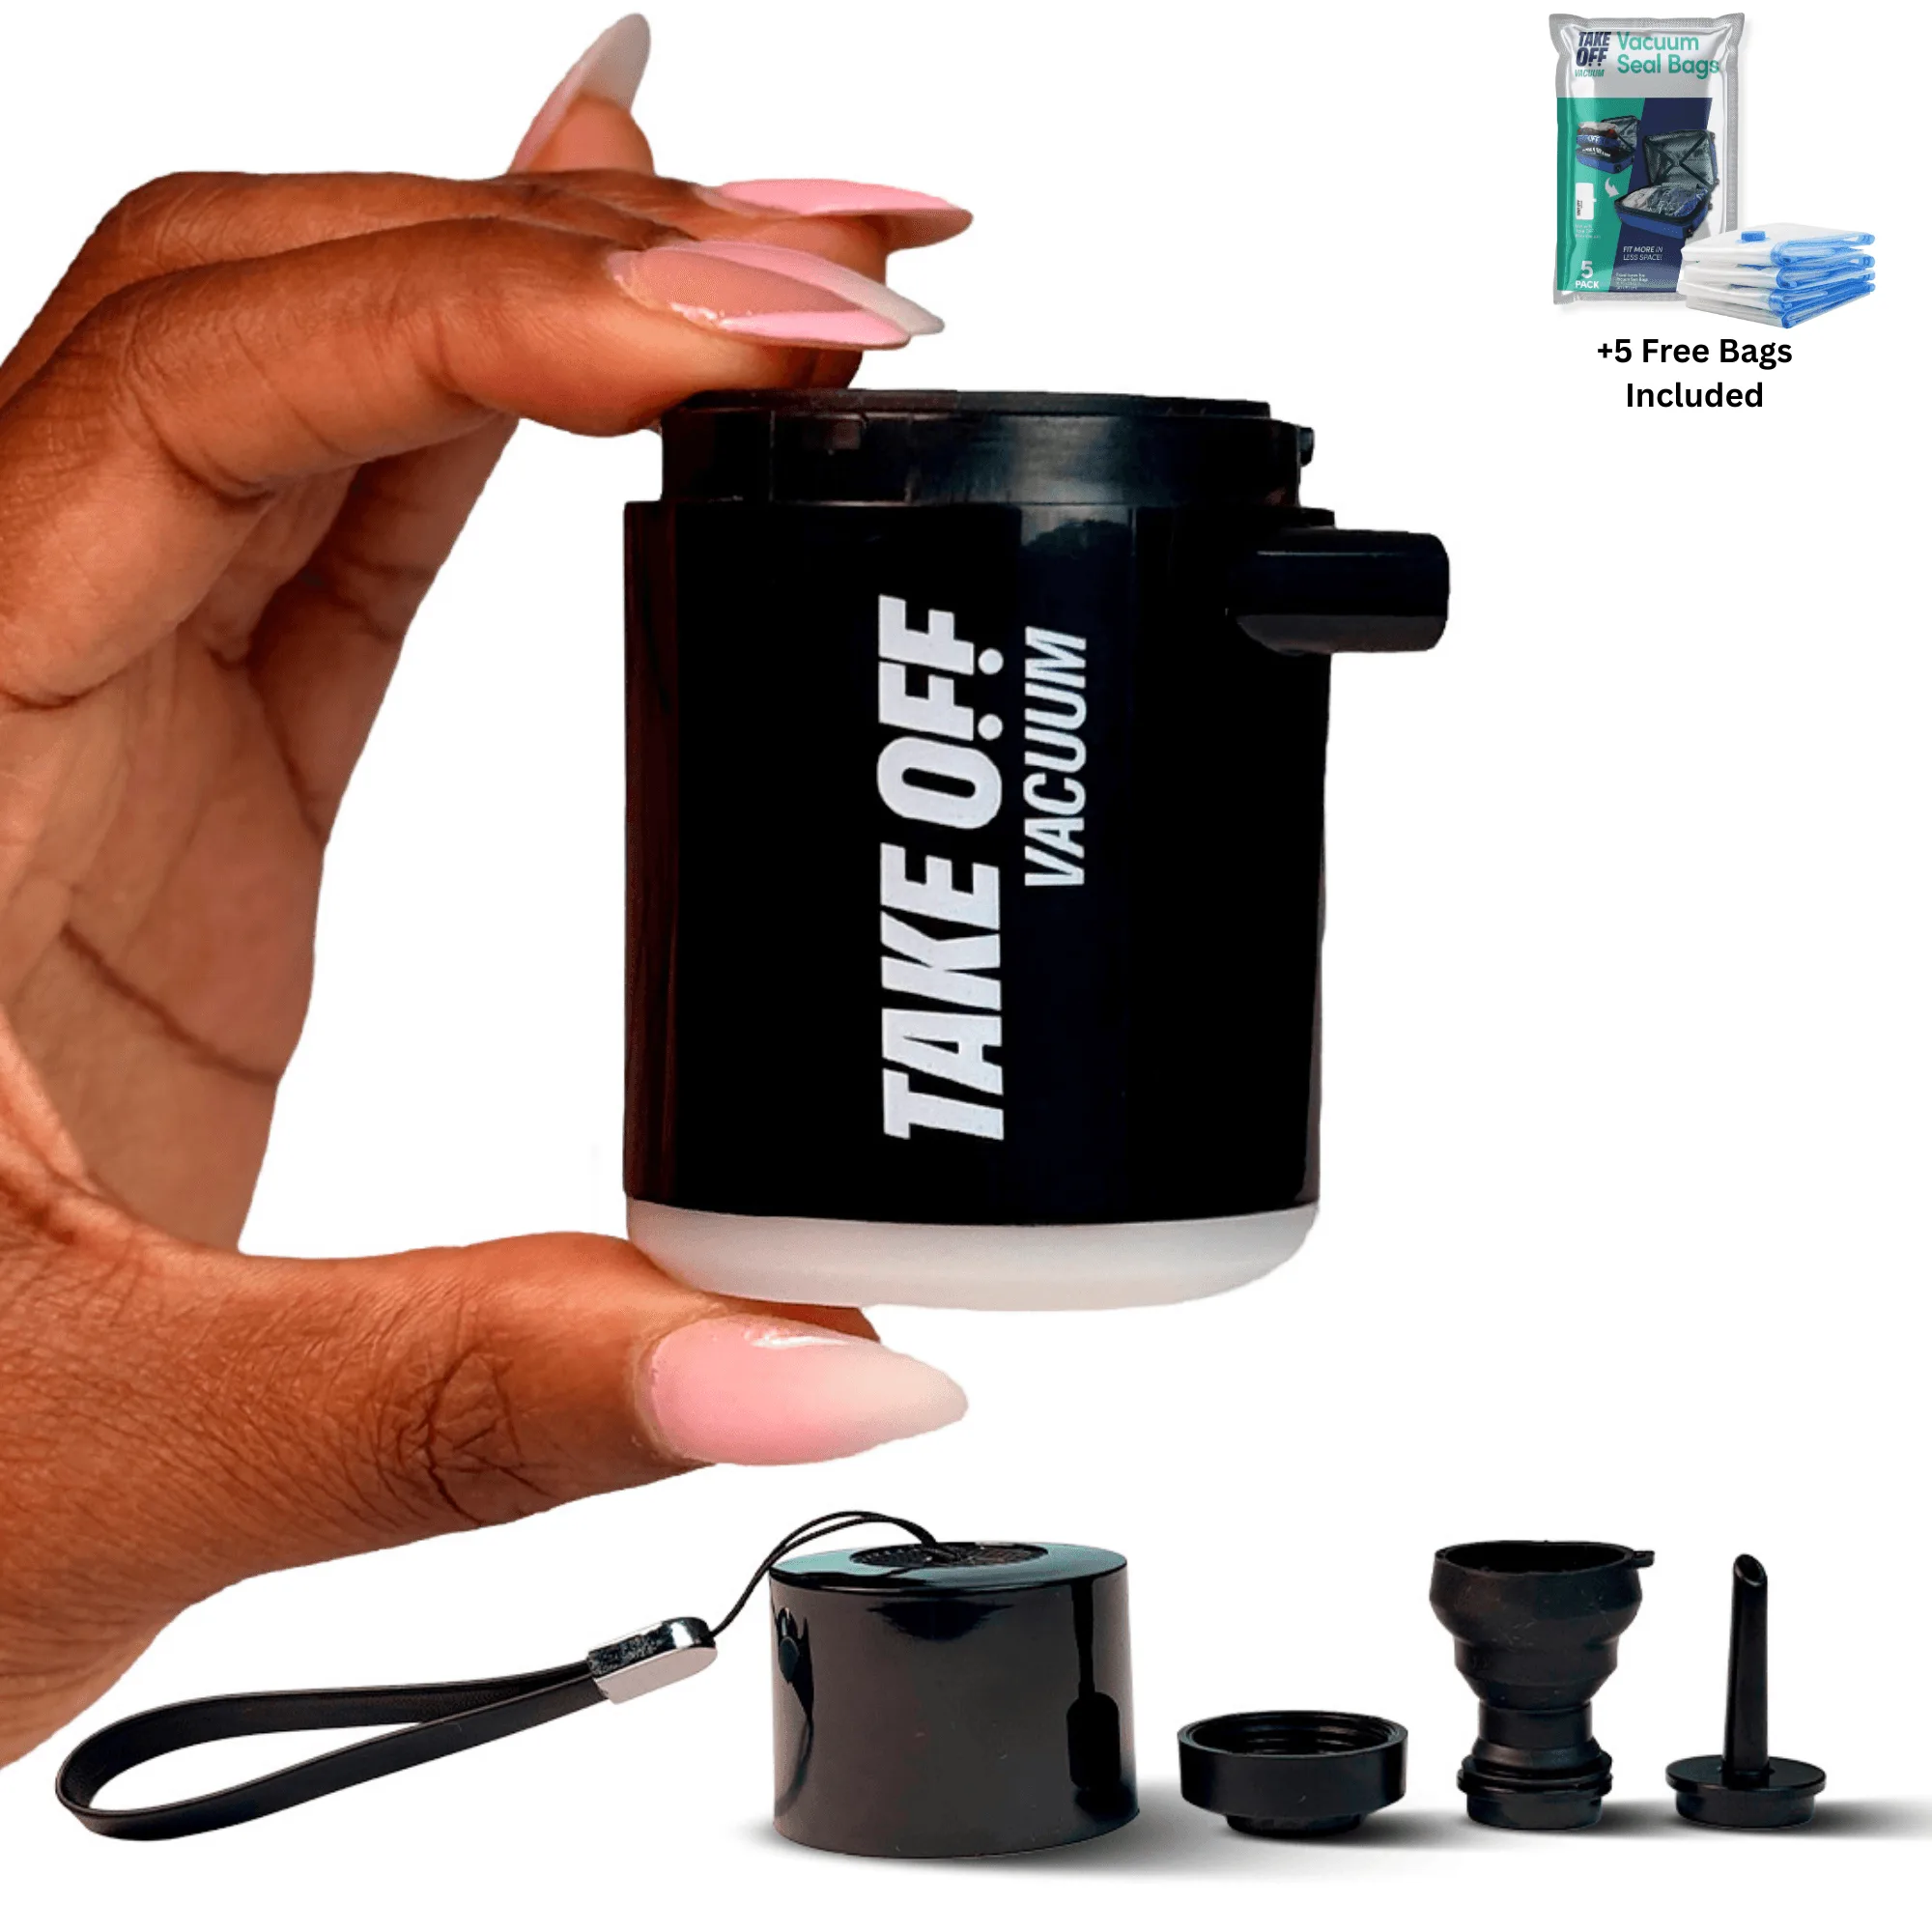
While you can compress bags by hand, a small pump can save time and get more air out. The Mini Vacuum Pump 2.0 is pocket-sized and designed to shrink bulky sweaters and outfits by 50%. It comes with five free vacuum seal bags, so you can start packing right away. This is a good option if you want consistent compression without relying on your lungs.
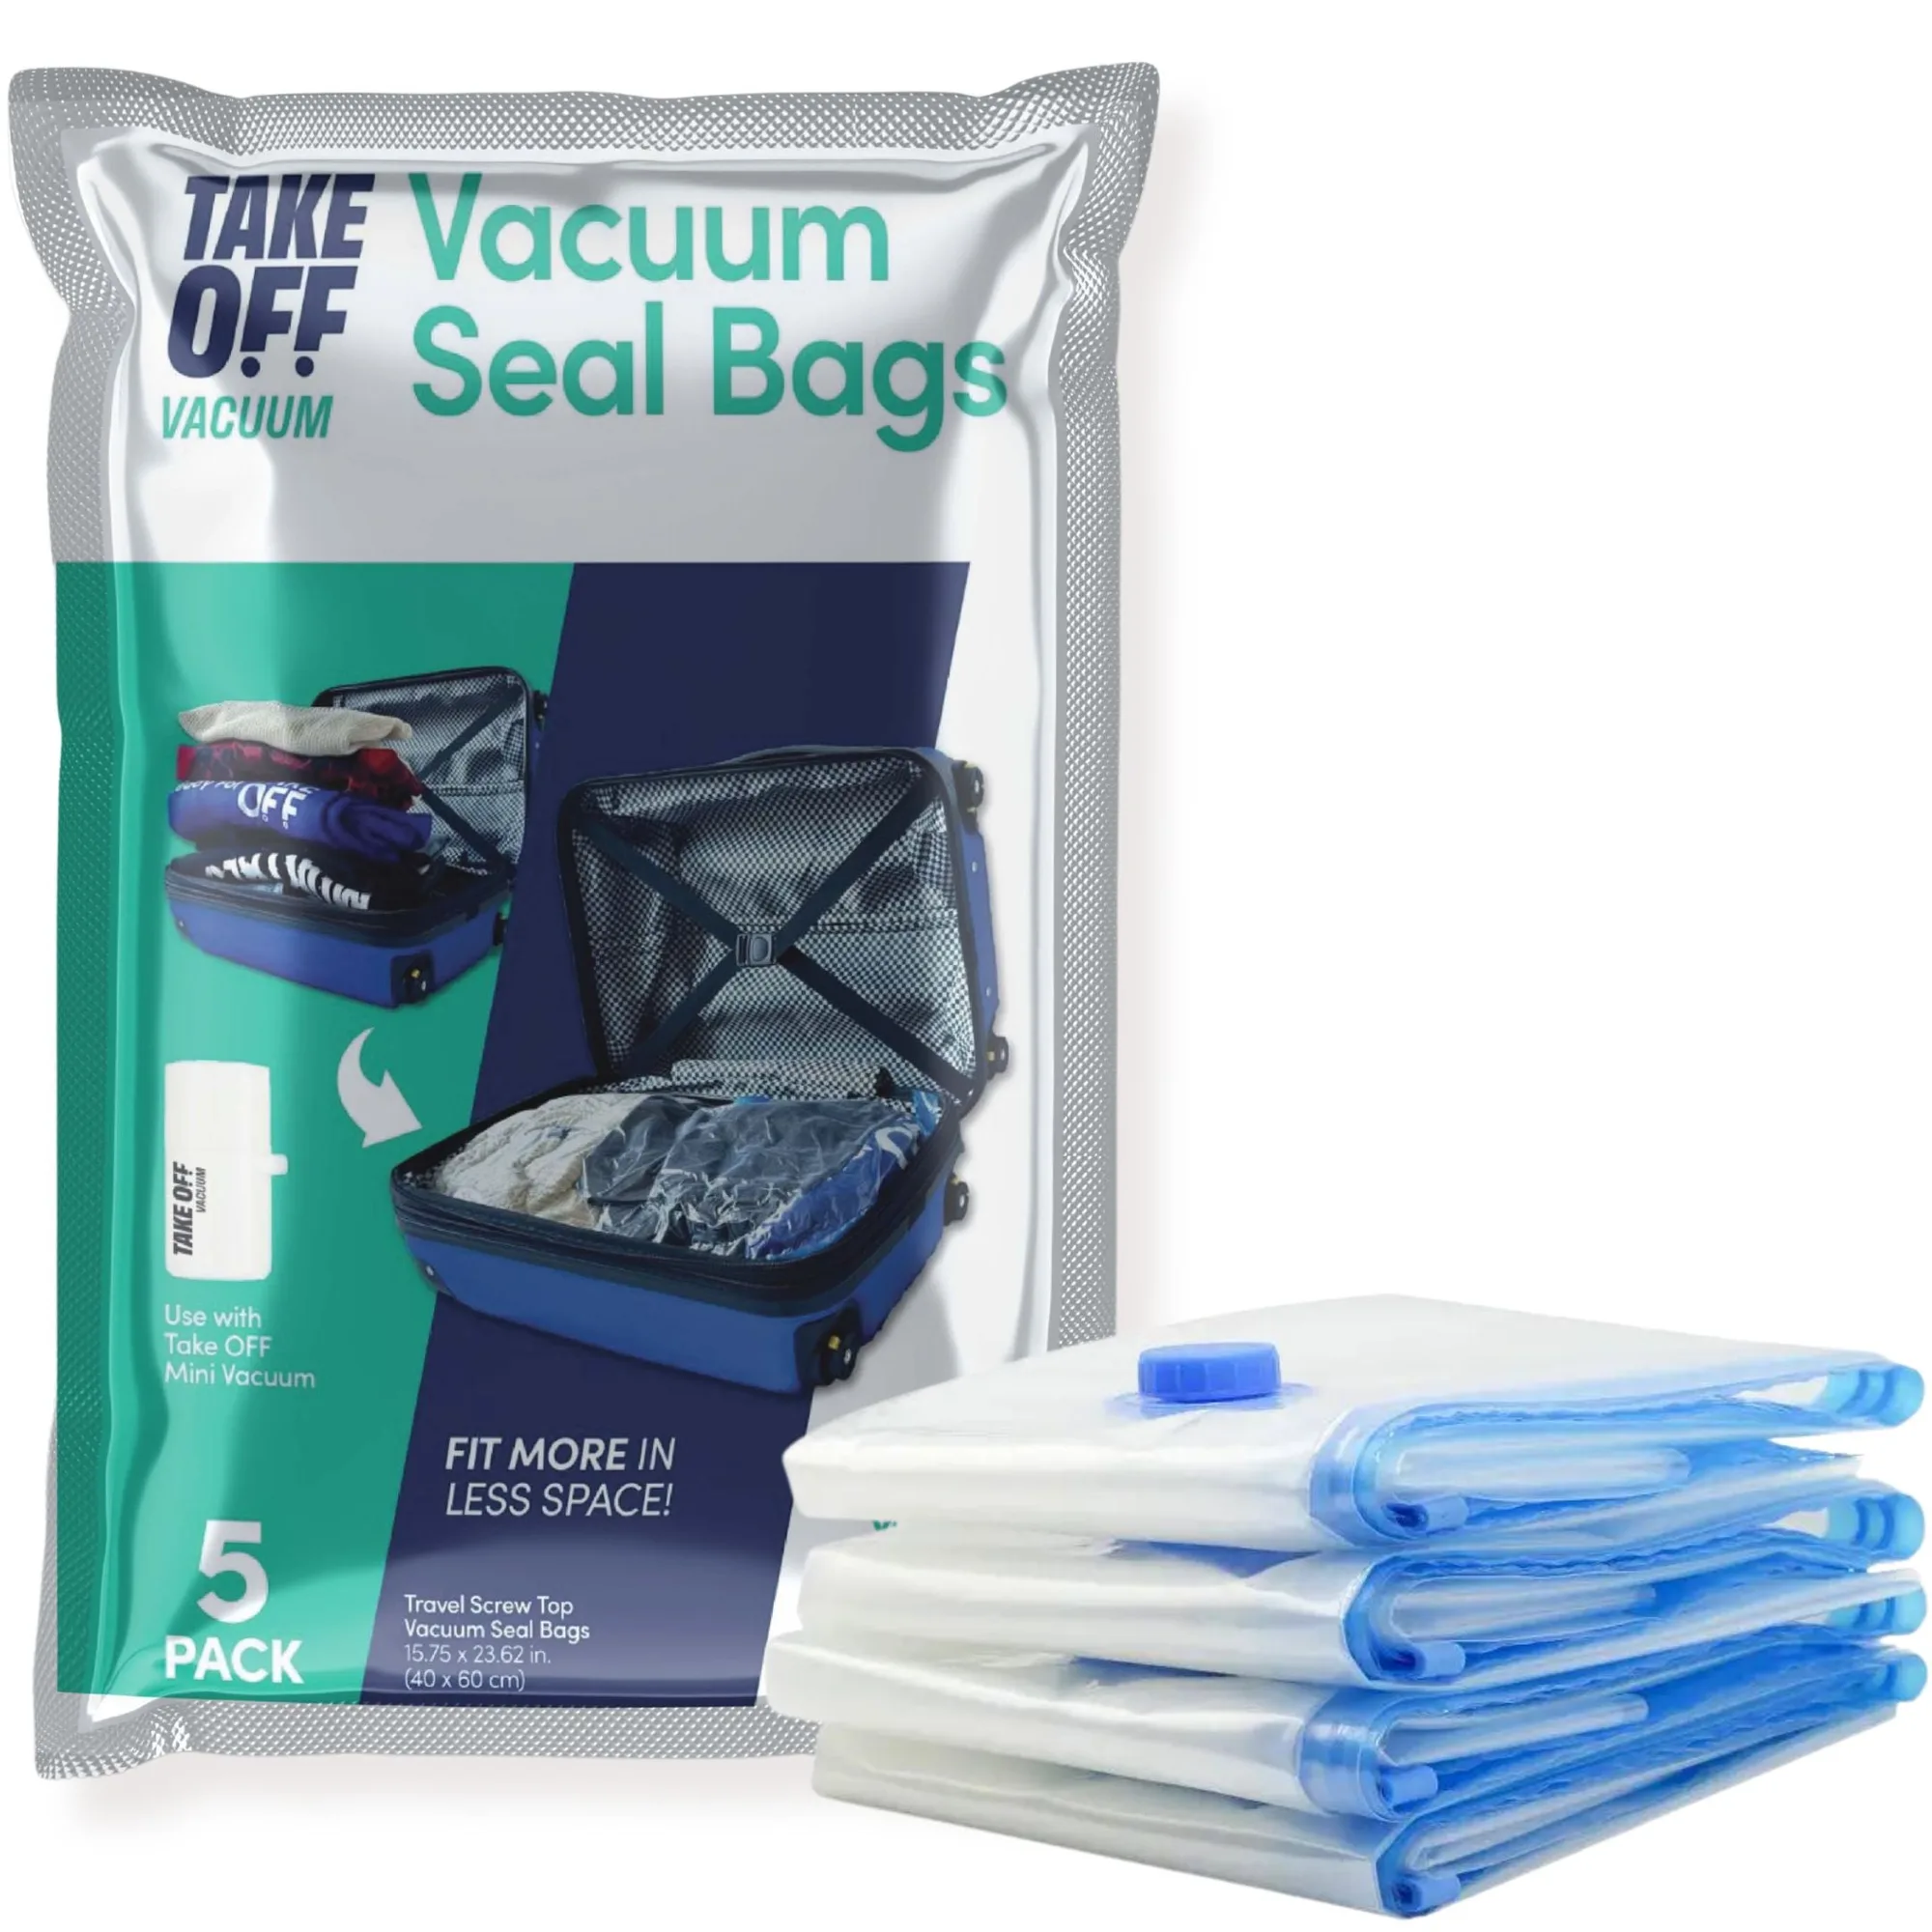
If you prefer to keep it simple, the Vacuum Seal Bags - 5 Pack works with the hand-roll method. These bags are designed for suitcases and carry-ons, and they help you fit more without adding weight. Pair them with a stuffable neck pillow or a fanny pack to keep essentials accessible during travel.
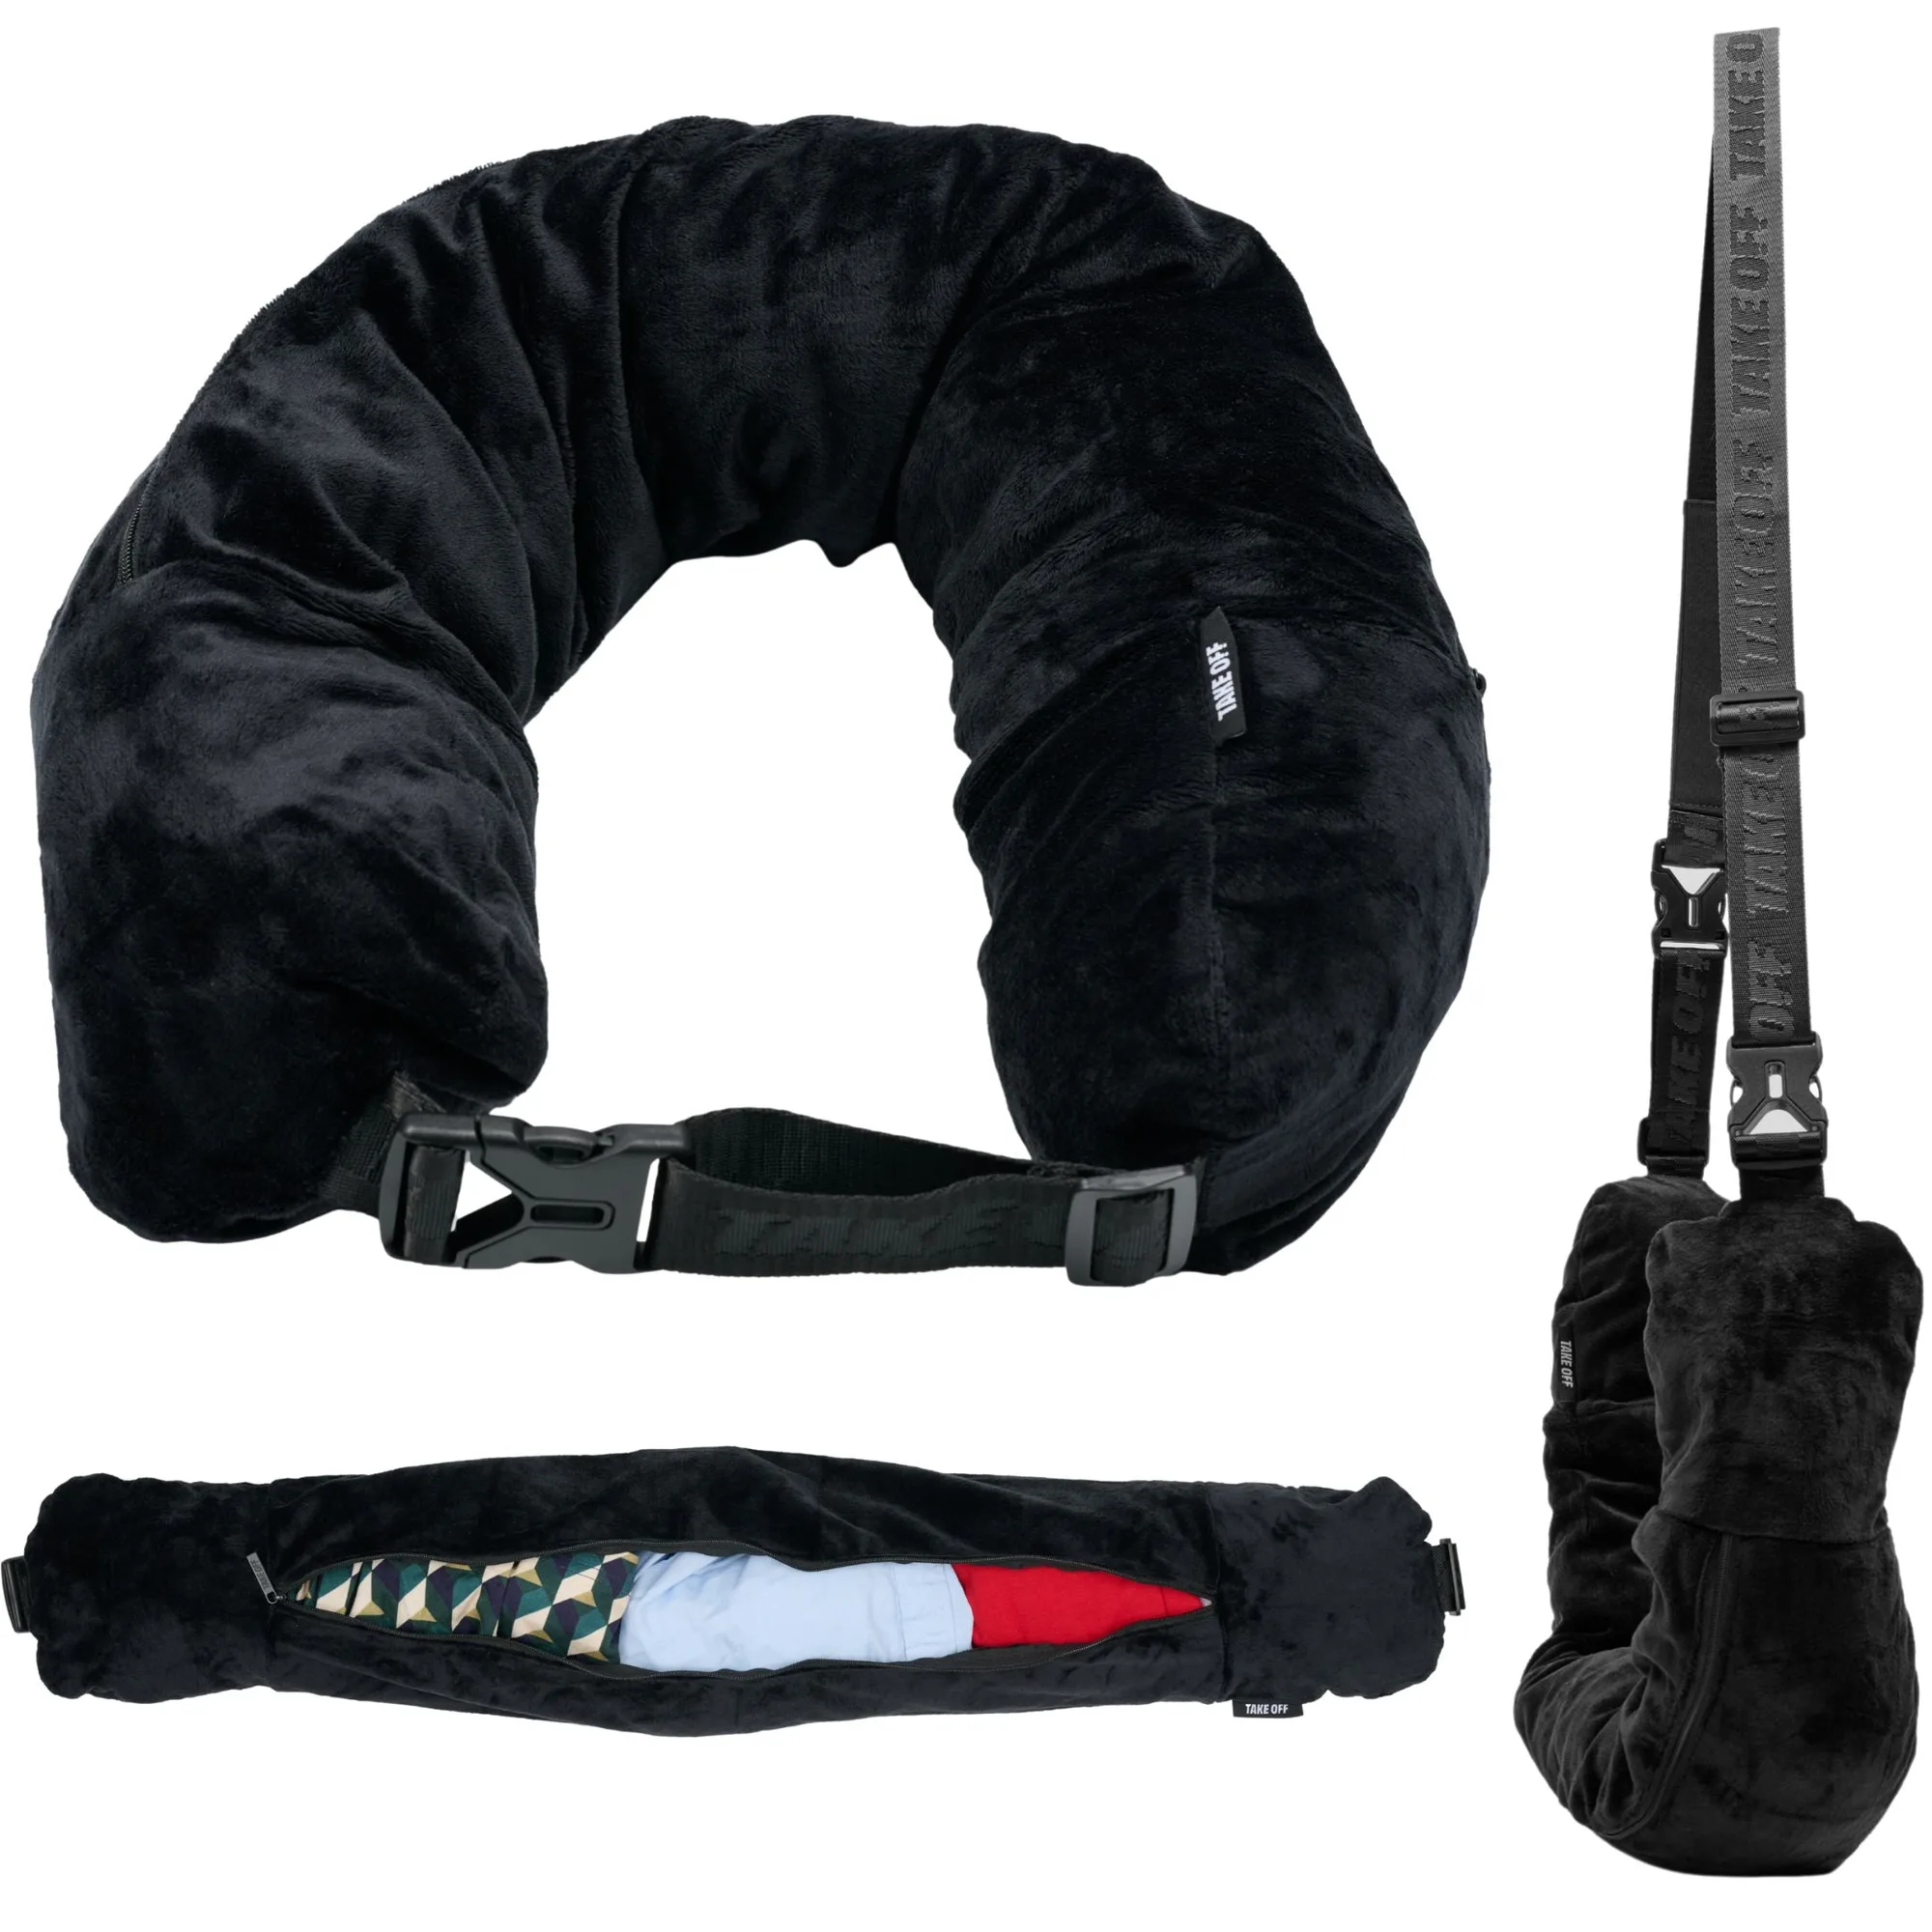
stuffable neck pillow
- Mini pump is ideal for frequent travelers who want maximum compression.
- Hand-roll bags are lightweight and require no extra tools.
Packing tips for carry-on success
After compressing your clothes, place the vacuum bags at the bottom of your carry-on. This creates a flat, stable base. Fill gaps with smaller items like socks or chargers. Keep items you'll need during the flight, like a neck pillow or wallet, in an easy-to-reach pocket or fanny pack. Remember that compressed bags can expand if the seal fails, so double-check the zipper before closing your suitcase.
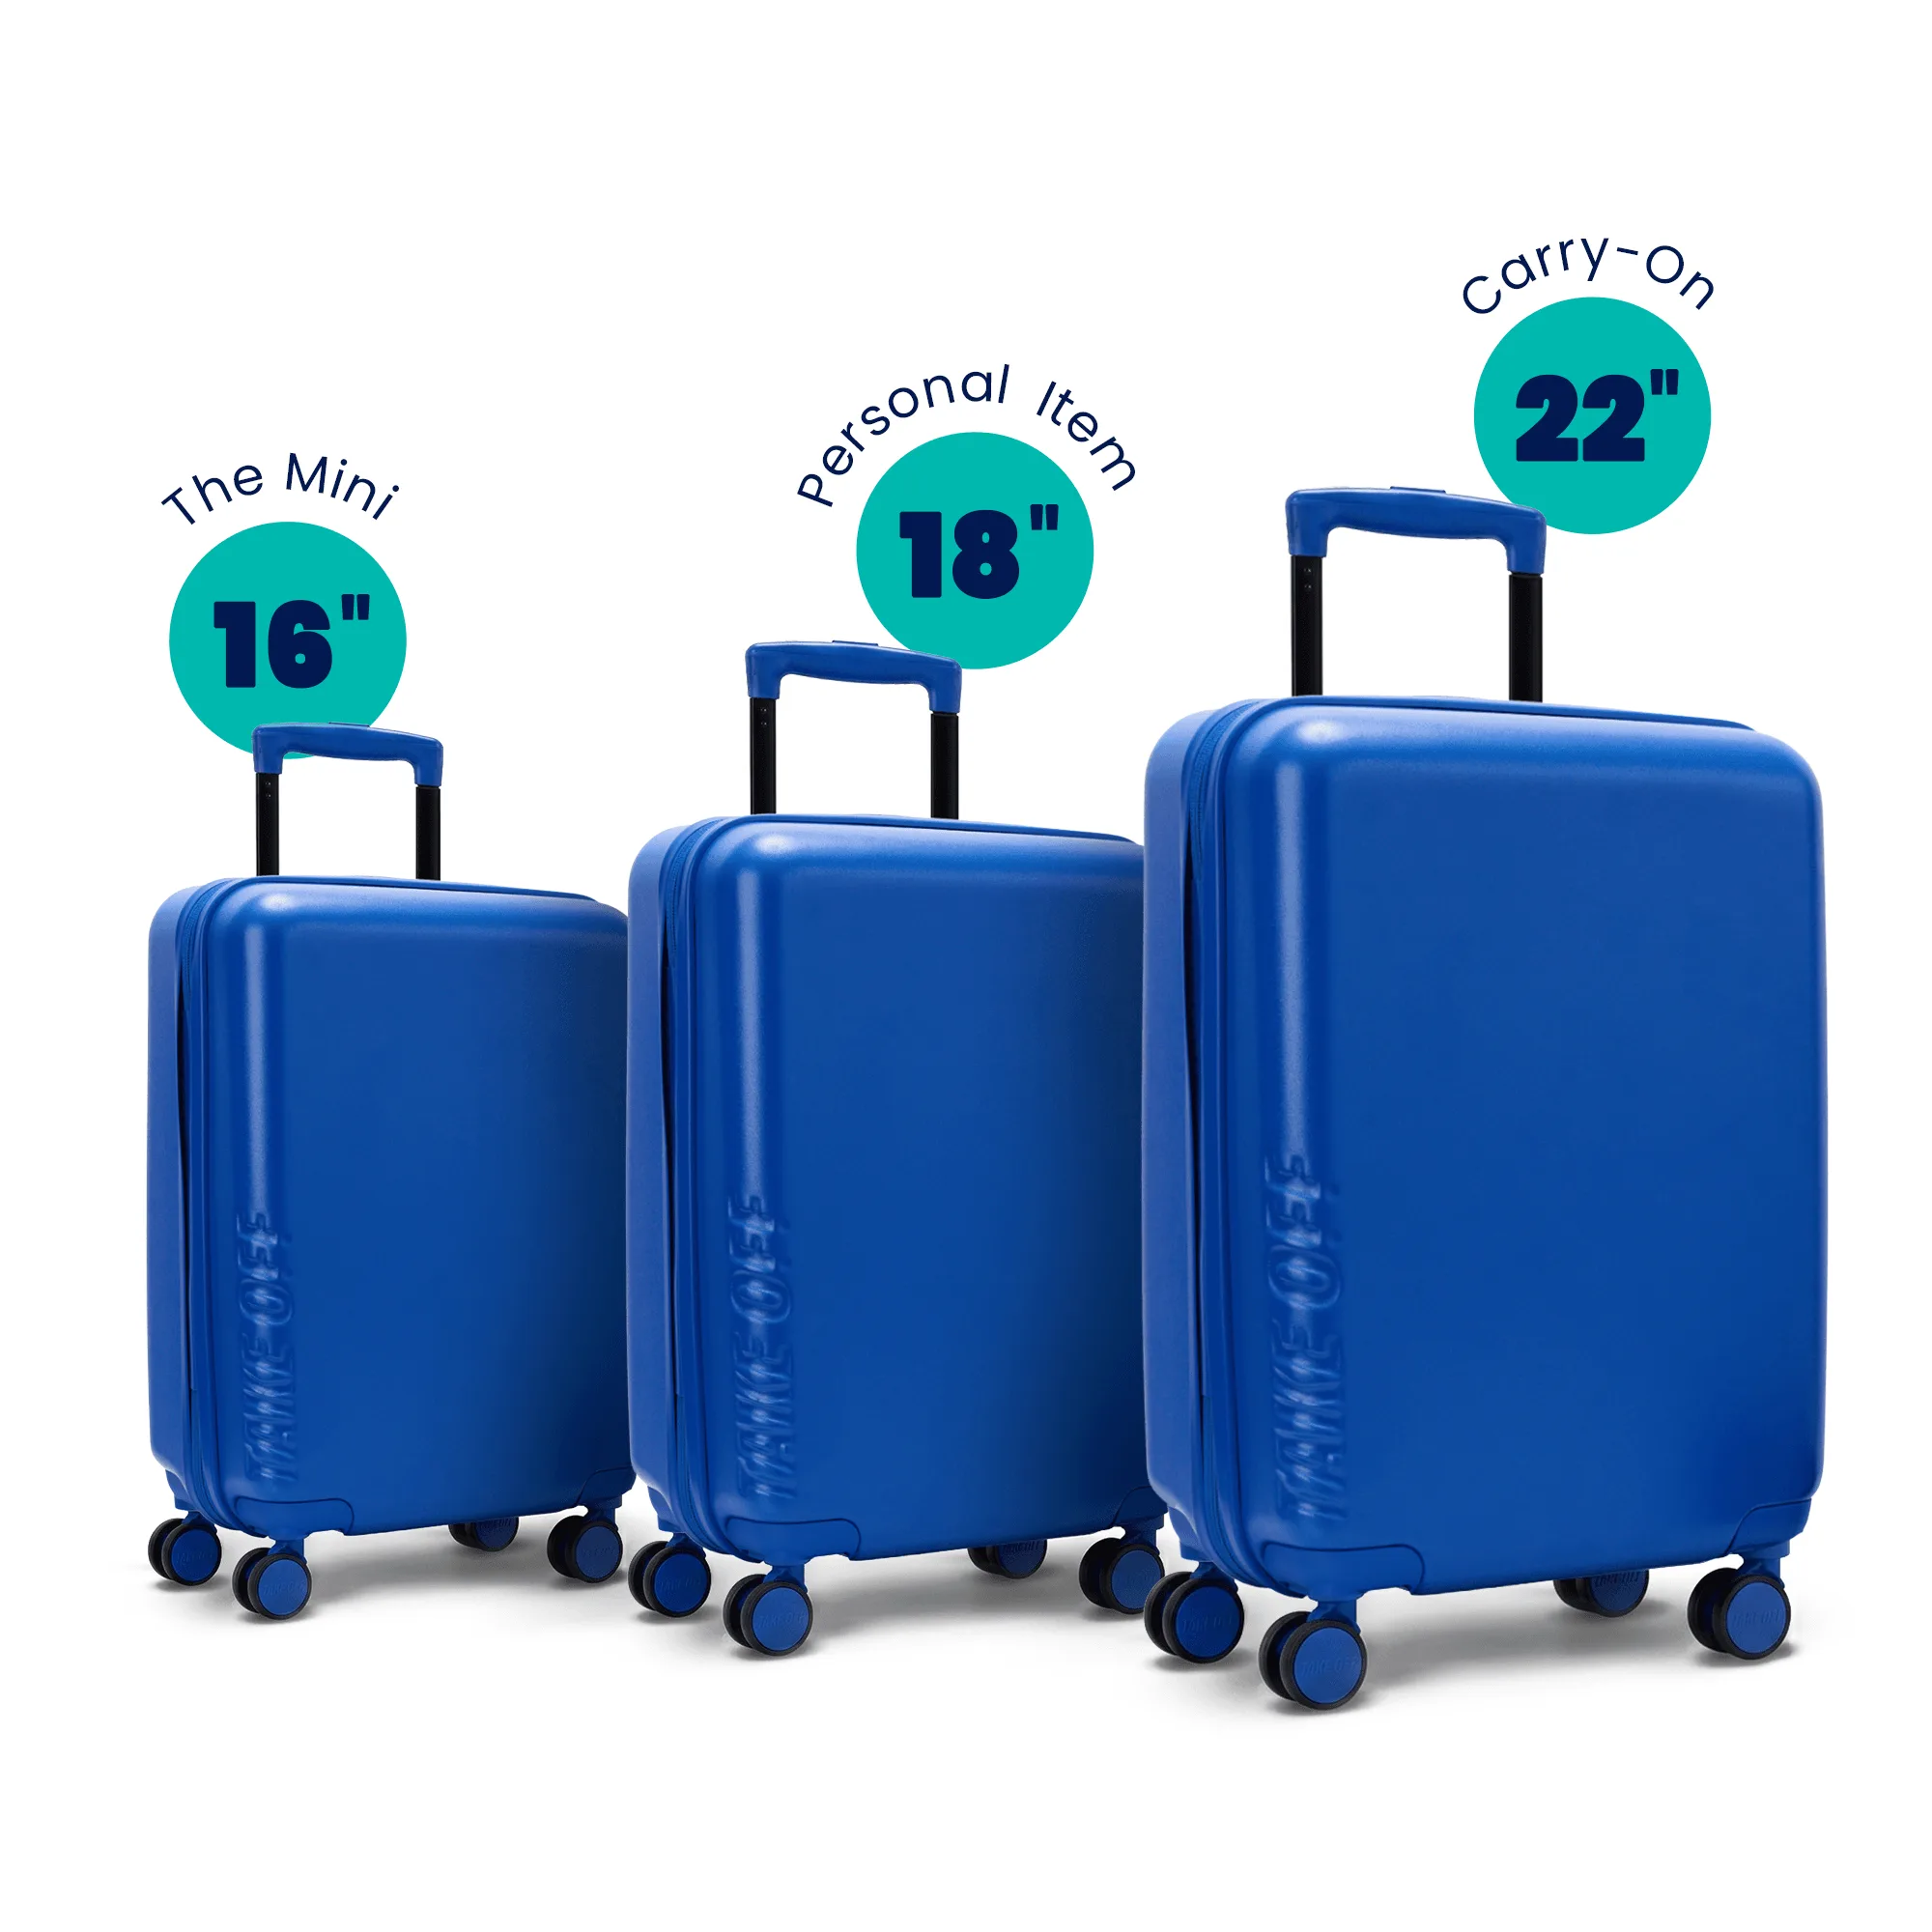
If you're using a bundle like the TAKE OFF 3-Piece Travel Bundle 4.0, you have multiple bags to organize. Use the smaller personal item for compressed clothes and the larger carry-on for bulkier items. This system helps you stay organized and avoid repacking at security.
- Checkpoint: Weigh your bag after packing to ensure it meets airline limits.
- Common mistake: Forgetting that compressed clothes may wrinkle when unpacked.
Your no-vacuum packing steps
- Prep your clothes: Fold or roll clothes tightly and stack them in the vacuum bag, leaving an inch at the opening. Checkpoint: Don't overfill; the bag must seal flat.
- Seal and roll: Zip the bag closed, leaving a small gap, then roll from the sealed end to push air out. Common mistake: Rolling too fast can trap air; press firmly.
- Finish the seal: Once most air is out, seal the gap completely. Use a mini pump if you have one for extra compression. Checkpoint: Listen for air escaping; if you hear it, reseal.
- Pack smart: Place compressed bags at the bottom of your carry-on and fill gaps with small items. Next step: Weigh your bag to stay within airline limits.
Products that help you compress without a vacuum
- Vacuum Seal Bags - 5 Pack: These compression bags shrink your clothes, letting you pack more for any trip. Ideal for suitcases and carry-ons, they ensure you can fit more without adding extra weight. They are the basic tool for hand-roll compression and work with any carry-on.
- Mini Vacuum Pump 2.0 (NEW) + Vacuum Bags (5 Pack) - Black: This pocket-sized pump sucks air out of clothes, shrinking bulky sweaters and outfits by 50%. It comes with 5 free vacuum seal bags. It provides faster, more thorough compression than hand-rolling alone, saving space and time.
Using vacuum seal bags without a vacuum is a simple way to pack more in your carry-on. With the hand-roll method and a few smart tools, you can compress clothes effectively and travel lighter. Practice once at home, and you'll be ready for your next trip.