Quick answer
To use the Velocity Auto Control Steam Iron for quilting, set it to the auto control mode, press seams flat without steam first, then use steam only when needed. Always lift and lower the iron rather than sliding it to avoid stretching fabric. This method keeps seams crisp and protects your quilt blocks.
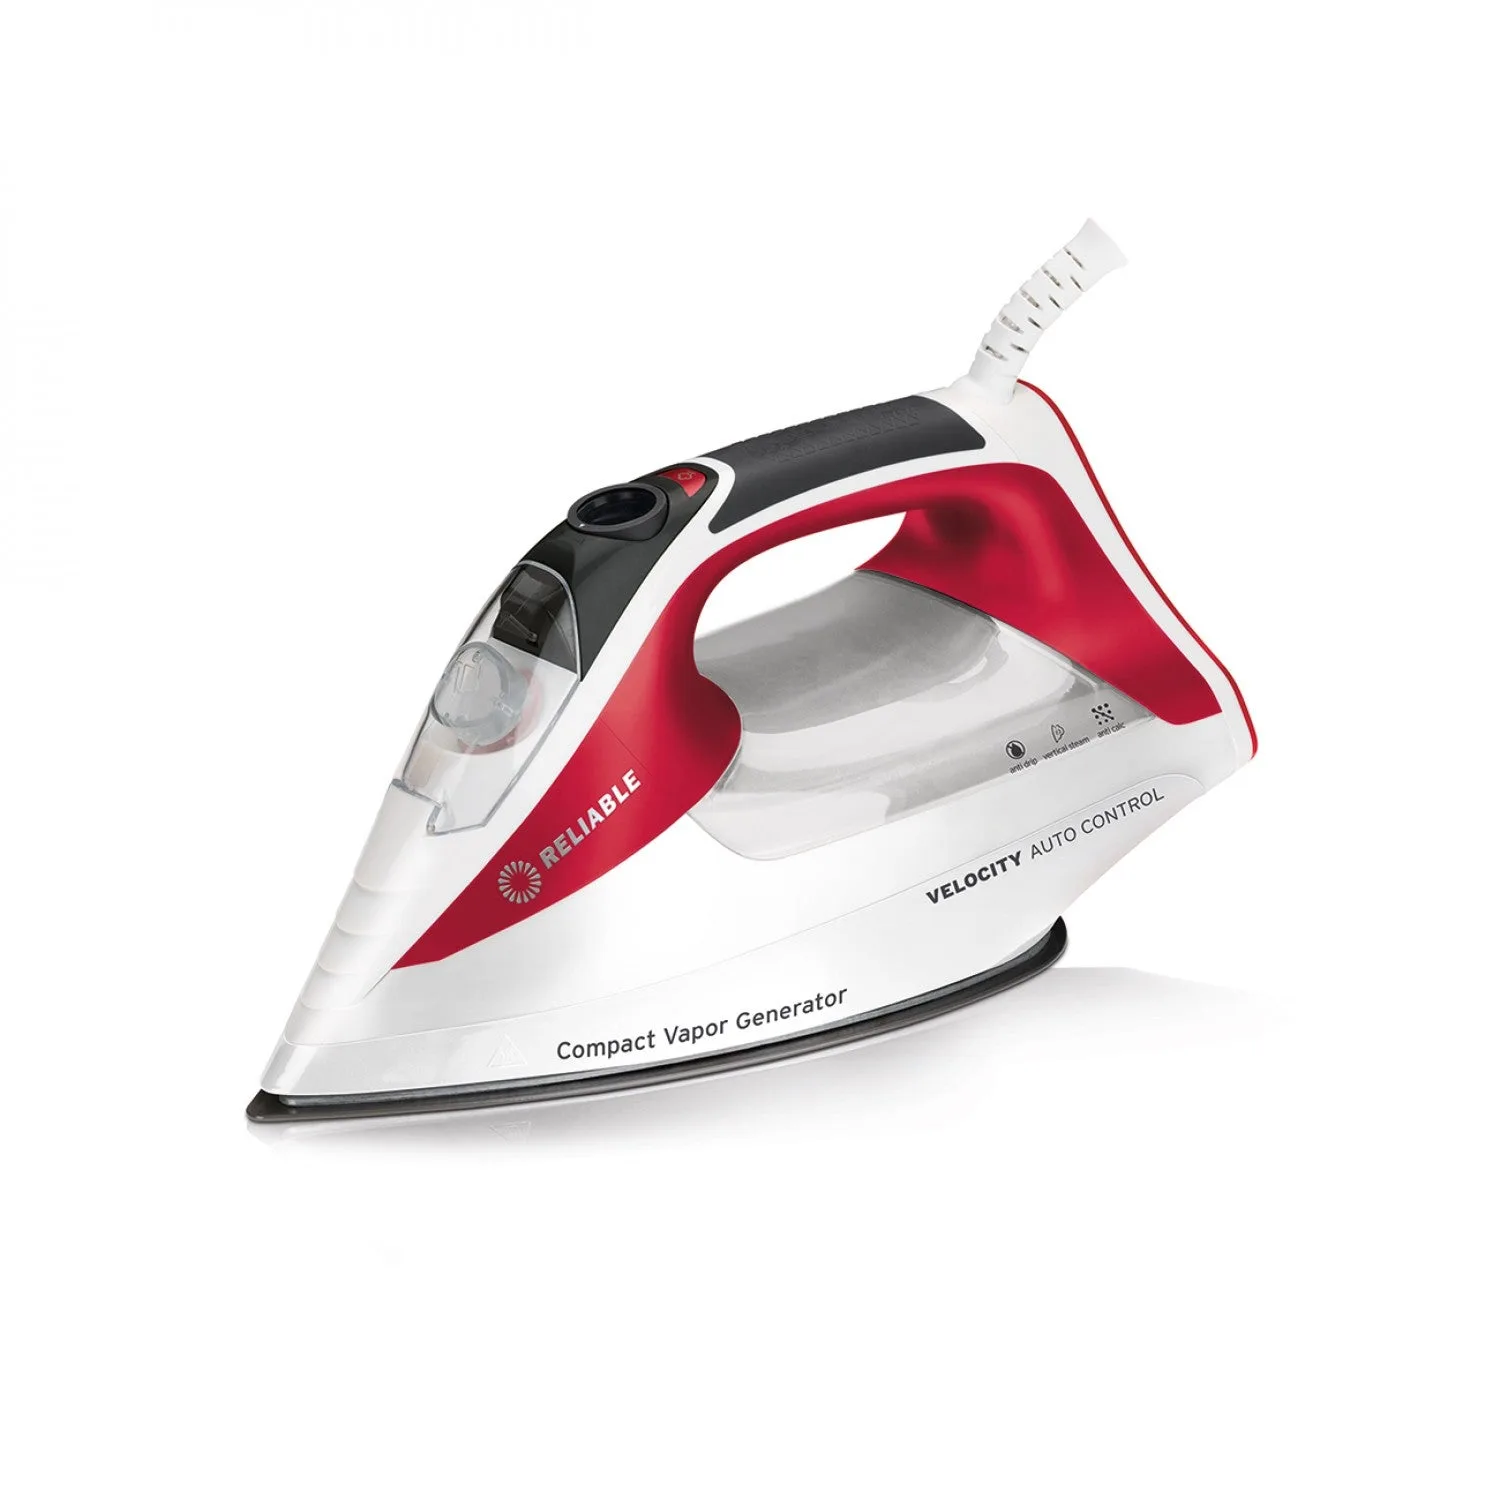
Velocity Auto Control Steam Iron
Pressing is one of the most important steps in quilting, and the right iron makes a noticeable difference. The Velocity Auto Control Steam Iron is designed to take the guesswork out of temperature settings, but how you use it matters just as much as the iron itself.
This guide walks you through the exact steps to press quilt seams cleanly, from setting up your ironing station to finishing a block. You will also learn common mistakes that can distort fabric and how to avoid them.
Why the Velocity Auto Control Steam Iron Works Well for Quilting
The Velocity Auto Control Steam Iron uses auto control technology to maintain a consistent temperature, which helps prevent scorching or under-pressing. For quilting, consistent heat is key because you are often pressing multiple seams in the same block. An auto control iron reduces the risk of accidentally changing settings mid-project.
Many quilters ask about the best iron for fabric, and the answer often depends on control and steam management. The Velocity offers both adjustable steam and a smooth soleplate that glides over pieced seams. It is a practical choice for both beginners and experienced quilters who want reliable results.
- Always check that the iron is set to the auto control mode before pressing.
- Use distilled water if your tap water is hard to prevent mineral buildup.
Step-by-Step: Pressing Quilt Seams with the Velocity Iron
Start by setting up your ironing board at a comfortable height. Fill the iron with water if you plan to use steam, but begin with steam off. Set the iron to the auto control setting recommended for cotton. Press each seam flat from the wrong side first, using a lifting and lowering motion rather than sliding. This sets the stitches without stretching the fabric.
Once the seam is flat, you can press it to one side or open, depending on your pattern. If you use steam, do so sparingly and let the fabric cool completely before moving it. For more detailed pressing techniques, consider the Off Kilter Table runner - Pattern and Video Class, which includes a video class that walks you through the quilt-as-you-go method and proper pressing.
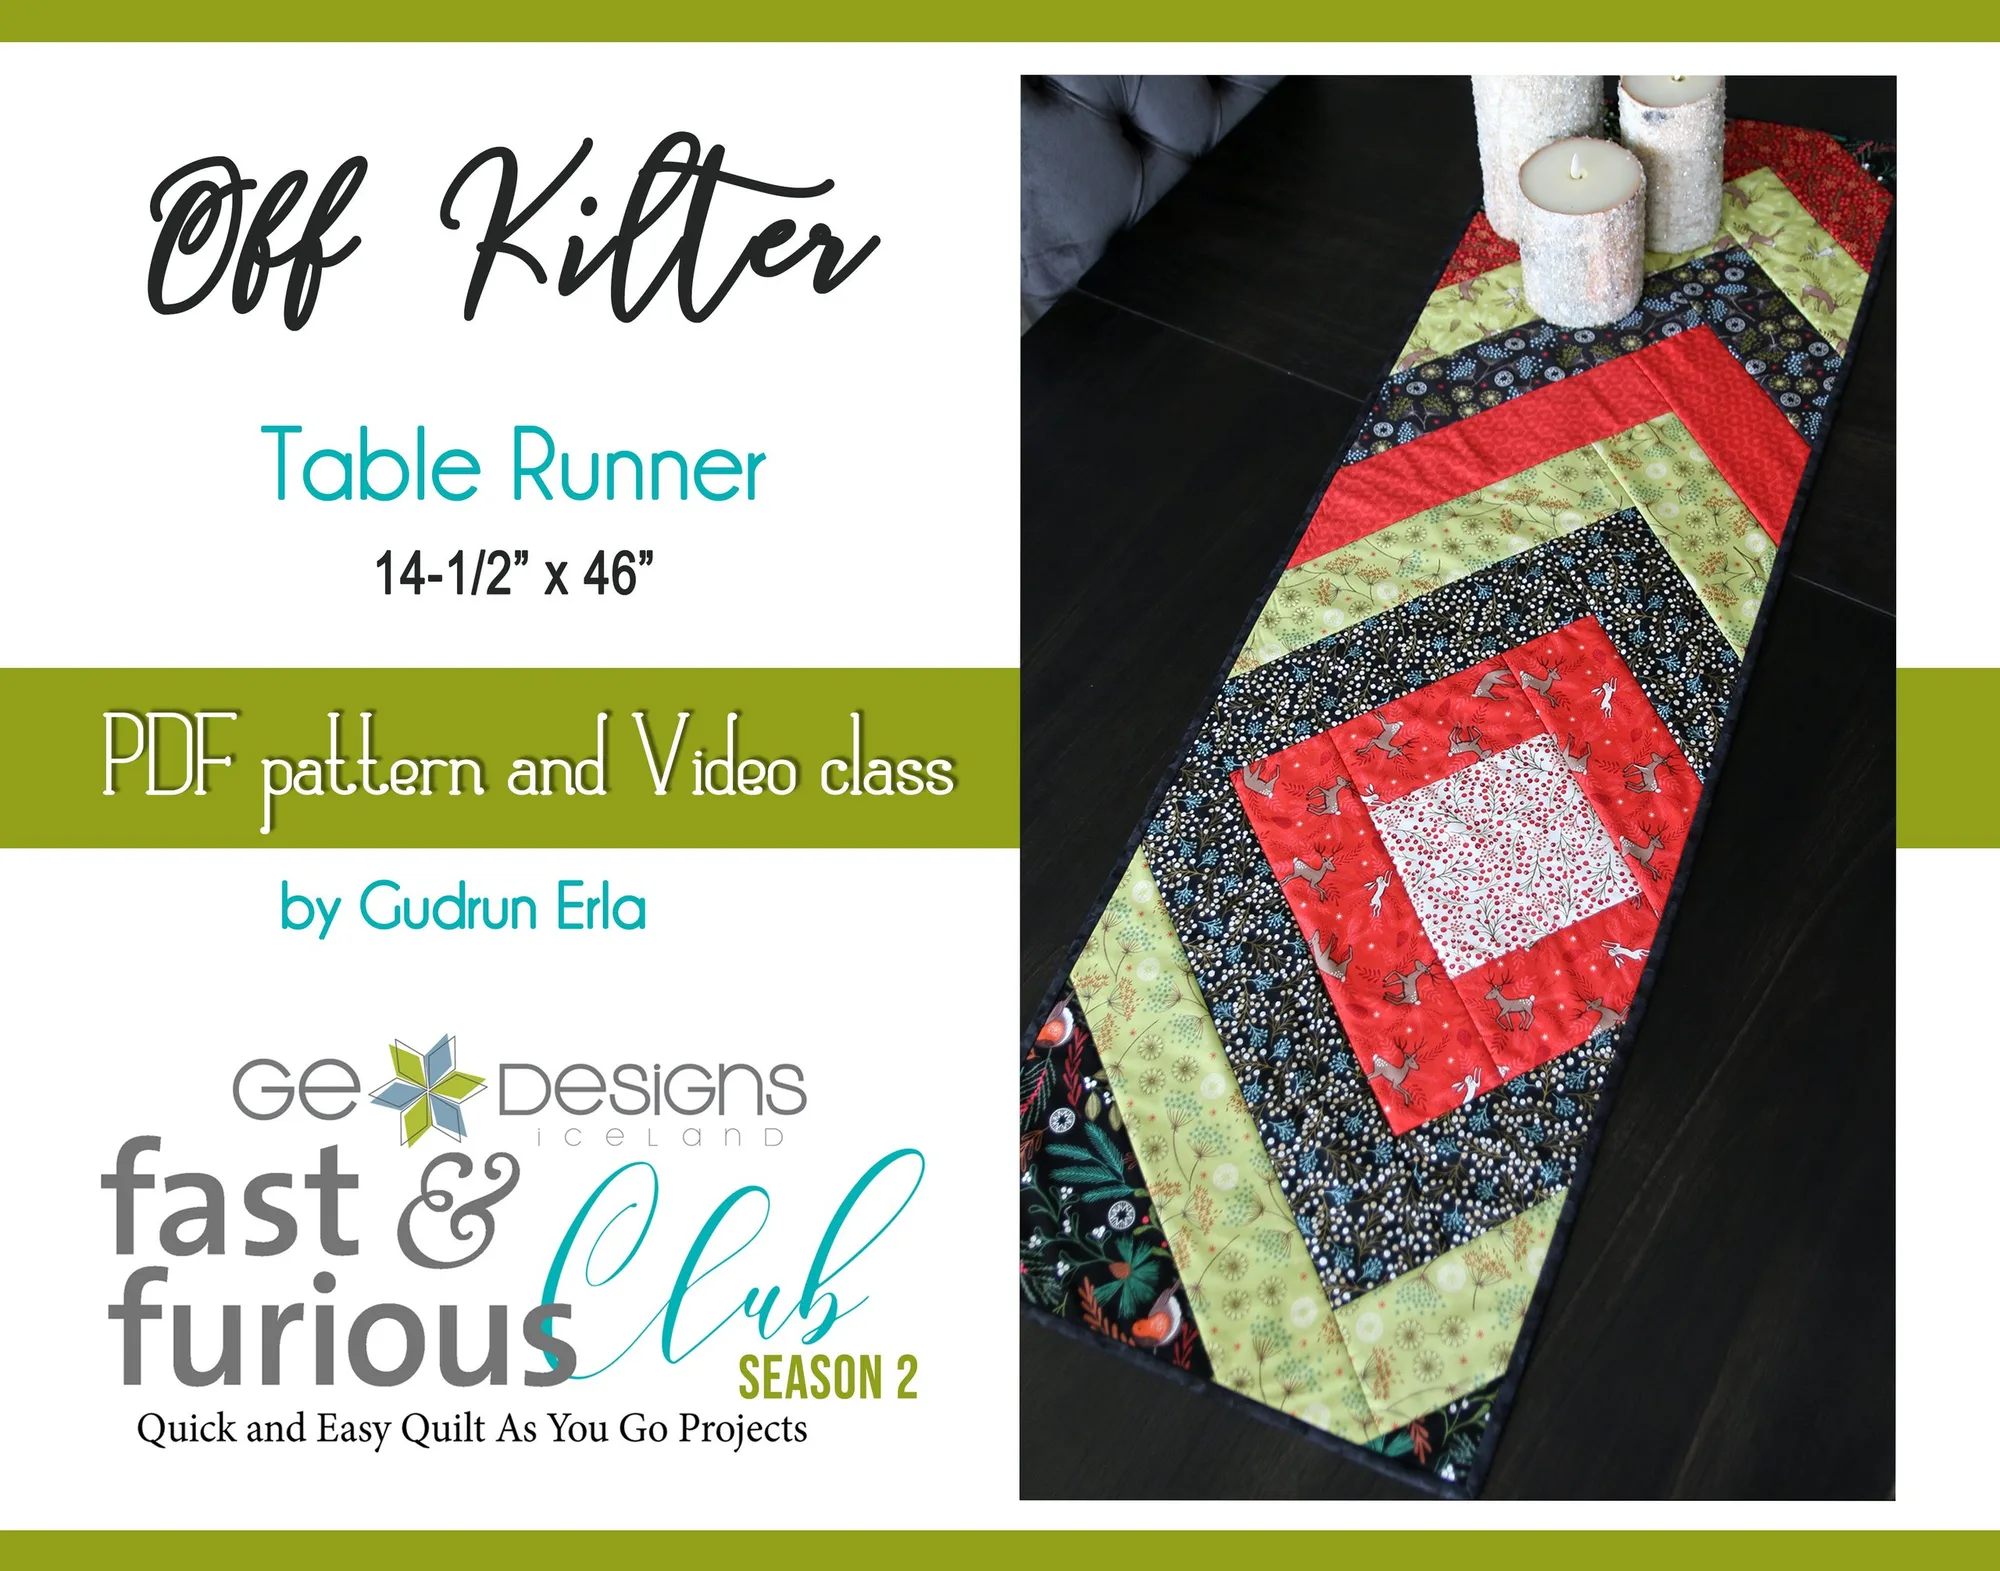
Off Kilter Table runner - Pattern and Video Class
- Common mistake: sliding the iron across seams can distort bias edges. Always lift and lower.
- Checkpoint: after pressing, the seam should lie flat without any puckers.
Choosing the Right Settings for Different Fabrics
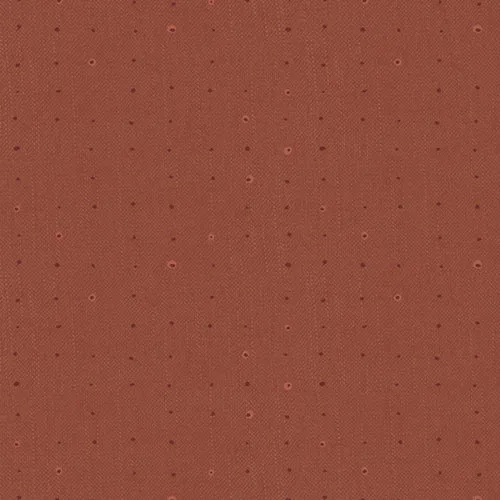
The Velocity Auto Control Steam Iron adjusts temperature automatically, but you should still match the setting to your fabric. For cotton quilting fabrics like Seedling Redwood SDL20121 or Dry Brush Turquoise 89205-474, a medium-high setting with or without steam works well. These 100% cotton fabrics press crisply and hold a crease.
For delicate fabrics or blends, lower the temperature and use a pressing cloth. Always test on a scrap first. The auto control feature helps prevent overheating, but it is not a substitute for checking your fabric type. When in doubt, start with a lower setting and increase gradually.
- Use a pressing cloth for dark or metallic fabrics to avoid shine.
- Let the iron heat up fully before pressing to avoid uneven results.
Maintaining Your Iron for Long-Term Quilting Use
After each quilting session, empty the water tank to prevent mineral deposits. Wipe the soleplate with a damp cloth once it has cooled. If you use starch or sizing, clean the soleplate more often to avoid sticky residue that can transfer to fabric.
Store the iron upright in a dry place. Avoid wrapping the cord tightly around the iron, as this can damage the cord over time. With proper care, the Velocity Auto Control Steam Iron will remain a reliable tool for all your quilting projects.
- Never leave water in the iron for extended periods.
- Check the manufacturer's instructions for specific cleaning recommendations.
Your Pressing Checklist for Perfect Quilt Seams
- Set up your ironing station: Place your ironing board at a comfortable height and fill the iron with distilled water if using steam. Set the Velocity iron to auto control mode. Checkpoint: Ensure the iron is stable and the cord is out of the way.
- Press seams flat without steam: With steam off, press each seam from the wrong side using a lift-and-lower motion. Do not slide the iron. Common mistake: sliding can stretch bias seams. Lift and lower instead.
- Set the seam with steam if needed: If your fabric is heavily wrinkled, use a short burst of steam, then press again without steam to dry the seam. Checkpoint: Let the fabric cool completely before moving to the next step.
- Press seams to one side or open: Follow your pattern instructions. Use your fingers or a seam roller to guide the seam before pressing. Checkpoint: The seam should lie flat with no puckers.
- Maintain your iron: After use, empty the water tank and wipe the soleplate clean once cool. Store upright. Next step: Repeat this process for each block, and enjoy crisp, professional-looking quilts.
Quilting Supplies That Pair Well with Your Iron
- Seedling Redwood SDL20121: 100% cotton fabric from Art Gallery Fabrics, sold in 1-yard increments. This fabric presses beautifully with the Velocity iron, making it ideal for quilting projects that require crisp seams.
- Dry Brush Turquoise 89205-474: 100% cotton fabric from Wilmington Prints, sold in 1-yard increments. The tight weave of this cotton holds a press well, so your seams stay flat even after handling.
- Off Kilter Table runner - Pattern and Video Class: Downloadable PDF pattern and video class for a 14-1/2" x 46" table runner using quilt-as-you-go method. The included video class demonstrates pressing techniques that work perfectly with the Velocity iron, helping you achieve professional results.
Using the Velocity Auto Control Steam Iron for quilting is straightforward once you know the steps. Press seams flat first, use steam sparingly, and always lift rather than slide. With a little practice, your quilt blocks will look sharper and your projects will come together more smoothly.