Quick answer
Use washi tape to add borders, create layered backgrounds, or make simple accents on handmade cards. Its repositionable adhesive makes it forgiving for beginners and precise enough for experienced card makers.
Why washi tape works so well for card making
Washi tape is thin, flexible, and tears easily by hand, so you don't need scissors for most straight lines. It also removes cleanly from paper without tearing, which means you can reposition strips until the layout looks right. This makes it a low-risk way to experiment with color blocking, geometric patterns, and themed designs.
The main trade-off is that washi tape is semi-transparent, so dark or busy cardstock may show through lighter patterns. Stick to white, cream, or pastel card bases for the most opaque look, or layer two strips of the same tape to deepen the color.
How to make a card with washi tape in 4 steps
- Choose your card base and tape colors: Start with a blank card in white, cream, or a light solid color. Pick two or three washi tape designs that share a common color or theme — for example, pair a Halloween yellow pattern with a solid green for contrast. Avoid mixing more than three patterns on one card or the design may look cluttered.
- Plan your layout before sticking anything down: Lay the tape strips on a clean surface next to the card to test spacing. Try a vertical border on the left edge, a horizontal strip near the bottom, or a criss-cross grid in the center. Because washi tape repositions easily, you can move strips around without damaging the cardstock. Skipping the dry layout is the most common mistake — once you press the tape firmly, the adhesive bonds more strongly.
- Tear or cut strips and apply them to the card: Tear the tape by hand for a soft, textured edge, or use scissors for a clean straight cut. Press the tape down from the center outward to avoid air bubbles. For a layered look, overlap two strips slightly or place a narrower tape over a wider one. If the tape wrinkles, lift it gently and reapply — pulling from one end works best.
- Add a focal element and finishing touches: Stamp a sentiment, attach a sticker, or write a message on a small piece of cardstock and layer it over the tape. The tape acts as a decorative frame that draws the eye to the center. Let the card sit under a book for a few minutes to ensure the tape adheres flat. Let the tape dry for a minute if you plan to write over it with pen — some markers can smudge on the smooth surface.
Recommended washi tapes for card making
-
Halloween Yellow Washi Tape: This 20 mm wide decorative Japanese tape tears easily and can be safely applied to a variety of surfaces without leaving a sticky residue. The wider width works well as a bold border strip or as a quick background panel for Halloween-themed cards.
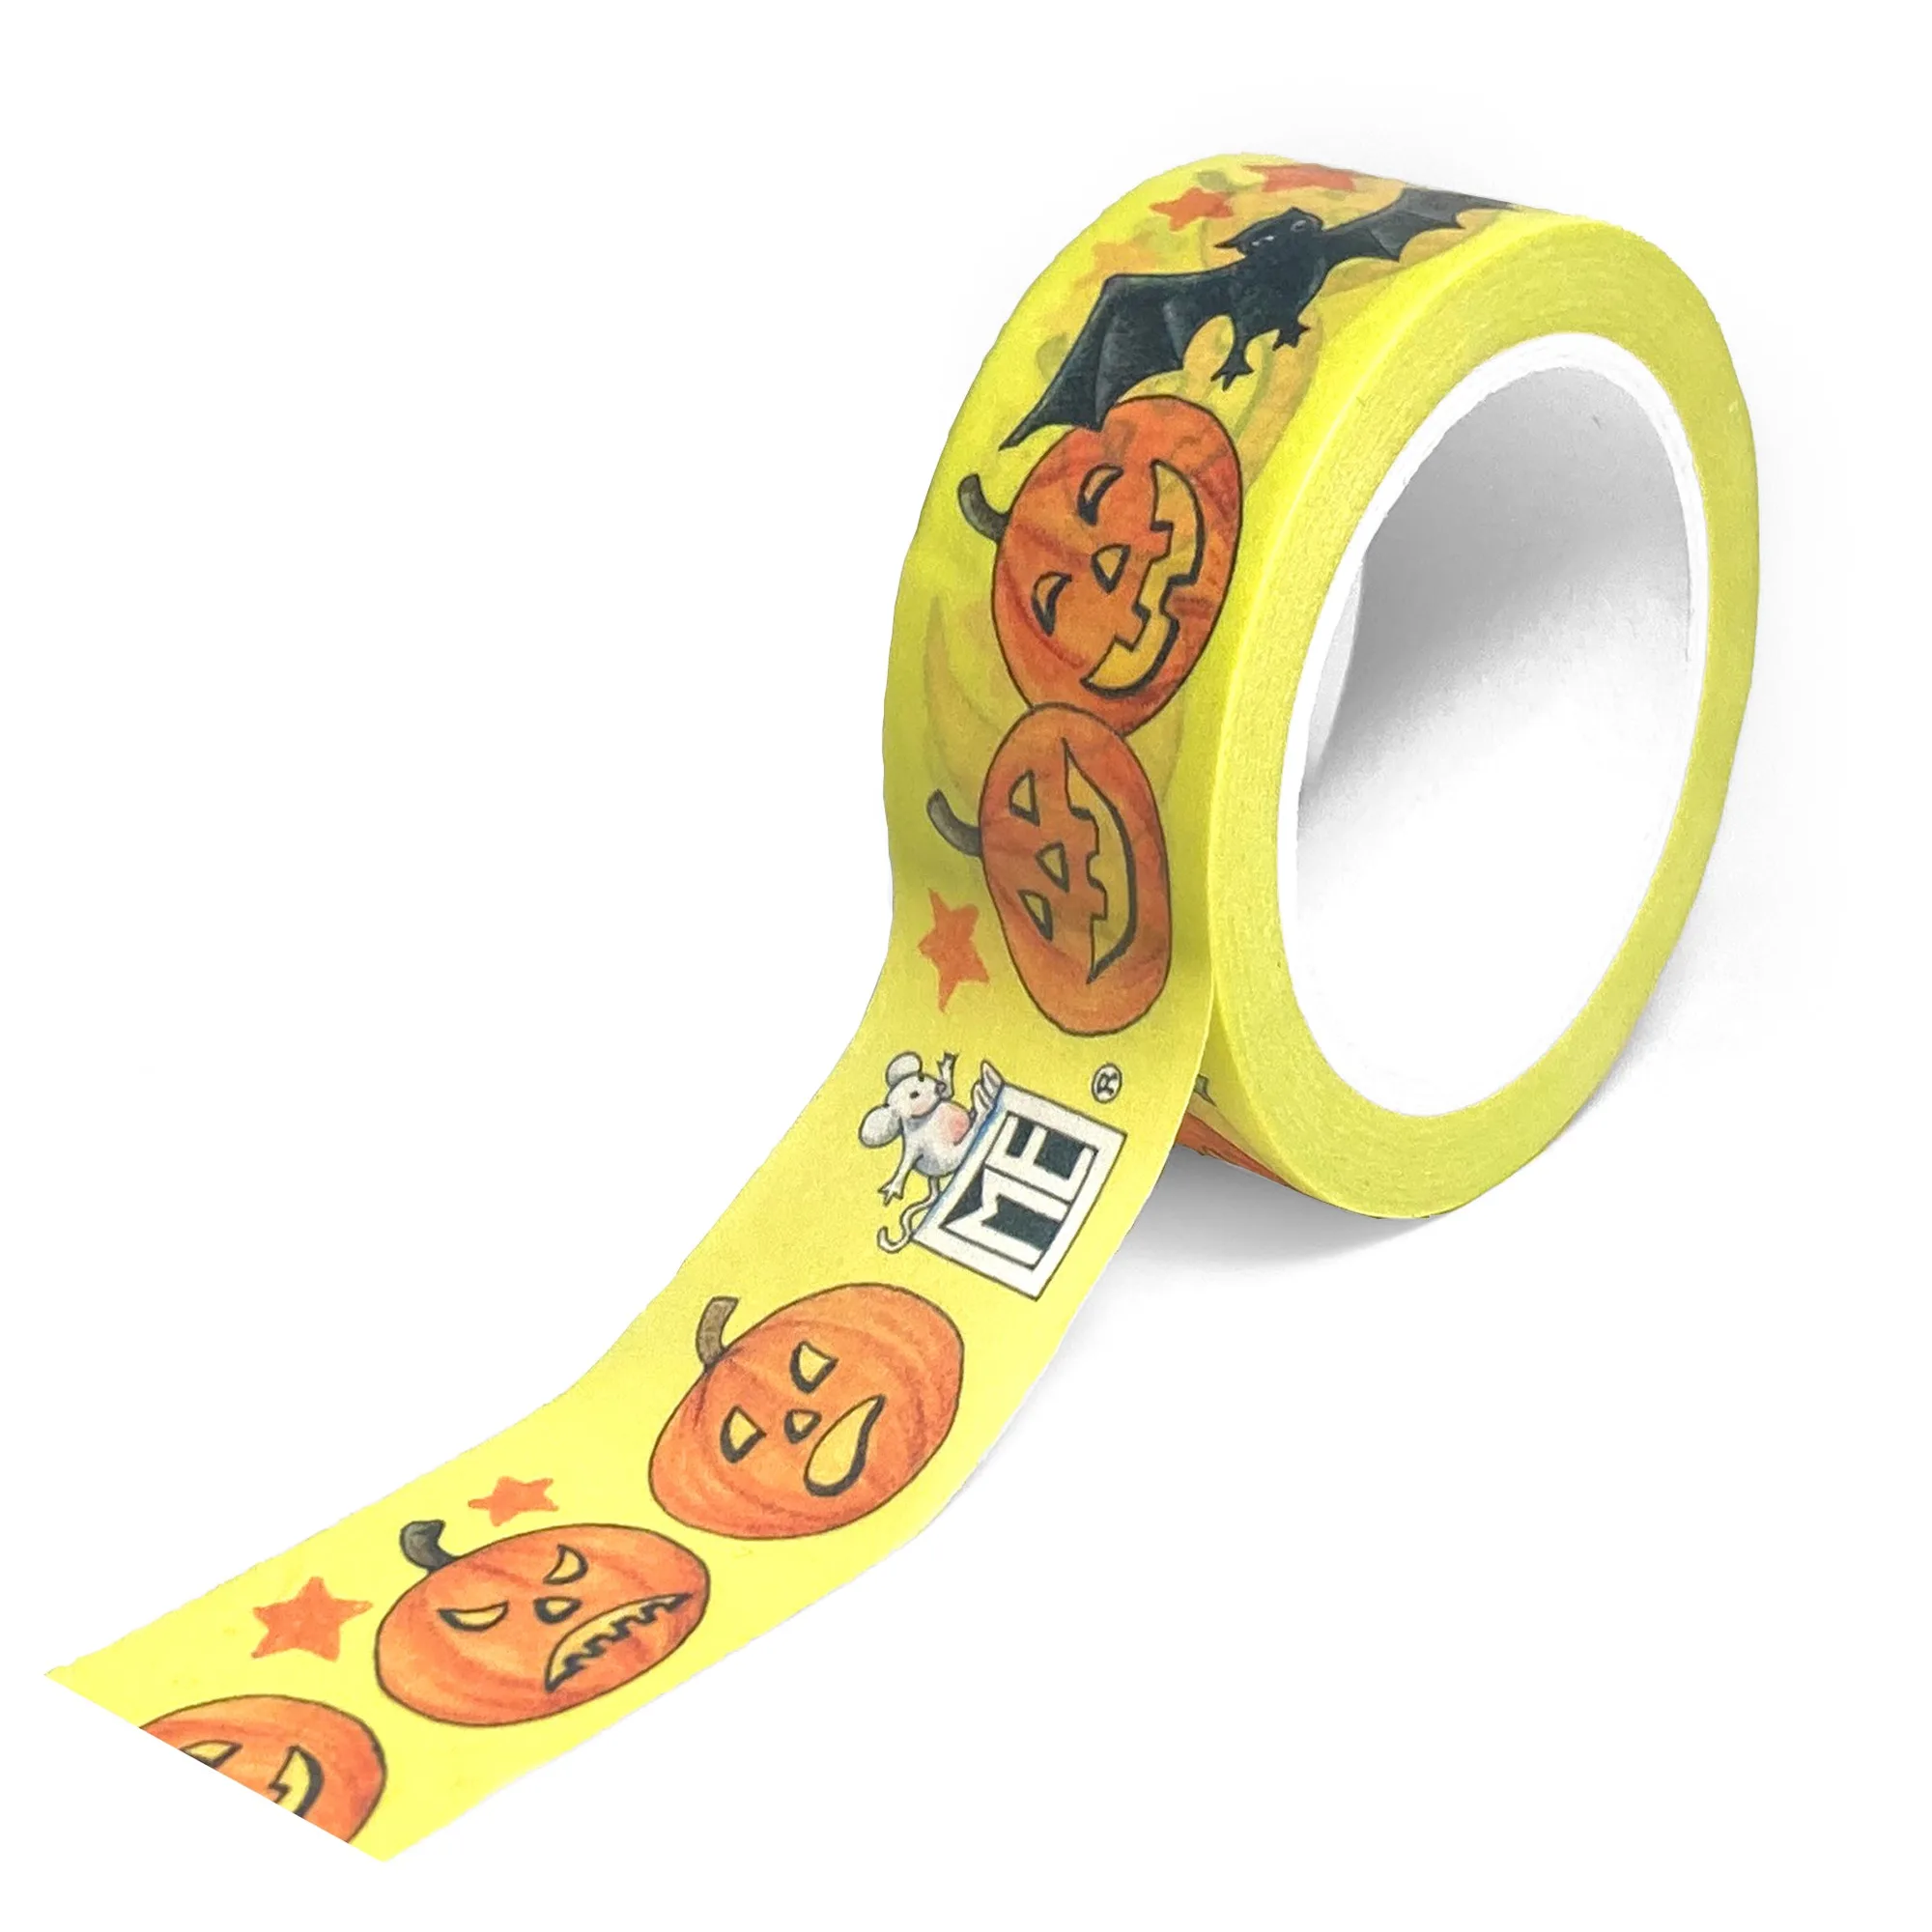
Halloween Yellow Washi Tape
-
Cross Hatch Holly Green Washi Tape: This 15 mm wide decorative Japanese tape is flexible, somewhat transparent, super durable, and tears easily without leaving a sticky residue. The narrower width is ideal for thin borders, grid lines, or accent strips that fit neatly alongside stamped images or sentiment stickers.
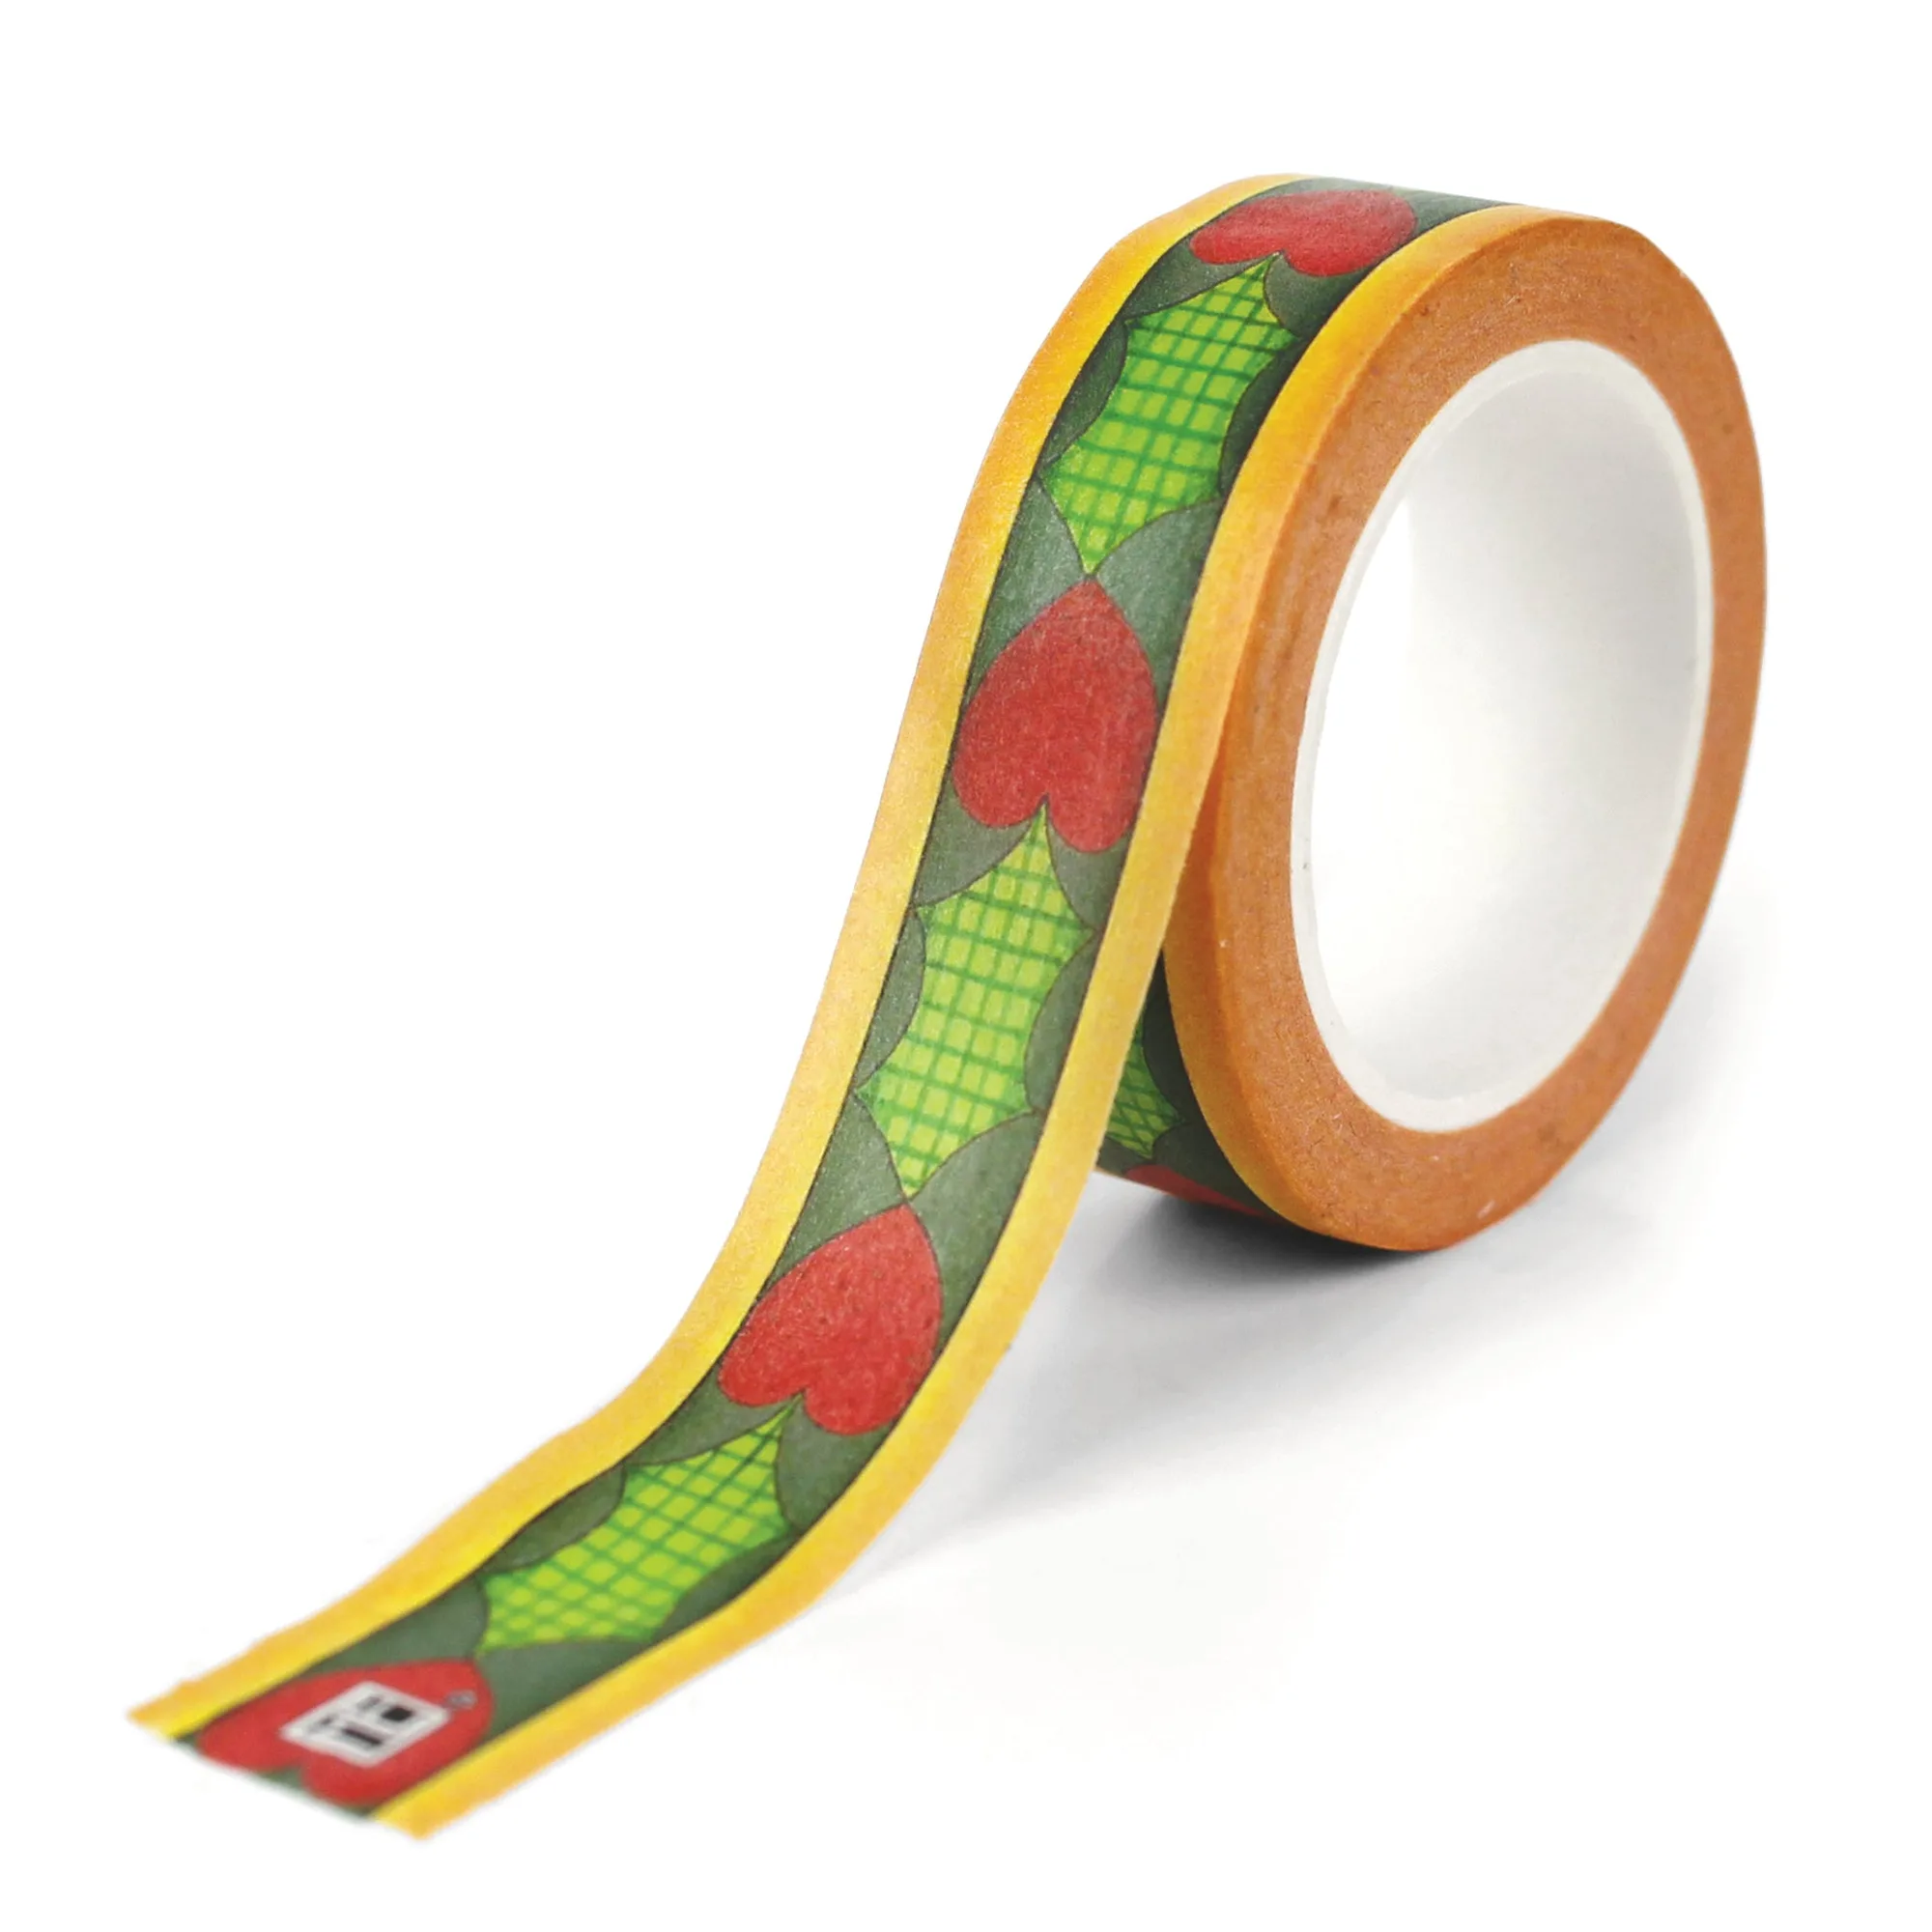
Cross Hatch Holly Green Washi Tape


