Quick Answer
To get crisp lines with white gel paint, start with a clean, cured base coat, apply thin coats of a highly pigmented white gel paint like Madam Glam's White Gel Paint, and cure each layer fully. Use a fine detail brush for precision and avoid overloading the brush to prevent bleeding.
Why White Gel Paint Needs a Different Technique
White gel paint is notoriously tricky because its high pigment load can make it thicker than other colors. If you apply a thick layer, it may wrinkle during curing or lose its sharp edge. The key is to use a formula that is highly pigmented with a medium viscosity, like Madam Glam's White Gel Paint, so you get full coverage in just one thin coat. This reduces the risk of pooling and keeps your lines defined.
Step-by-Step: Crisp White Gel Paint Lines
- Prep Your Nail Surface: Apply a base coat and cure it. Then apply your chosen color base (if any) and cure it. For best results, buff the surface lightly or use a matte top coat so the white gel paint has a slightly tacky grip. A slippery glossy surface can cause the paint to slide. Checkpoint: If your white paint beads up or slides, your surface is too slick. Wipe with alcohol or apply a matte top coat.
- Load Your Brush Sparingly: Dip a fine detail brush into the white gel paint and wipe off the excess on the rim of the pot or a palette. The brush should be almost dry—just enough paint to draw a thin line. Overloading is the #1 cause of thick, bleeding lines. Common mistake: Too much paint on the brush. You want a thin, even bead, not a blob.
- Draw Your Design in Thin Layers: Use light pressure to pull the line in one smooth motion. If you need a thicker line, let the first layer cure, then add a second thin layer on top. This prevents the paint from flooding the cuticle or spreading unevenly. Checkpoint: After curing the first layer, inspect for gaps or unevenness before adding more. It's easier to fix a thin line than a thick mess.
- Cure Immediately and Thoroughly: Cure the white gel paint for the full recommended time (usually 30-60 seconds in a UV/LED lamp). White pigment can sometimes require a few extra seconds to cure fully. Under-curing leads to tackiness and smudging. Common mistake: Rushing the cure. If the paint feels sticky after curing, give it another 10-15 seconds.
- Seal with a Top Coat: Apply a no-wipe top coat over the entire nail, making sure to cap the free edge. Cure fully. This locks in your design and adds shine. If you used a no-wipe white gel paint, you can skip wiping and go straight to top coat. Final tip: Use a thin top coat to avoid dragging your white lines. A thick top coat can blur fine details.
Product Facts
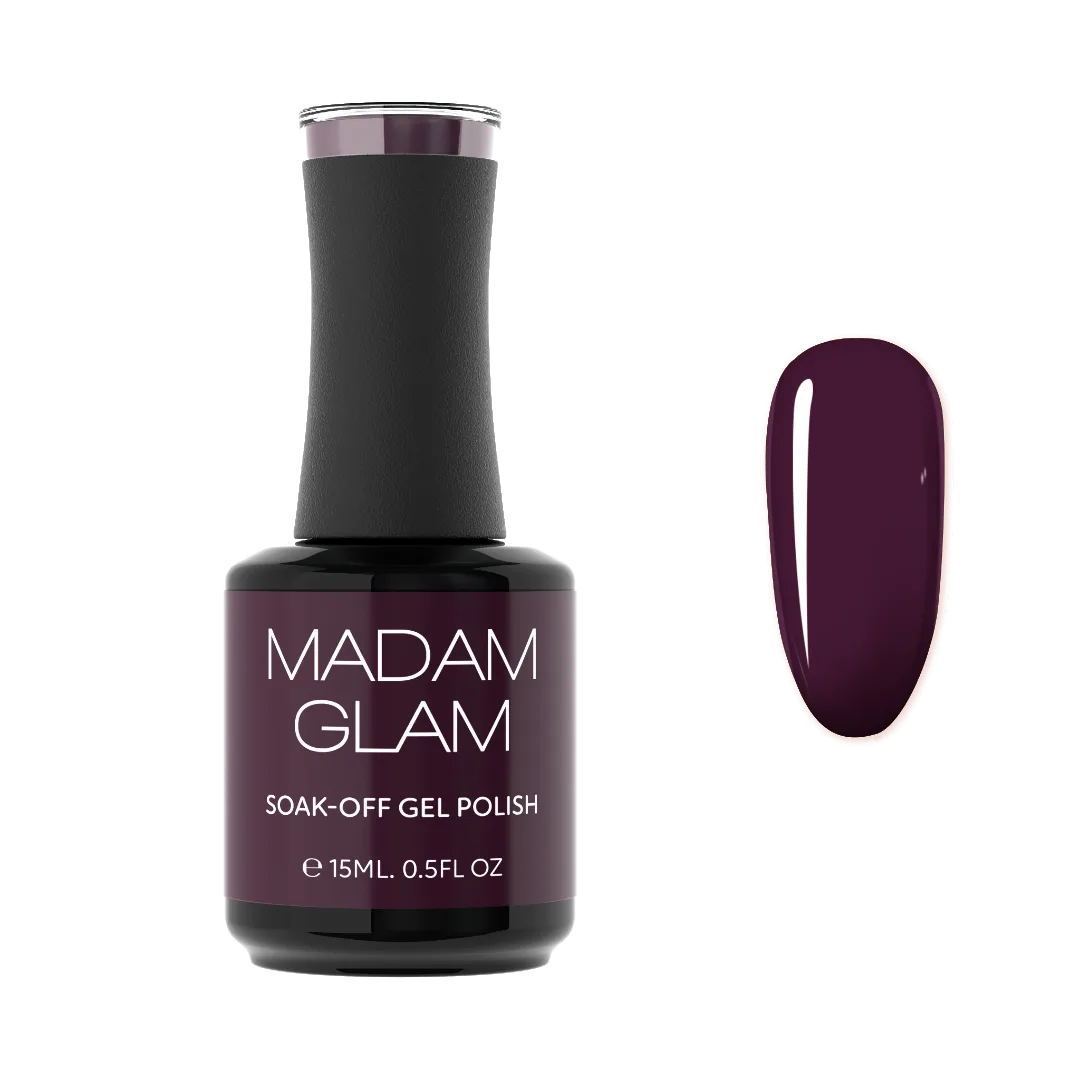
- White Gel Paint: No Wipe White Art Gel Paint. Highly pigmented with medium viscosity, perfect for detailed nail art designs. Creme - No Wipe Formula. Perfect coverage in just one layer. Always apply thin coats to avoid wrinkling. The medium viscosity and high pigmentation mean you can draw fine lines without the paint spreading or needing multiple layers, which helps maintain crisp edges and saves time.