Quick answer
Attach woven labels to your garments by choosing a placement that suits the item, securing the label with a simple stitch, and finishing neatly to avoid irritation or fraying.
Why placement matters for comfort and style
Where you place a woven label affects both the look and feel of your garment. A label in the back neckline is classic for store-bought clothing, but for handmade items you might prefer a side seam, inside waistband, or even a visible spot like a sleeve hem. Think about how the label will feel against skin—especially for children or sensitive wearers—and whether you want it to be a hidden detail or a decorative feature.
For items like quilts or bags, labels can go on a corner or inside a pocket. The key is to choose a spot that lies flat and won't bunch up during wear or washing.
Choosing the right stitch for your fabric
The stitch you use depends on your fabric weight and how permanent you want the label to be. A straight stitch works well on medium-weight cottons, while a zigzag or stretch stitch is better for knits and activewear. If you want the label to be removable (for example, on a gift), use a basting stitch or hand-sew with a contrasting thread.
Always test your stitch on a scrap of fabric first. Woven labels are dense, and a too-small needle can skip stitches or damage the label edge.
Steps to attach woven labels
- Choose your placement: Decide where the label will go: back neckline, side seam, inside waistband, or a visible spot like a sleeve or pocket. For garments, avoid areas that will rub against skin constantly. For bags or quilts, a corner or inside pocket works well. Mark the spot with a fabric pen or pin before stitching.
- Prepare the label and garment: Fold the label's raw edges under about 1/4 inch if it isn't already finished. Press with an iron on low heat. Pin the label in place, making sure it lies flat and straight. For stretchy fabrics, use a stabilizer or interfacing behind the label area to prevent puckering. Always pre-wash your fabric and label if you plan to wash the finished item.
- Stitch the label securely: Use a straight stitch or zigzag stitch close to the edge of the label. Sew slowly, especially around corners, and backstitch at the start and end. For knits, use a stretch stitch or a narrow zigzag to allow the fabric to flex. For a hand-sewn finish, use a whipstitch or ladder stitch with thread that matches the label edge. Avoid stitching through the label's text or design—keep your seam allowance to the very edge.
- Trim threads and finish: Clip all thread tails close to the fabric. Press the label area with an iron on the appropriate setting for your fabric. If the label feels stiff, give it a gentle steam or press from the wrong side. Check that the label lies flat and doesn't cause a bump on the right side of the garment.
Product facts
-
Made Under Moonlight Multipack Woven Sewing Labels: This multipack includes an update of our fan favorite 'Made Under Moonlight' woven label, now a smidge smaller than the original but featuring the same metallic silver and gold accents on a silky soft black background. The smaller size and soft background make these labels ideal for garments where you want a subtle, comfortable label that won't add bulk or scratchiness.
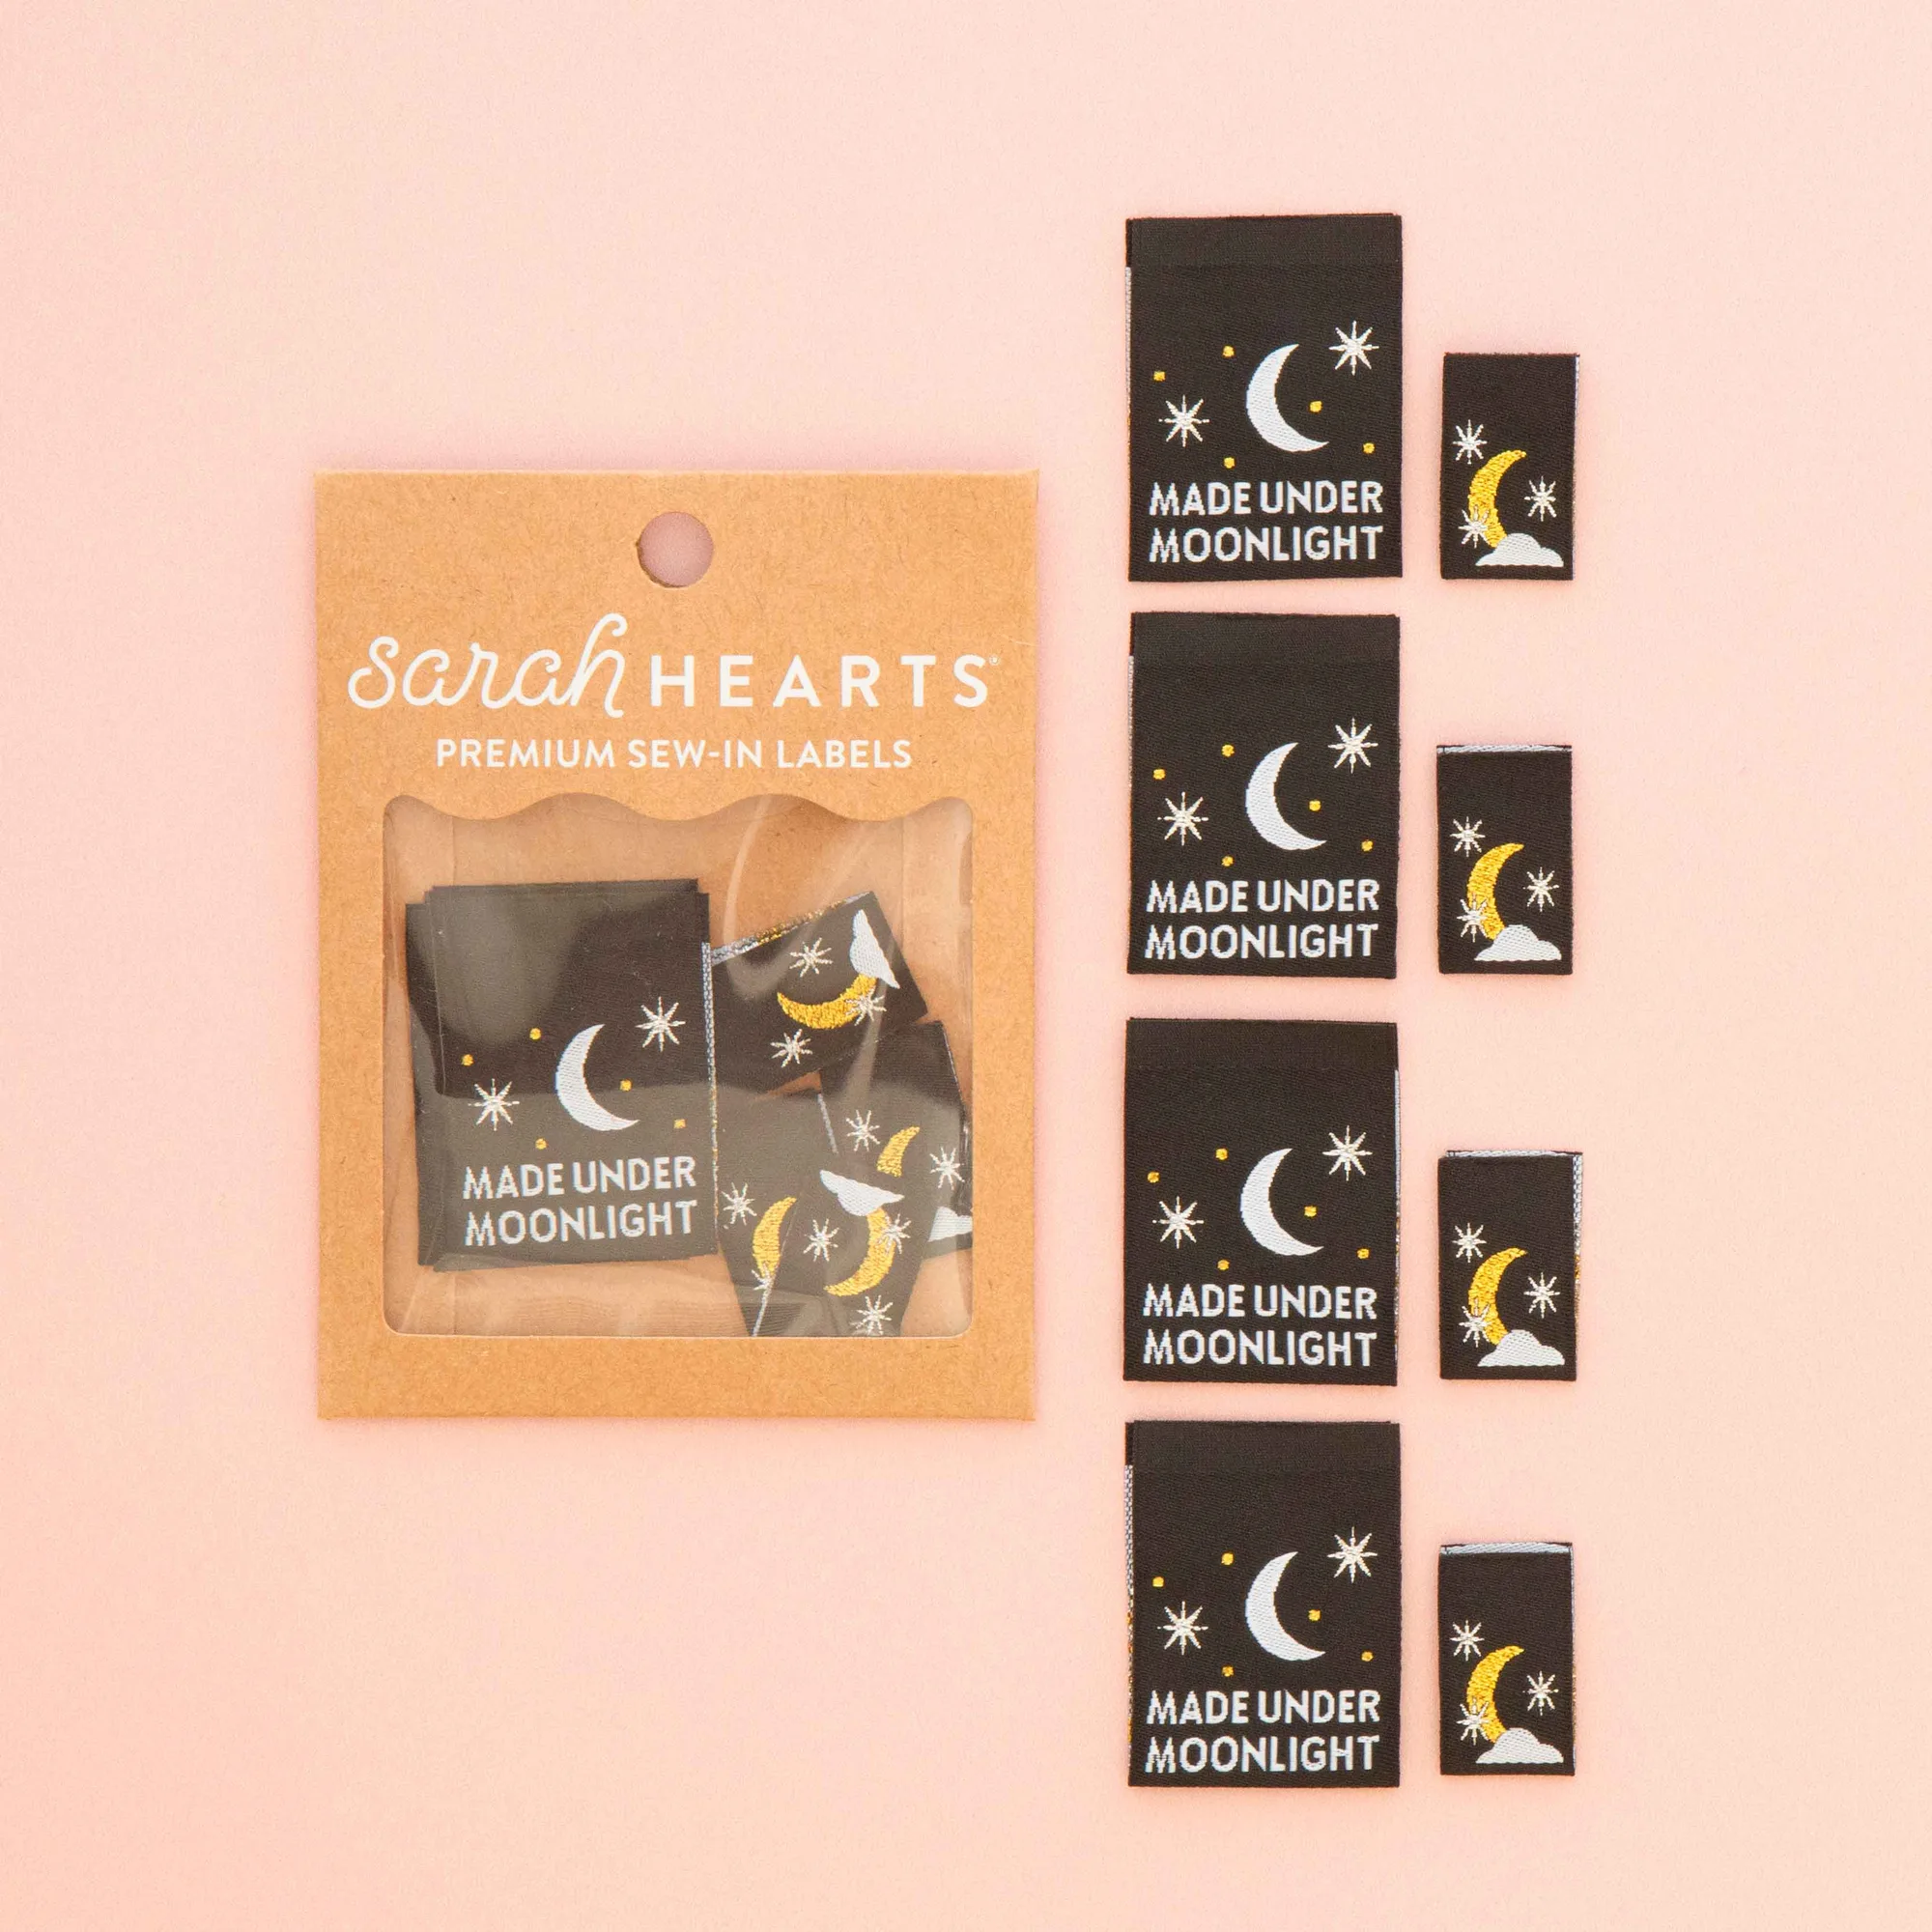
Made Under Moonlight Multipack Woven Sewing Labels