Quick answer
Cut continuous zipper tape about 1 inch longer than your opening, then install it with a zipper foot or double-sided tape before adding the pull. Trim the ends after sewing. Nylon coil tape can be cut to any length and sewn over without breaking needles, which is why it is ideal for bags and pouches.
Zipper tape by the yard gives you the freedom to cut exactly the length your project needs, instead of hunting for a ready-made zipper. That flexibility matters most on bags, pouches, and organizers where a standard zipper is either too short or too long.
This zipper tape tutorial walks through measuring, cutting, installing, and finishing continuous zipper tape. The process is the same whether you are working with a single color or a bundle, and the checkpoints below will help you avoid the mistakes that cause wavy zippers and skipped stitches.
What you need before you cut
Gather your zipper tape, a ruler or measuring tape, fabric scissors or rotary cutter, a zipper foot, and optional ByAnnie Double Sided Tape for holding the zipper in place. If you plan to add a pull, have it nearby so you can test the fit before sewing. A marking tool helps you keep the zipper centered on the opening.
Check the tape width and tooth size against your pattern. Size #5 zipper tape is a common choice for handbags, pouches, and backpacks, while #3 is better for small pouches. If your pattern specifies a size, follow it; if not, match the zipper size to the scale of the bag.
- Work on a clean surface so the tape does not pick up lint.
- Keep the tape rolled loosely to avoid kinks while measuring.
How to measure and cut zipper tape
Measure your zipper opening along the seam where the zipper will sit. Add about 1 inch (2.5 cm) to that measurement. This extra length gives you room to position the pull and trim the ends after sewing. For a curved opening, measure along the curve with a flexible tape.
Cut the tape straight across with sharp scissors or a rotary cutter. Nylon coil tape can be cut to any length, and you can sew right over it without breaking your needles. If you are cutting metal zipper tape, use dedicated metal snips and avoid cutting through the teeth.
- Common mistake: cutting exactly to the opening length, which leaves no room for seam allowances or the pull.
- Checkpoint: after cutting, lay the tape along the opening to confirm the extra inch is present.
Installing zipper tape with a zipper foot or tape
Pin or tape the zipper tape to the fabric, right sides together, aligning the edge of the tape with the seam line. ByAnnie Double Sided Tape is useful here because it holds the zipper without pins and keeps it from shifting. If you use pins, place them outside the stitching line so you do not sew over them.
Attach your zipper foot and stitch along the tape edge, stopping and pivoting at the pull area if needed. For a clean finish, sew both sides of the zipper opening before adding the pull. If your machine struggles, lengthen the stitch slightly and reduce pressure on the presser foot.
- Common mistake: sewing too close to the teeth, which can break needles or cause the zipper to stick.
- Checkpoint: open and close the zipper before trimming to make sure it glides smoothly.
Adding the zipper pull and finishing
Slide the pull onto the tape from either end. Star Pulls - Size #5 attach in seconds from either end, so you can make single or double-pull zippers without extra tools. If the pull feels tight, check that you are using the correct size for your tape; #5 pulls fit #5 tape.
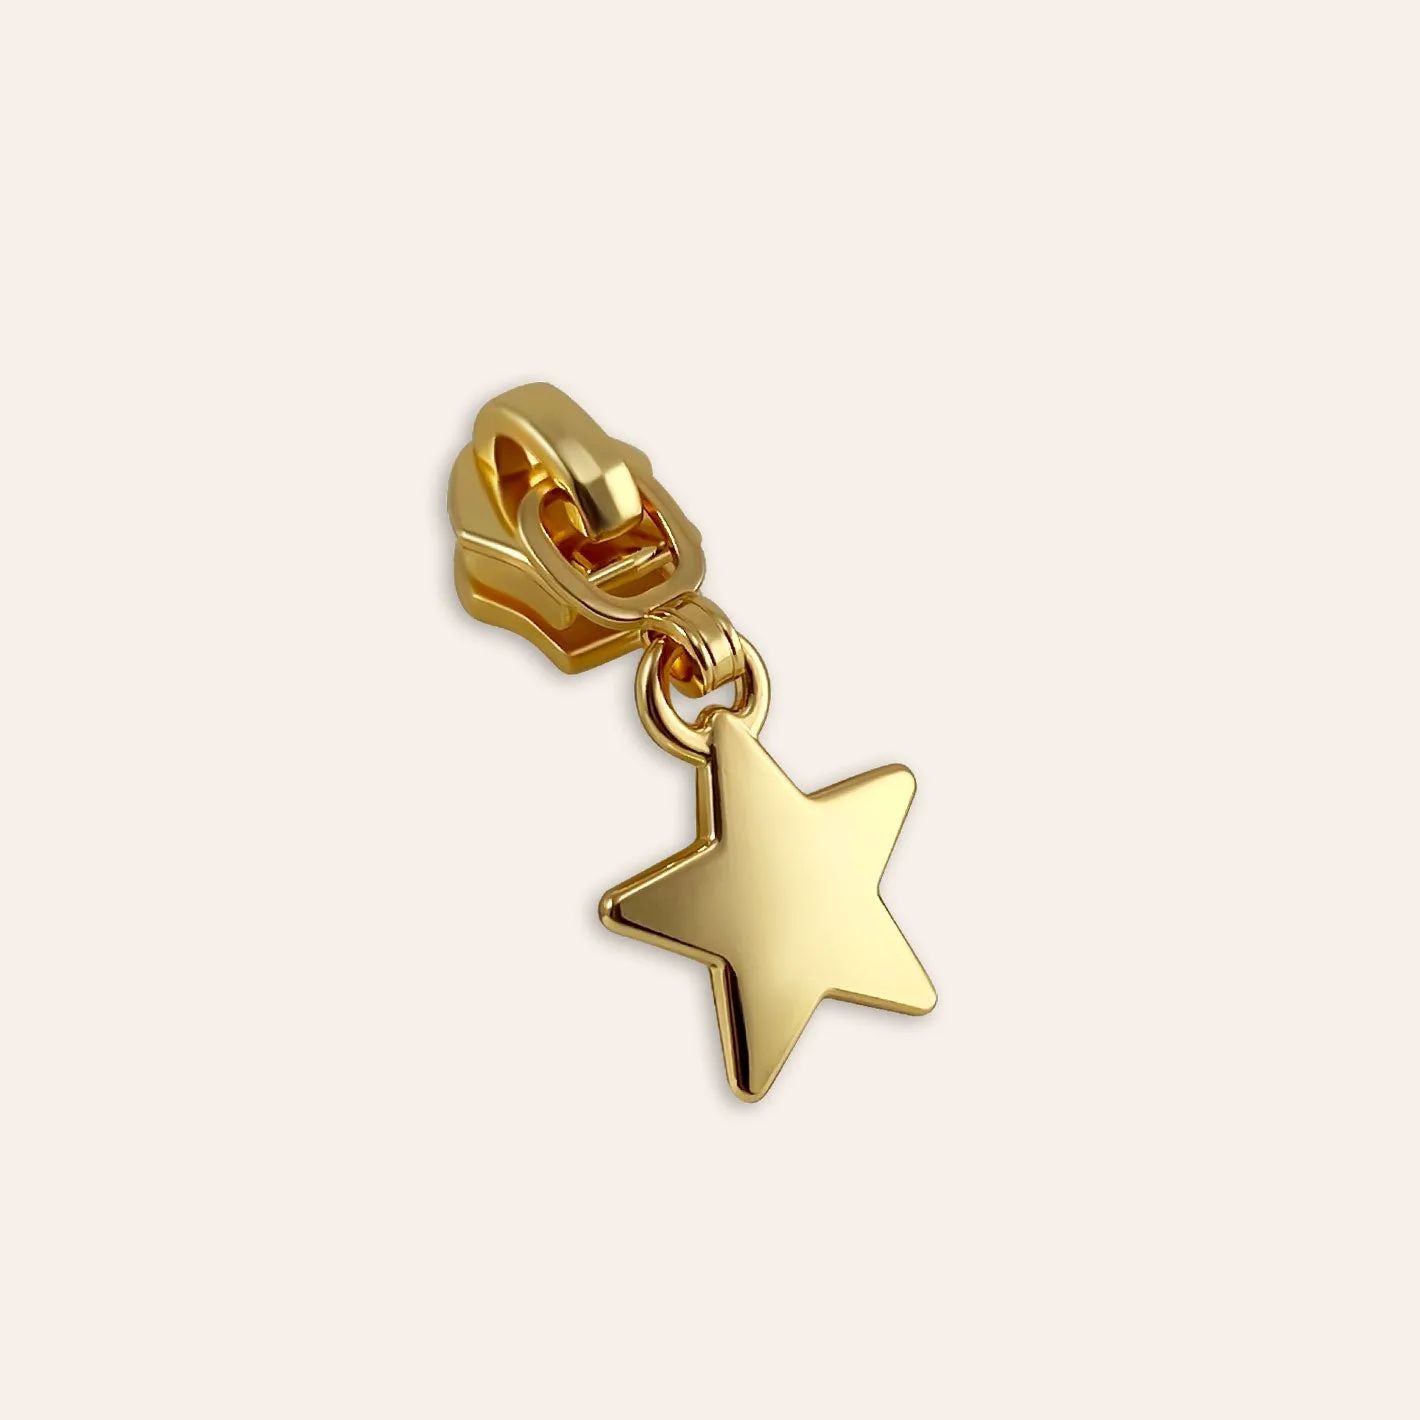
Star Pulls - Size #5
Once the pull is on, test the zipper along its full length. Trim any excess tape beyond the seam allowance, but leave enough to anchor the ends inside the seam. If the zipper will be visible, fold the tape ends under before topstitching.
- Common mistake: trimming the tape too short before testing the pull, which can make the zipper unusable.
- Checkpoint: the pull should move smoothly and the teeth should close completely.
Choosing zipper tape and pulls that work together
Zipper tape comes in bundles and single colors, and the size must match your pull. For a coordinated look, choose a tape color that complements your fabric and a pull that adds contrast or shine. If you are new to zipper tape, a bundle is a low-risk way to try several colors.
Remember that not all zipper tapes are created equal. Premium tape is durable and designed to look high-end, and it cuts cleanly without fraying. When you find a tape you like, note the size and tooth type so you can reorder the same feel.
- Use #5 tape for bags and backpacks, #3 for small pouches.
- Keep a few extra pulls on hand so you can finish a project without a special order.
Zipper tape by the yard: step-by-step
- Measure the opening and add 1 inch: Measure along the seam where the zipper will sit, then add about 1 inch (2.5 cm) for seam allowances and the pull. Checkpoint: the tape should extend past both ends of the opening.
- Cut the tape straight: Use sharp scissors or a rotary cutter for nylon coil tape. Cut straight across and avoid cutting through metal teeth if using metal tape. Common mistake: cutting too short; always cut longer than you think you need.
- Position and secure the tape: Align the tape with the seam line and hold it with ByAnnie Double Sided Tape or pins placed outside the stitching line. Checkpoint: the tape should not shift when you lift the fabric.
- Stitch with a zipper foot: Sew along the tape edge, stopping and pivoting at the pull area if needed. Sew both sides before adding the pull. Common mistake: sewing too close to the teeth, which can break needles.
- Add the pull and test: Slide the pull onto the tape from either end. Star Pulls - Size #5 attach in seconds and fit #5 tape. Checkpoint: the zipper should glide smoothly along its full length.
- Trim and finish: Trim excess tape beyond the seam allowance, leaving enough to anchor the ends. Fold under if the ends will be visible. Common mistake: trimming too short before testing; test first, then trim.
Products that make zipper tape easier
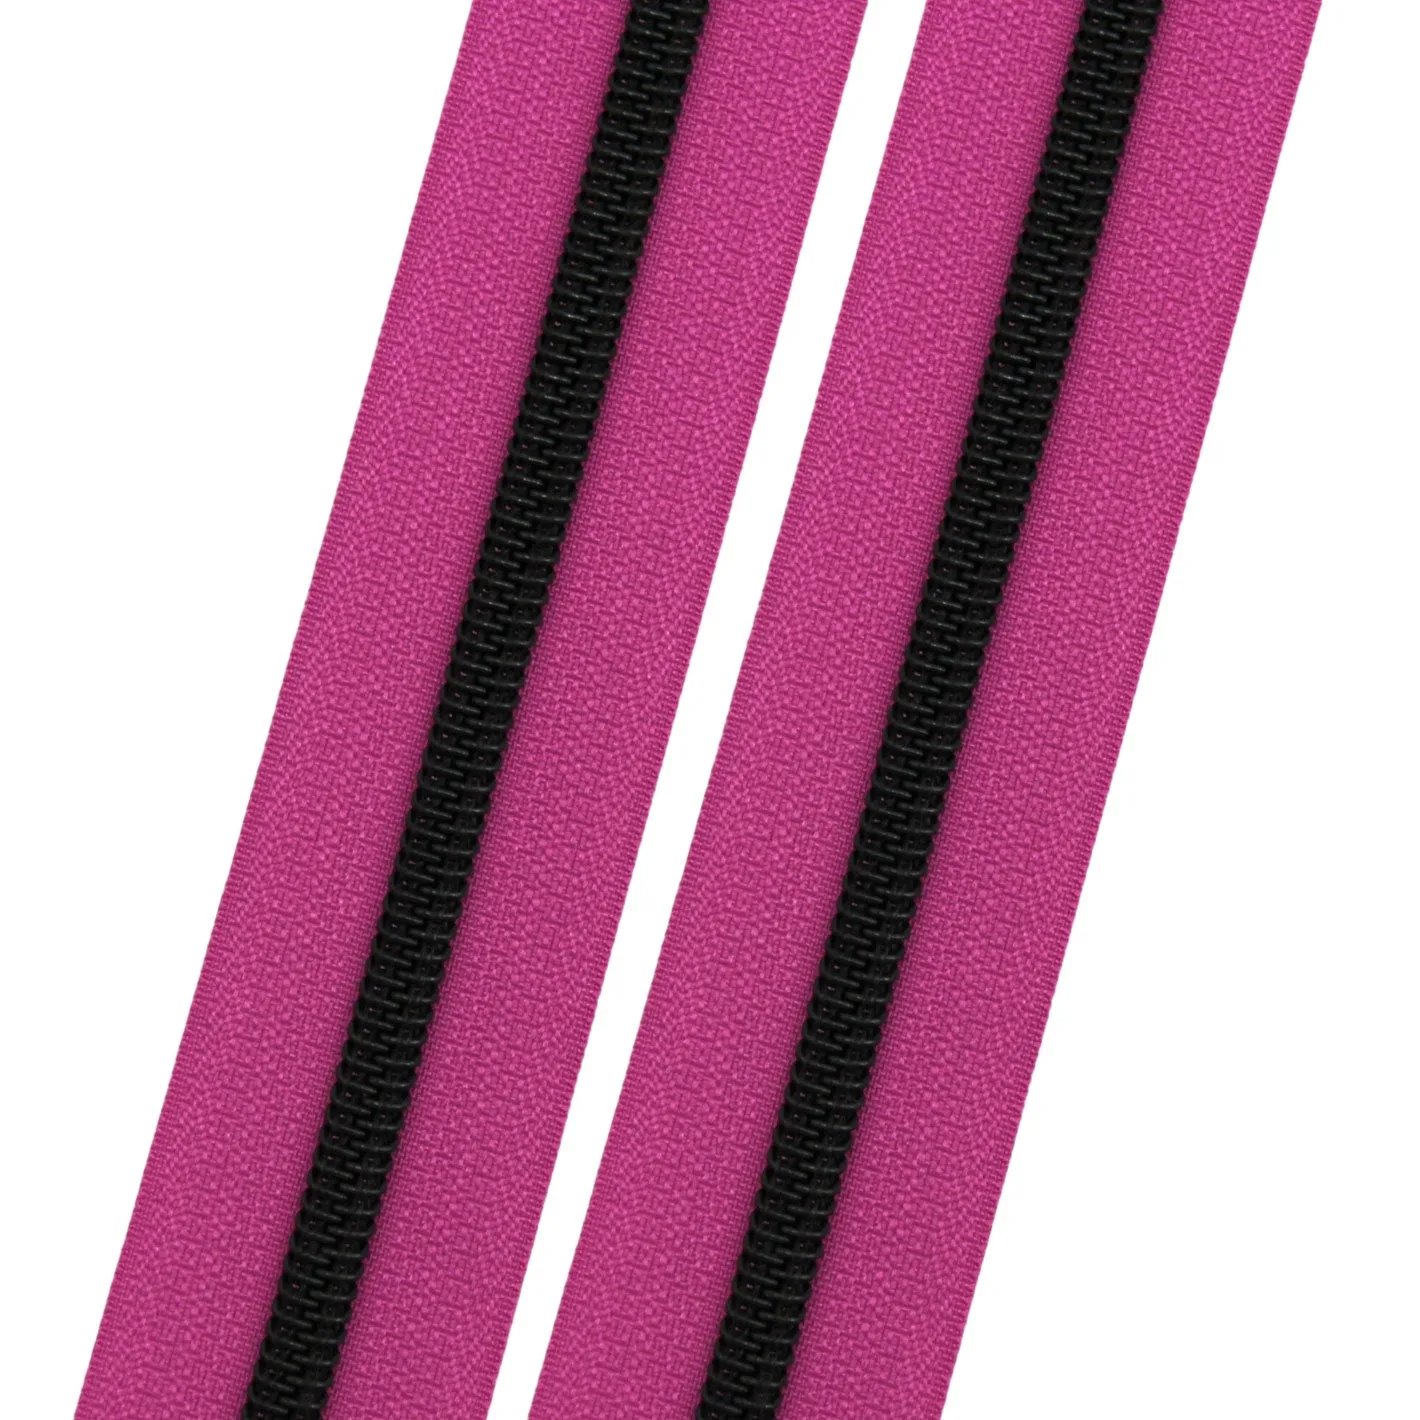
- Mindy Lahiri - #5 Black Nylon Coil Zipper Tape: Cut it to any length you need and sew right over it without breaking your needles; the teeth look like metal but they are nylon. Size #5 is ideal for handbags, pouches, and backpacks. You can cut exactly the length your project needs and sew confidently over the tape, which is perfect for bag openings that do not match standard zipper lengths.
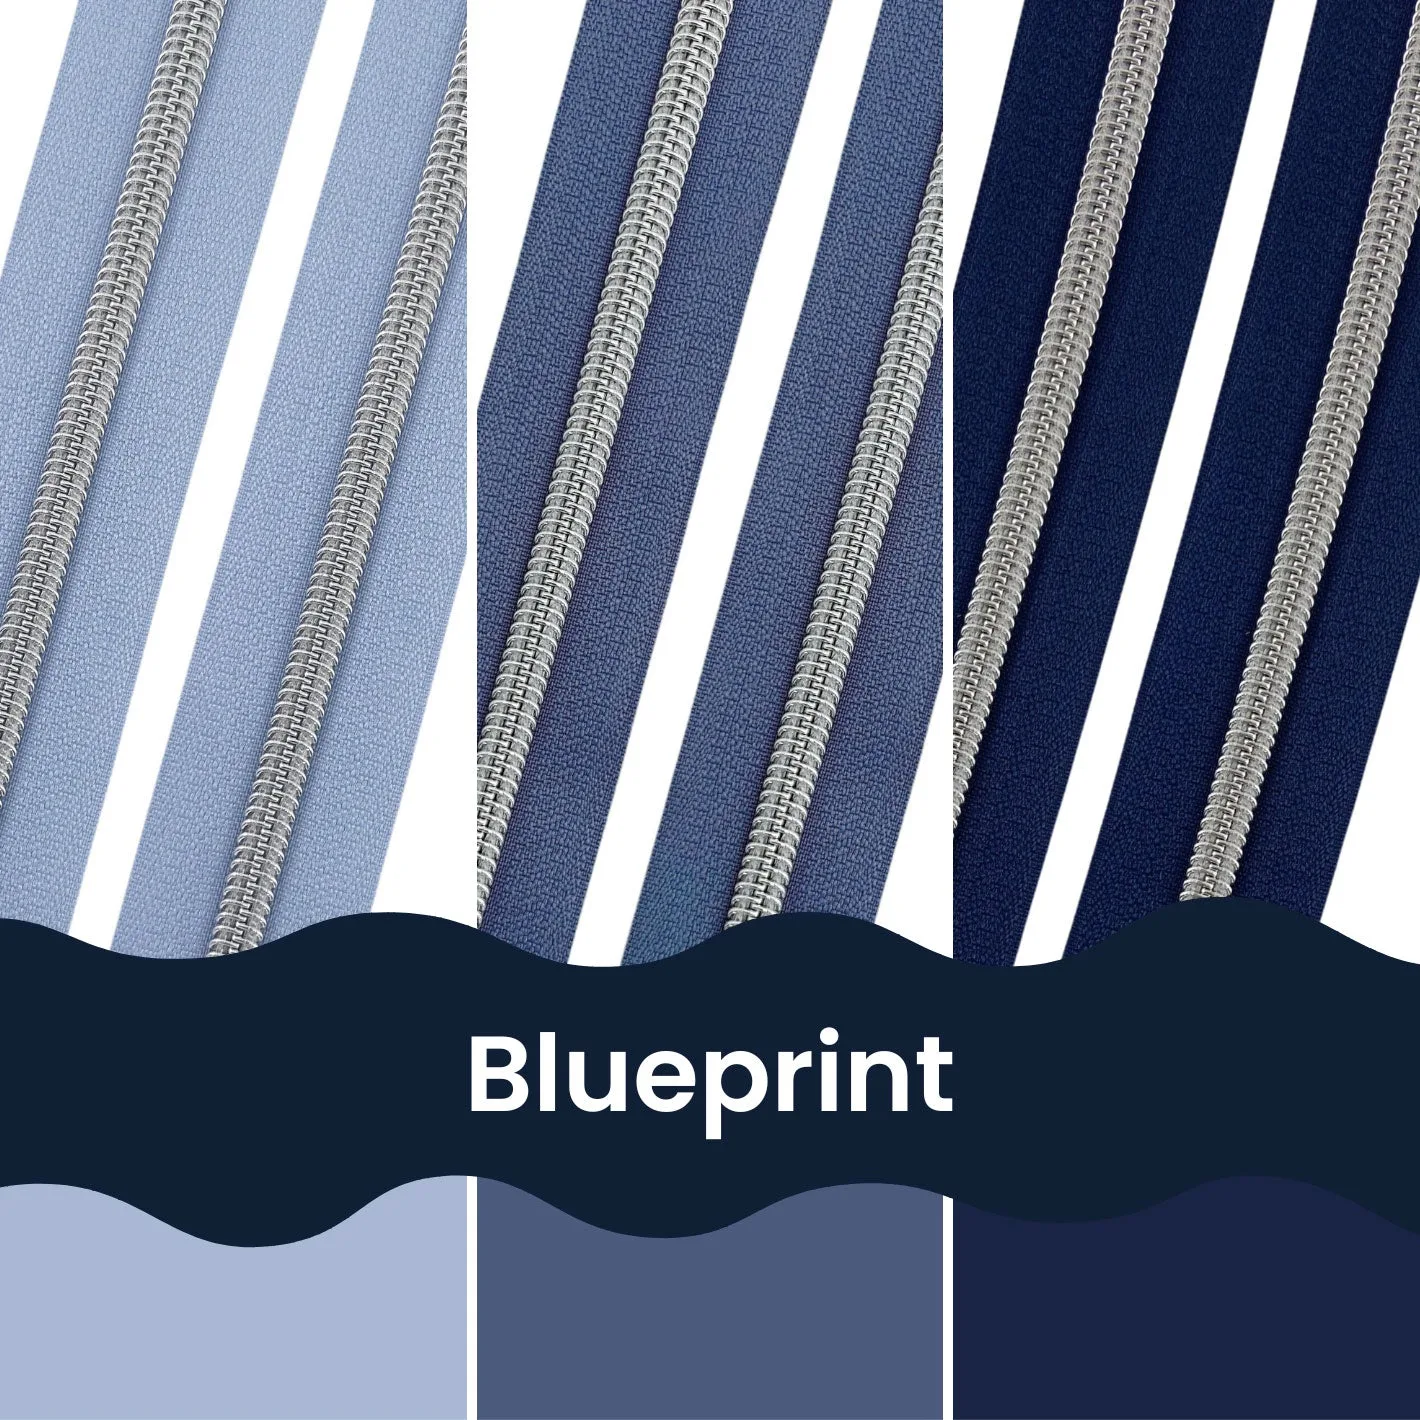
- Blueprint - Zipper Tape Bundle: Brings together three popular blues in premium #5 silver nylon coil: Periwinkle's Twin, Bluetique, and Navy. Cut it to any length for pouches and more. A bundle lets you test color combinations and keeps a few matching tapes on hand, so you are not stuck when a project calls for a specific blue.
- Star Pulls - Size #5: Fits #5 zipper tape and attaches in seconds from either end, so you can make single or double-pull zippers without breaking a sweat. Adding a pull is the final step, and these attach quickly to #5 tape, making it easy to finish a zipper with a decorative touch.
Zipper tape by the yard is a flexible, forgiving way to add zippers to bags and pouches. Cut a little longer than you need, secure the tape before sewing, and test the pull before trimming. With a few practice runs, you will be able to size zippers exactly to your project every time.