Quick answer
Wear a bustier all day by choosing your true band size rather than sizing down, hooking it on the loosest row, and layering it under a structured outer layer so the boning stays vertical. Give yourself a mid-day break from the tightest hooks, and treat anything that digs, rides, or numbs as a fit problem to fix, not a discomfort to endure.
A bustier is built to shape, lift, and hold a line, which is exactly why it can turn uncomfortable by hour three. The difference between a bustier you forget you are wearing and one you are counting the minutes to remove is rarely the garment itself. It is almost always the size, the hook setting, and what you put over it.
This guide walks through the process in order, from measuring before you buy to the small adjustments that make an all-day bustier realistic. It also flags the single most common mistake at each stage so you can catch a problem before it becomes a long afternoon.
Start with your real band size, not your dress size
A bustier carries its structure in the band, so the band measurement matters more than the letter on the tag. Measure snugly around your ribcage directly under your bust, then compare that number to the brand's size chart rather than assuming you are the same size as your bra or your dress. If you land between sizes, take the larger band and rely on the hook rows to fine-tune.
This is where most all-day discomfort begins. Sizing down to chase a tighter shape puts constant pressure on your ribs and lower back, and no amount of adjusting later will fix a band that is fundamentally too small. A properly sized bustier should feel firm and supportive when you first put it on, not restrictive.
- Checkpoint: you should be able to slide one finger under the band at your back without forcing it.
- If the band leaves deep red marks within ten minutes, it is too tight, not just new.
Fasten on the loosest hooks and work inward over time
Most bustiers have multiple hook rows for a reason. Start on the loosest setting so the band has room to settle as you move, breathe, and sit. As the day goes on and the fabric warms to your body, you can move to a tighter row if you want more hold, which gives you a built-in adjustment instead of a fixed squeeze.
If you start on the tightest row, you have used up all your adjustment room before lunch. That is the mistake that turns a workable bustier into an uncomfortable one by mid-afternoon, because there is nowhere left to loosen when you sit down or eat.
- Checkpoint: after fastening, bend forward and side to side once to confirm the band stays level.
- A band that rides up in back is usually too loose, not too tight.
Position the bustier so the boning sits vertically
Once it is hooked, reach inside and smooth the cups and boning so each vertical channel runs straight up and down your torso. Twisted or diagonal boning is a leading cause of poking and pressure points, and it usually happens because the bustier was pulled on rather than settled into place. Take an extra ten seconds to align it.
If the bustier has adjustable shoulder or garter straps, set them after the band is positioned, not before. Straps should support, not carry the whole garment, so tighten them only until the top edge lies flat against your skin.
- Checkpoint: run a finger along the top edge. It should sit flush, with no gaping or curling.
- Loosen straps if you feel downward pull on your shoulders.
Layer it under clothes with the right outer pieces
A bustier under clothes works best when the outer layer has some structure of its own. A blazer, a button-down worn open, a thick knit, or a high-waisted skirt or trouser that covers the bottom edge all help the bustier stay put and disappear visually. Smooth, close-fitting fabrics over a boned bustier tend to show every seam and hook.
Watch the hemline. If the bottom edge of the bustier sits right at your natural waist and your pants or skirt band presses on it, you will feel that seam all day. Choose bottoms that sit above or below the bustier's edge rather than directly on it.
- Tip: a seamless camisole between you and the bustier can soften hooks and boning against skin.
- Avoid tucking a stiff bustier under a thin, body-hugging dress if you want a smooth line.
Build in breaks and check in with your body
Even a well-fitted bustier is a structured garment, and structured garments deserve breaks. Plan to loosen to the next hook row or step somewhere private and unhook for a few minutes every few hours, especially after a meal. This resets the pressure and makes the rest of the day far more comfortable.
Pay attention to signals that go beyond mild snugness. Numbness, tingling, sharp rib pain, or shortness of breath are not normal and mean the bustier is too tight or the wrong shape for your torso. Take it off and reassess the size rather than pushing through.
- Checkpoint: if you cannot take a full, deep breath, loosen a row immediately.
- Persistent marks that last more than an hour after removal signal a sizing issue.
Match the bustier's material to how long you will wear it
Material changes the comfort math. Lace, tulle, and soft elastics flex with movement, while vinyl and coated fabrics hold a firmer, glossier shape and tend to feel warmer and less forgiving over long stretches. If your goal is a genuine all-day bustier, lean toward softer, more breathable constructions and save the high-shine pieces for shorter, higher-impact wear.
This is not about avoiding vinyl or fetish styles. It is about matching the piece to the occasion. A vinyl or cage-detailed set can be comfortable for an evening or a few hours; a lace and tulle set is the better bet when you need to sit, stand, and move through a full day.
- Checkpoint: hold the fabric to your cheek. If it feels stiff and non-breathing, plan a shorter wear window.
- Sheer mesh panels add airflow without sacrificing structure.
Your all-day bustier routine, step by step
- 1. Measure your band before you buy: Measure snugly under your bust and match that number to the brand's size chart instead of your usual dress size. Checkpoint: if you are between sizes, size up in the band.
- 2. Hook on the loosest row first: Fasten the loosest setting so the band can settle as you move, and keep tighter rows in reserve for later in the day. Mistake to avoid: starting on the tightest row and having no room to loosen.
- 3. Align the boning vertically: Smooth the cups and boning so every channel runs straight up and down, then set adjustable straps last. Checkpoint: the top edge should sit flush with no gaping or curling.
- 4. Layer with structured outer pieces: Choose a blazer, open button-down, thick knit, or high-waisted bottom so the bustier stays put and stays hidden. Mistake to avoid: a thin, body-hugging dress over a boned bustier.
- 5. Take breaks every few hours: Loosen a hook row or unhook briefly after meals, and treat numbness, tingling, or sharp rib pain as a stop signal. Checkpoint: you should still be able to take a full, deep breath.
- 6. Match material to wear time: Choose lace, tulle, and soft elastics for long days; save vinyl and coated fabrics for shorter, statement wear. Next step: rotate your pieces so the firmest ones get the shortest outings.
Bustier-friendly pieces from our catalog
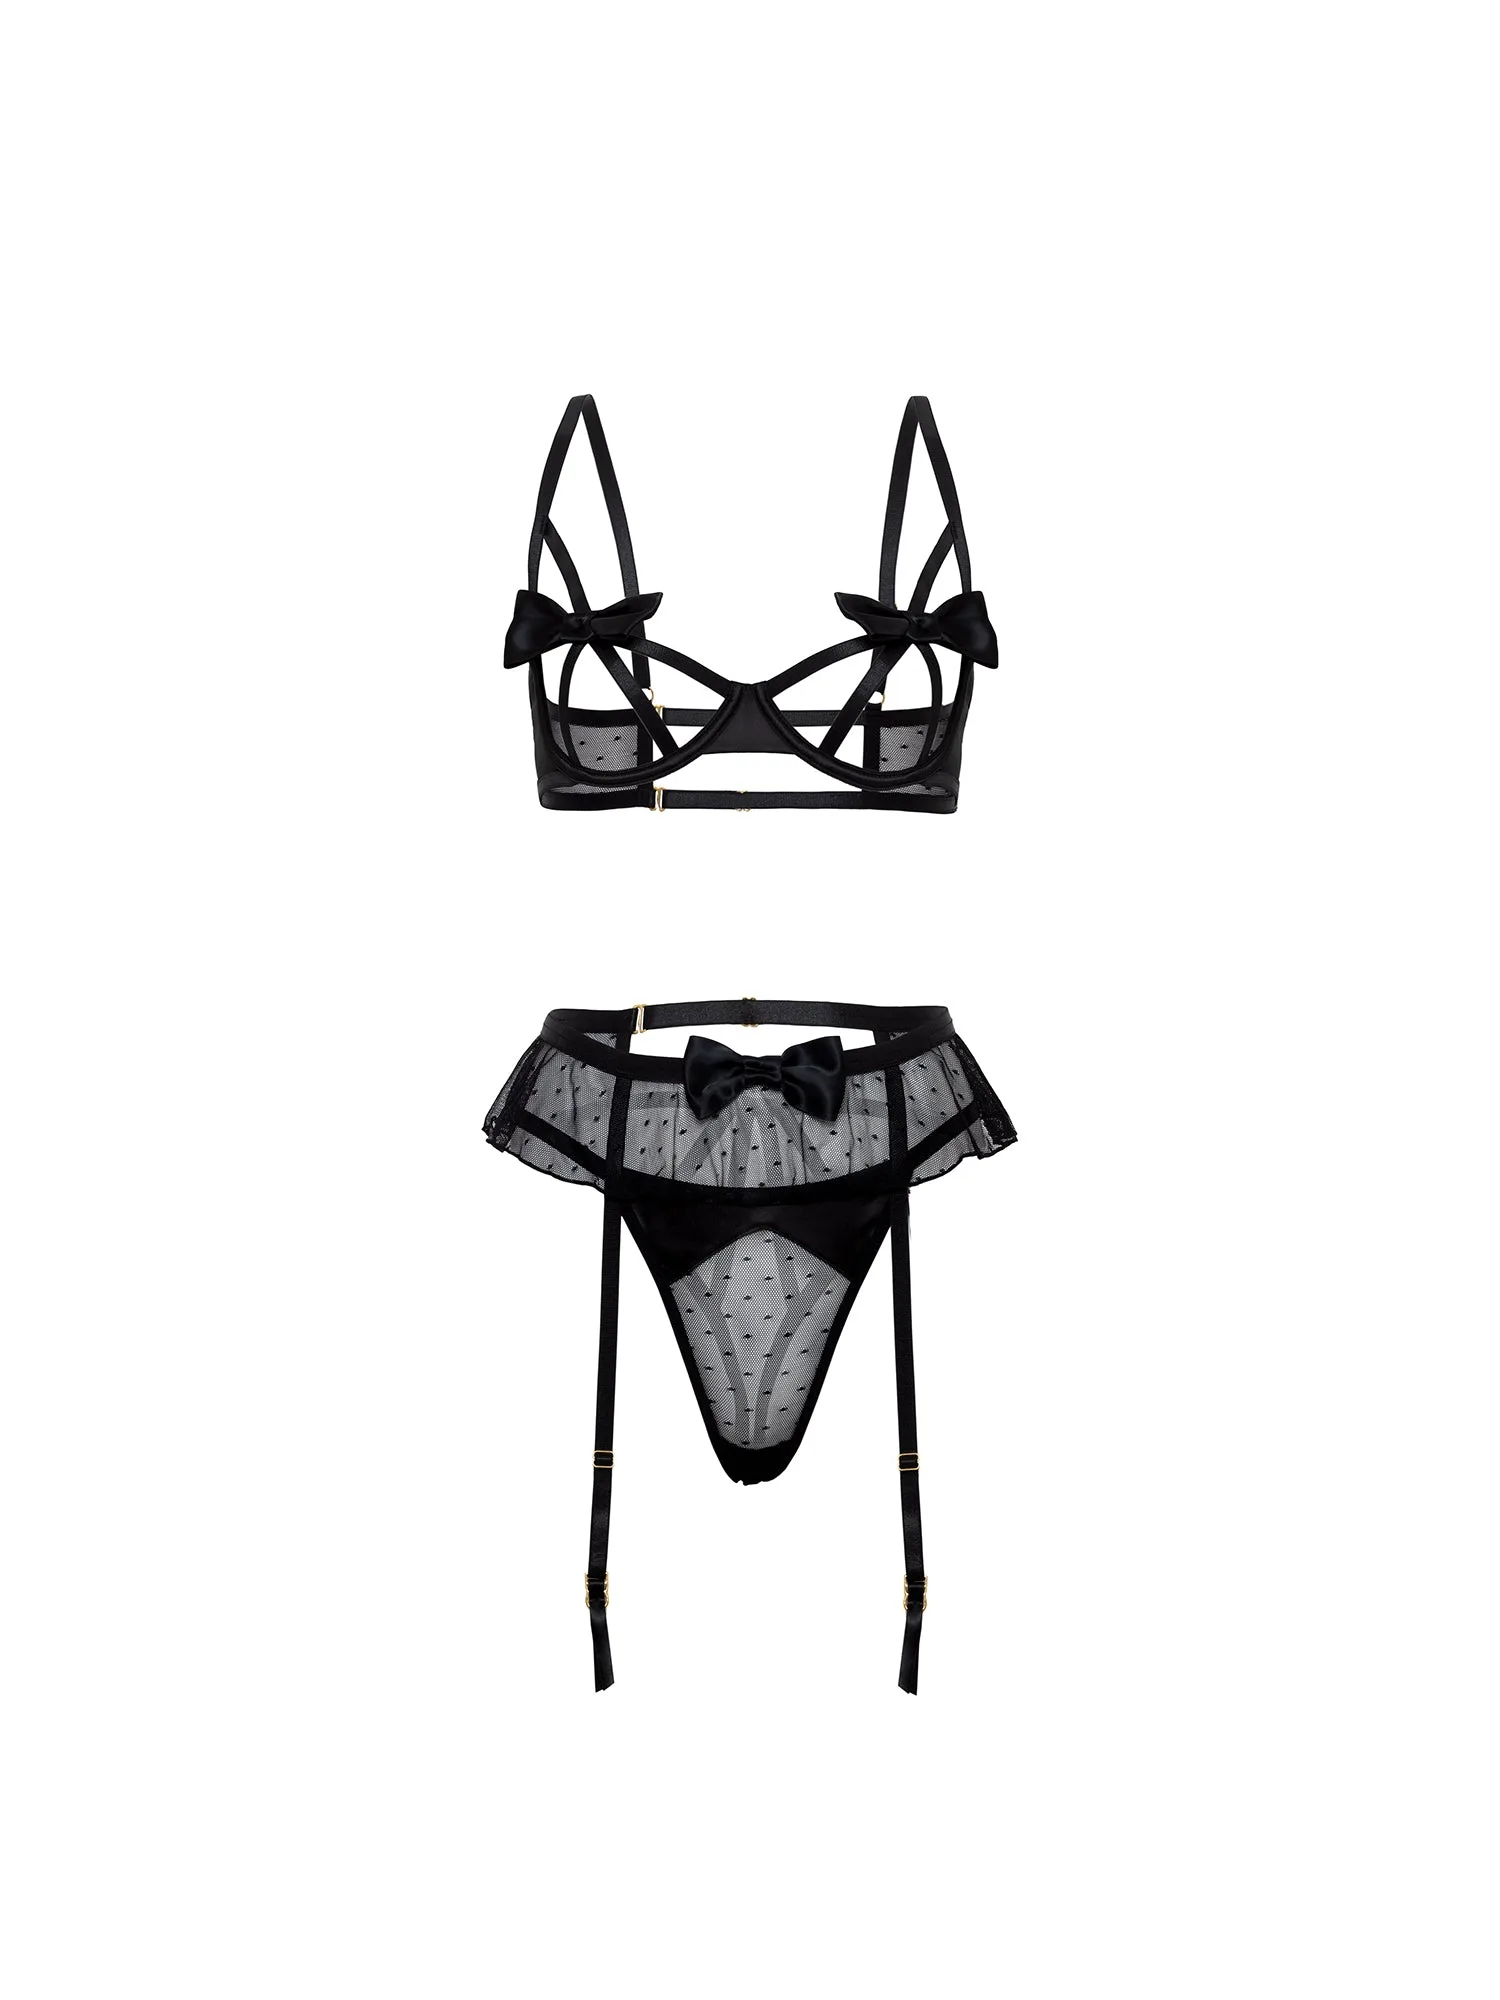
- Kimia Bow 3 Piece Bra Set: Includes an underwire bra with cage embellishments, a satin and dot mesh panty with an adjustable garter, and strappy cage detailing on the back. The adjustable garter and soft satin-mesh mix let you fine-tune tension, which is useful when you want shaping without a rigid, all-day squeeze.
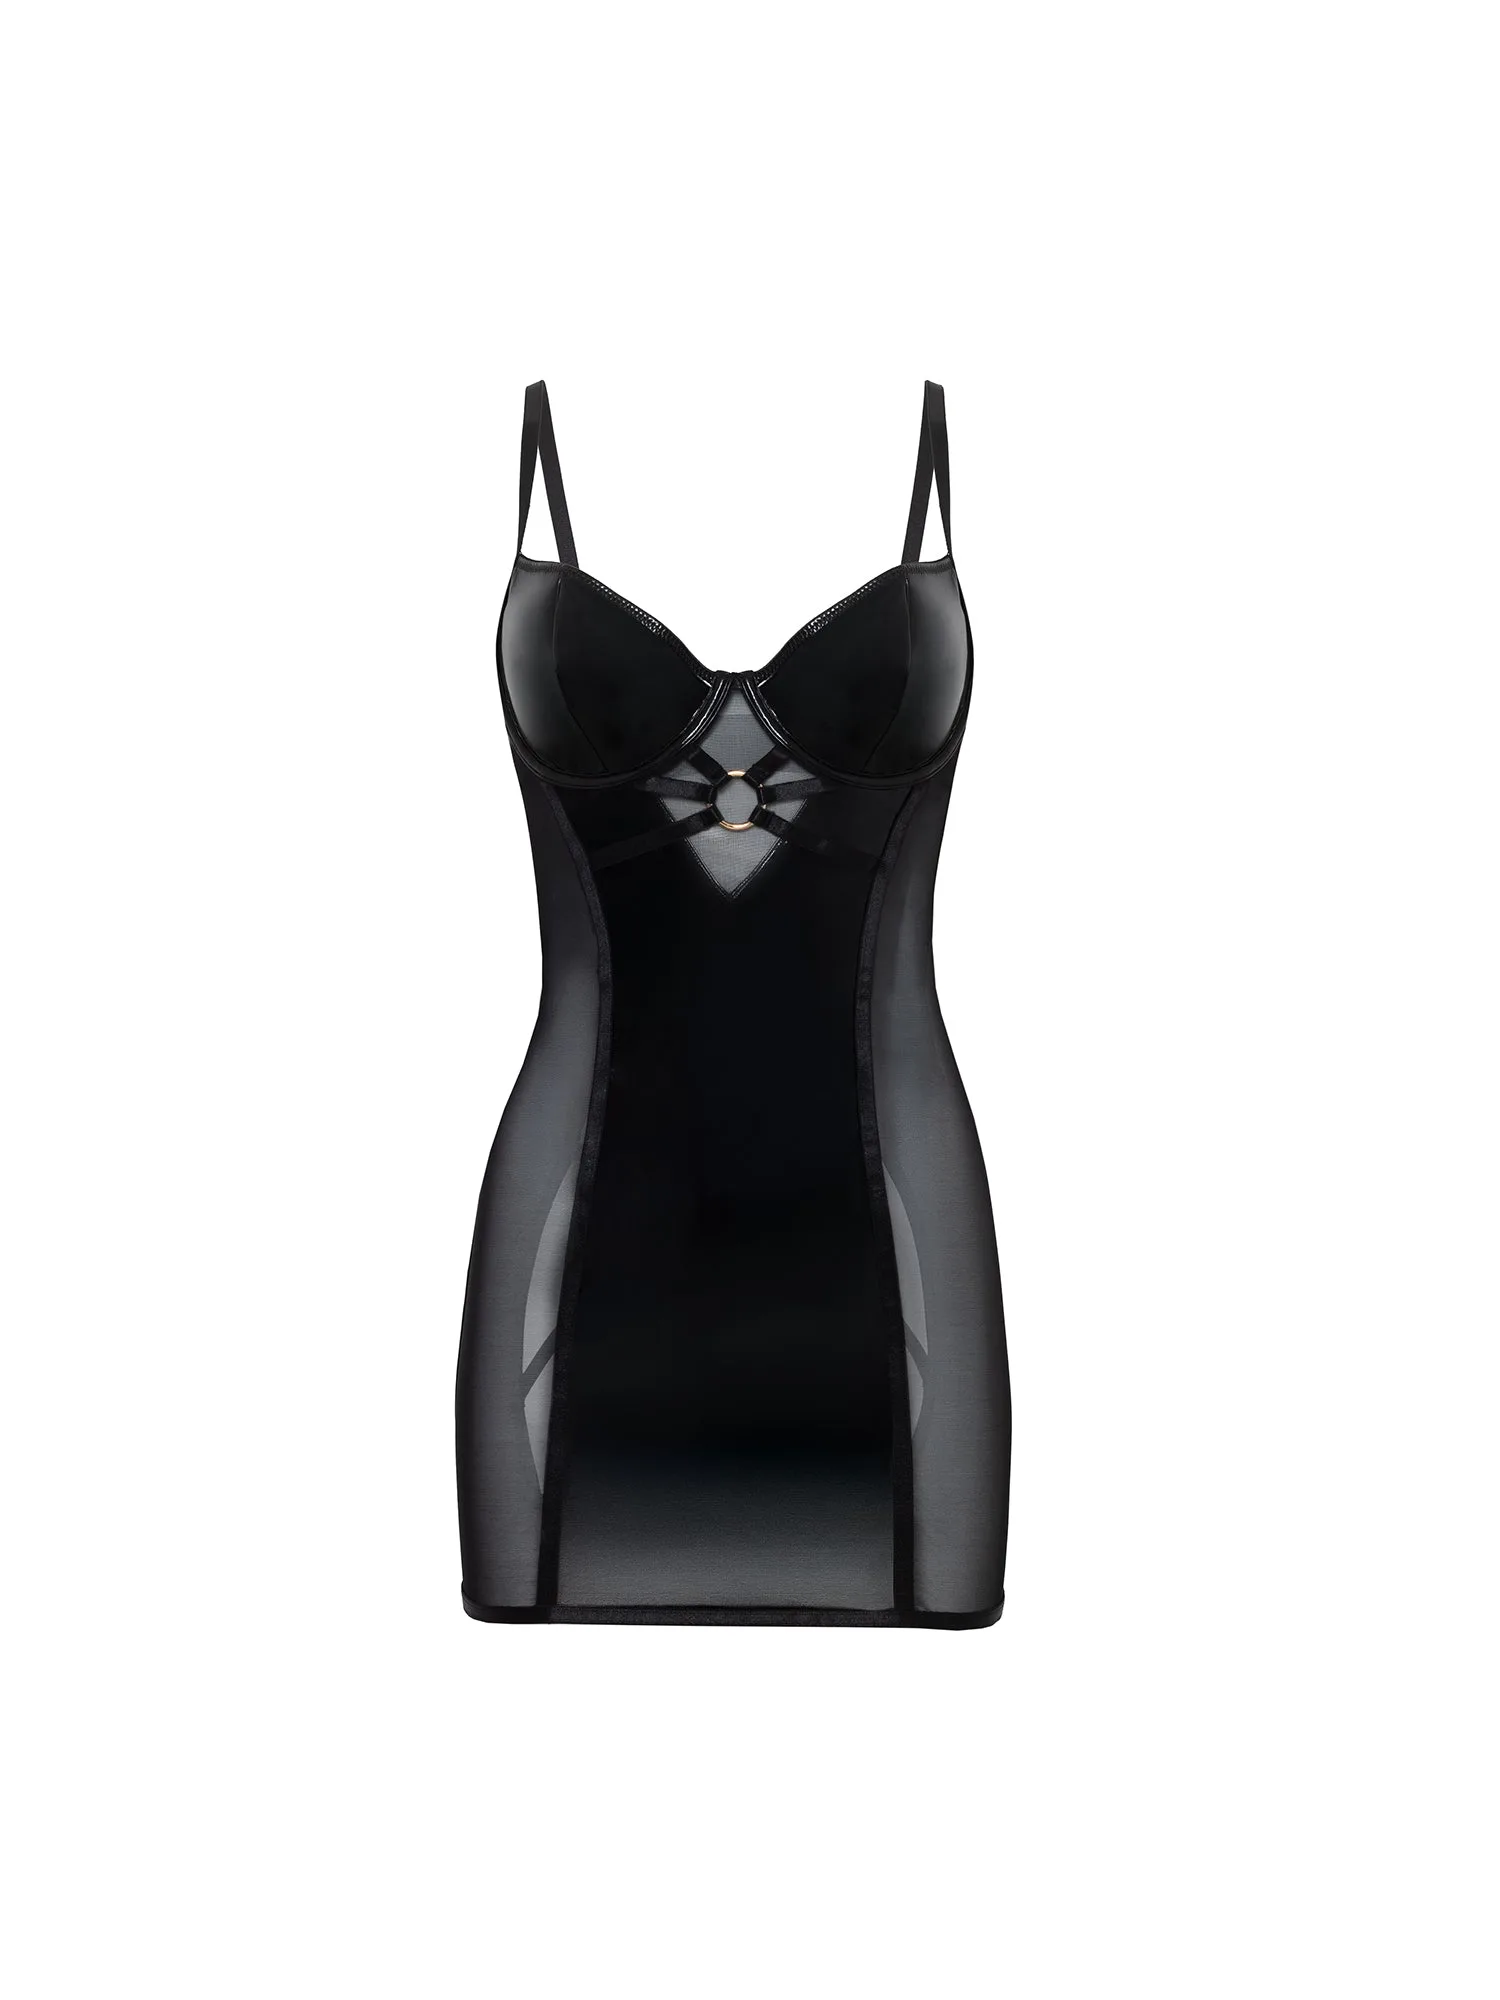
- Fetish Strap Me Down Babydoll Dress: A fitted vinyl and mesh babydoll dress with underwire cups, a caged back, and O-ring accents. Underwire cups give lift and structure, so this works as a layered statement piece for shorter wear rather than a full-day foundation.
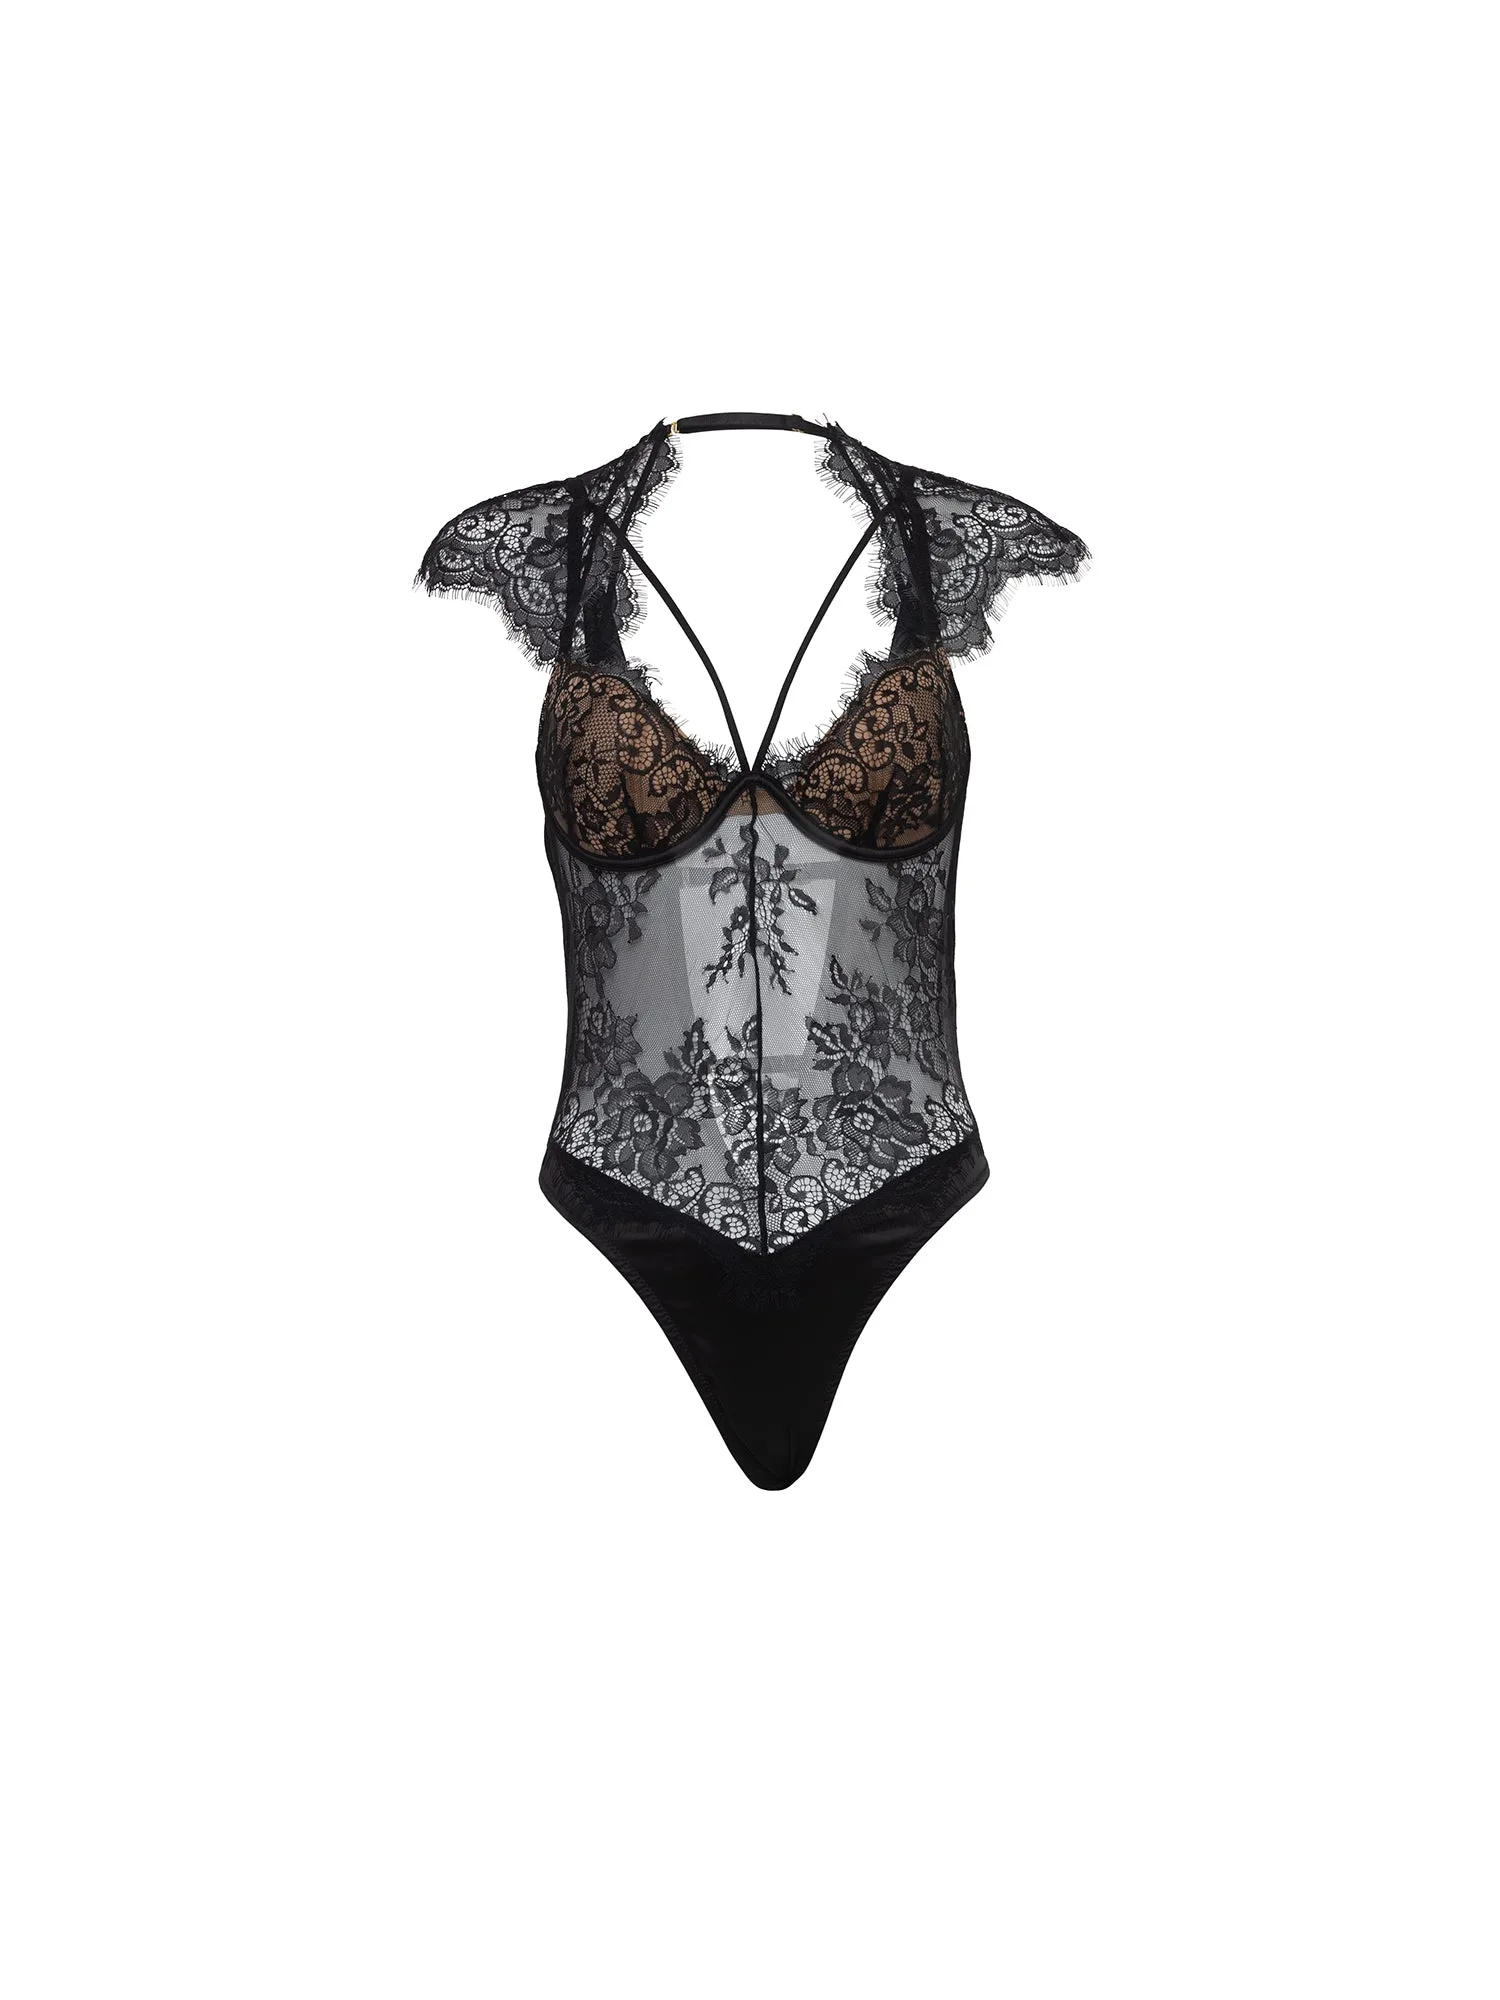
- Curvy Madelyn Lace Cage Teddy: Features a lace bodice, padded underwire bra, cap sleeves, a thong back, and a snap closure. The padded underwire and snap closure make it easy to adjust and remove, which matters when you want support with quick on-and-off convenience.
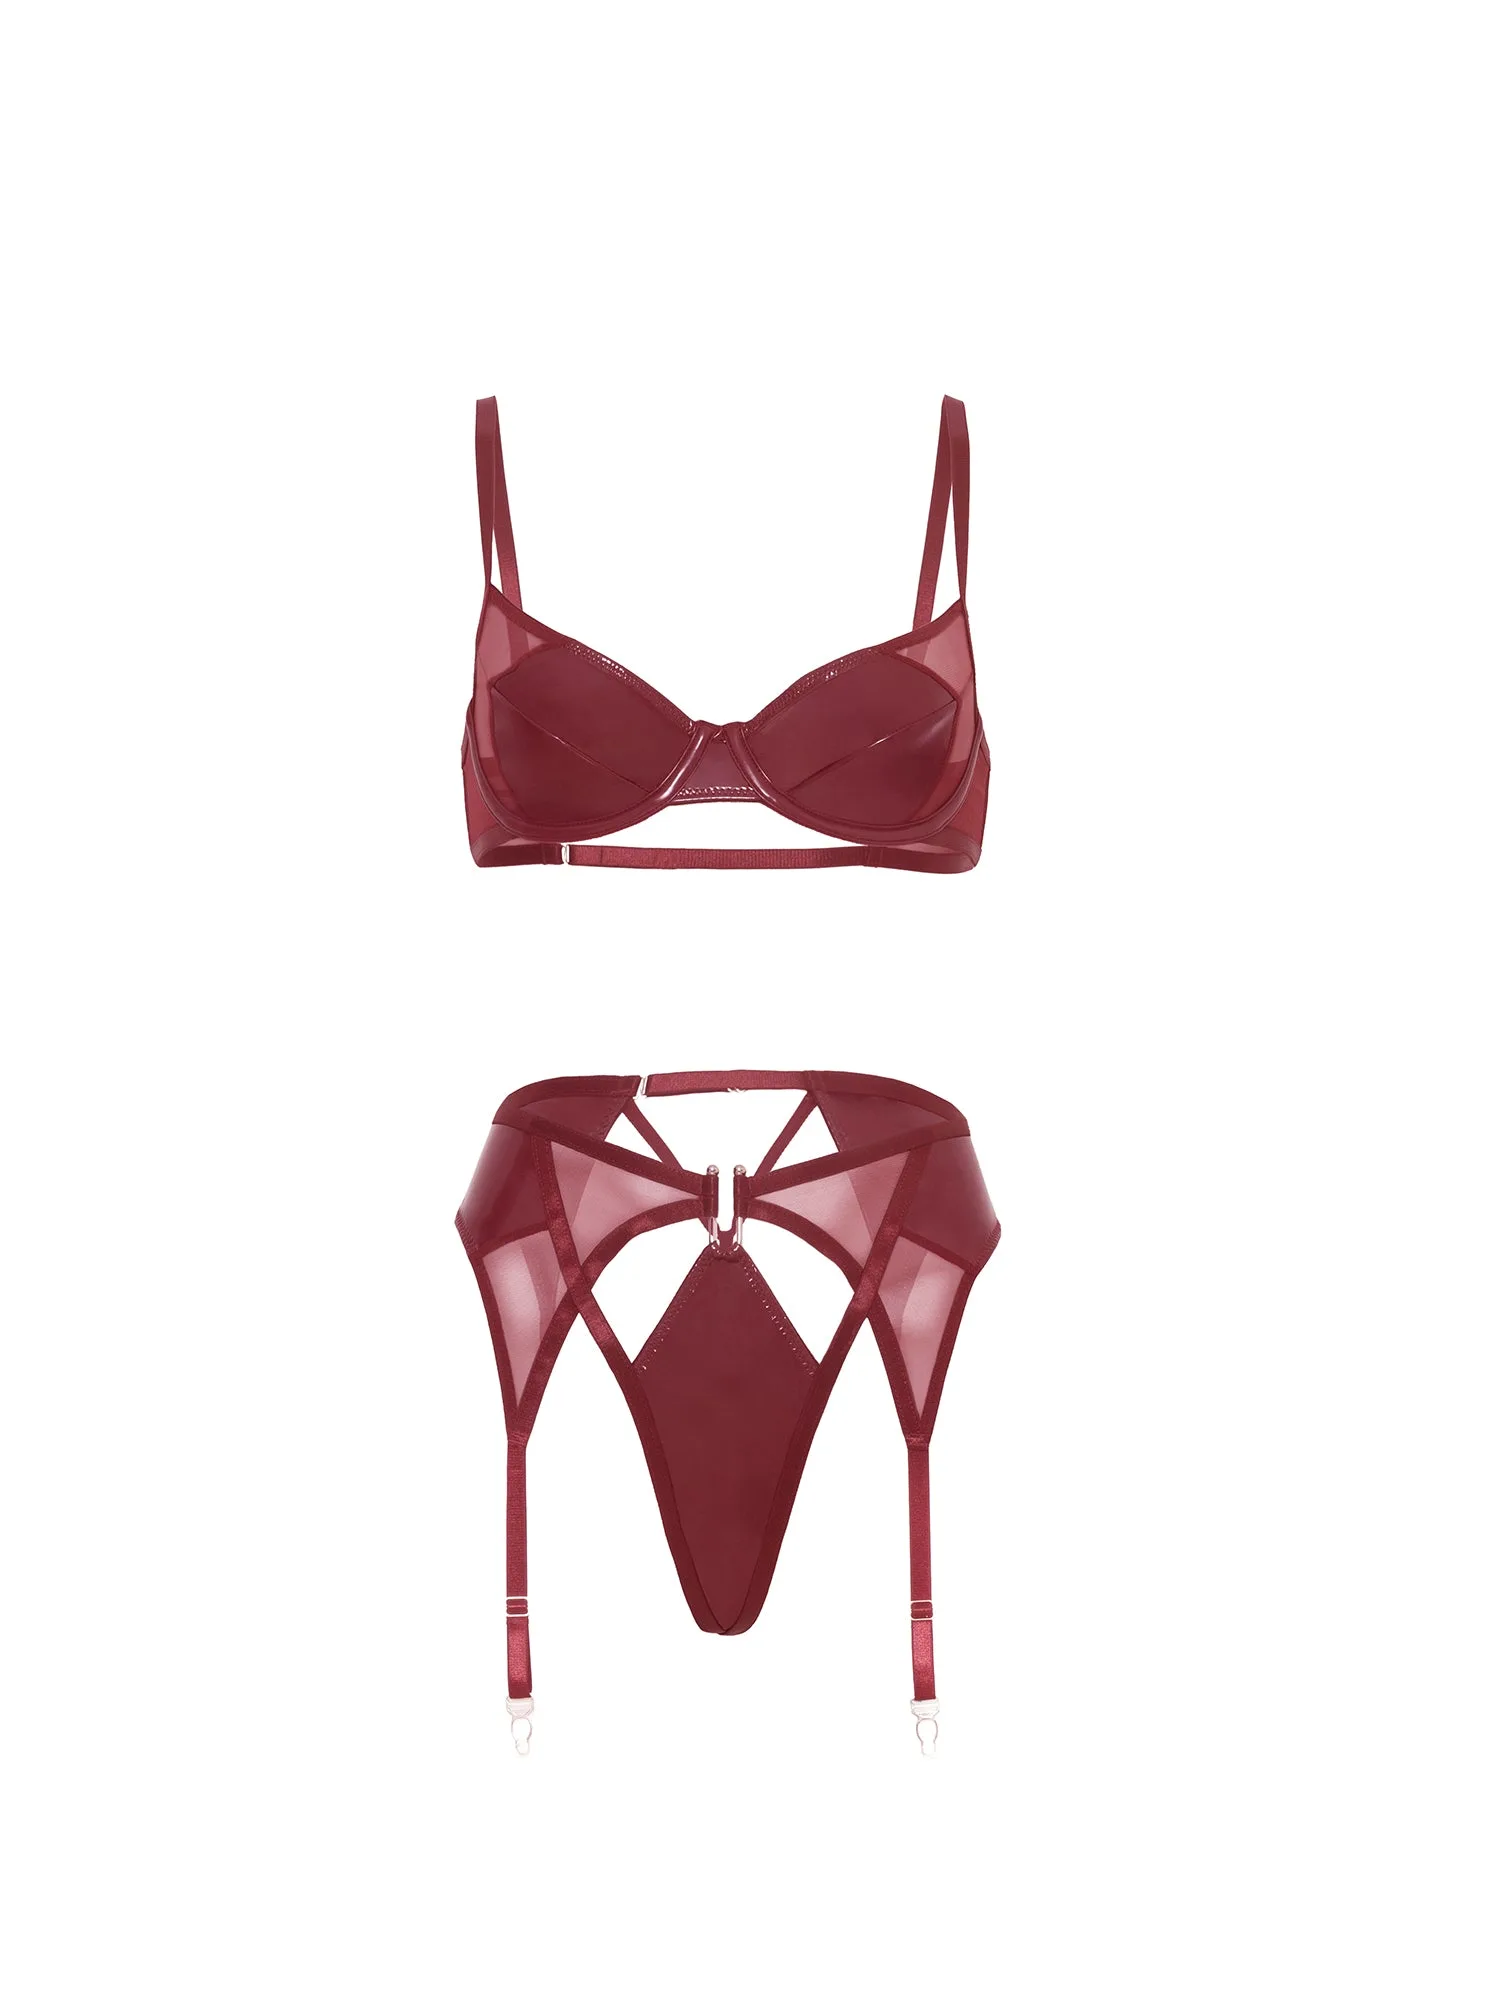
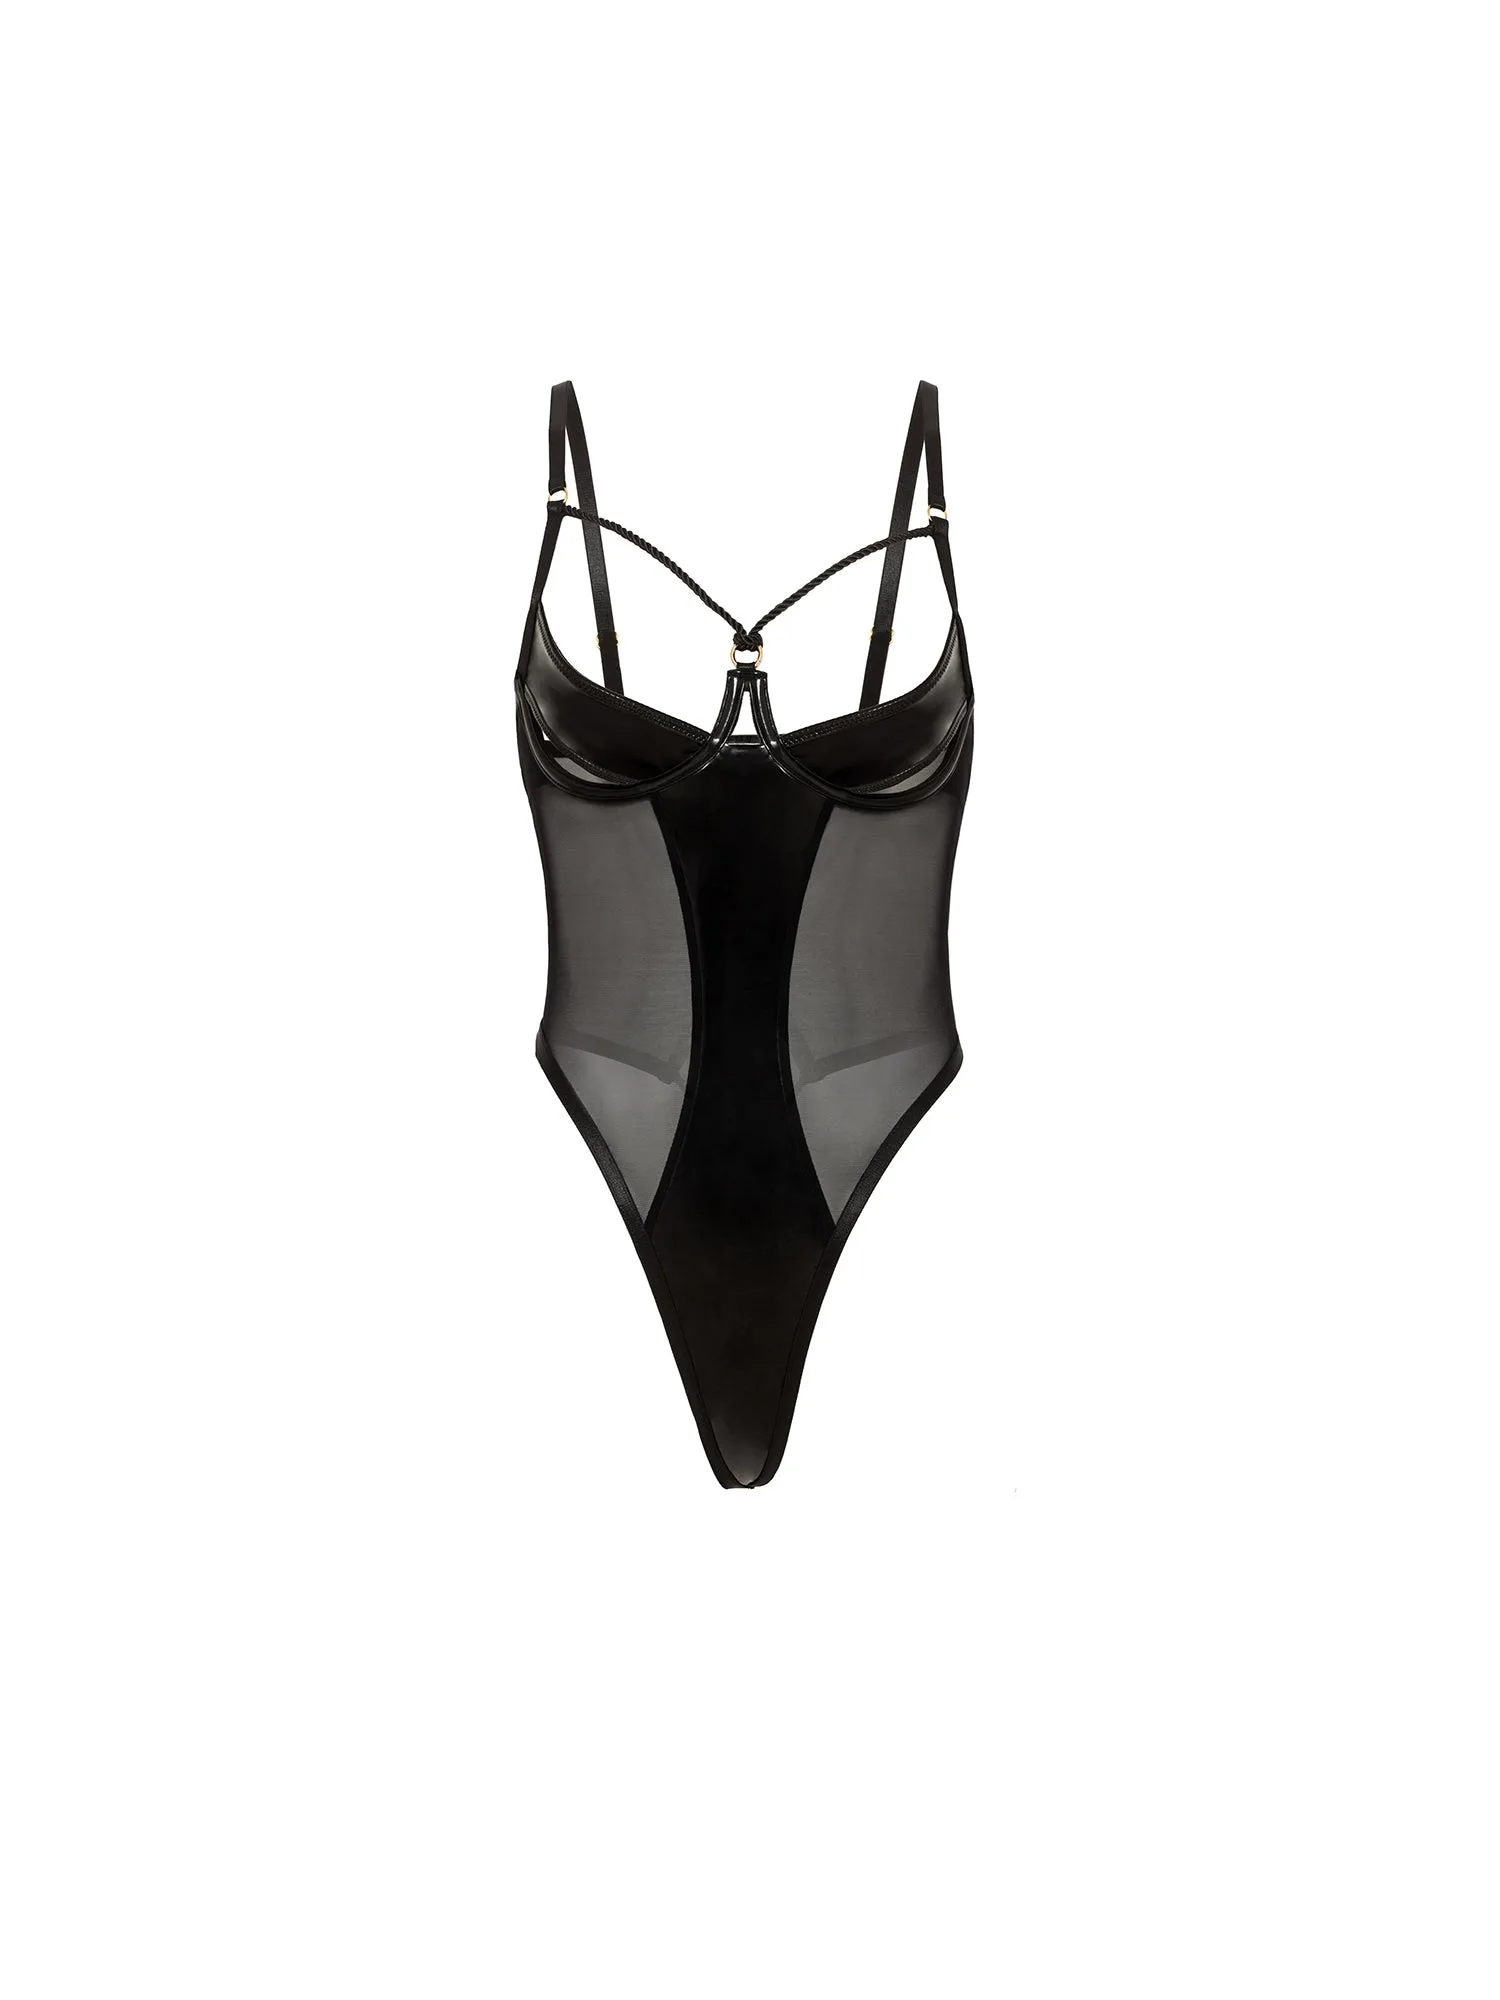
- Fetish Damsel Vinyl Bra Set: Sleek vinyl and sheer mesh with an underwire bra and a matching G-string with attached garter straps and U-wire hardware. Vinyl holds a firm shape and runs warmer, so treat this as a shorter-wear option and rely on the adjustable garter straps for fit.
An all-day bustier comes down to three habits: buy your true band size, hook loose and adjust inward, and layer with pieces that support the shape instead of fighting it. Do those, take a couple of breaks, and a bustier stops being an endurance test and starts being a piece you actually enjoy wearing.