Quick answer
To wear an invisible self-adhesive bra successfully, clean and dry your skin, position the cups for your outfit's neckline, press firmly for 30 seconds, and avoid oils or lotions that weaken adhesion.
Why fit matters for different necklines
The same invisible bra can work for a deep V-neck, a scoop back, or a halter dress—but only if you adjust the cup placement. Placing the cups too high or too low creates visible edges or inadequate lift. Test the position with the garment on before peeling off the backing.
For backless outfits, center the cups slightly outward to mimic natural breast shape from the side. For strapless sweetheart necklines, angle the cups upward toward the collarbone for a rounded silhouette.
Adhesion limits and skin care
Self-adhesive bras rely on silicone grip, not glue. They stick best to clean, dry, lotion-free skin. Humidity, sweat, or repeated wear can reduce hold. If you plan to wear the bra for more than six hours, bring a spare set or a fashion tape backup for the edges.
Do not reuse the same bra on consecutive days without washing it according to the care label. Oils from your skin build up and compromise stickiness.
Step-by-step: Applying your invisible self-adhesive bra
- Prep your skin: Wash your chest with mild soap and pat dry completely. Do not apply lotion, oil, powder, or perfume to the area where the bra will stick. Sweat or residue is the top reason adhesive bras slip. A quick alcohol wipe before application improves hold.
- Position the cups for your outfit: Hold each cup against your breast while looking in a mirror. For a plunging neckline, place the cups closer together and angle them outward. For a racerback or halter, rotate the cups slightly upward. The wrong placement creates bulging or gapping. Always check with your top or dress on before pressing down fully.
- Press and seal: Peel off the clear backing and center the cup over your breast. Press firmly from the center outward for 30 seconds to activate the adhesive. Repeat for the other side. A common mistake is pressing too lightly. Firm, even pressure for the full 30 seconds prevents edges from curling.
- Check and adjust: Put on your garment and check the silhouette in a full-length mirror. If the cup edge shows or the lift looks uneven, remove the bra gently and reposition before the adhesive fully sets. Once the bra has been worn for a few minutes, repositioning becomes difficult. Adjust early.
- Remove and care: Peel the bra off slowly from the top edge downward to avoid stretching the silicone. Wash with mild soap and water, let it air-dry, and reattach the clear backing for storage. Never fold the bra when storing; keep it flat on the liner to preserve the adhesive for the next use.
Product used in this guide
-
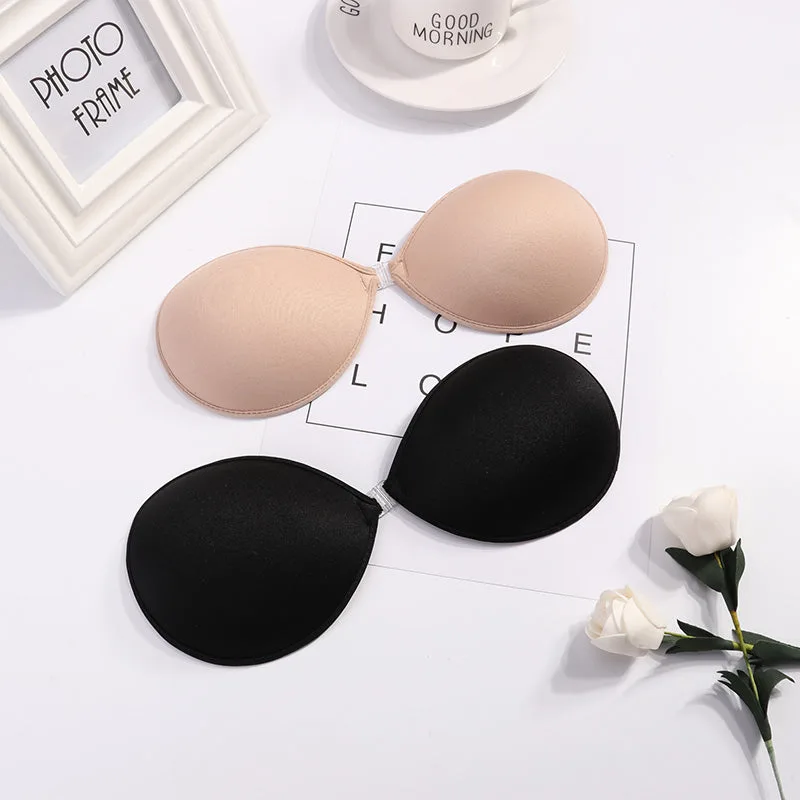
Invisible Self-Adhesive Discreet Lift Bra: Pelie's Invisible Self-Adhesive Bra provides discreet support and lift, sitting invisibly under clothing and perfect for evening outfits. Its adhesive design lets you wear backless, strapless, or plunge necklines without visible straps or bands, making it a versatile foundation piece.
Invisible Self-Adhesive Discreet Lift Bra