Quick Answer
The Strider 14x Easy-Ride Pedal Kit adds pedals and a drivetrain to your child's existing balance bike, letting them learn to pedal on a familiar frame. Follow the step-by-step installation below to fit it correctly and safely.
Why Choose the Easy-Ride Pedal Kit?
The kit is designed to convert a Strider balance bike into a pedal bike, so your child doesn't have to adjust to a new bike's weight or size. Since they already know how to balance, they can focus on the new skill of pedaling.
This approach can make the transition smoother and less intimidating, especially for young riders who are comfortable with their current bike.
Safety and Maintenance Considerations
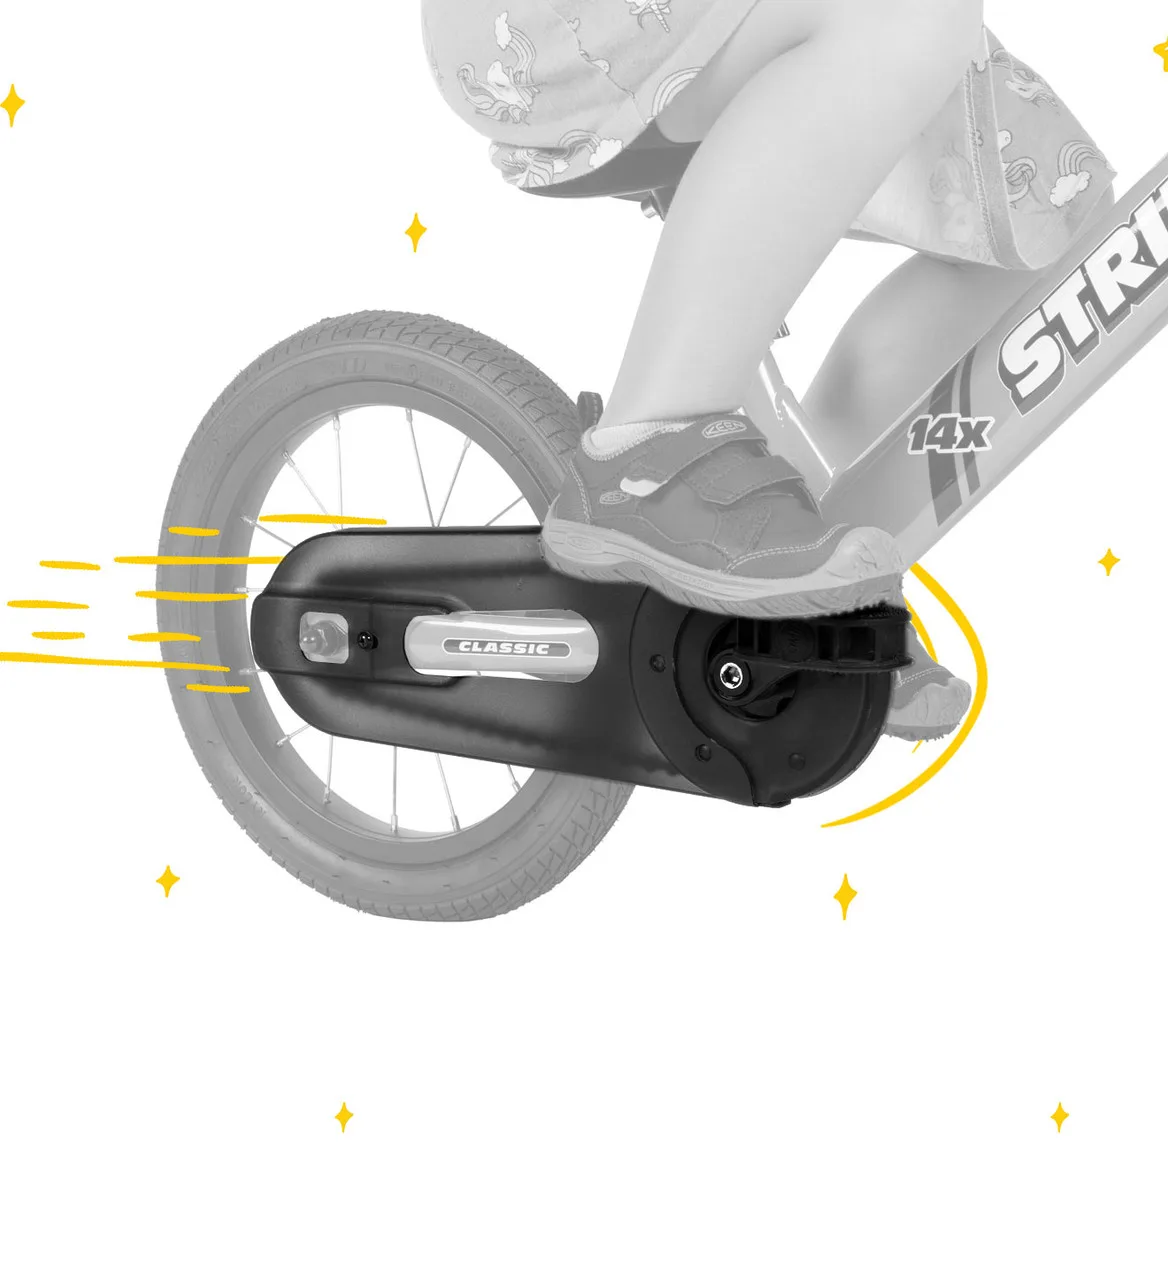
The kit includes a chain guard that covers the chain and gears. This protects your child from chain-related accidents and also keeps the drivetrain clean, reducing maintenance.
Before each ride, check that all bolts are tight and the chain is properly tensioned. Regular checks will keep the bike safe and extend the life of the kit.
Installation Steps
- Gather Tools and Prepare the Bike: Collect the necessary tools (typically Allen wrenches and a wrench) and place the bike on a stable surface. Remove any existing foot pegs or accessories that might interfere with the pedal kit. Check that the bike is clean and dry before starting.
- Install the Bottom Bracket and Crank: Attach the bottom bracket and crank assembly to the bike frame, following the kit's instructions. Ensure the crank arms are aligned correctly and rotate smoothly. Common mistake: over-tightening the crank bolts can strip threads. Tighten to the recommended torque.
- Attach the Pedals: Screw the pedals onto the crank arms, noting that the left and right pedals are different. Tighten them securely, but avoid cross-threading. Remember: the right pedal is right-hand threaded, the left is left-hand threaded.
- Install the Chain and Chain Guard: Place the chain around the front and rear sprockets, then attach the chain guard over the chain and gears. Ensure the chain has proper tension and the guard is securely fastened. Check that the chain is not too tight or too loose—it should have a little give but not sag.
- Test and Adjust: Spin the pedals to ensure the drivetrain operates smoothly. Adjust the chain tension if needed and verify all bolts are tight. Have your child sit on the bike and test the pedals while you hold the bike steady. Final check: ensure the chain guard is secure and the pedals don't wobble.
Product Fact
-
Strider 14x Easy-Ride Pedal Kit: The Strider 14x Easy-Ride Pedal Kit includes a chain guard that protects your rider from chain accidents and keeps the chain and gears clean. This means less maintenance for you and a safer riding experience for your child.
Strider 14x Easy-Ride Pedal Kit