Quick answer
Weatherproofing a tree tent for rain starts before you hang it: pick trees with good drainage and no dead overhead branches, then install the rainfly with a steep pitch and even tension so water sheds instead of pooling. Keep the underside ventilated, manage drip lines, and check tension after the first hour of rain.
Why rainfly tension and pitch matter more than extra layers
A rainfly only works when water runs off it. If the fabric sags, water pools in the low spots, stretches the material, and eventually finds a way through. A steep, even pitch moves water to the edges and away from the hammock body. Tension is the tool you control: too loose and it flaps and pools, too tight and you stress seams and anchor points. Aim for a firm, drum-like feel without distorting the fly's shape.
- Pitch the fly steeper than you think you need; a low, flat pitch is the most common cause of pooling.
- Re-tension after the fabric relaxes in the first rain; most leaks blamed on the fly are actually sag.
Choose trees and a site that drain, not just trees that fit
The ground under your tent decides how much water you deal with. Avoid dry creek beds, low spots, and compacted dirt that sheds water toward you. Look for a slight slope or sandy, rocky ground that drains. Check the trees themselves: no dead limbs overhead, no ant trails running up the trunk, and trunks thick enough to hold tension without flexing. If the only trees available are in a hollow, expect splash and runoff even with a perfect fly.
- Walk the ground at least 20 feet around your hang points and imagine where water will flow in a downpour.
- Avoid trees with sap, loose bark, or obvious widow-makers above the tent.
Install the rainfly so water exits away from the entry
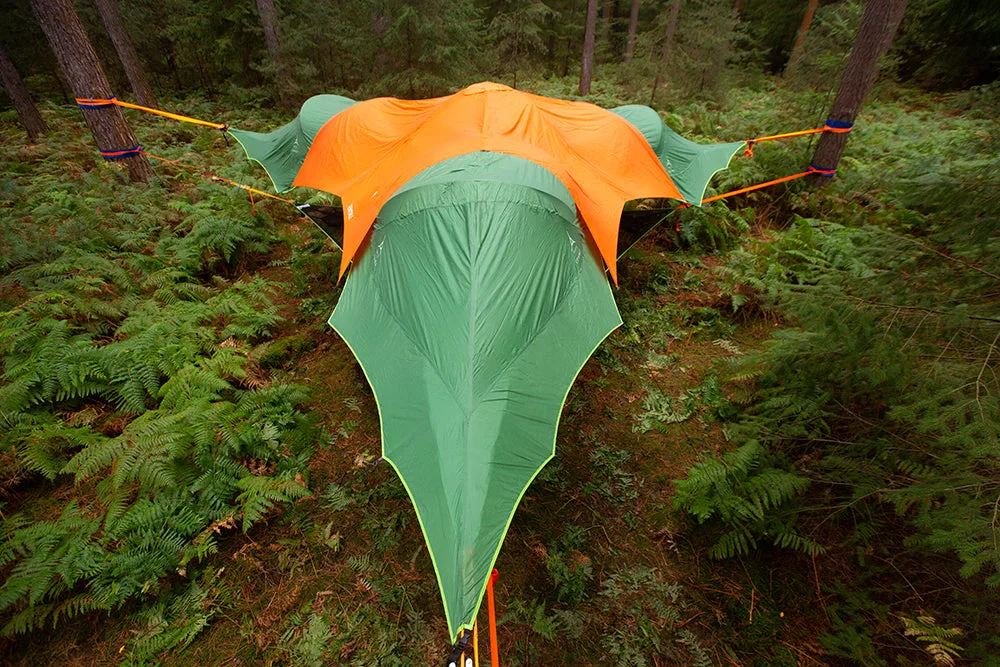
Center the fly over the tent body, then orient the lowest edge away from your entry side so drips fall outside your path. Attach the fly at the corners first, then work around the perimeter, tensioning in small increments. Use the guy-out points to pull the fly away from the hammock body; this creates an air gap that stops condensation from soaking your sleeping bag. If your fly has a porch or vestibule area, pitch it high enough to sit under without your head touching wet fabric.
- Keep the fly from touching the hammock body; contact transfers water.
- Angle the lowest edge downwind so wind-driven rain doesn't push under the fly.
Control drips at straps, seams, and the underside
Water loves to travel down straps and seams. Add drip lines, short cords tied to straps just under the fly, so water runs to the ground instead of into the tent. Check seam tape and any factory-sealed seams before your trip; if tape is lifting, a seam sealer is a cheap fix. Under the tent, keep gear off the ground or in dry bags, because splash and condensation will find anything left exposed.
- A drip line is a 6-inch cord tied to each strap below the fly edge.
- Store a dry cloth or sponge to wipe condensation before it drips on your bag.
Ventilate to beat condensation, the quiet rain problem
In cool, wet weather your breath and body heat condense on the fly's underside. If the fly is sealed tight against the tent, that moisture wets your gear even though no rain got in. Leave a gap between fly and hammock, keep the entry partially open under a porch if you have one, and avoid blocking vents. If you wake up with a wet fly interior, increase the air gap and re-tension before adding more coverage.
- Condensation is not a leak; fix it with airflow, not more fabric.
- A small camp towel dedicated to wiping the fly interior saves your sleeping bag.
Rainy-weather setup steps
- 1. Scout the site for drainage and overhead hazards: Walk the ground and look up. Choose trees on slightly higher, well-draining ground with no dead limbs above. Common mistake: hanging over a low spot because the trees are convenient, then waking up in a puddle. Checkpoint: if you can see where water would flow in a downpour, move on.
- 2. Hang the tent with a slight slope for runoff: Set anchor straps so the tent body sits level or with a very slight tilt, and keep the underside clear of the ground. Common mistake: over-tightening straps until the tent body distorts, which pulls the fly out of shape later. Checkpoint: the tent should feel firm but not drum-tight.
- 3. Install the rainfly centered and attach corners first: Center the fly over the tent, connect the corners, then work around the perimeter in small tension increments. Common mistake: pulling one side tight before the others, which skews the fly and creates a low corner that pools water. Checkpoint: the fly should cover the tent evenly with no fabric touching the hammock body.
- 4. Pitch the fly steep and tension the guy-outs: Raise the fly's center or ridge so water sheds to the edges, then tension guy-out points to pull the fly away from the tent body. Common mistake: leaving a flat, sagging section that collects a puddle and drips onto your sleeping area. Checkpoint: flick the fly; it should sound taut and shed water immediately.
- 5. Add drip lines and check seams: Tie short cords to each strap just below the fly edge so water runs down the cord instead of the strap. Inspect seam tape and re-seal if it is lifting. Common mistake: skipping drip lines because the fly looks dry, then finding wet straps and a damp tent floor after an hour of rain. Checkpoint: water should follow the drip line to the ground, not the strap into the tent.
- 6. Ventilate and manage condensation: Keep a gap between fly and tent, open vents or a porch panel if you have one, and wipe condensation before it drips. Common mistake: sealing the fly tight against the tent for warmth, which traps moisture and soaks your gear from the inside. Checkpoint: if the fly's inner surface is wet but the tent body is dry, you have condensation, not a leak.
- 7. Re-tension after the first hour of rain: Fabric relaxes when wet, so walk the perimeter and tighten guy-outs and corners in small increments. Common mistake: assuming the setup is done once the rain starts, then discovering a sagging fly and a wet night. Checkpoint: a quick re-tension after the first downpour prevents most overnight leaks.
Product facts that affect wet-weather performance
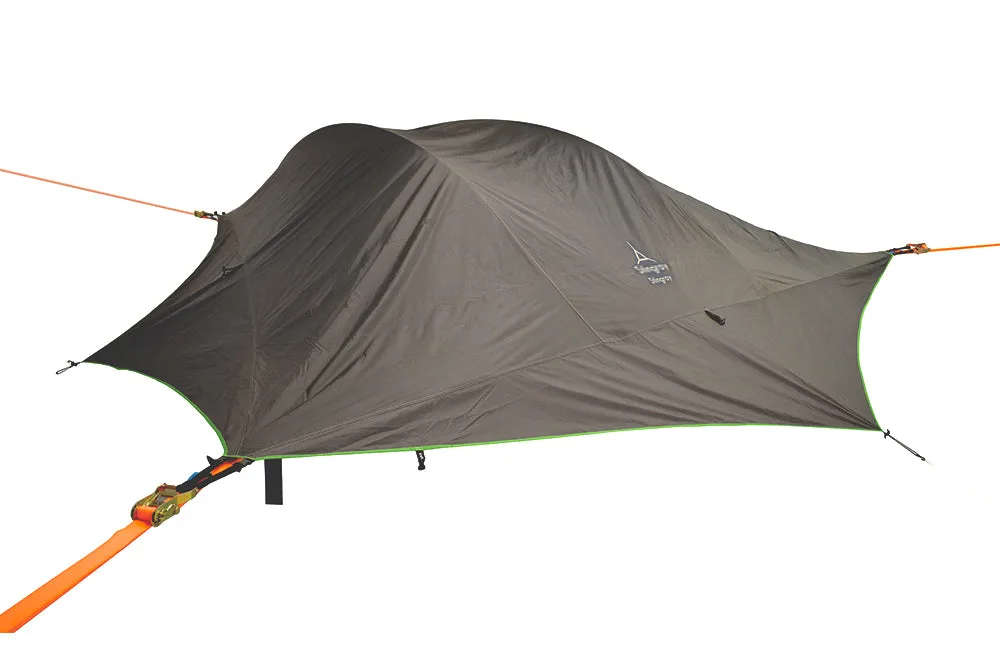
- Spare Rainfly for Safari Stingray 3-Person Tree Tent: The Safari Stingray Rainfly is rated at 3,500 UV hours of sun protection and an 8,000mm hydrostatic head, and fits both Gen 2.0 and 3.0 Stingray range tents. A high hydrostatic head resists water pushing through fabric under sustained rain, and the UV rating matters if your fly stays pitched for long trips. Confirm your tent generation before ordering a spare.
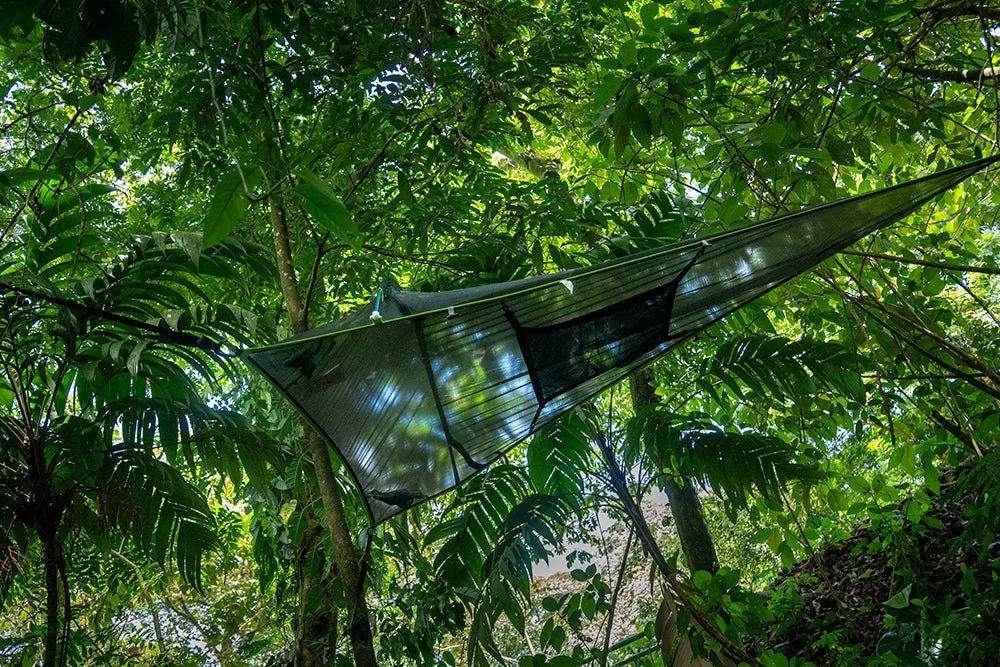
- UNA Air 1-Person Hammock Tent: The UNA Air is described as the smallest packing, lightest, best ventilated Tree Tent in the world, engineered for hikers, bikers, kayakers and trailblazers. Strong ventilation helps reduce condensation in wet weather, but a light, ventilated tent still needs a properly tensioned fly and drip control to stay dry in sustained rain.