Quick answer
To install an Aimpoint adapter on a Picatinny rail, first confirm the rail slot width and adapter footprint match, then degrease both surfaces, seat the adapter fully forward in the slots, and tighten the cross-bolt or clamp screws to the manufacturer's torque in a cross pattern. Use a small amount of medium-strength threadlocker on the screws and re-check torque after the first range session.
Check rail and adapter compatibility before you start
Picatinny and Weaver rails look similar but are not identical: Picatinny slots are nominally 5.56 mm wide with a 3.5 mm groove depth, while Weaver slots are often narrower and angled. An adapter designed for Picatinny will usually clamp a Weaver rail, but the reverse can leave the clamp loose. Measure the slot width with calipers and compare it to the adapter's stated footprint. If the adapter uses a recoil lug or cross-bolt, it must engage the slot without binding.
Also check the adapter height. A taller adapter can push the optic above the cheek weld you prefer, while a very low one may let the optic body contact the rail or rear sight. If the manufacturer does not publish a height, test-fit the unloaded firearm with the adapter in place and confirm you can still get a clear sight picture.
Prepare the surfaces and hardware
Degrease the rail, the adapter's clamping surfaces, and the screw threads with isopropyl alcohol. Oil or preservative left on these surfaces lets the adapter creep under recoil, which shows up as a wandering zero. Dry the parts with a clean lint-free cloth and avoid touching the cleaned surfaces with bare fingers.
Inspect the screws for burrs or damaged threads. If the adapter uses a cross-bolt, confirm the bolt slides through the clamp without force. A bolt that needs tapping in will be hard to remove later and can damage the rail slot.
Seat the adapter and tighten in the correct order
Place the adapter on the rail and push it forward so the recoil lug or cross-bolt sits against the front face of the slot. This forward seating keeps the adapter from sliding rearward under recoil. If the adapter has two or more clamp screws, tighten them in a cross pattern in small increments rather than fully tightening one side first.
Use a torque driver. Common values for this size of hardware are in the 15–25 in-lb range, but the adapter manufacturer's specification always wins. If no value is supplied, tighten until the clamp is snug and the adapter cannot be moved by hand, then stop. Over-tightening crushes the rail or strips the clamp. Apply a small drop of medium-strength threadlocker to the screw threads before final tightening, not after.
Verify the mount and re-check after shooting
With the firearm unloaded and pointed in a safe direction, try to rotate and slide the adapter by hand. Any movement means the clamp is not fully engaged or the screws are not tight enough. Mount the optic according to its own instructions, then bore-sight or use a collimator to get on paper before live fire.
After the first range session, re-check the adapter screws with the torque driver. Threadlocker and recoil can settle the joint, so a second pass at the specified torque is normal. If a screw keeps loosening, remove it, clean the threads, and reapply fresh threadlocker rather than simply tightening it harder.
Installation steps
- Measure the rail slot: Use calipers to confirm the slot width and depth match the adapter's Picatinny or Weaver footprint. Checkpoint: if the adapter rocks in the slot before tightening, stop and verify the rail standard.
- Degrease and dry: Wipe the rail, adapter clamp, and screw threads with isopropyl alcohol and let them dry completely. Common mistake: handling cleaned surfaces with bare fingers leaves oil that causes zero shift.
- Seat the adapter forward: Push the adapter forward so its recoil lug or cross-bolt contacts the front face of the slot. Checkpoint: the adapter should sit flat with no gap under the clamp.
- Apply threadlocker and tighten in a cross pattern: Add a small drop of medium-strength threadlocker to each screw, then tighten in small increments using a torque driver set to the manufacturer's value. If no torque is given, tighten until snug and the adapter cannot be moved by hand, then stop.
- Mount the optic and confirm fit: Install the Aimpoint or adapter plate according to its instructions, then check eye relief and clearance with the bolt or rear sight. Common mistake: forgetting to confirm the optic body does not contact the rail under recoil.
- Re-check torque after the first range session: After firing, re-torque the adapter screws to the specified value and inspect for any movement. If a screw loosens again, clean the threads and reapply fresh threadlocker.
Relevant products from our catalog
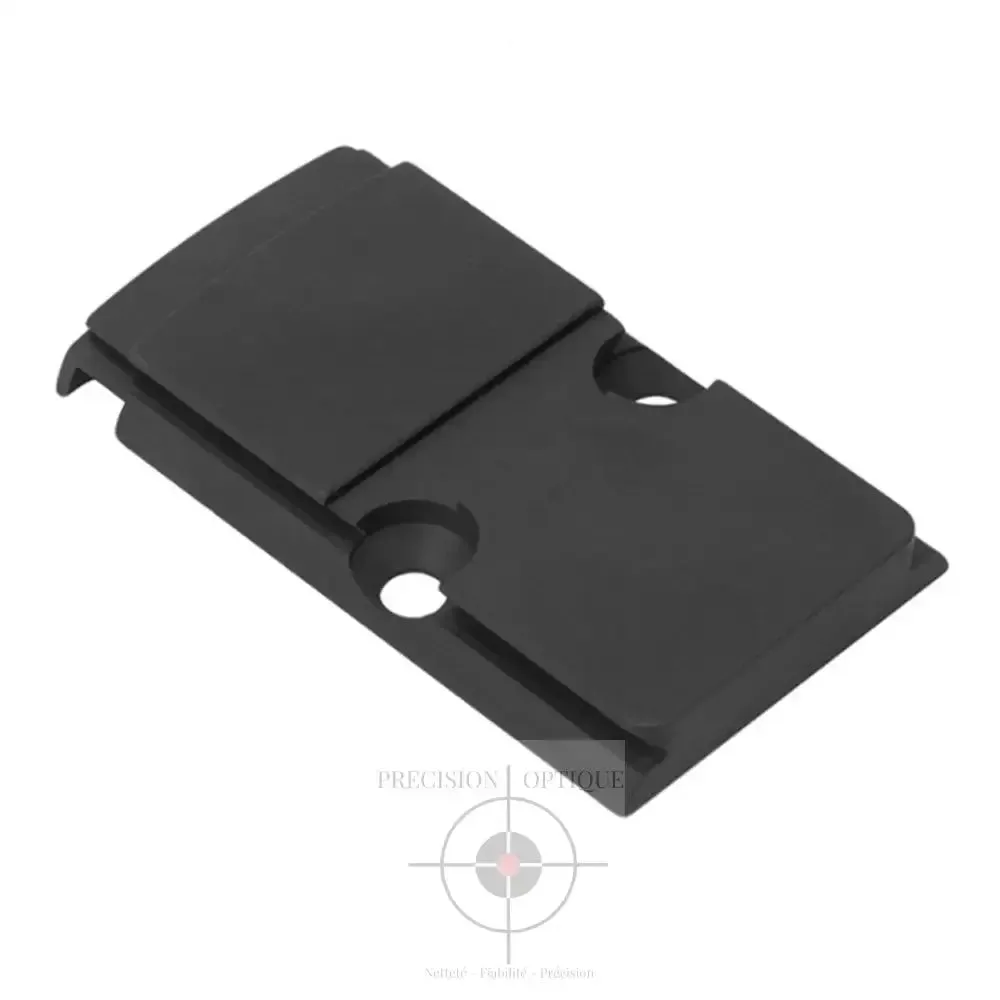
- Montage Holosun 509 pour RMR: The Holosun 509 to RMR mounting adapter is designed to install a Holosun 509 sight on RMR-compatible platforms. It measures 45 mm long, 19 mm wide, and 5.1 mm thick. If your Picatinny rail setup uses an RMR footprint plate, this adapter lets you run a Holosun 509 without changing the base. The 45 mm length and 5.1 mm thickness affect how much rail space and sight height you gain, so check clearance before ordering.
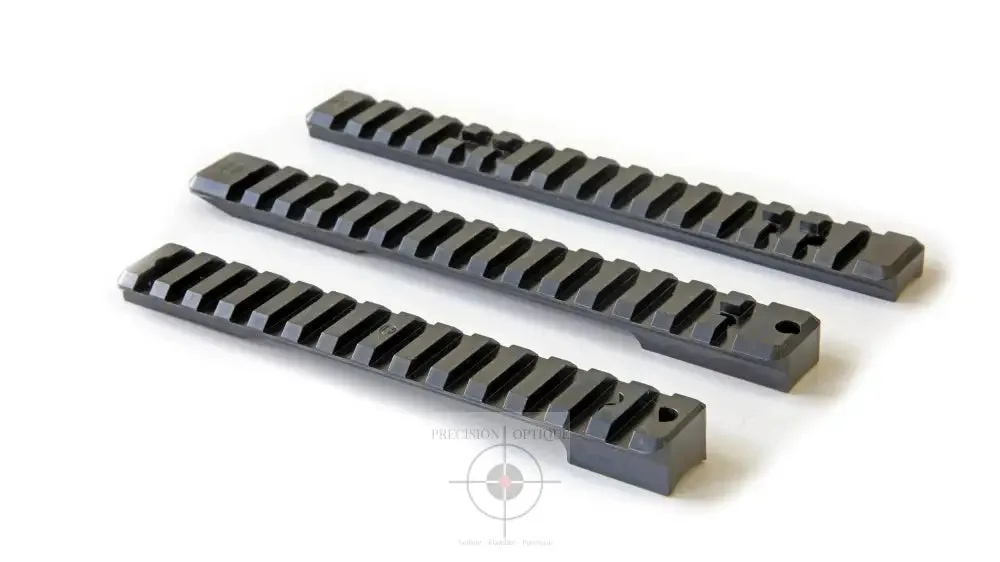
- Rail picatinny HMS HENNEBERGER | ACIER | Steyr SM12/Classic, B-mesure 76 mm: The Henneberger HMS Picatinny rail is made of steel for Steyr SM12/Classic with a 76 mm B-measurement. A steel Picatinny rail gives a stable, rigid base for an Aimpoint adapter on a Steyr SM12 or Classic. The 76 mm B-measurement tells you the mounting length available, which matters if your adapter and optic need more than one slot.