Quick answer
A side winder slide mounts to the play deck with a top bracket and support legs, so the first job is confirming your deck height matches the slide's entry. Once the height lines up, bolt the top bracket into solid framing, set the legs on level ground, and seal every new hole in the wood. The whole job usually takes an afternoon, and the most common failure is drilling into deck boards instead of the structural frame.
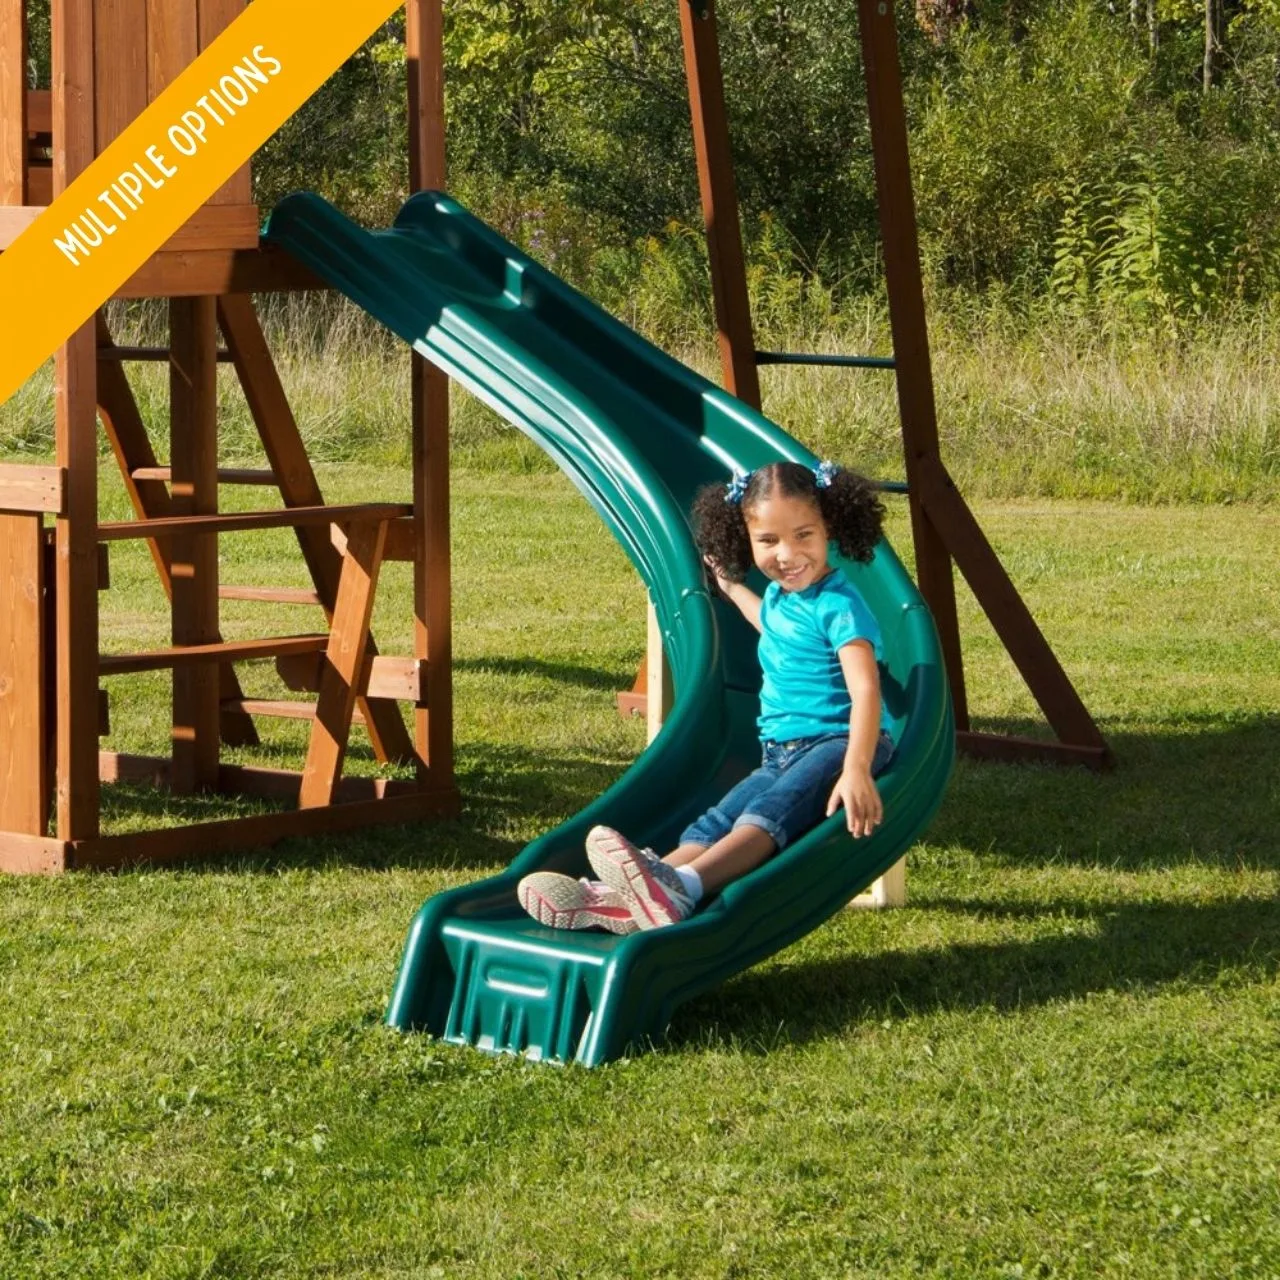
side winder slide
A curved side winder slide turns a straight-down exit into a longer, more interesting ride, which is why it is one of the most popular add-ons for an existing swing set. It is also one of the few add-ons that changes how kids move on and off the deck, so the mounting has to be right.
This guide walks through the order that works: measure first, mount second, seal third, test last. If your set uses a cedar deck like the Chateau Swing Set or the Sun Palace Swing Set, the same sequence applies. The differences are in deck height and what is underneath the deck, not in the basic method.
Before you drill: measure the deck and the slide entry
Set the slide in place on the ground where you want it and measure from the ground to the top of the slide's entry chute. Then measure your play deck height from the ground to the top of the deck surface. These two numbers need to line up closely, because a side winder slide is designed to meet the deck at a specific height and does not adjust much.
If the numbers are close but not exact, you can usually make up the difference with the ground under the slide legs, since a small amount of digging or adding a paver changes the effective height. If the deck is far too high or too low, stop and check the slide's spec before drilling anything. No amount of hardware will fix a mismatch in height.
- Measure at the exact spot the slide will sit, not the average deck height, since decks can sit slightly out of level.
- Take both measurements with the slide on firm ground, not on loose gravel or fresh mulch.
Find the framing, not just the deck boards
The top of the slide carries the most load, so its bracket has to land on a structural beam or joist, not on a single deck board. From underneath the deck, locate the framing members near your chosen exit point and mark their positions on the deck surface with a pencil or painter's tape. This is the step people skip, and it is the reason slides loosen over time.
Position the slide so the entry sits over open deck space and the curve swings clear of the swing beam, ladder, and any other traffic path. A side winder slide needs room to curve, so walk the full arc before you commit. If the only framing is in a spot that blocks the ladder, move the slide and re-measure rather than forcing it.
- Slide a putty knife or thin shim between deck boards to confirm exactly where each joist runs.
- Keep at least one deck board of clearance between the slide entry and the edge of the deck.
Mount the top bracket with the right hardware
Have a helper hold the slide in position while you mark the bracket holes. Drill pilot holes slightly smaller than your bolts, then fasten through the deck surface into the framing below. Use the hardware that came with the slide, and add washers on the underside where the bolt passes through the frame so the load spreads instead of crushing the wood.
Tighten the bolts in a cross pattern rather than one at a time, which keeps the bracket from pulling to one side. Once the top is secure, check that the slide entry sits flush with the deck edge with no lip to trip on. A raised lip at the top is the most common cause of stubbed toes and hesitant kids.
- Do not substitute drywall screws or short deck screws for the slide's mounting bolts.
- If a bolt spins without tightening, the hole is stripped; move to the next framing member.
Set and anchor the support legs
With the top bracket tight, let the slide rest on its legs and check the exit. The end of the slide should sit on level ground with the discharge area clear of roots, rocks, and the swing path. Dig out or build up the ground under each leg until the slide sits without twisting, then anchor the legs according to the slide's instructions.
A slide that rocks or flexes at the bottom will work its top hardware loose over a season. Once the legs are set, re-check the top bracket bolts and snug anything that moved during positioning. If your ground is soft, a small concrete paver under each leg gives the slide a stable base without a full concrete pour.
- Check the exit height: kids should be able to stand up at the bottom without ducking.
- Leave the discharge area open for at least a few feet so kids clear the slide before the next rider starts.
Seal the new holes and do a load test
Every new bolt hole is a path for water into the wood, so seal the tops of the fasteners and any exposed end grain with a exterior-grade sealant or the same stain finish used on your set. This matters more on cedar sets, which are durable but still vulnerable at drilled openings. Let the sealant cure before the first ride.
Then test it yourself before the kids do. Push down firmly on the slide entry, sit on it, and check for movement at the bracket and legs. If anything shifts, tighten and re-check. A slide that feels solid under an adult is ready for regular use.
- Re-tighten the mounting bolts after the first week of use, then check them each season.
- Inspect the slide surface and hardware after heavy rain or a hard freeze.
Installation steps at a glance
- Measure deck height against slide entry: Set the slide on the ground, measure ground-to-entry and ground-to-deck, and confirm they match before drilling. Checkpoint: if the heights are far apart, stop and verify the slide fits your set.
- Locate framing under the deck: Mark the joists or beam near your exit point from underneath so the top bracket lands on structure. Mistake to avoid: mounting only into deck boards, which loosens with use.
- Bolt the top bracket: Drill pilot holes, fasten with the slide's hardware and washers, and tighten in a cross pattern. Checkpoint: the slide entry should sit flush with no raised lip.
- Level and anchor the legs: Adjust the ground under each leg until the slide sits without twisting, then anchor per the instructions. Mistake to avoid: leaving the base on soft ground so the slide rocks.
- Seal holes and test the slide: Seal every new fastener and exposed end grain, let it cure, then load-test the slide yourself. Next step: re-check bolts after the first week and each season.
Parts and sets that make this job easier
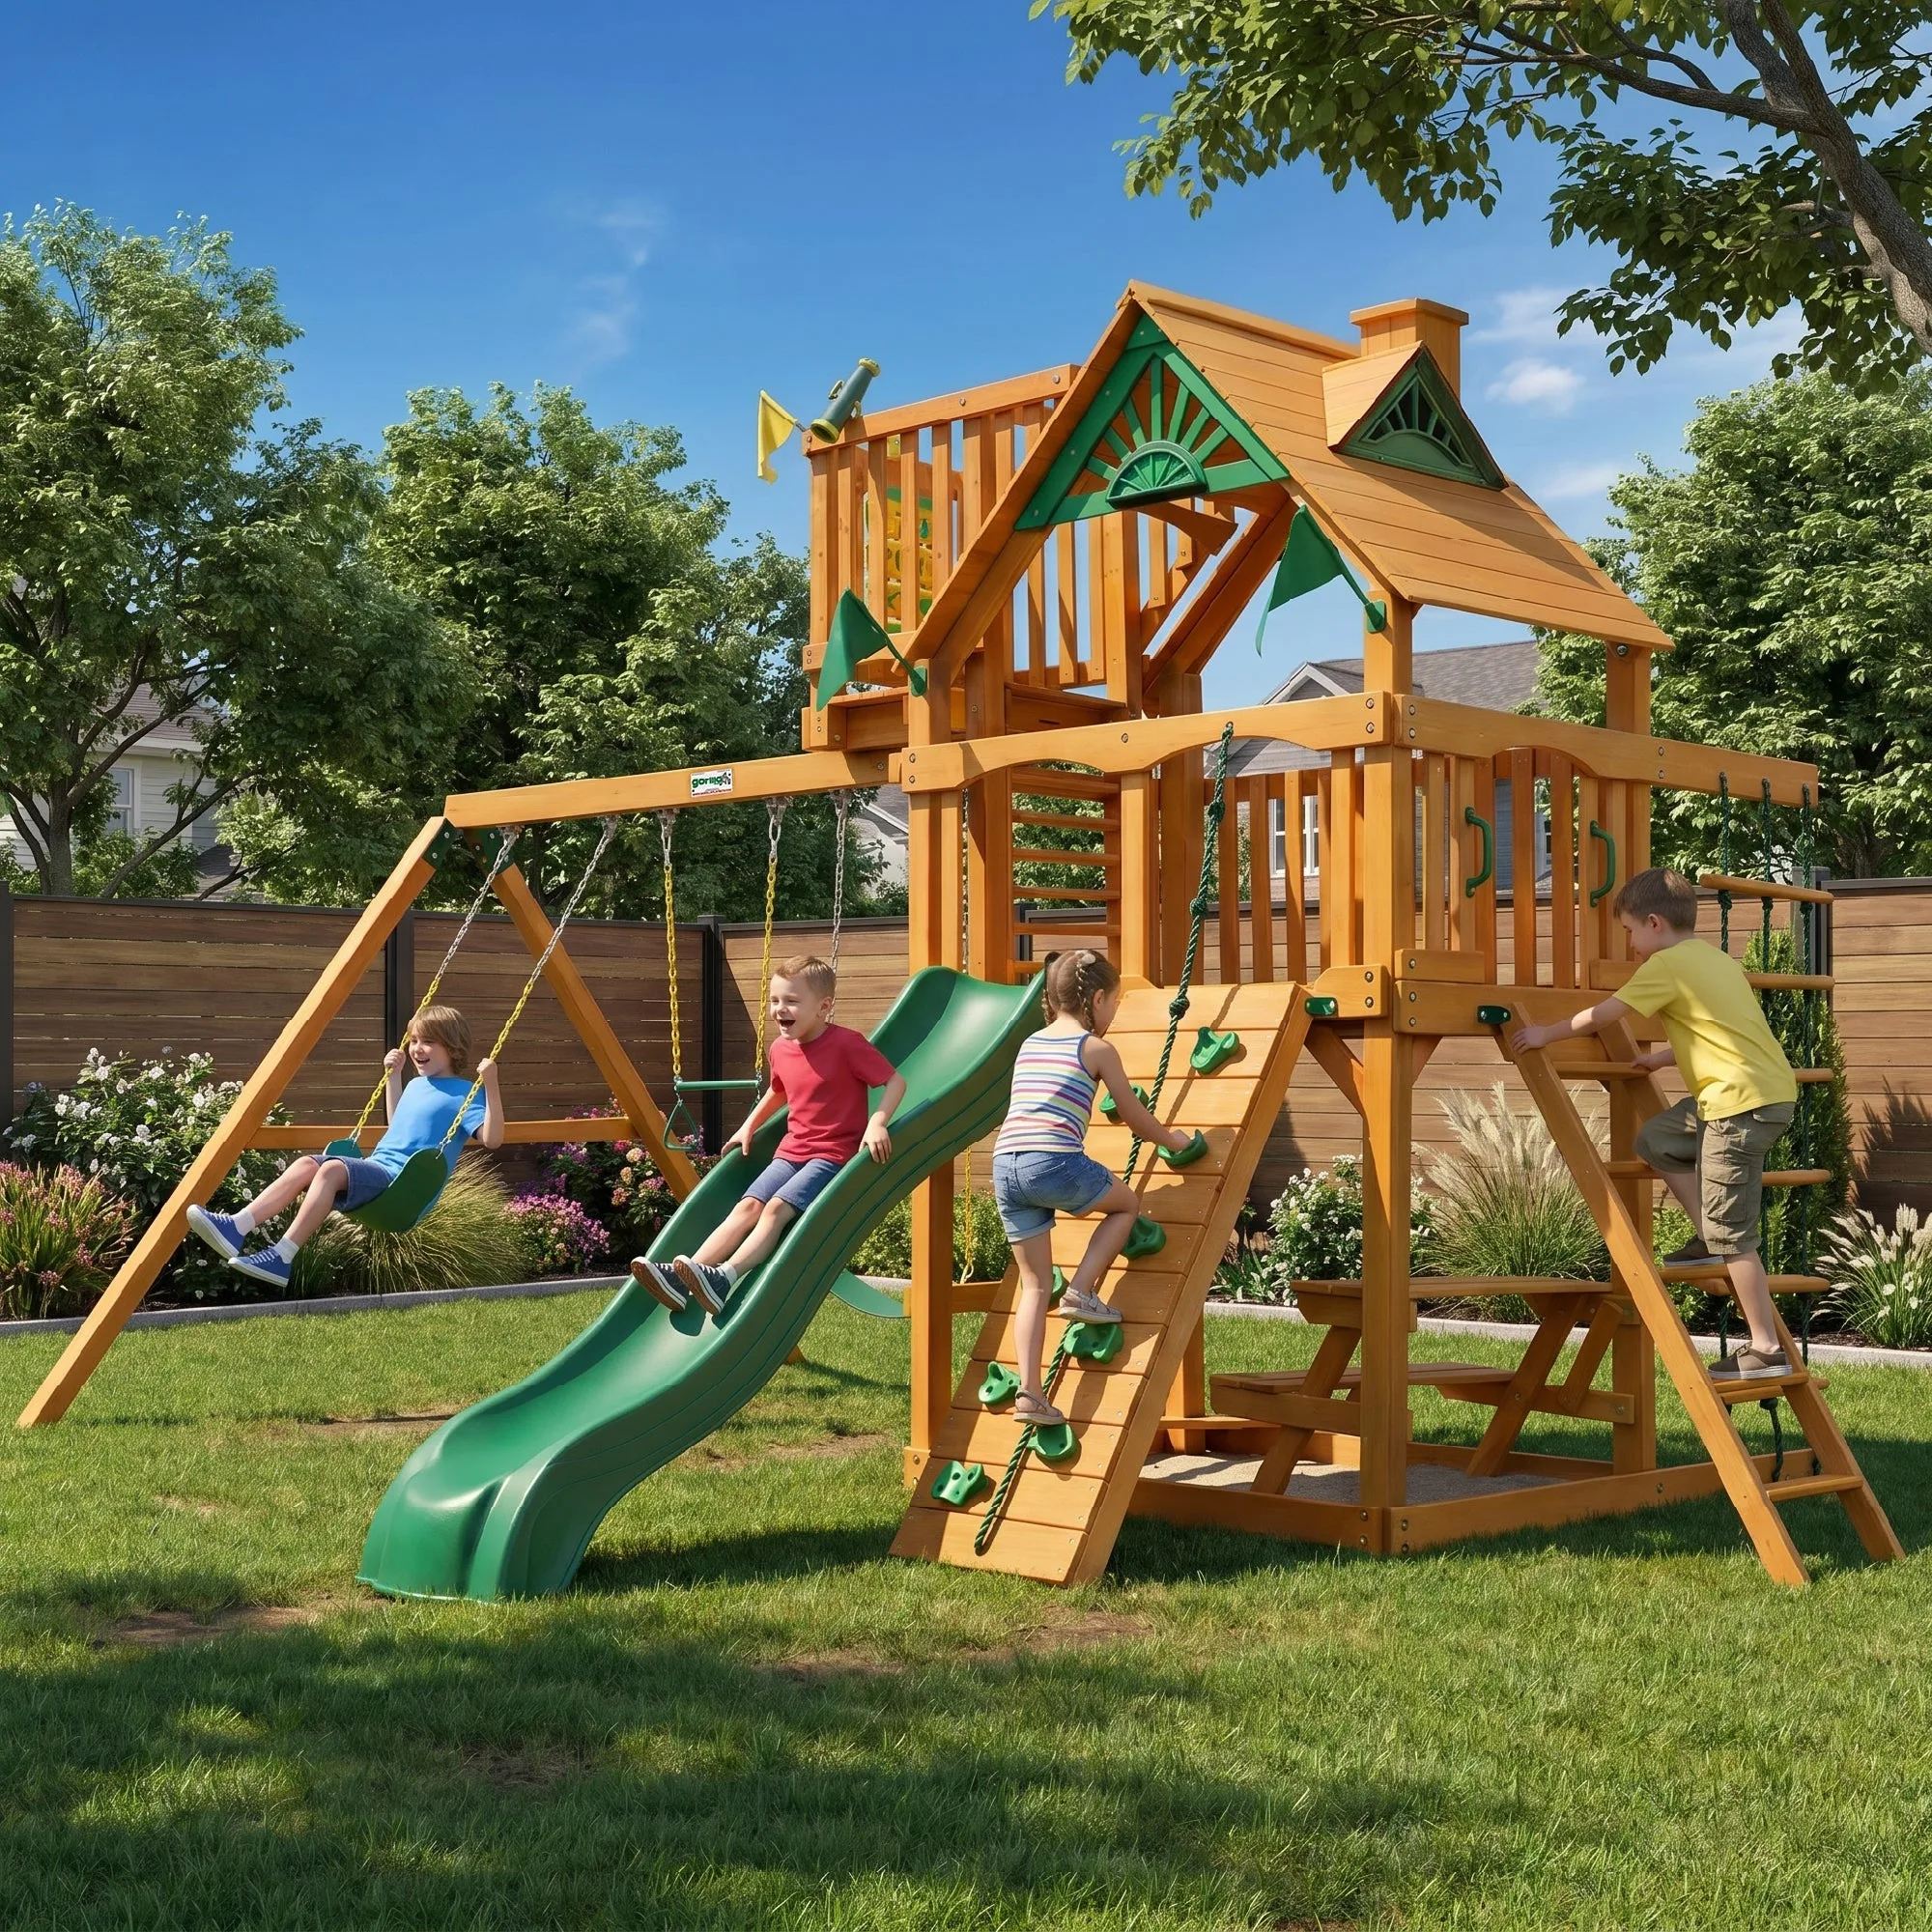
- Chateau Swing Set: Premium cedar wood swing set that is pre-cut, pre-sanded, pre-stained, and ready to assemble, with a play deck protected by a tongue and groove wood roof. If this is your set, the pre-stained cedar means new mounting holes still need sealing, but you can match the existing finish instead of staining from bare wood.
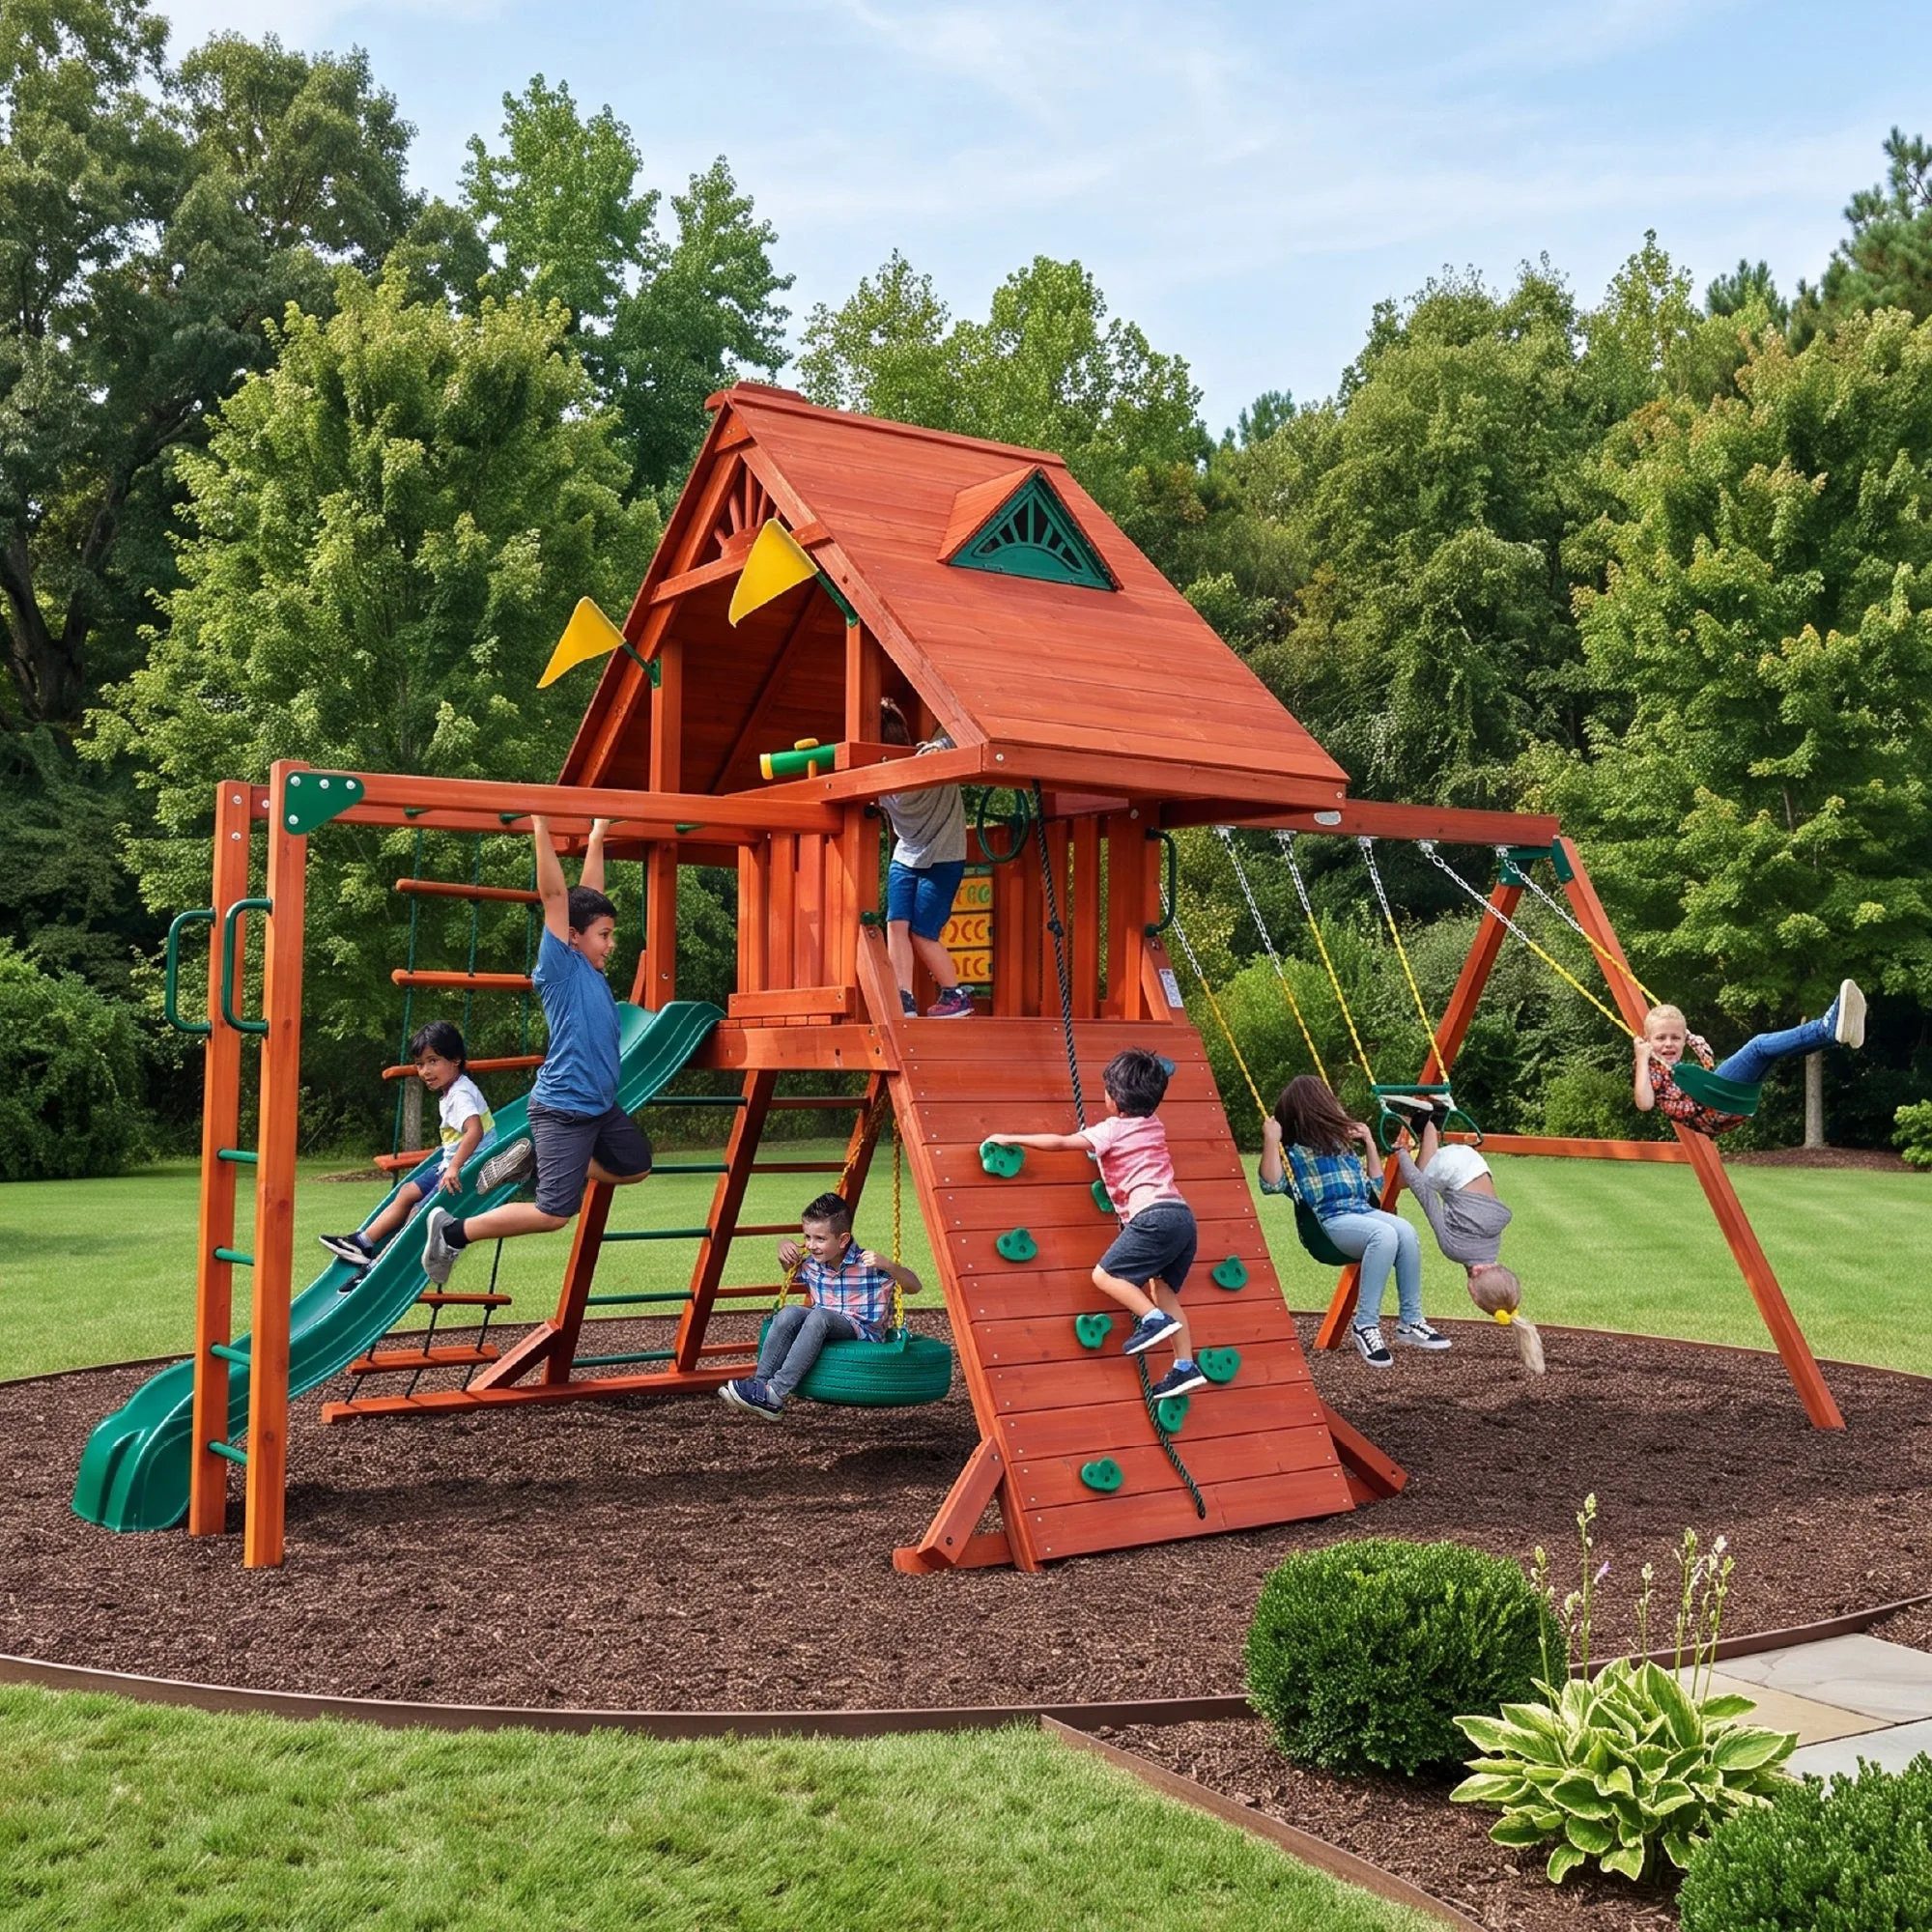
- Sun Palace Swing Set: Constructed from premium cedar and includes monkey bars, a rock wall, a rope ladder, and a 360° Turbo Tire Swing. With this many traffic paths around the deck, plan your slide exit so the curve does not cross the monkey bars or tire swing swing zone.
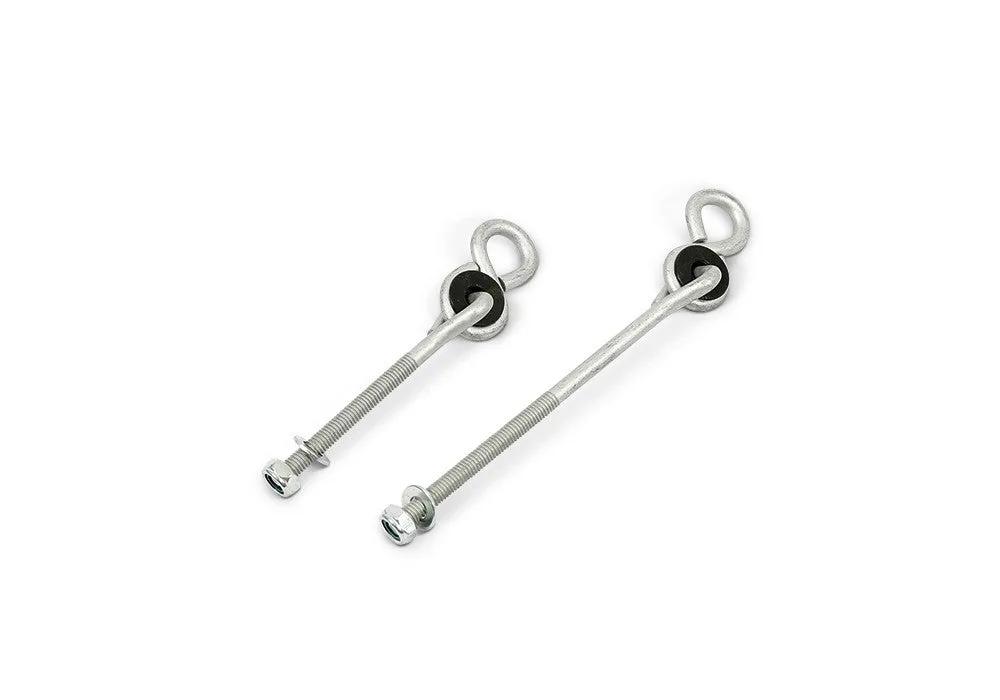
- Wood Swing Hangers for 4x4 swing beam: Each set includes two 4-inch swing hangers and mounting hardware for attaching swings to a 4x4 play set swing beam. The same principle applies to slide brackets: mount into structural lumber with the supplied hardware, not into deck boards.
A side winder slide is a straightforward add-on when the deck height, framing, and ground all line up before you drill. Measure first, mount into structure, seal the wood, and test it yourself. Do that, and the slide stays solid through seasons of use instead of loosening by midsummer.