Quick answer
Start by grouping small items into three buckets: things that need a label, things that need a protective cap, and things that need both. Label the outside of every bag or pouch you might set down in a shared space, cap anything with bristles or a fragile tip, and keep the whole routine to one pass at the packing stage so it actually sticks.
Why small gear disappears first
Small items are the easiest to lose because they have no bulk to anchor them to a bag, a shelf, or a memory. A toiletry kit with six loose pieces becomes six chances to leave something behind. The fix is not more discipline; it is fewer decisions. When every small item has a fixed home and a visible marker, you stop relying on recall and start relying on the system.
Match the container to the item, not the trip
Packing for a weekend and packing for two weeks should use the same small-gear setup. If your system changes with trip length, you will rebuild it every time and forget a piece. Keep one toiletry pouch, one cable pouch, and one tag on each bag you regularly carry. Add or remove items, but keep the containers and labels stable.
Build a five-minute labeling habit
The most reliable time to label gear is right after you unpack from a trip, not right before the next one. You already know what caused friction, and the items are still grouped. Keep tags and caps in the same drawer as your packing cubes so the habit has a physical trigger. If a tag falls off, replace it during that same session rather than promising to do it later.
Five steps to organize small travel gear
- Empty and sort everything small: Dump every small item onto a flat surface: toiletries, cables, adapters, earplugs, and anything that could roll under a seat. Sort into three piles: label, cap, and neither. Checkpoint: if a pile has more than about eight items, split it into two pouches before you continue.
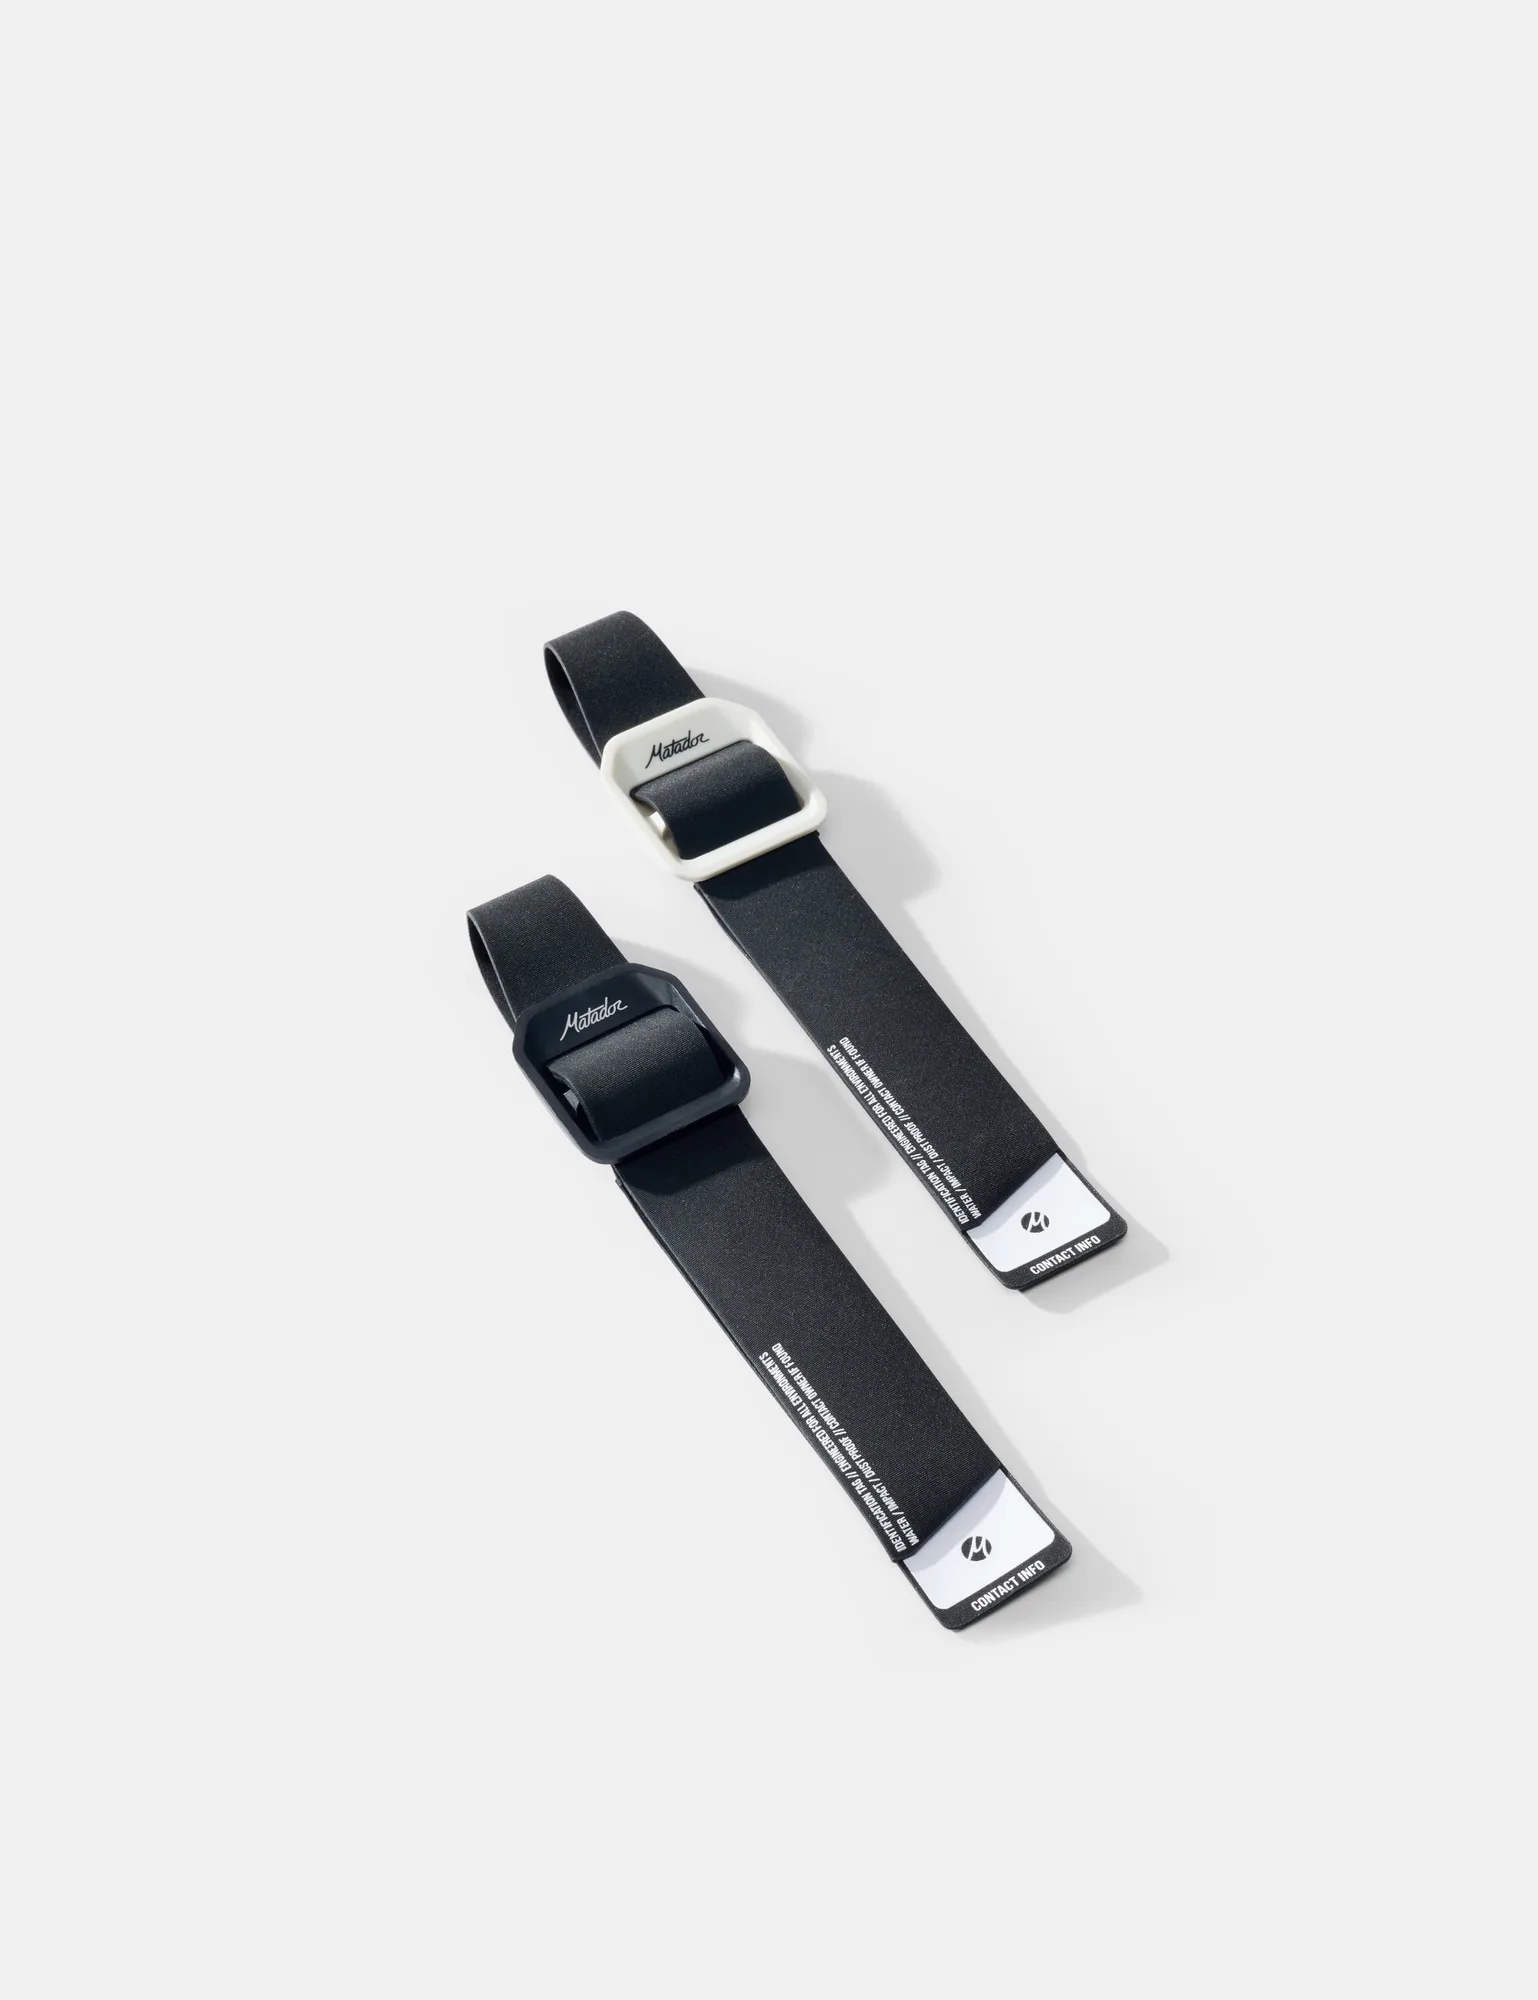
- Tag the bags you set down: Attach a gear tag to any bag or pouch that leaves your body during a trip, including camera bags, daypacks, and toiletry kits. Write a name and a phone number or email, not just a color or a nickname. Common mistake: tagging only the checked suitcase. The small bag you put on a cafe chair is the one most likely to walk off.
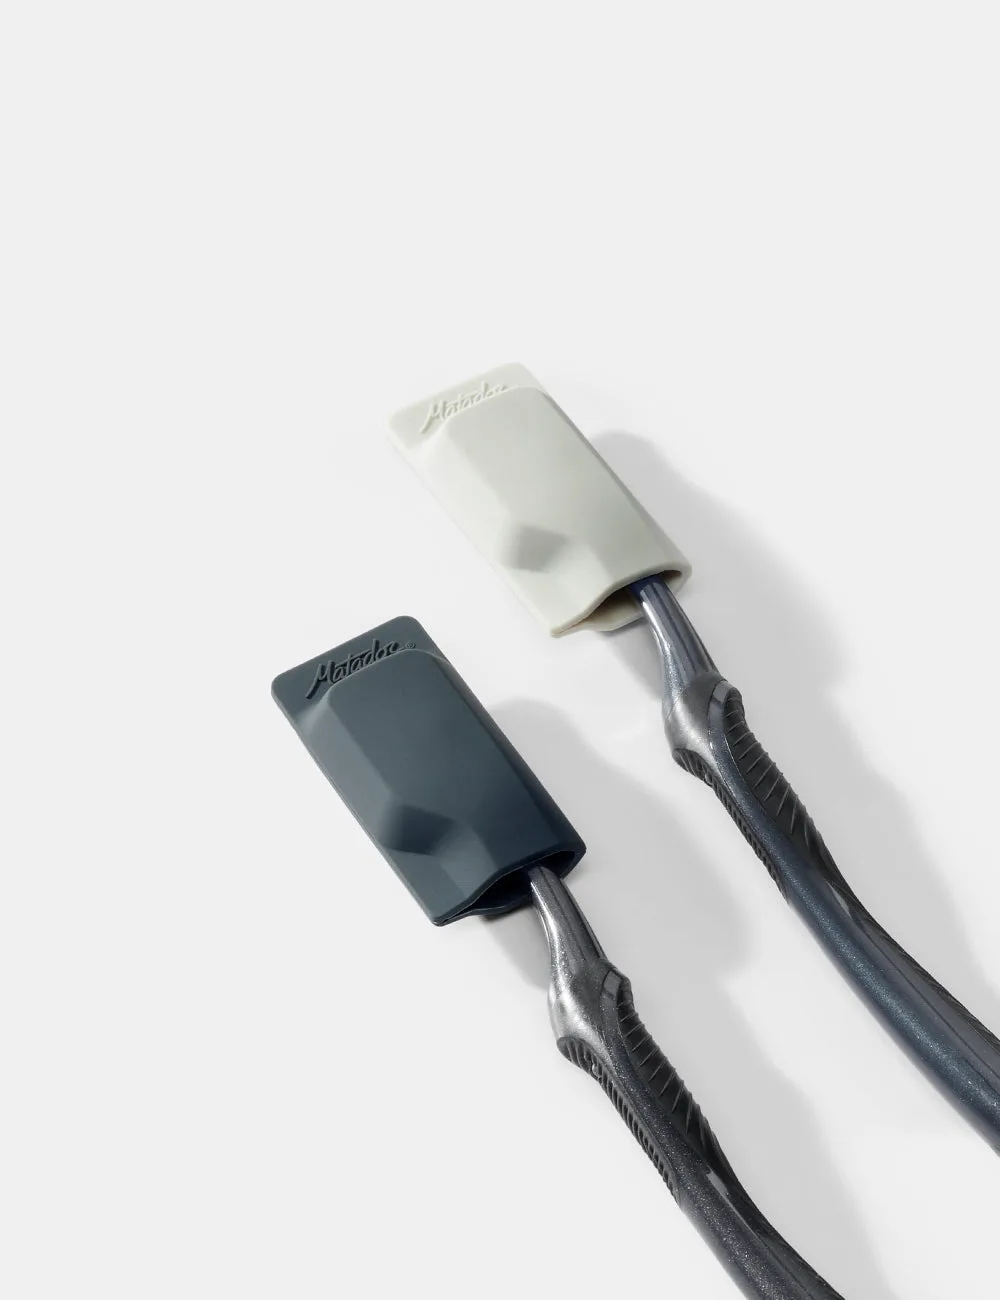
- Cap anything with bristles or a fragile tip: Toothbrush caps travel well because they keep bristles off the inside of a pouch and away from other surfaces. Cap the brush before it goes in the bag, not after you arrive. Checkpoint: if the cap feels loose, reseat it now. A cap that falls off in transit is the same as no cap.
- Give every small item one fixed home: Assign each item to a specific pouch or pocket and keep that assignment across trips. Cables in one pouch, toiletries in another, sleep items in a third. Do not reorganize based on trip length. Common mistake: using the same pouch for different contents on different trips, which forces you to re-check it every time.
- Do a five-minute reset after each trip: Unpack small items, replace any missing tag or cap, and return everything to its assigned pouch. This is also the moment to remove anything you did not use, which keeps the system from growing. Next step: keep spare tags and caps in the same drawer as your packing cubes so the reset takes one trip, not three.
Small gear that does the job
- Gear Tags 2-Pack: Built from durable, weatherproof materials to withstand the toughest conditions. A tag that survives rain, baggage handling, and repeated rubbing is worth attaching once instead of replacing every few trips.
- Toothbrush Caps 2-Pack: Made from food-safe silicone, they guard against damage and contamination. Capping bristles keeps them off the inside of a shared toiletry bag and away from surfaces in transit.
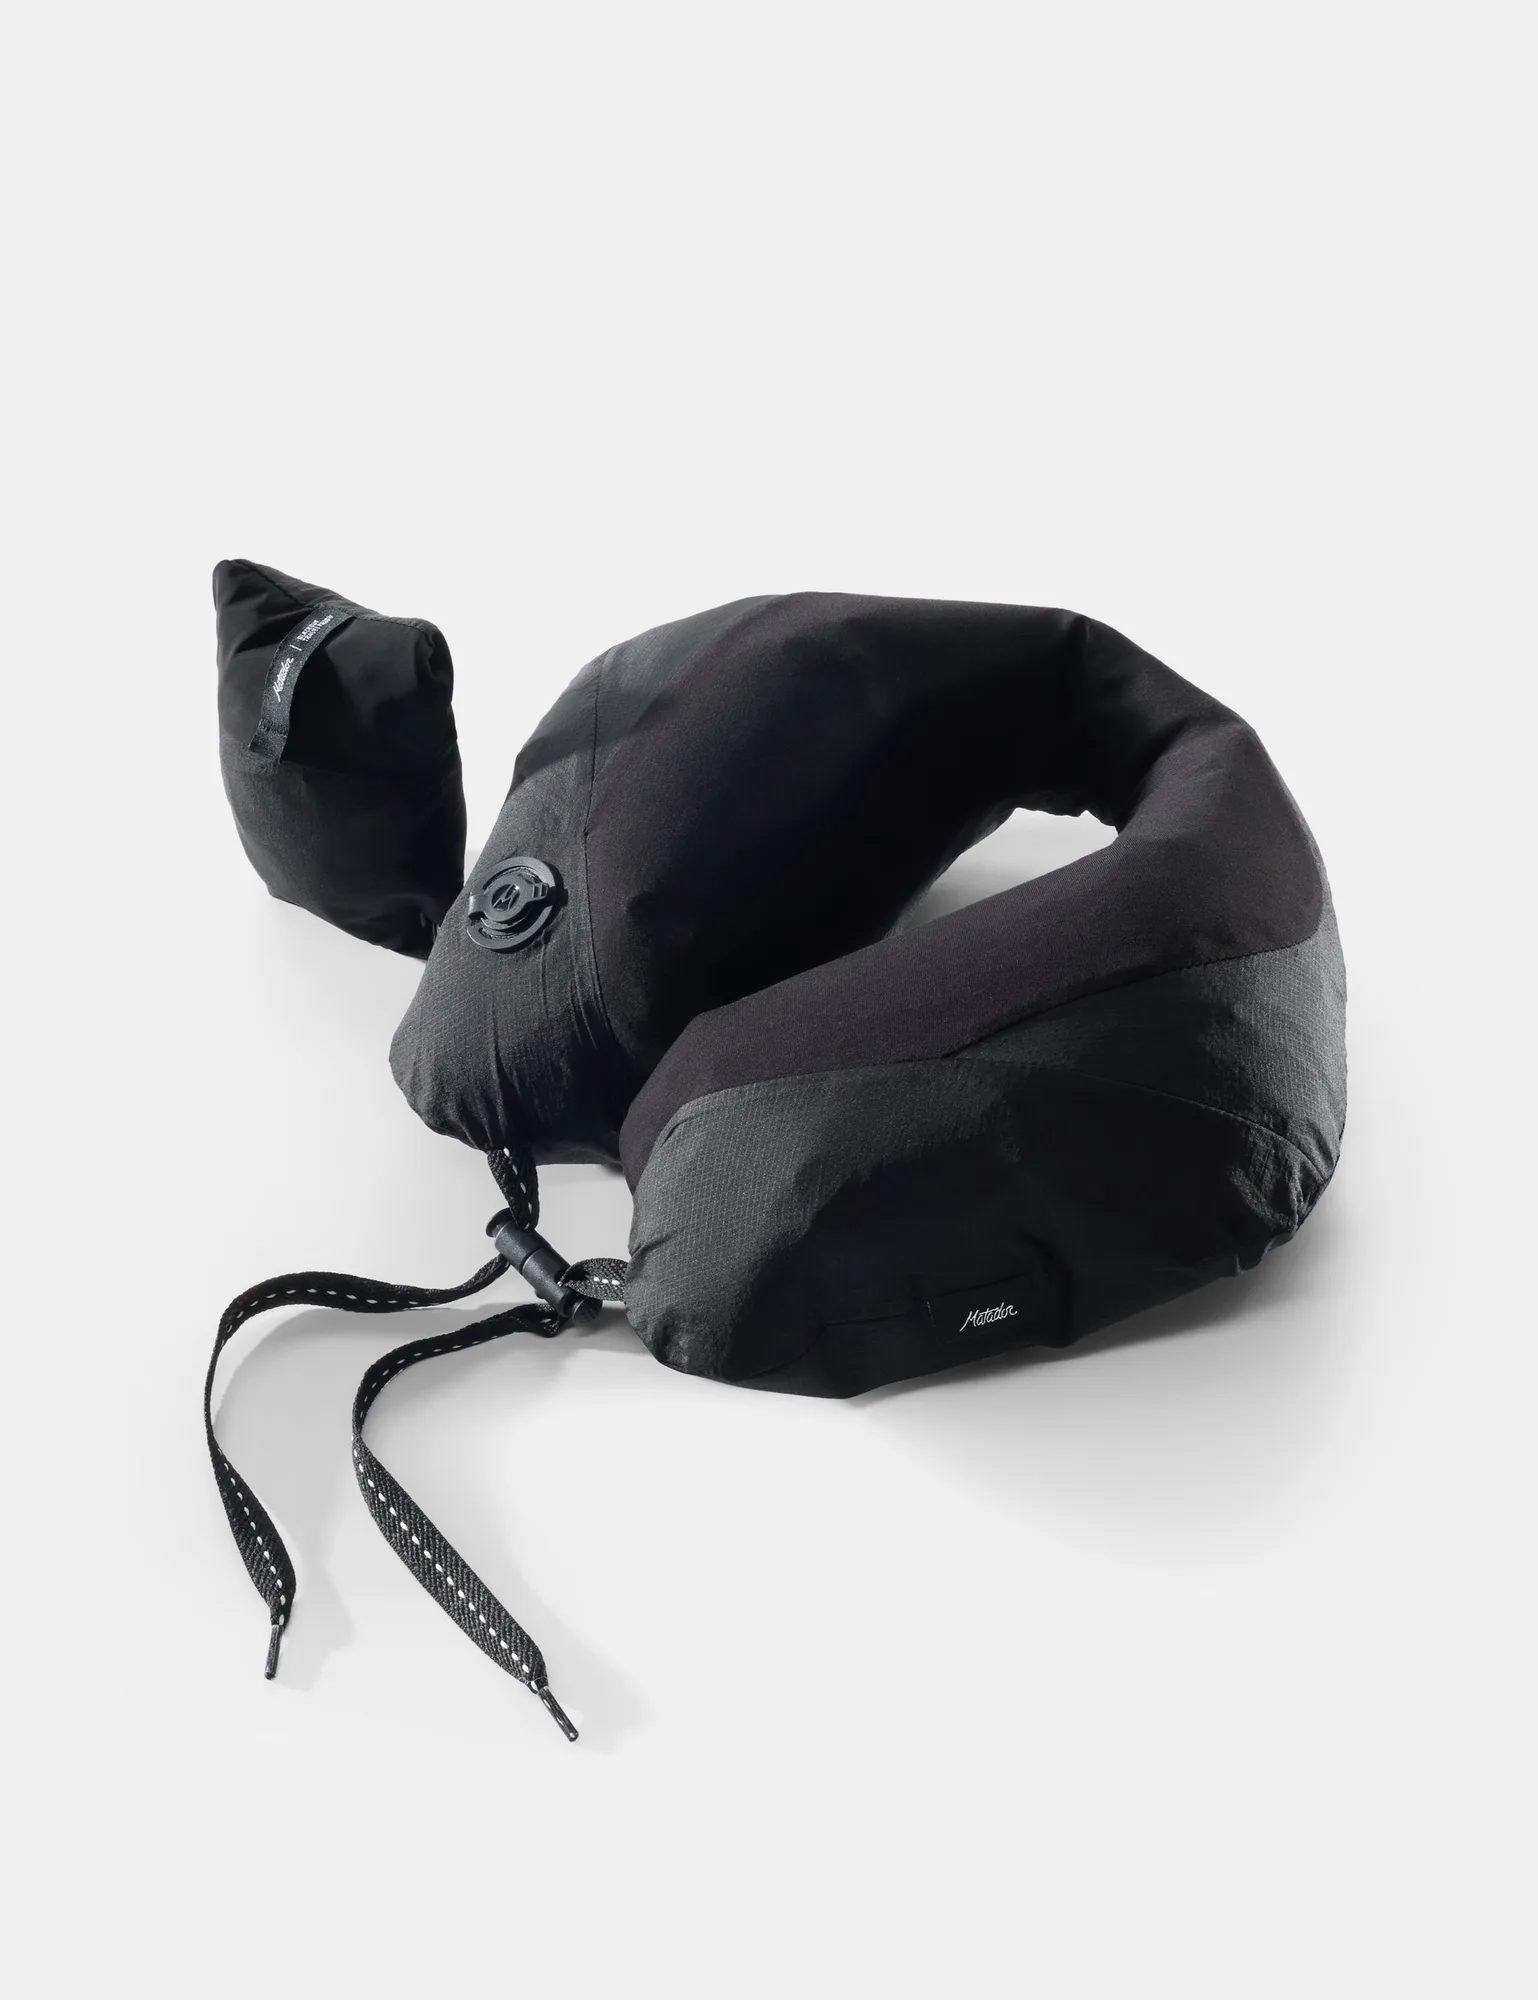
- Blackout Travel Pillow: Soft, supportive comfort for rest on the go, with a packable design that fits easily into your travel gear. A pillow that compresses into the same small-items pouch means one less loose object rolling around your bag.