Quick Answer
To clean your dog's ears with a keto ear flush, first inspect the ear canal for redness, swelling, or discharge. Then fill the canal with solution, massage the base for 20–30 seconds, let your dog shake, and wipe away debris with a cotton ball. Never insert cotton swabs into the ear canal. Repeat only as directed by your vet.
If your dog has been scratching at their ears or you've noticed a yeasty odor, a keto ear flush can help. A keto ear flush for dogs is a cleaning solution that combines ketoconazole—an antifungal—with a gentle cleansing base to address yeast and bacterial overgrowth in the ear canal. Unlike a simple rinse, it's designed to reach deep into the L-shaped canal where debris and microbes hide.
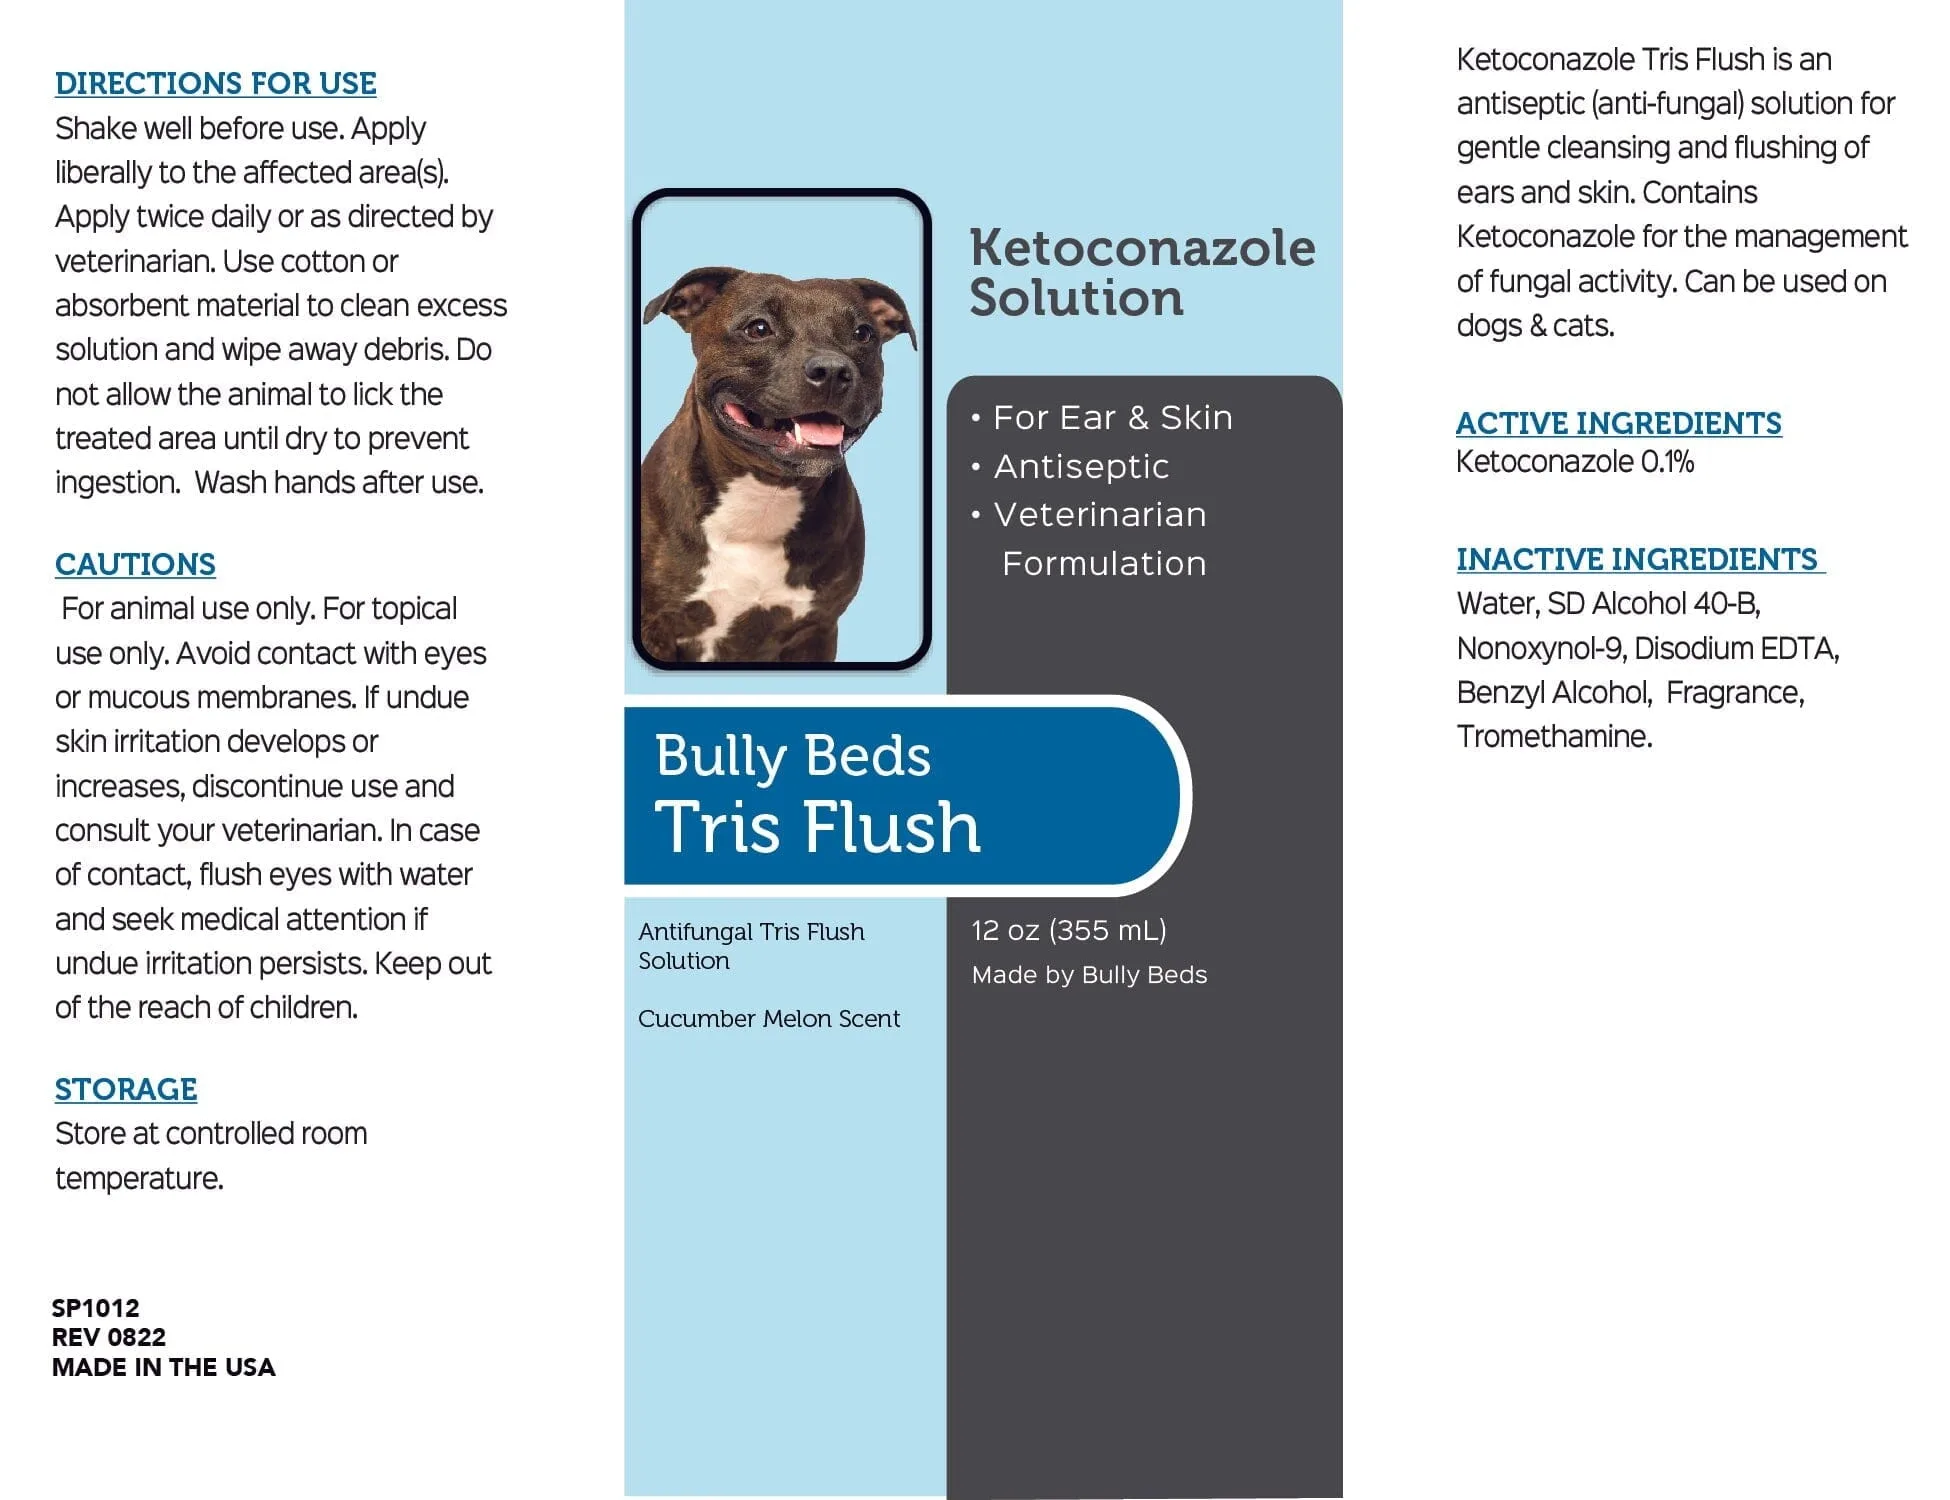
keto ear flush for dogs
This step-by-step dog ear cleaning guide walks you through the entire process, from gathering supplies to knowing when to call your vet. Done correctly, an ear flush for dogs can be a safe, effective part of your routine—especially for breeds with floppy or hairy ears that trap moisture.
Why Keto Ear Flush Works for Dog Ear Infection Cleaning
A dog's ear canal is long, narrow, and takes a sharp turn near the eardrum—unlike the short, straight canal in humans. That anatomy makes it easy for wax, dirt, and moisture to get trapped. A keto ear flush is formulated to deodorize, gently clean, and acidify the canal, which helps create an environment where yeast and bacteria struggle to thrive.
Many keto ear flushes are made in the USA and come in an 8-ounce bottle. The active ingredient, ketoconazole, targets fungal overgrowth, while the liquid carrier flushes out debris. This dual action is why vets often recommend a keto ear flush for dogs with chronic yeast infections or as part of a dog ear infection cleaning routine.
- Check with your veterinarian before starting any new ear treatment, especially if the eardrum may be ruptured.
- Do not use a keto ear flush on a dog with a known allergy to any ingredient.
Gather Your Supplies Before You Start
You'll need your keto ear flush, cotton balls or gauze squares, a towel, and treats for positive reinforcement. Avoid cotton swabs—they can push debris deeper or injure the eardrum. If your dog has long hair around the ear opening, have blunt-nosed scissors handy to carefully trim it away, which improves airflow and makes cleaning easier.
Work in a well-lit area, ideally with a helper to hold your dog steady. If your dog is wiggly or anxious, do a few short practice sessions where you just touch and handle the ears without any solution. This builds trust and makes the actual flush less stressful for both of you.
- Never use hydrogen peroxide or alcohol-based cleaners unless your vet specifically instructs it—they can irritate inflamed tissue.
- Keep one hand free to gently restrain your dog's head, but never clamp down or cover the muzzle tightly.
Step-by-Step Dog Ear Cleaning Instructions
Start by inspecting the ear. Look for redness, swelling, discharge, or a strong odor. If you see any of these signs, or if your dog yelps when you touch the ear, stop and call your vet—these could indicate a ruptured eardrum or severe infection that needs professional treatment. If the ear looks relatively normal, you can proceed with the flush.
Hold the bottle upright and gently squeeze the keto ear flush into the ear canal until it's about half full. Do not force the nozzle deep into the canal; just let the tip rest at the opening. Then massage the base of the ear—the firm cartilage below the opening—for 20 to 30 seconds. You should hear a squishing sound, which means the solution is moving around. Let your dog shake their head, then use a cotton ball to wipe away loosened debris from the visible parts of the ear. Repeat once if needed, but don't overdo it.
- Common mistake: pouring solution directly into the ear without massaging—it won't reach the deeper canal.
- Checkpoint: if your dog shows pain or the ear bleeds, stop immediately and seek veterinary care.
Aftercare and When to Use a Keto Ear Flush
After flushing, reward your dog with a treat and some quiet time. Clean the ear no more than once daily unless your vet advises otherwise. Over-cleaning can strip natural oils and cause irritation. If your dog has a history of ear infections, your vet may recommend using a keto ear flush two or three times per week as a maintenance measure.
Keep an eye on your dog's ears between cleanings. If you notice head shaking, scratching, or a return of odor, it's time for a vet visit. A keto ear flush is a tool, not a cure—it works best alongside proper diagnosis and any prescribed medications.
- Store your keto ear flush at room temperature and check the expiration date before each use.
- If your dog has hairy ear canals, ask your vet whether plucking is appropriate—it's not right for every dog.
Your Keto Ear Flush Checklist
- Inspect the ear: Look for redness, swelling, discharge, or odor. If present, stop and consult your vet before flushing. Never flush an ear that looks infected or painful without veterinary guidance.
- Fill the ear canal: Gently squeeze the keto ear flush into the ear until the canal is about half full. Do not insert the nozzle deeply. If your dog resists strongly, pause and try again later with treats.
- Massage the base: Massage the base of the ear for 20–30 seconds to work the solution into the canal. Listen for a squishing sound. Skipping the massage means the flush won't reach deep debris.
- Let your dog shake: Step back and allow your dog to shake their head, which helps expel loosened debris and excess solution. Have a towel ready—this part can get messy.
- Wipe away debris: Use a cotton ball or gauze to clean the visible parts of the ear. Never use cotton swabs inside the canal. If debris is bloody or pus-like, see your vet.
- Reward and repeat as directed: Give treats and praise. Repeat only as often as your vet recommends—usually no more than once daily. Over-cleaning can cause irritation, so stick to the schedule.
Products That Support Ear Cleaning and Skin Health
- Dog Ear Drying & Cleansing Solution: Specifically formulated to deodorize and gently clean, dry and acidify the ear canal. Unlike humans that have a short and straight ear canal, dogs have a long and narrow ear canal that makes an almost 90-degree angle as it gets deeper - this makes it especially critical to flush and cleanse the ear canals. This is especially important for pets with furry or floppy ears. Made in the USA. 8 ounce. This solution is designed for the unique shape of a dog's ear canal, helping to flush out debris and moisture that can lead to infections. The drying and acidifying action supports a healthy ear environment, especially for breeds with floppy or hairy ears.
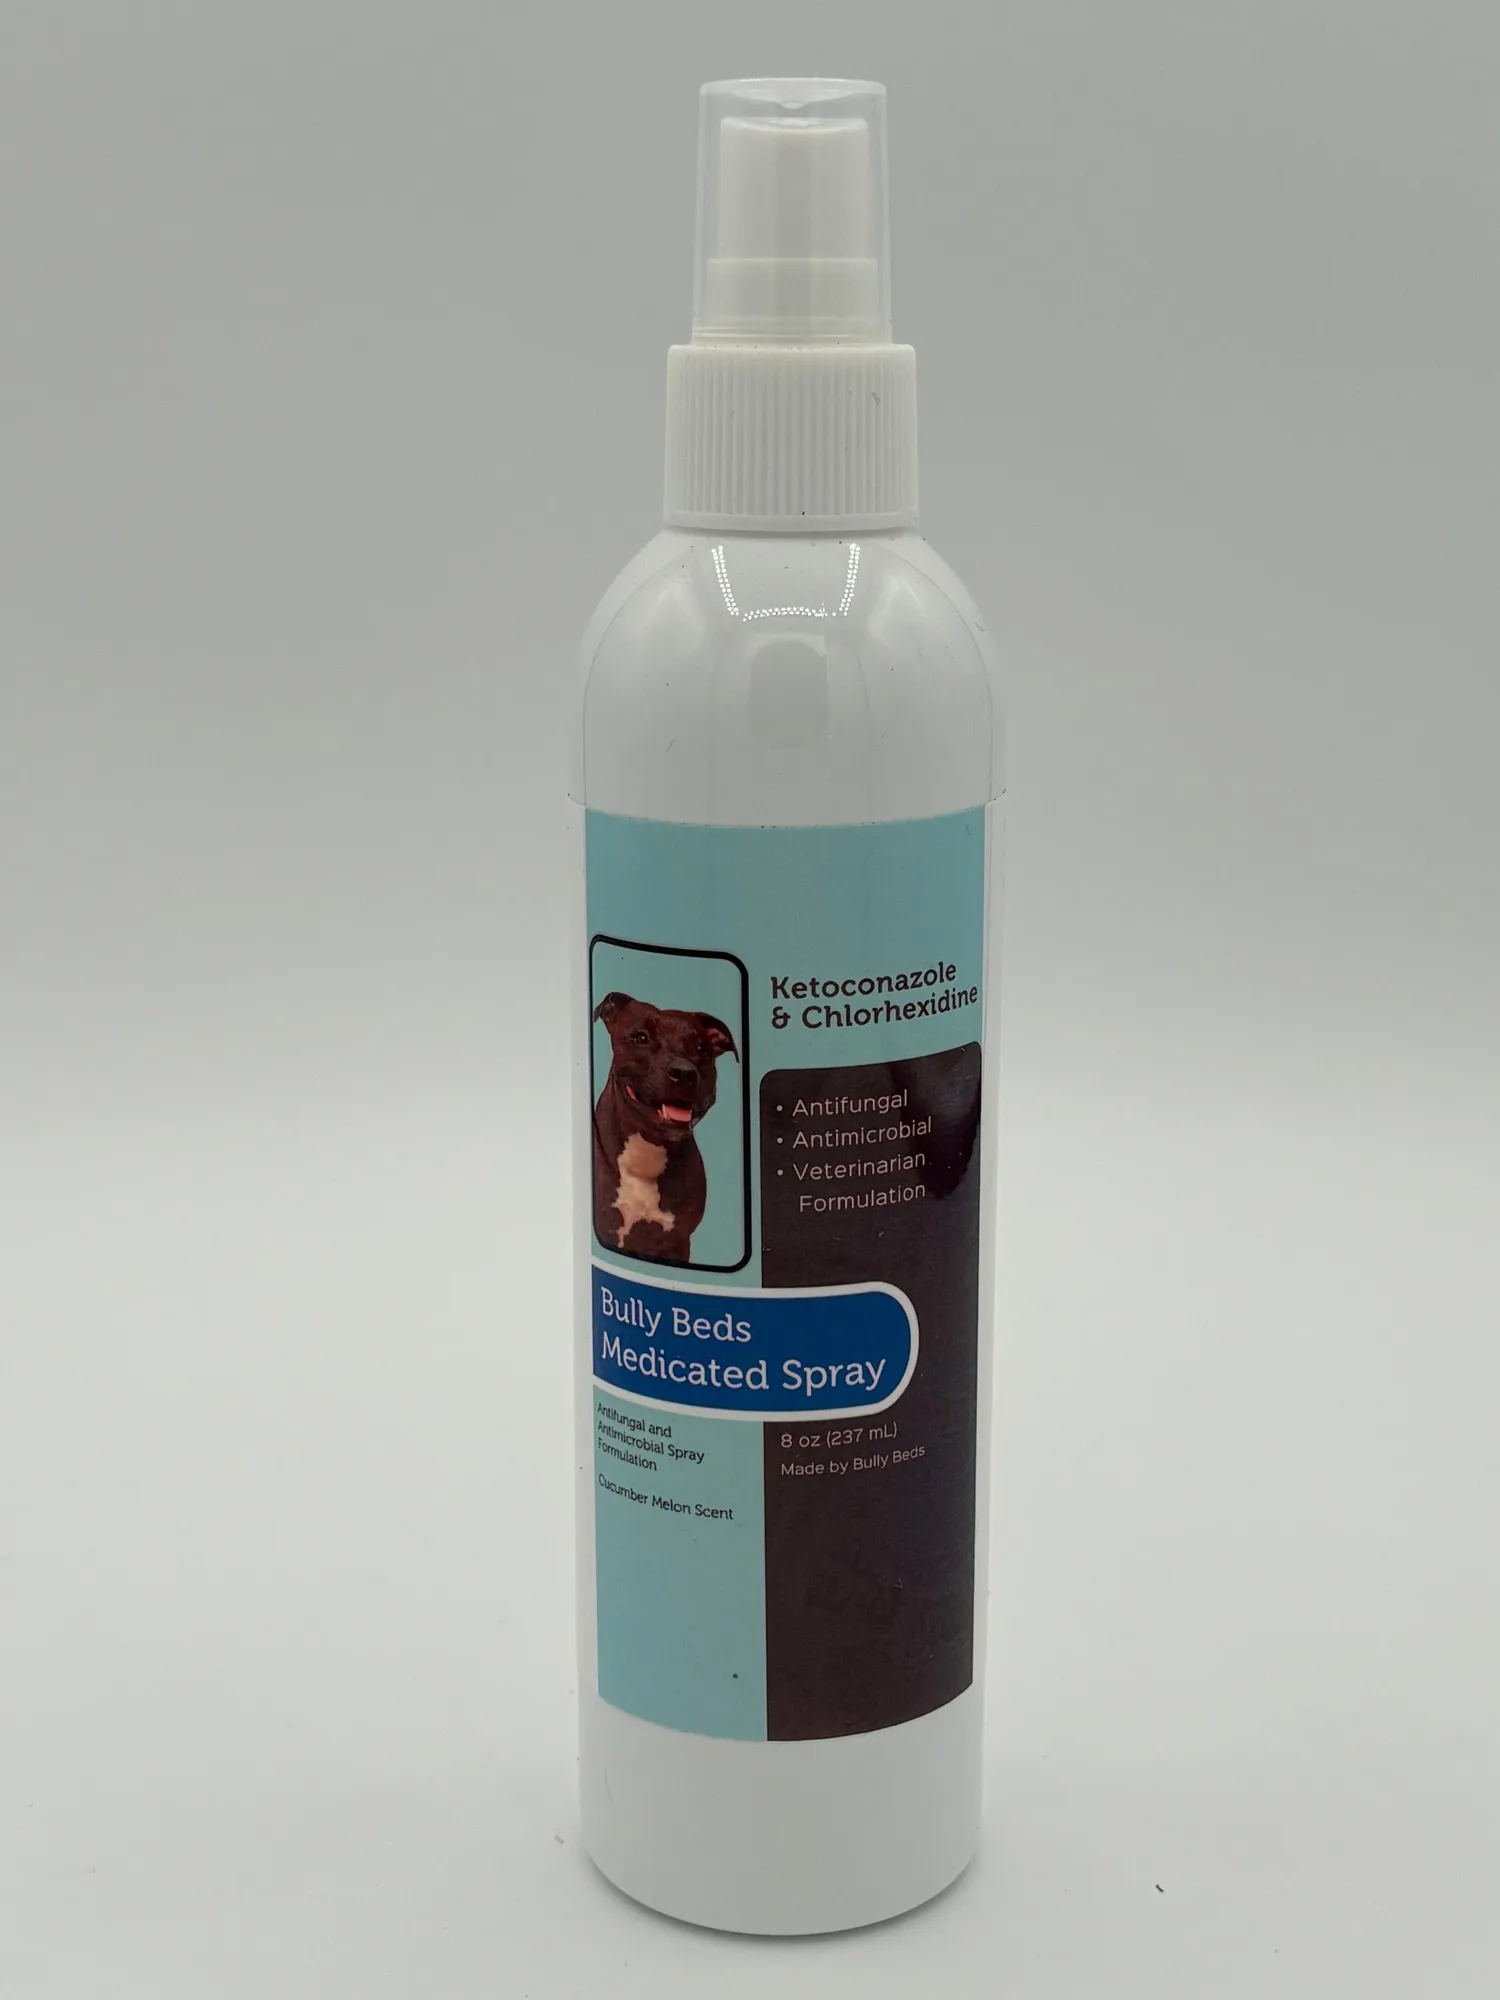
- Medicated Ketoconazole Spray for Dogs: Alcohol-free antiseptic formulation designed for dogs, cats and horses with dermatological conditions that are responsive to chlorhexidine and ketoconazole. Conditions that can be relieved through the use of Keto-C Spray include ringworm, hot spots, yeast infections, acne and many other skin irritations/issues by getting to the cause and stopping it. Because this is in a spray form, it is more convenient for in... If your dog's ear issues are related to a broader skin condition like yeast infections or hot spots, this spray can address the cause. Its alcohol-free formula is gentle on irritated skin, and the spray application makes it easy to target specific areas.
Cleaning your dog's ears with a keto ear flush can be a straightforward part of their grooming routine when done carefully. Always inspect first, massage thoroughly, and never force anything into the canal. If you're unsure whether your dog's ears are healthy enough for a flush, your veterinarian is your best resource.