Quick answer
Install the Kosmos Colorful RGB LED Units in your MG Gundam Vidar by planning wire routes before assembly, test-fitting the LEDs in the head, chest, and backpack, then soldering or connecting them to a power source. Work slowly, keep wires away from moving joints, and test each unit before closing up the kit. The Kosmos set is designed specifically for the MG Gundam Vidar, so no drilling or heavy modification is required.
What you need before you start
Gather your tools: the Kosmos RGB LED Units, a small Phillips screwdriver, wire cutters, electrical tape or heat shrink tubing, and a soldering iron if you plan to shorten wires. A pair of tweezers helps with routing thin wires through tight spaces. Because the Kosmos set is made for the MG Gundam Vidar, you won't need to modify the kit's outer armor, but you will need to partially disassemble the head and torso to access the internal channels.
Plan your wiring route
Before you install anything, study the kit's manual and identify where the LED units will sit: typically the head (eyes), chest (cockpit), and backpack thrusters. Decide where the battery pack or power source will live—often the backpack or a hidden compartment in the torso. Route wires along the inner frame, avoiding joints that rotate or slide. A common mistake is running wires across a shoulder joint; when you pose the arm, the wire pinches and breaks. Use tape or small zip ties to secure wires to the frame.
Install and test the LEDs
Start with the head unit: feed the LED into the eye area, then connect it to the main wire. Test it with a temporary power source before sealing the head. Repeat for the chest and backpack. If a unit doesn't light, check the polarity—LEDs are directional. The Kosmos units are pre-wired, but if you need to shorten a wire, solder the connection and cover it with heat shrink. Never pull on the wire itself; grip the connector. After each unit passes a test, secure it with a small dab of hot glue or double-sided tape.
Reassemble and manage the wires
As you close up the armor panels, keep wires tucked into the channels you planned. Avoid forcing panels together; if a panel won't sit flush, a wire is likely trapped. Once fully assembled, do a final test of all LEDs together. If one flickers, the issue is usually a loose connection or a wire under tension. The Kosmos set adds vibrant, multi-color illumination that makes the Vidar stand out on display, but it does require patience during reassembly.
Step-by-step installation
- Disassemble the head and torso: Remove the head, chest, and backpack armor to expose the inner frame. Keep screws and small parts in a tray. Checkpoint: take photos as you disassemble to help with reassembly.
- Test-fit the LED units: Place each Kosmos LED unit in its intended location—head, chest, backpack—without securing it. Check that wires reach the power source without strain. Common mistake: forcing an LED into a slot can damage the emitter. If it doesn't fit easily, you have the wrong orientation.
- Route and secure the wires: Run wires along the inner frame, avoiding joints. Use tape or zip ties to hold them in place. Leave a small service loop near moving parts. Checkpoint: move each joint through its full range to ensure wires don't bind or stretch.
- Connect the power source: Solder or plug the LED wires into your chosen power source (battery pack or adapter). If soldering, insulate each connection with heat shrink. Common mistake: reversing polarity. Test each LED before soldering; if it doesn't light, swap the wires.
- Test all LEDs together: Power on the full set. Check for consistent brightness and color. If one unit flickers, recheck its connection. Checkpoint: let the LEDs run for a few minutes to ensure no overheating or flickering.
- Reassemble the armor: Close up the head, chest, and backpack, feeding wires through channels as you go. Do not force panels. Common mistake: trapping a wire between panels, which can cut insulation and cause a short.
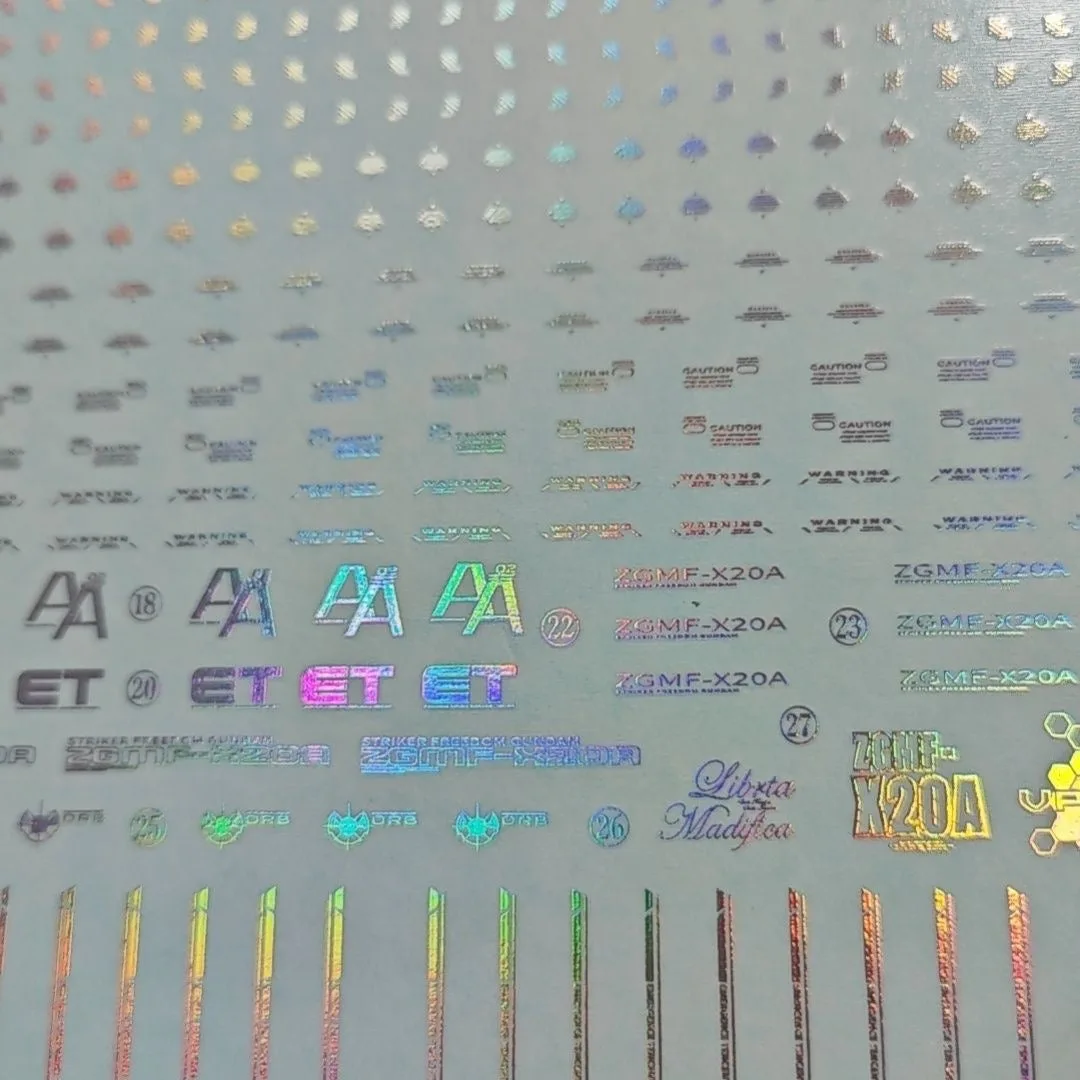
- Final display test: Pose the kit and turn on the LEDs. Adjust wire routing if any part of the pose causes flickering. Next step: if you want to add custom decals, consider the Holographic Water Decal for MGEX Strike Freedom Gundam 1/100 or the 3+1 Studio Customized Miku Water Decal for MG RX-78-2 Gundam Ver. 3.0 1/100 for a different kit.
Product facts
- Kosmos Colorful RGB LED Units for MG Gundam Vidar: Kosmos Colorful RGB LED Units for MG Gundam Vidar Designed specifically for the MG Gundam Vidar, so the units fit without modification and include multi-color RGB lighting for a dynamic display.