Quick Answer
White, chalky residue or flakes along your lash line almost always come from one of three things: using too much bond, applying lashes before the bond has tacked up, or exposing the bond to moisture before it fully cures. Fix the amount first, then the timing, then the environment. If white residue keeps returning after you correct all three, the bond itself may be the wrong formula for your routine.
Why Lash Bond Turns White in the First Place
Lash bond is a cyanoacrylate-based adhesive. When it cures, it pulls moisture from the air to set. If too much moisture hits the bond too fast, or if the bond is spread too thick, the cured film turns cloudy instead of clear. That cloudy film is what you see as white residue.
Flaking is a different symptom with a related cause. When bond is applied too heavily, the outer layer cures before the inner layer. The uncured center stays soft, and the hardened shell above it cracks and peels off in small flakes. You will usually find these flakes on your cheek, under your eye, or along the lash line a few hours after application.
The Three Application Mistakes Behind Most White Residue
Mistake one: dipping the lash into bond instead of brushing a thin film. A thick bead of bond cannot cure evenly, and the excess has nowhere to go but out. Mistake two: applying the lash before the bond turns tacky. Bond needs a short window to thicken. If you apply too soon, the lash slides and the bond pools. If you wait too long, the bond dries and won't grip. Mistake three: exposing the lash line to water, steam, or heavy sweat within the first few hours. That moisture rush is the fastest way to turn a clear bond white.
A fourth mistake is less obvious: applying bond to lashes that still have oil or makeup on them. Oil breaks down the adhesive's ability to cure cleanly, which can leave a patchy white film even when your technique is correct.
How to Fix White Residue Without Starting Over
If the white residue is fresh and the lashes are still attached, do not pick at it. Picking pulls the lash and damages the natural lash. Instead, use a clean spoolie or a lint-free applicator to gently brush away loose flakes. If the residue is stubborn, a small amount of oil-free makeup remover on a cotton swab along the lash line can lift it, but keep it away from the bond itself.
For future applications, change one variable at a time. Reduce the amount of bond you use, wait until the bond looks slightly tacky before placing the lash, and keep the lash line dry for at least four hours after application. If you are in a humid climate, work in a room with a fan or dehumidifier running. If you are in a very dry climate, a thin layer of bond may cure too fast and flake, so apply slightly more and work in smaller sections.
When to Stop and Try a Different Bond or Method
If you have corrected your bond amount, your timing, and your moisture exposure, and you still get white flakes within a day, the bond may not match your environment or your lash type. Some bonds are formulated for high humidity, others for dry conditions. If you are using a bond that came with a kit and it keeps failing, try a different formula before you assume your technique is the problem.
Also consider whether your lashes themselves are the issue. Very fine or very straight natural lashes may not grip a heavy bond well, leading to excess bond and flaking. In that case, a lighter bond or a different lash style may solve the problem faster than more practice with the same products.
Diagnose Your Bond Problem
- White, chalky film along the lash line: This is almost always too much bond or moisture exposure before the bond cures. Check your bond amount first, then keep the area dry for four hours. If it clears up with less bond and no moisture, your technique was the cause.
- Small flakes on your cheeks or under your eyes: Flaking means the bond cured unevenly, usually because it was applied too thick. Reduce the amount and wait for the bond to turn tacky before placing the lash. If flakes persist after reducing bond, try a different bond formula.
- White residue only on some lashes, not all: This points to inconsistent application. You may be dipping some lashes deeper than others or applying at different stages of tackiness. Practice applying bond to a few lashes at a time until the amount and timing feel consistent.
- Residue returns after you fix amount, timing, and moisture: Your bond may be mismatched to your climate or lash type. A different formula or a lighter lash style may be the better next step. Stop troubleshooting the same bond and try an alternative before assuming it is your technique.
Tools That Help You Apply Bond More Precisely
- Applicator Tips (Legacy): Applicator Tips (Legacy) are designed as a practical accessory for at-home lash application, helping with precise placement and handling of lashes. Better control means you can place the lash without pressing excess bond onto the lash line, which is a common cause of white residue and flaking.
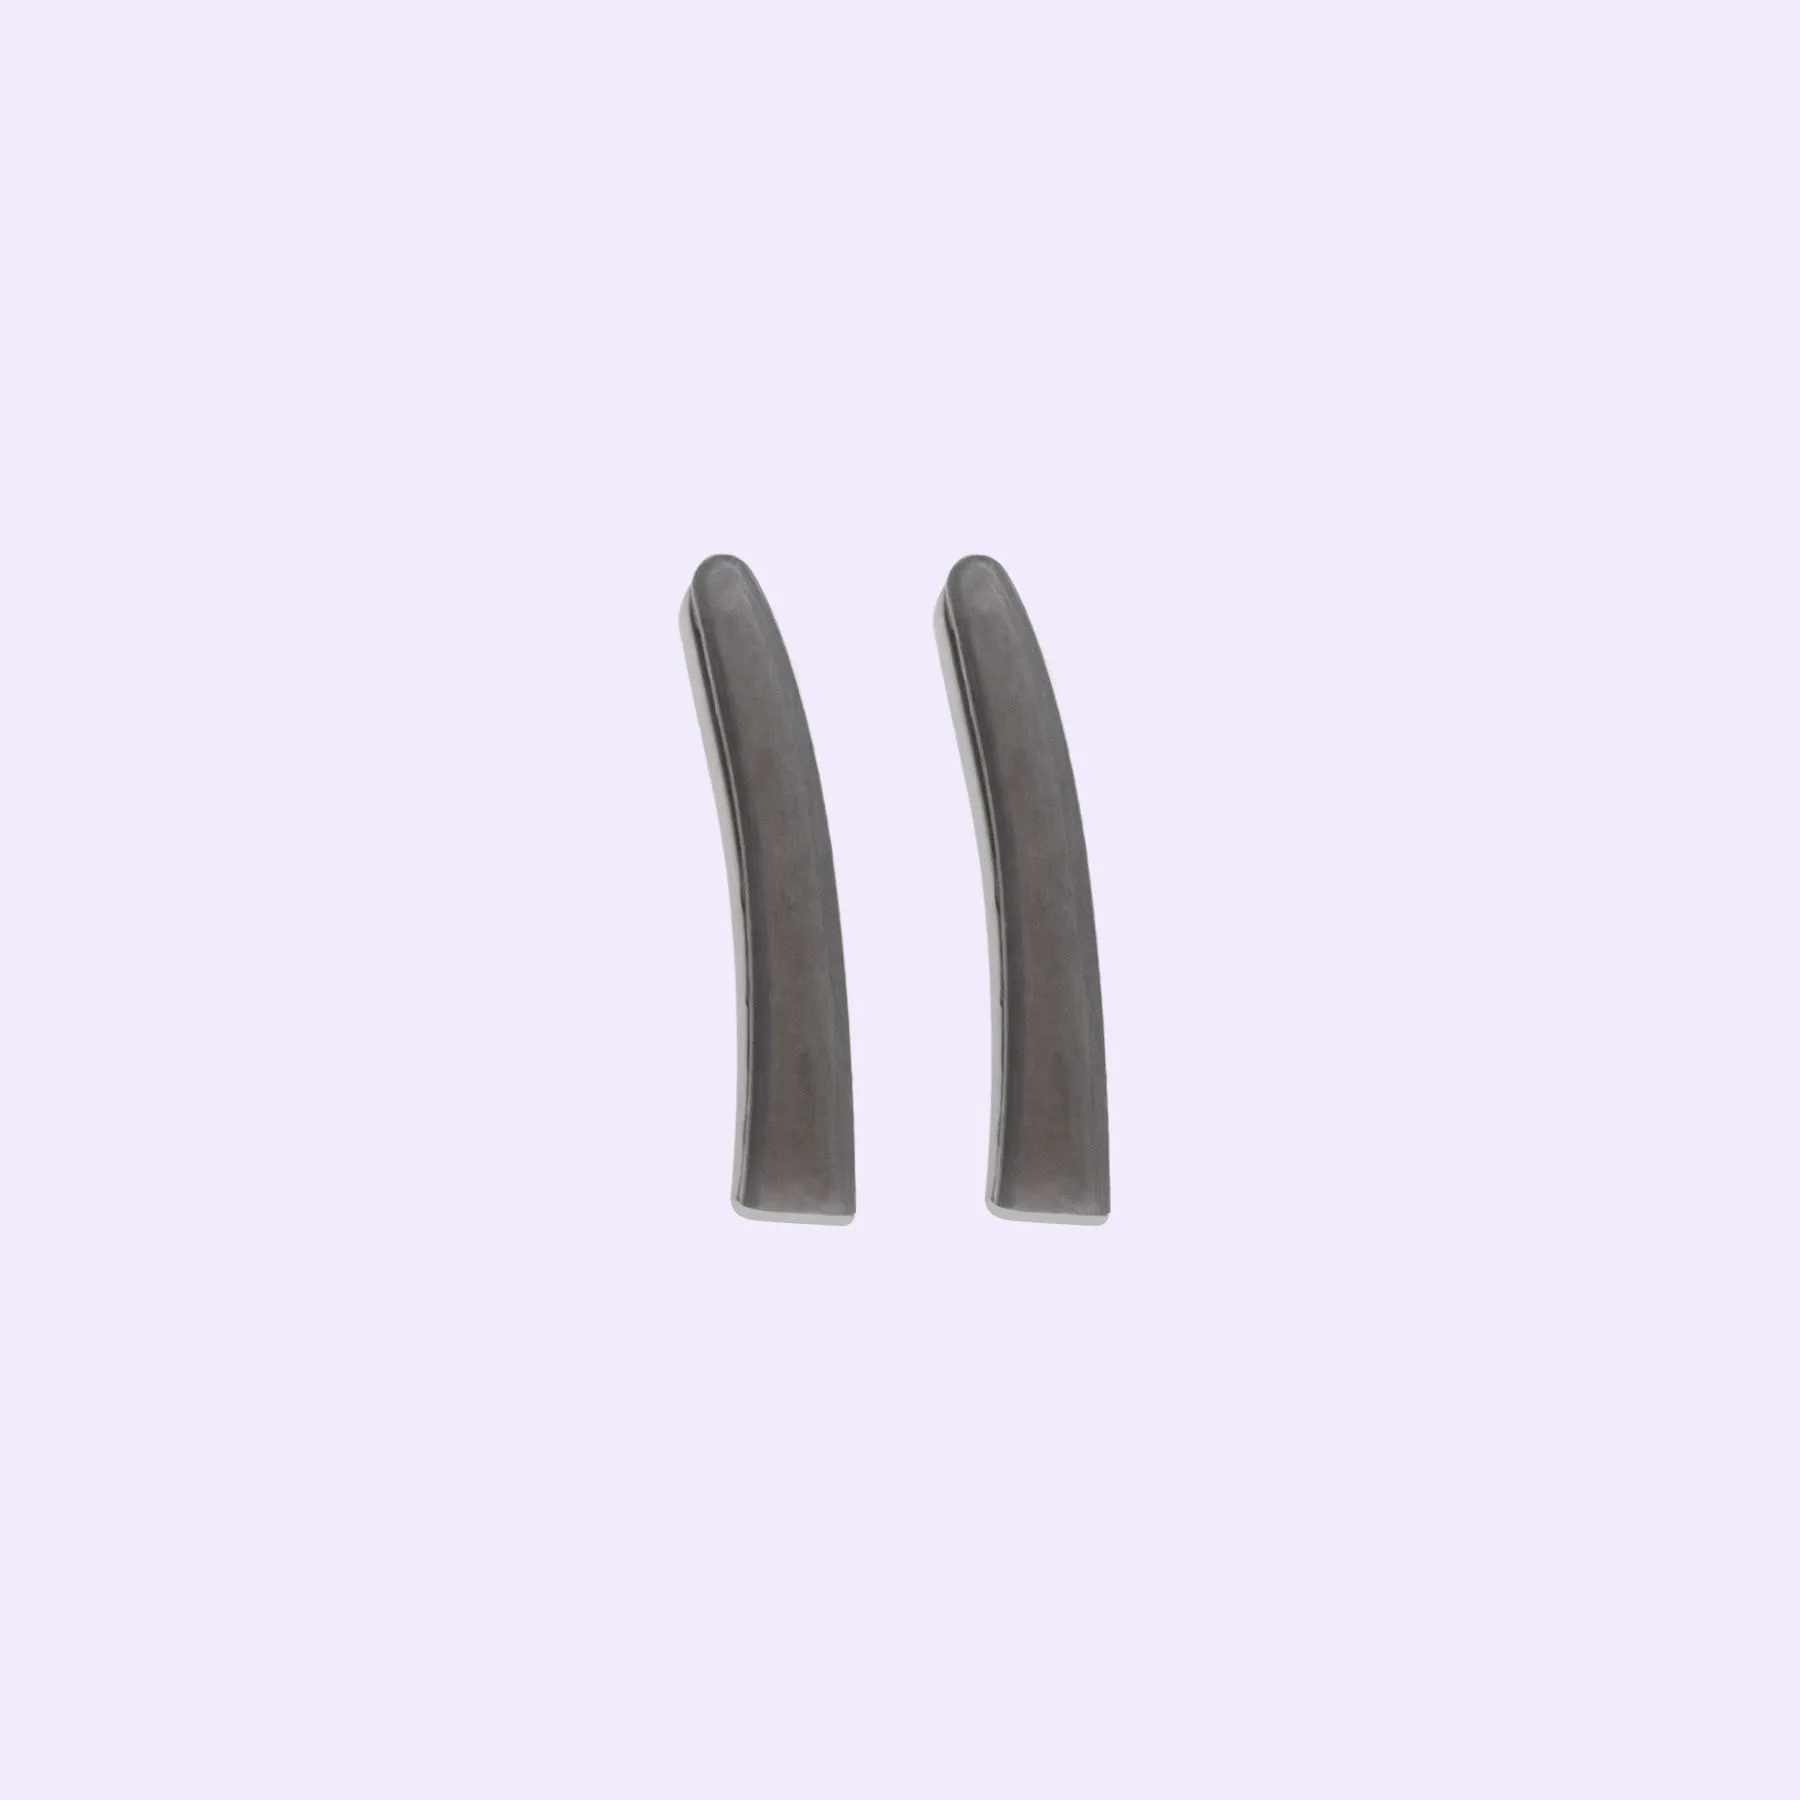
Applicator Tips
- Lilac Lash Pad: The Lilac Lash Pad offers a dedicated surface to help organize your tools and materials during application. Keeping your workspace tidy reduces the chance of accidentally transferring oil or debris to your lashes or bond, which can interfere with a clean cure.