Quick answer
Set up your lash display stand by grouping trays by curl and length, placing your best-selling volume trays at eye level, and keeping a labeled storage tray behind the stand for refills. The goal is a lash tray organizer that lets a client point and choose in under 10 seconds, not a wall of identical black trays.
Why lash merchandising fails at the stand
Most lash display ideas fail for one reason: every tray looks the same from two feet away. A client sees rows of black trays and cannot tell a 0.05 volume fan from a classic 0.15. Your lash display stand has to do the sorting for them. Decide the one question the stand answers first, such as "which curl do you want?" or "how dramatic do you want to go?", and build the whole layout around that single decision.
Match the stand to the trays you actually stock
Before you buy or rearrange anything, count your active tray sizes and how many you keep open at once. A stand with narrow slots will not hold wider trays, and a stand with deep shelves hides short trays behind tall ones. If your trays vary in width, choose a stand with adjustable dividers or flat shelves instead of fixed acrylic slots. This is the step most lash techs skip, and it is the reason a stand looks tidy for one week and chaotic by the second.
Build zones by curl, then by length
Split the stand into two or three vertical zones, one per curl you use most. Inside each zone, order trays left to right from shortest to longest length. Clients and new staff can then read the stand like a sentence: curl first, length second. Keep thickness changes within the same length grouped together rather than scattered, because thickness is the detail clients notice last and ask about least.
Keep backstock out of sight but within reach
The display is for choosing, not for storing everything you own. Keep one open tray per option on the stand and move sealed backstock into a drawer or closed lash tray storage box directly below. When a tray on the stand gets low, refill it from backstock and note the count. This keeps the stand from looking picked-over and protects unopened trays from dust and light.
Refresh the layout on a schedule
A lash display stand stops selling when it stops changing. Move your slowest-moving tray to the prime eye-level spot for two weeks and see if it picks up. Rotate seasonal or bold styles forward, and pull anything you have not used in a month back into storage. Treat the stand as a working tool that gets edited, not a fixed decoration.
Lash stand setup in 6 steps
- Audit your active trays: Pull every tray you currently use and note its width, length, curl, and thickness. Set aside anything you have not opened in 60 days. Checkpoint: if you have more than 12 open trays, cut the list before you touch the stand.
- Pick the stand around your widest tray: Measure your widest tray and choose a stand with slots or shelves that clear it with a little room. Adjustable dividers beat fixed slots if your tray sizes vary. Common mistake: buying a stand first and forcing trays into it later.
- Assign one zone per curl: Give each of your top two or three curls its own vertical zone, then order trays left to right from shortest to longest length inside that zone. Checkpoint: a client should be able to name their curl and length by pointing, without you explaining.
- Put your volume work at eye level: Place pre-fanned and Russian volume trays at the height a seated client looks at first, and move classics or less-requested styles to the edges. Common mistake: filling the best spot with whatever tray you happen to restock first.
- Separate retail from pro stock: Give strip lashes their own lower shelf or a small side stand so walk-in buyers can browse without reaching into your working trays. Checkpoint: pro trays and retail strips should never share the same row.
- Set a two-week rotation reminder: Move one slow tray into the prime spot every two weeks, refill open trays from backstock, and wipe the stand down at the same time. Next step: log which tray moved and whether requests for it changed.
Trays that work well on a merchandised stand
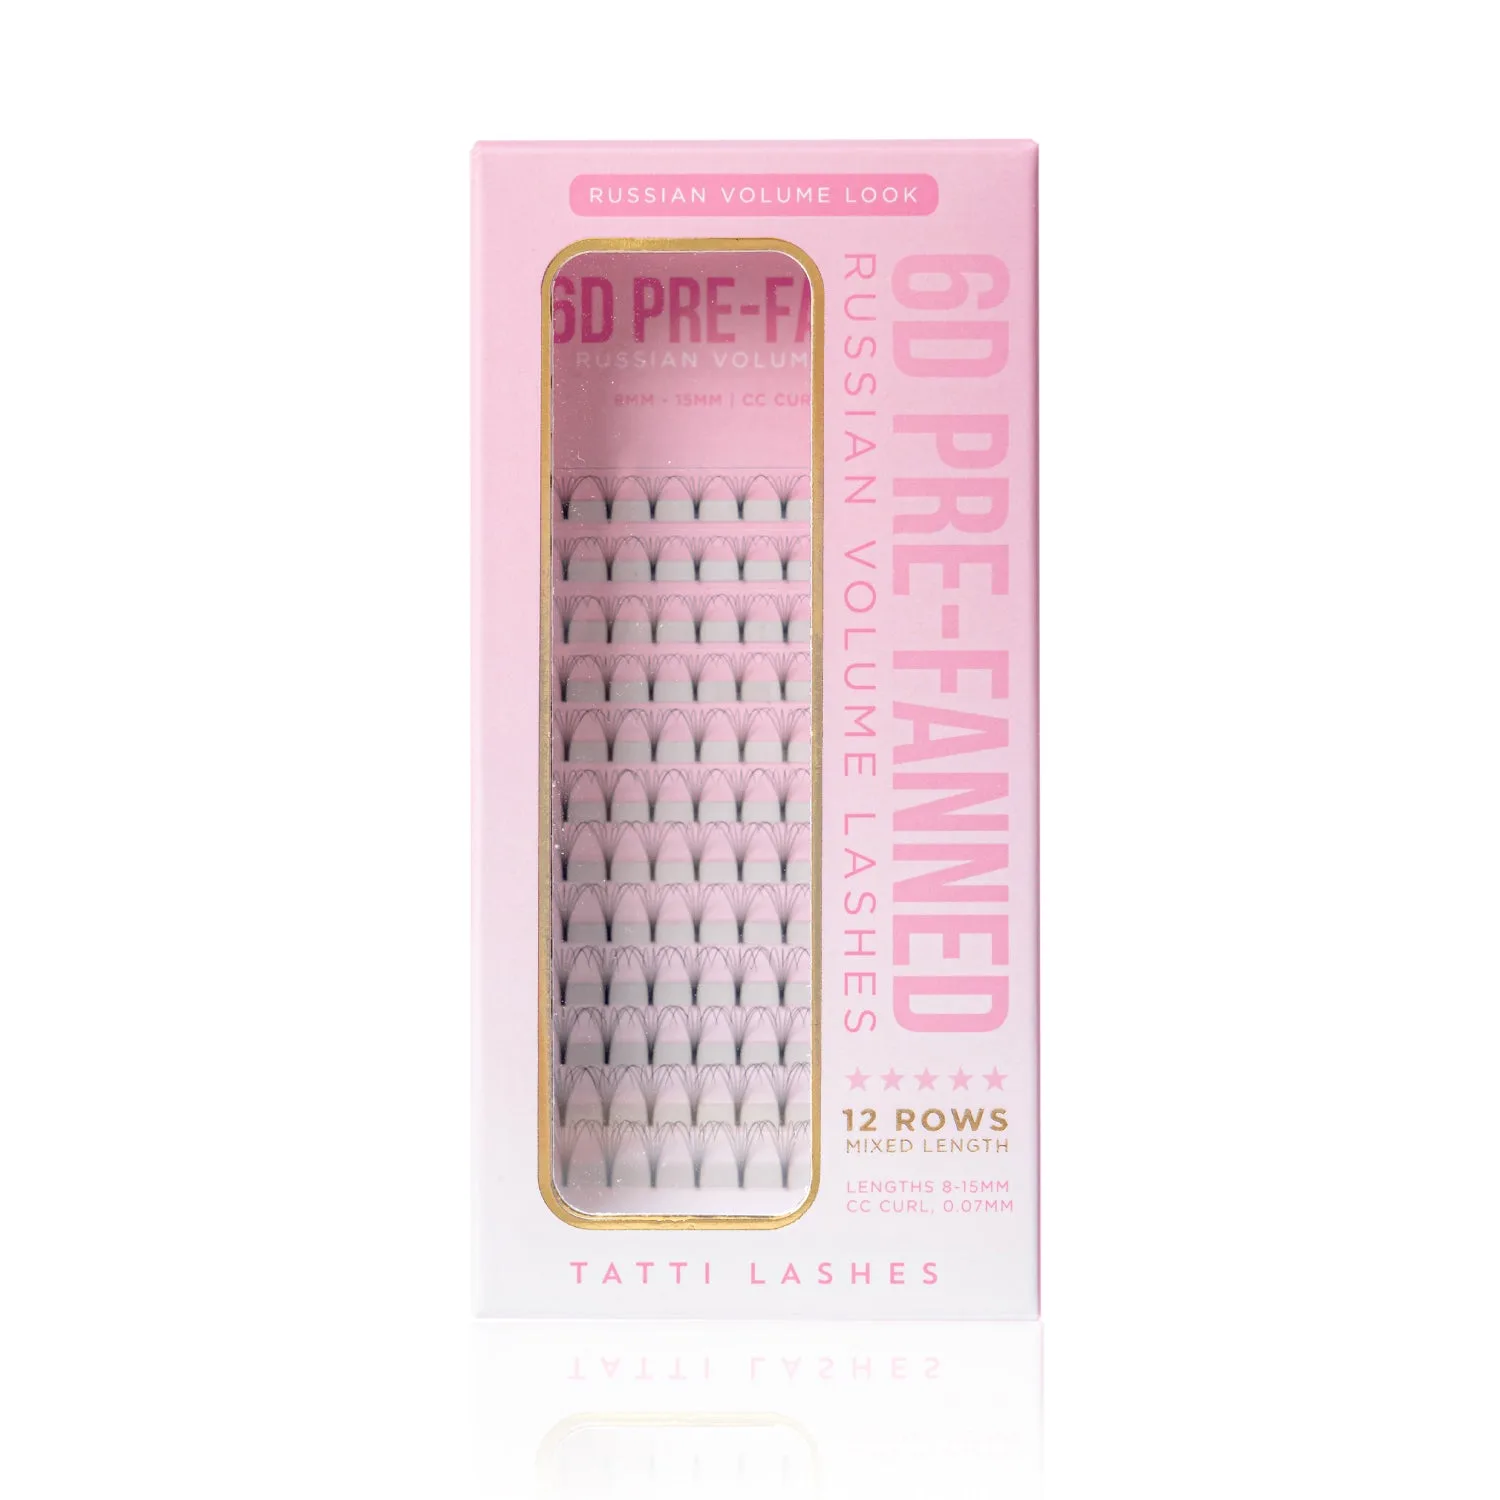
- Pre-Russian Volume 5D Lash Tray: Pre-Russian Volume 5D Lash Tray trays are pre-fanned and suitable for both Classic and Russian trained techs, with Length, Curl, and Base options. Pre-fanned trays let you show a volume result without a hand-fanning demo, so they earn a prime eye-level slot on the stand.
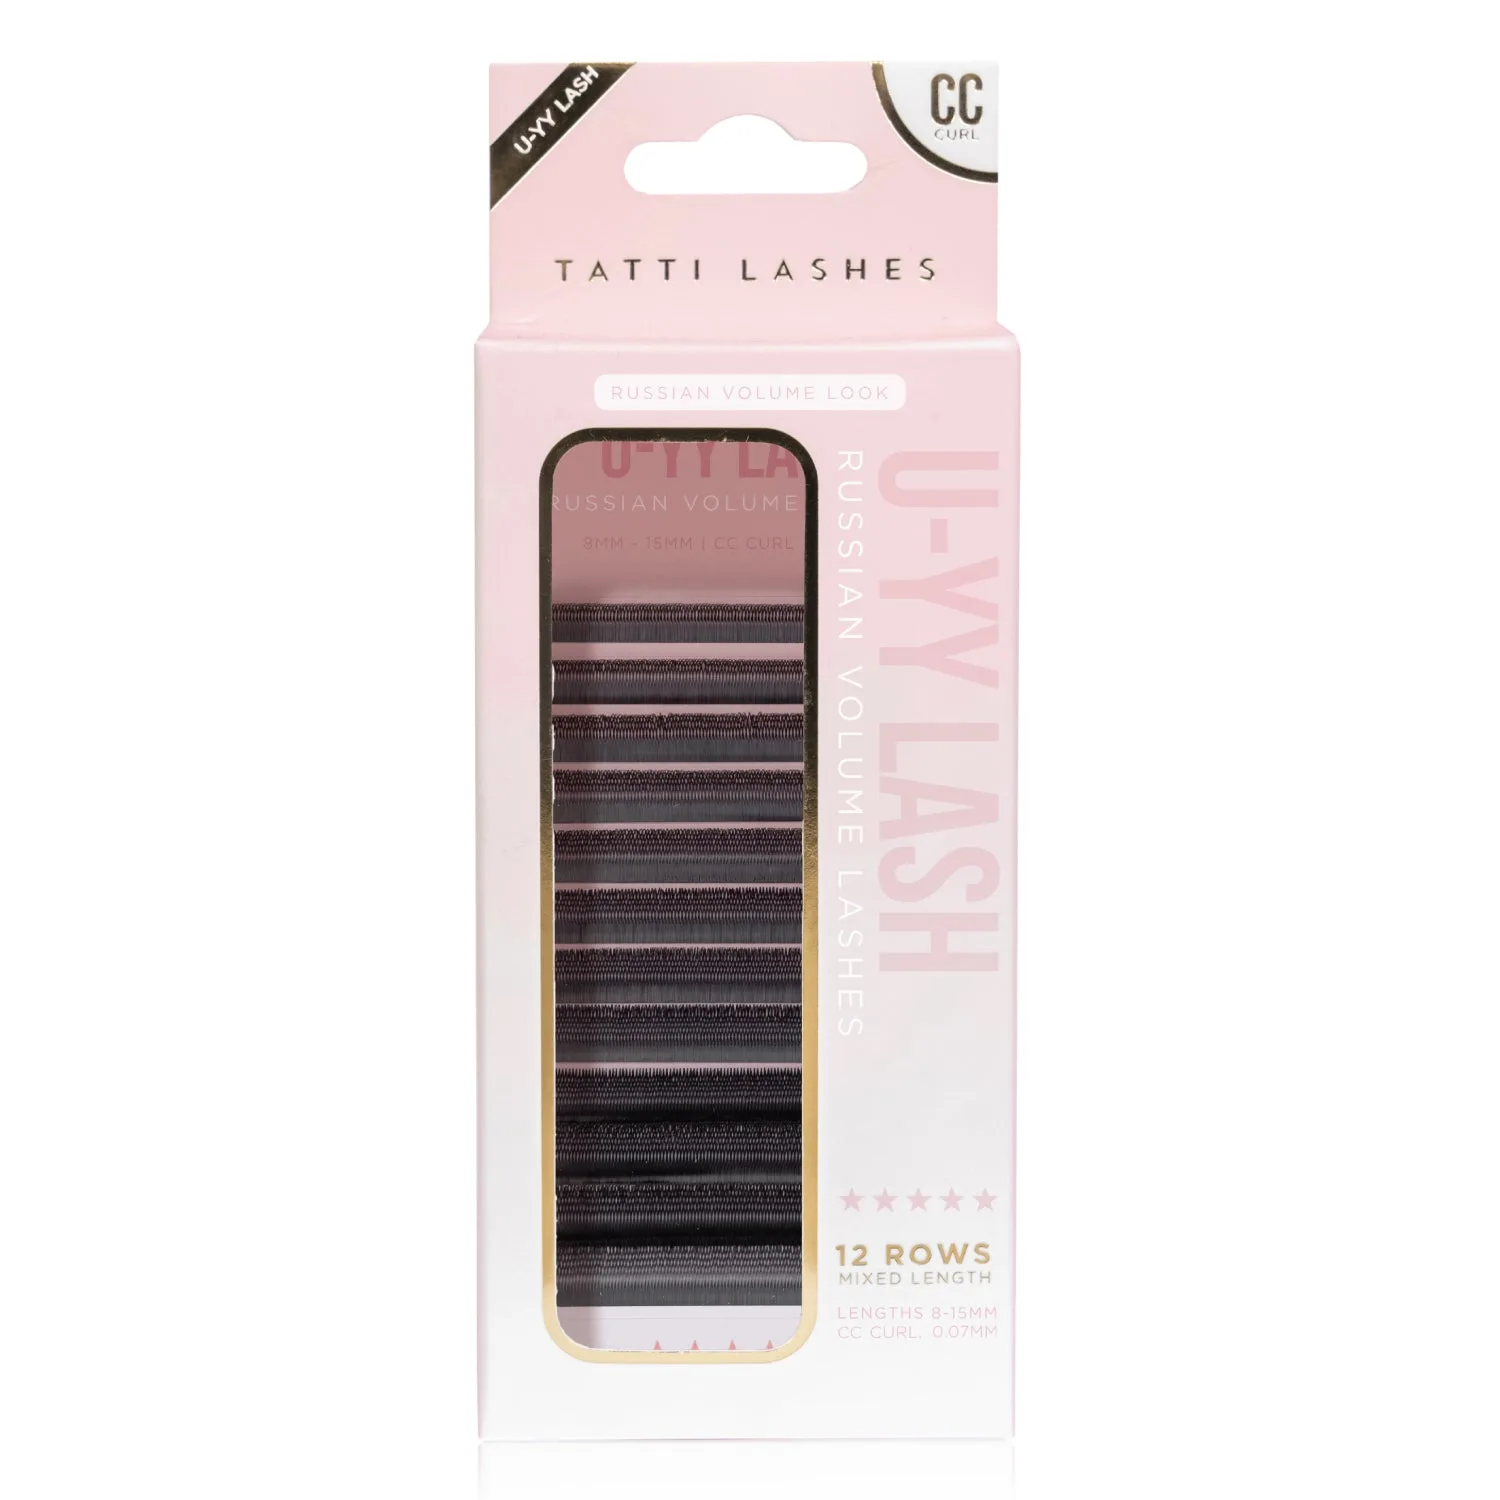
- Russian Volume Lashes (Mixed Length): Russian Volume Lashes (Mixed Length) come in Curl and Thickness options and are described as lightweight, for filling gaps between sparse natural lashes. Mixed-length trays cover more client requests per tray, so you can keep fewer SKUs on display and still answer most curl and thickness questions.
- Miss Popular Volume Strip: Miss Popular Volume Strip is a Russian strip lash designed to give an extension look without treatment, with a subtle wing that lifts the eye. Retail strips belong on a separate, lower shelf from pro trays so walk-in clients can browse without disrupting your working setup.