Quick answer
Build the LOC 4 inch Goblin by inventorying all parts first, then installing the Loc-n-Mount for your chosen motor class before aligning fins and rail guides. The kit's 42-ounce weight and 4-inch airframe make it a Class 1 flyer on smaller motors, while the 54mm mount handles high power flights. Plan your motor choice before you glue anything.
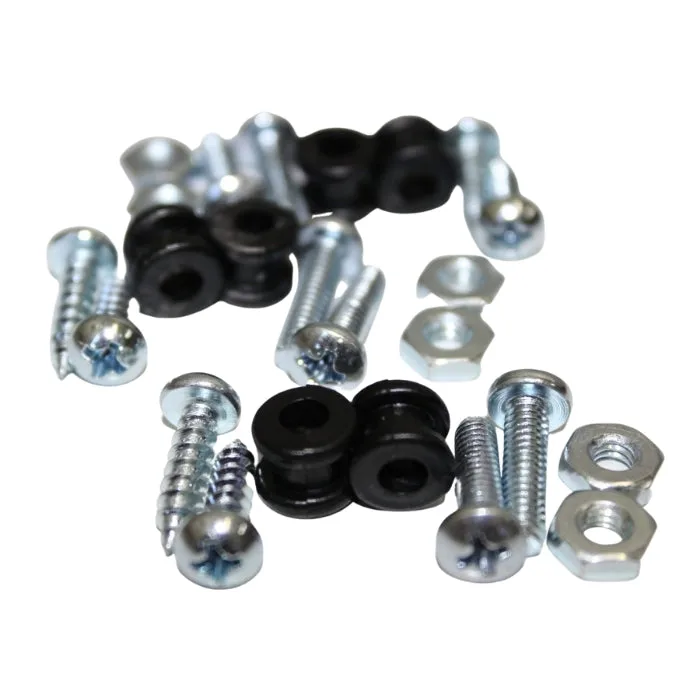
rail guides
Inventory the kit and plan your motor class
Open the LOC 4 inch Goblin box and lay out every component: airframe tube, nose cone, Loc-n-Mount system, fins, centering rings, rail guides, decals, and hardware. The Loc-n-Mount is the defining feature here, allowing 54, 38, and 29mm motors, so decide which class you will fly first. That decision drives how you assemble the mount and whether you need adapters.
Set up the Loc-n-Mount for your chosen motor
The Loc-n-Mount system lets you switch between 54, 38, and 29mm motors, but the initial assembly must match your primary motor tube. Dry-fit the mount inside the airframe before any epoxy. If you plan to fly 38mm or 29mm most often, install the appropriate adapter sleeve now rather than retrofitting later. The 54mm main mount is what unlocks the high power flights the kit is known for.

epoxy
Align and attach fins with confidence
The Goblin uses a four-fin configuration, and alignment is critical for stable flight. Use the LOC N fin/ring tabs that extend to the 54mm motor tube as your built-in alignment guide. Tack the fins with a thin CA or quick epoxy, check straightness from the rear, then apply internal fillets. If you are building the 5.5 inch version, the 5.5 inch Goblin Fin Set uses the same tab system for a 54mm tube, so the technique carries over.
Install rail guides and recovery gear
Rail guides are included, and they should be mounted on the airframe in line with the fin roots for a clean launch. For recovery, follow the kit's layout for the shock cord and parachute. A 4-inch airframe gives you room to pack a nomex blanket and chute without crowding. Check that your nose cone fit is snug but not tight, and add a friction fit or shear pin if needed.
Pre-flight checks and first flight prep
Before your first flight, verify the center of gravity and center of pressure with your chosen motor. The Goblin at 42 ounces is light enough to be a Class 1 flyer, but adding a larger 54mm motor can push it into high power territory. Simulate the flight or use a swing test to confirm stability. At the pad, check rail guide alignment, motor retention, and recovery deployment. Start with a smaller motor in your chosen class to validate the build before stepping up.
Step-by-step build sequence
- Inventory all parts: Lay out every component from the LOC 4 inch Goblin kit and compare against the parts list. Check for damaged tubes or missing hardware before starting. Checkpoint: If anything is missing or damaged, contact the vendor before assembly.
- Dry-fit the Loc-n-Mount: Slide the Loc-n-Mount into the airframe and test fit your chosen motor tube (54, 38, or 29mm). Do not glue yet; confirm the mount sits flush and the motor tube protrudes correctly. Common mistake: Gluing the mount before deciding on motor class can lock you out of later options.
- Epoxy the motor mount: Once satisfied with the fit, epoxy the Loc-n-Mount into the airframe. Use a slow-cure epoxy and ensure the mount is centered and aligned with the airframe axis. Checkpoint: Wipe excess epoxy immediately and verify alignment before it cures.
- Tack and align fins: Use the LOC N fin/ring tabs to position each fin against the 54mm motor tube. Tack with thin CA, check alignment from the rear, then apply internal fillets. Common mistake: Not checking fin straightness after tacking; a twisted fin causes spiraling flight.
- Install rail guides and recovery system: Mount the included rail guides in line with fin roots. Install the shock cord and parachute per the kit instructions, using a nomex blanket if needed. Checkpoint: Ensure the rail guides are straight and the recovery system deploys freely.
- Pre-flight stability check: With your chosen motor, verify center of gravity and center of pressure. Swing test or simulate to confirm stability before the first flight. Common mistake: Skipping stability check with a larger motor; the Goblin can become unstable if overpowered without nose weight.
- First flight: Start with a smaller motor in your chosen class (e.g., a 29mm or 38mm) to validate the build. Fly from a safe distance and use the rail guides on a compatible rail. Next step: After a successful flight, inspect the airframe and fins before stepping up to a 54mm motor.
Product facts
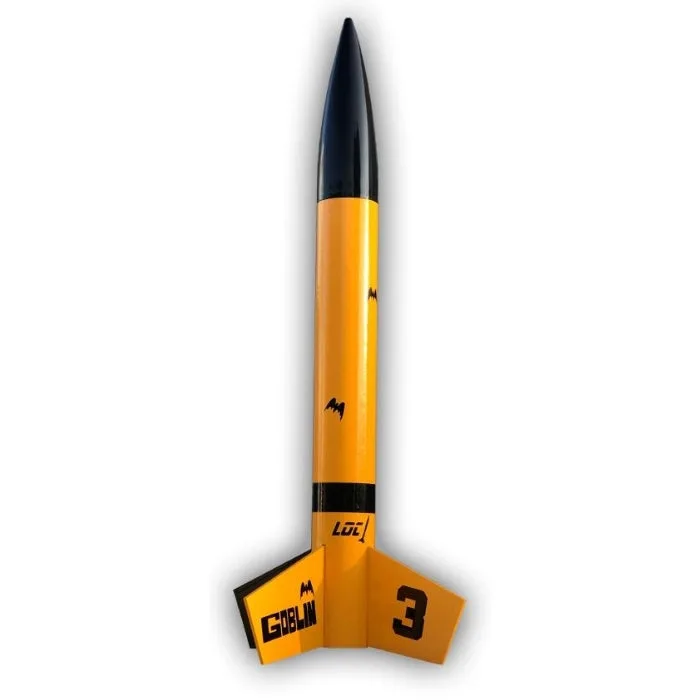
- LOC 4" Goblin: The LOC Goblin model rocket is a 4 inch diameter rocket kit with a Loc-n-Mount system allowing 54, 38, and 29mm motors. At 42 ounces it’s light enough to be a Class 1 flyer, and with the main 54mm it can easily attain high power flights. Decals are included as well as all necessary hardware and rail guides. The Loc-n-Mount gives you flexibility to fly everything from 29mm to 54mm motors, so you can start with a Class 1 flight and later step up to high power without buying a new kit. The included hardware and rail guides save you sourcing parts separately.
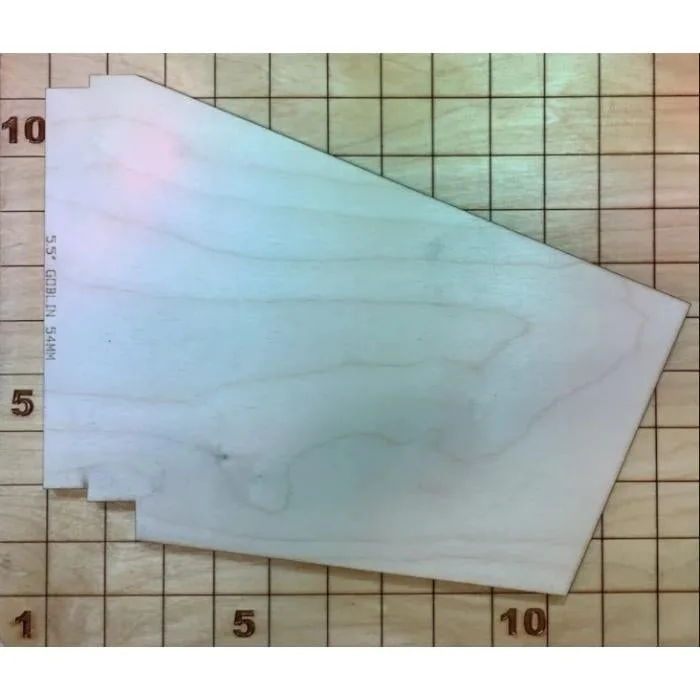
- 5.5" Goblin Fin Set: This 5.5 inch Goblin Fin Set includes four fins, precision-cut for your high power rocket build. Each fin is 1/4 inch thick and features LOC N fin/ring tabs that extend down to a 54mm motor tube, providing a secure and straightforward attachment point. If you are building or repairing a 5.5 inch Goblin, these fins use the same tab system as the 4 inch kit, so the alignment method in this guide applies directly. The 1/4 inch thickness adds durability for high power flights.