Quick answer
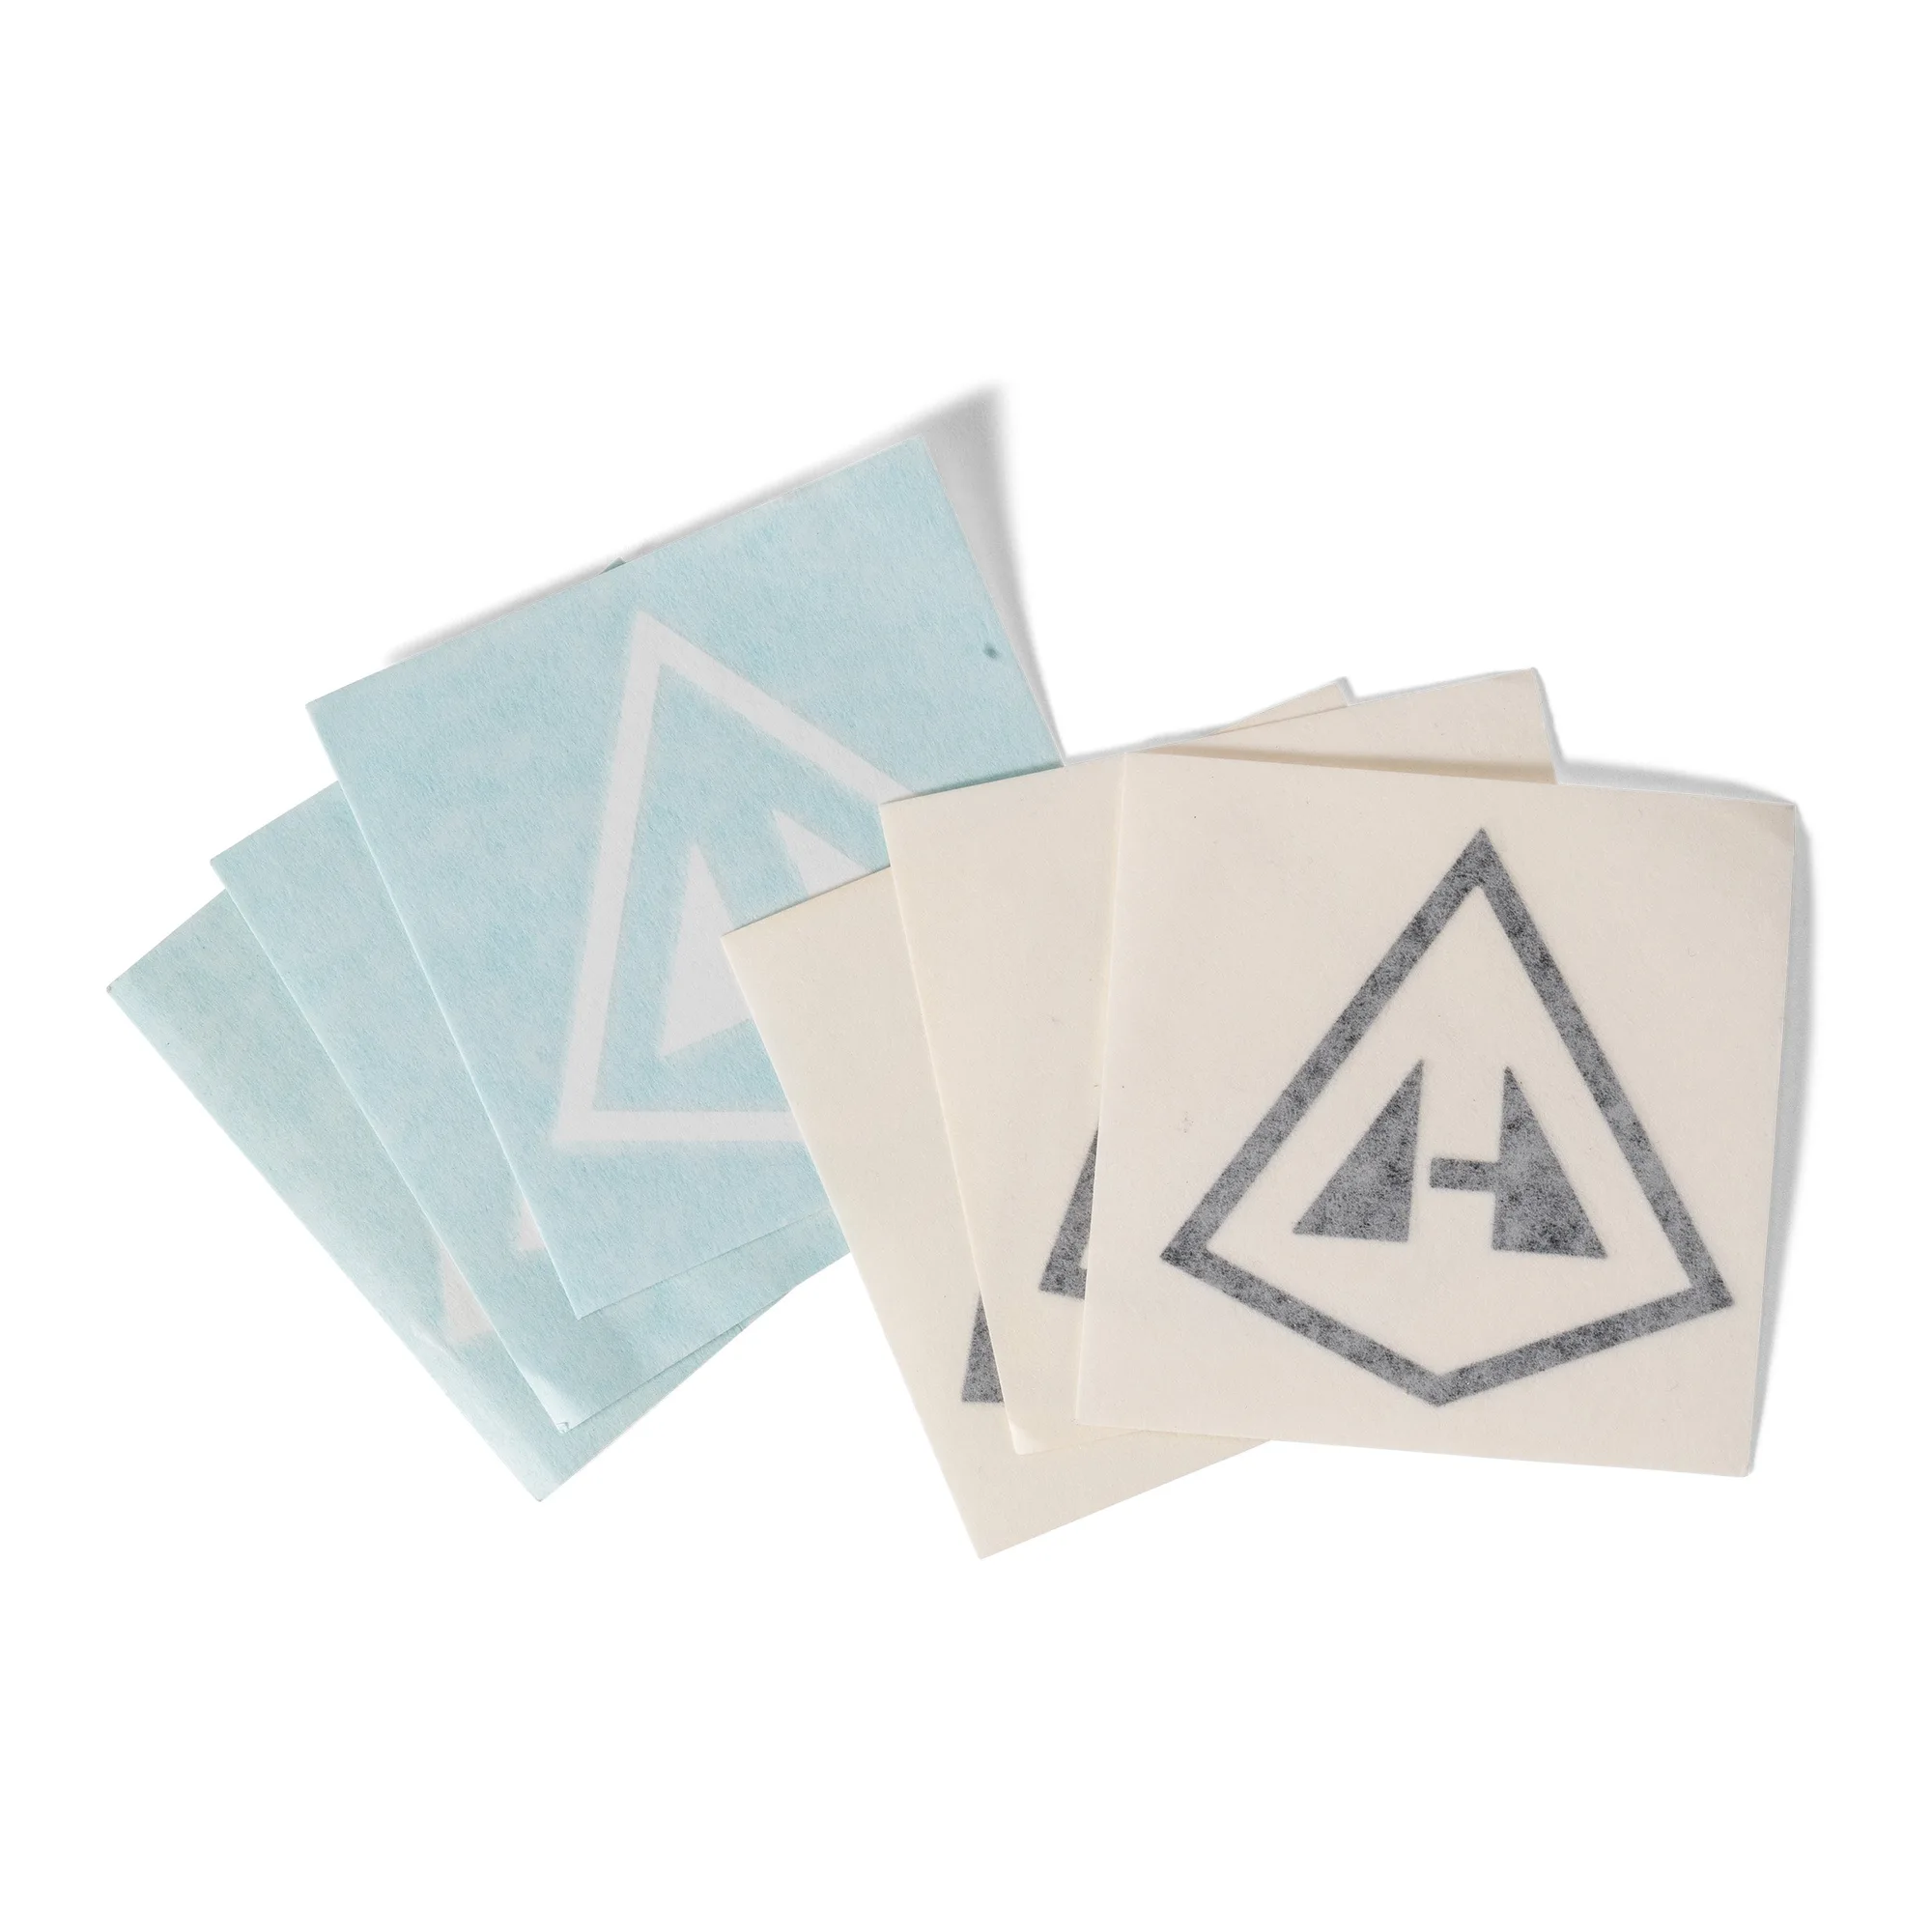
The Hyperlite Mountain Gear Logo Sticker Pack gives you six durable, weather-resistant vinyl decals (three white, three black) that let you personalize almost any outdoor gear surface. Use them to mark your ultralight backpack, identify your water bottle, or add a subtle brand accent to your adventure mobile.
Why the Logo Sticker Pack Works for Customization
Each sticker in the pack is a 4" x 4" die-cut vinyl decal made to withstand rain, sun, and trail abrasion. The set includes three white and three black logos, giving you options to match or contrast with your gear's color. Because the decals are weather-resistant, they hold up on surfaces that see regular outdoor use, like backpack frames, water bottles, and vehicle cargo boxes.
Where Not to Apply These Stickers
Avoid placing stickers on high-friction areas such as shoulder straps, hipbelt webbing, or the bottom of a pack where they'll rub against rocks or dirt. The vinyl is durable but not designed for constant abrasion. Also skip rough or heavily textured surfaces like foam pads or cordura with deep weave—the adhesive won't bond evenly.
6 steps to customize your gear with the Logo Sticker Pack
- Clean the surface thoroughly: Wipe the area with isopropyl alcohol or a mild soap solution to remove dirt, oil, and dust. Let it dry completely. A clean surface ensures the adhesive bonds fully and prevents peeling later. Common mistake: applying to a dusty or greasy surface. Even a thin film of trail grime can reduce adhesion.
- Choose the right sticker color for visibility: Use a white sticker on dark gear (black pack, navy stuff sack) and a black sticker on light gear (white water bottle, silver cargo box). This maximizes contrast so the logo remains readable from a distance. Checkpoint: hold the sticker against the surface before peeling the backing to confirm the contrast works.
- Position the sticker before pressing: Peel the backing halfway and place the exposed edge on the surface. Adjust alignment while the sticker is still loose. Once the full decal touches the surface, repositioning becomes difficult and may weaken the adhesive. Tip: use a piece of painter's tape to temporarily hold the sticker in place while you check the position.
- Apply firm, even pressure from the center outward: Use a credit card or your thumb to press the sticker from the middle toward the edges. This pushes out air bubbles and ensures full contact. Pay extra attention to the corners and fine cutouts. Common mistake: pressing from the edges inward, which traps air bubbles under the decal.
- Wait 24 hours before exposing the sticker to moisture: The adhesive reaches full bond strength after about a day. Avoid rain, washing, or submerging the item during that window. If you're applying the sticker to a water bottle, fill it with cold water and keep it dry on the outside. Checkpoint: if the sticker lifts at an edge after a few hours, press it down again with a clean cloth.
- Use leftover stickers for gear identification: Place a sticker on your tent stake bag, first aid kit, or power bank to quickly identify your gear in a group camp setting. The white and black logos work on most surfaces and help prevent mix-ups. Next step: store unused stickers in the original pack inside a dry, cool place to keep the adhesive fresh for future projects.
Product details at a glance
- Logo Sticker Pack: Includes six die-cut logo stickers (three white, three black) made from durable, weather-resistant vinyl. Each decal measures 4" x 4". You get enough stickers to customize multiple pieces of gear, and the weather-resistant material means they won't peel or fade after a season of use.